
Are you looking for a quick and easy way to edit a password-protected page in WordPress?
Customizing your locked pages keeps your branding consistent. It also becomes super easy to promote other pages and sites. But editing a password-protected page isn’t easy unless you can get a WordPress developer onboard.
This article is perfect for you if you’re not a coder yourself and you need a way to edit password-protected pages in WordPress without any code. It’s not that difficult and anyone can do it in less than 10 minutes.
Let’s get started.
Why Should You Edit Password Protected Pages in WordPress?
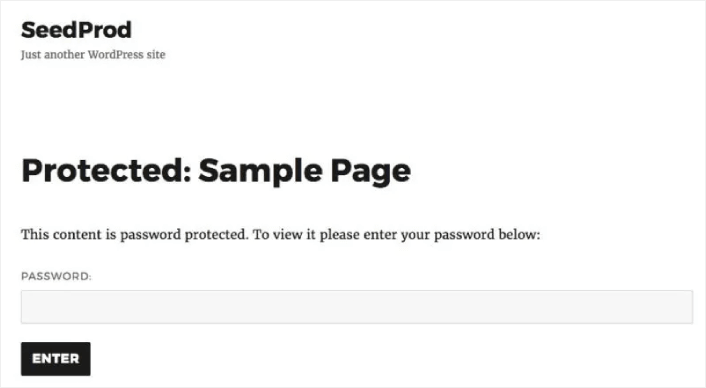
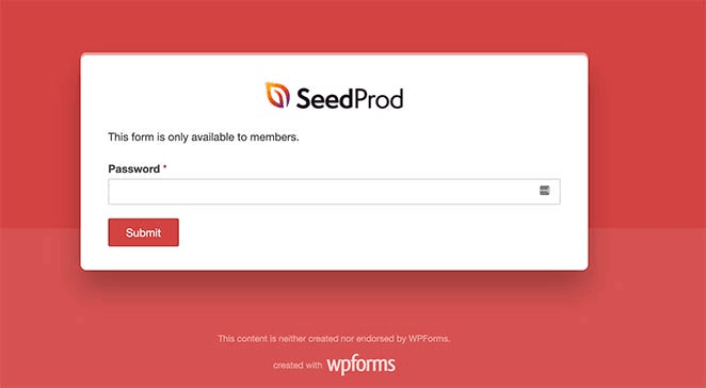
The default look for a WordPress password-protected page is very basic and simple. Most likely, it won’t fit in with the rest of your website. For many themes, a password-protected page only has a login form like this:
If you edit protected pages in WordPress, you can improve your design using:
- Your brand’s logo to increase trust and keep your design consistent site-wide
- A custom message welcoming users, showing how to access your protected content
- Social media buttons to get users to follow your social channels
- Contact forms for users to get in touch if they have issues
- Links to other pages of your site to promote your products and services
Here’s a quick look at the type of protected page you can easily create with some customization:

If you need some more design inspiration, check out this article on coming soon page examples.
How to Edit Password Protected Page WordPress
Now that we understand why you should edit password-protected pages in WordPress, let’s check out how you can do it. We’re going to show you some very simple ways to customize your protected pages without having to hire a developer.
Of course, this means that we’re going to use some WordPress plugins. This way, you can edit your protected pages no matter what theme you’re using. Let’s check out these plugins and methods.
Method #1: How to Edit Password Protected Pages with SeedProd
For our first method, we’re going to use a landing page builder to edit protected WordPress pages. We recommend using SeedProd.

SeedProd is a visual landing page builder that helps you create landing pages that convert really well. It’s one of the best landing page builders in the world that works with any WordPress site.
You get a drag-and-drop visual landing page builder with SeedProd. The visual builder helps you create custom designs without having to code at all. And you can use it to create custom password-protected pages in WordPress.
Step #1: Create a Coming Soon Page
SeedProd comes with awesome templates to create coming soon pages. Start things off by installing and activating the SeedProd plugin:

Then, click on SeedProd in your WordPress dashboard and create a coming soon page:

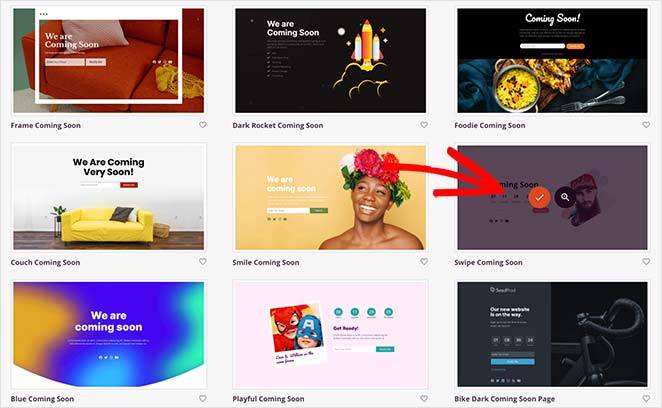
Step #2: Choose a Coming Soon Page Template
As we said, you get a ton of coming soon page templates on SeedProd. Go ahead a pick one:
Your coming soon page template will now appear in the SeedProd page builder. Next, you’re going to customize the page to suit your brand using drag and drop design elements.
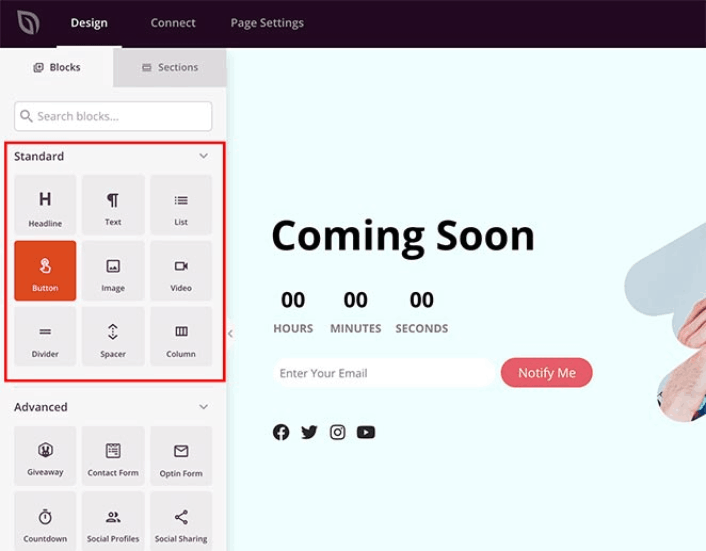
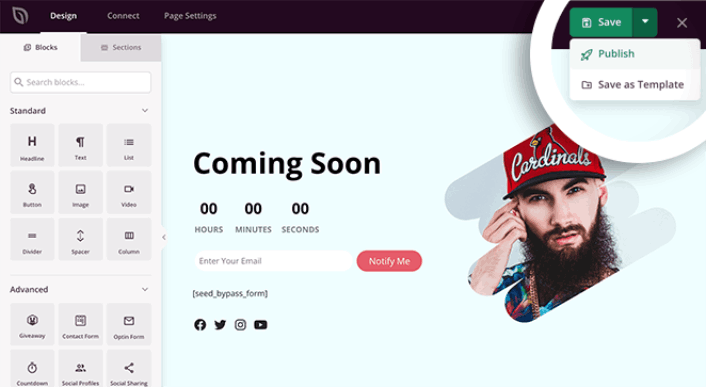
Step #3: Customize Your Protected Page Content
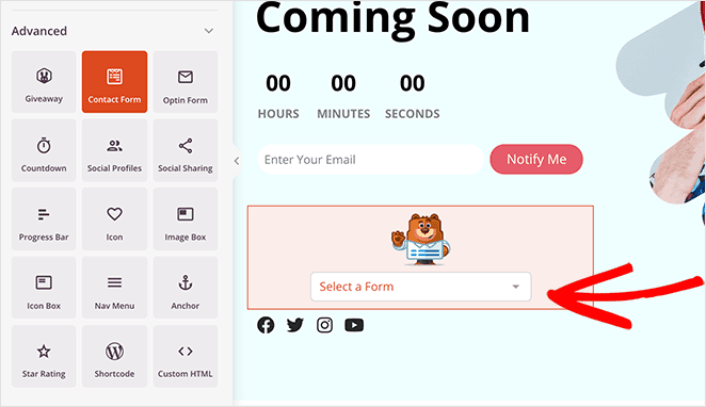
SeedProd’s page builder comes with various content blocks. Even if you’re never used a page builder before, you’re going to find it super easy to use. Just drag and drop different design elements from the sidebar:
You can use these blocks to create super interactive landing pages with:
- RafflePress giveaways to farm engagement on your site before launch
- Contact forms to collect leads on your site
- Countdown timers to increase FOMO and hype around your release
- Social buttons to get some social media shares
And so much more! Have fun with your landing page and when you’re happy with the look and feel of the page, you can add a shortcode to password protect it. Use the shortcode seed_bypass_form to password-protect your page.
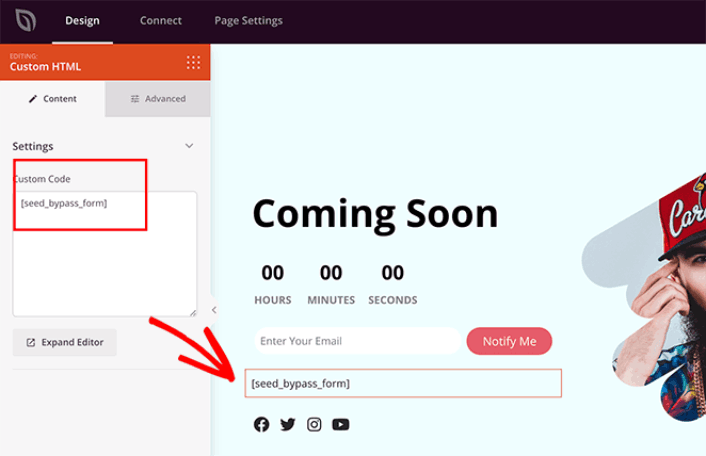
You can use either the Shortcode block or the Custom HTML block in SeedProd to insert the shortcode.
Step #4: Publish Your WordPress Password Protected Page
When you’re done editing your WordPress password-protected page, go ahead and publish it by clicking on Save » Publish:
To make your page live, head back to SeedProd in your WordPress dashboard. Under the Coming Soon Mode section, switch the Inactive toggle to Active:
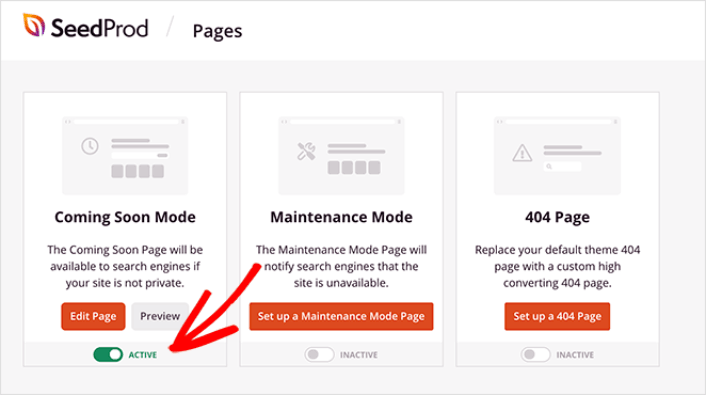
Your custom password-protected page is now live! This is what it should look like to your visitors:
If you want to edit this page even further, just go back to SeedProd in your WordPress dashboard and click on Edit to start editing the page again.
Method #2: How to Edit Protected Form Pages with WPForms
You can also edit password-protected form pages in WordPress. Anyone who wants access to that form will need a password first.
The easiest way is to make a protected form in WordPress using WPForms with the Form Locker addon. Then you can customize the page containing your form with the Form Pages addon.

WPForms is the most powerful drag-and-drop WordPress form builder. It’s super easy to build a fully custom form for your WordPress site in a few minutes using the plugin.
If you follow along with the steps in this method, you should be able to create a form that looks like this to your visitors:
Step #1: Create a New WordPress Form
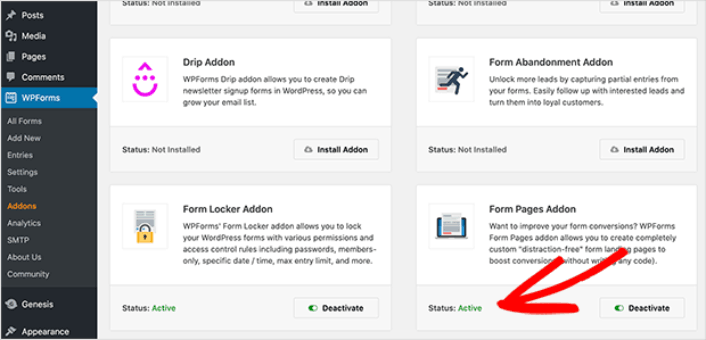
First, check out this article to make a password-protected form using WPForms. Make sure you’ve activated the Form Pages addon. Head over to WPForms » Addons and activate the Form Pages addon:
Step #2: Enable Form Pages on Your WordPress Site
Go to WPForms » All Forms and click Edit on the form you created in the previous step.
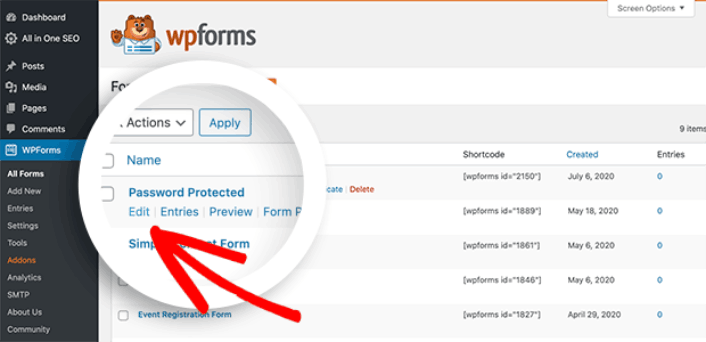
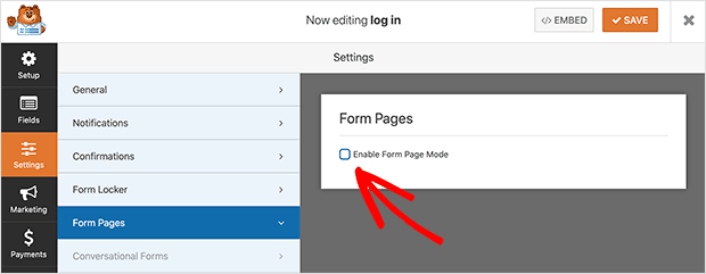
Then, click on the Settings tab and choose the Form Pages option. Activate form pages by clicking on the Enable Form Pages Mode checkbox:
Step #3: Publish Your Form Page
WPForms comes with a drag-and-drop form builder among several other epic features. So, you can customize your form and form page in the same way as you would a landing page. When you’re happy with the way your form looks, hit the Save button.

The form page has its own URL. So, once you save, the page goes live on your site. If you followed the steps correctly, your visitors should be able to see a form page like this one:
Check out the form page in an incognito browser window to see what your visitors will see on the page.
Method #3: How to Edit Protected Form Pages in SeedProd
Another very cool way to edit password-protected form pages in WordPress is to use both WPForms and SeedProd at the same time. You can draft a password-protected form in WPForms. Then, you can use SeedProd to edit the protected form page.
This is what it should look like if you follow the steps correctly.

Creating a page like this is fairly simple. You need to create a password-protected form page using WPForms. Then, create the coming soon page in SeedProd. Both of these, we’ve already seen in the previous sections.
Once that’s done, head over to the SeedProd builder and click the Page Settings tab at the top of your screen and click the Access Controls section.
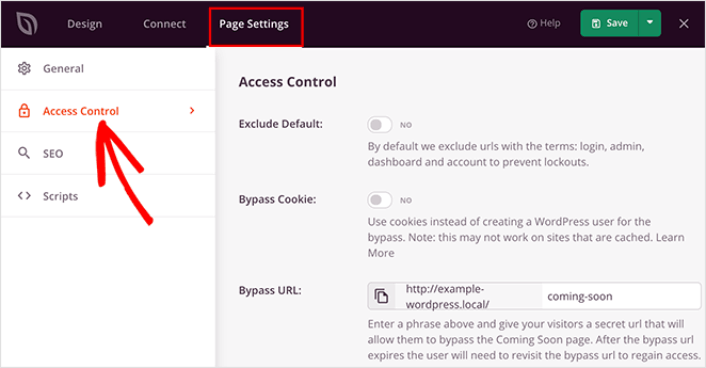
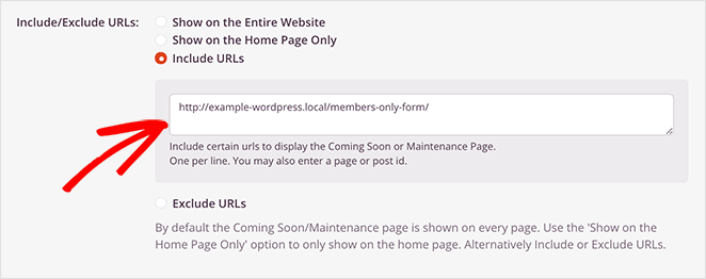
This is where you can restrict access to certain pages and single posts on your site. Include/Exclude URLs heading, click the Include URLs option, and paste the URL of your protected form page.
Then, go back to the Design tab. Here, you’ll want to drag and drop the Contact Form block onto your live page preview.
Now, click the block and choose your password-protected form in the dropdown menu.
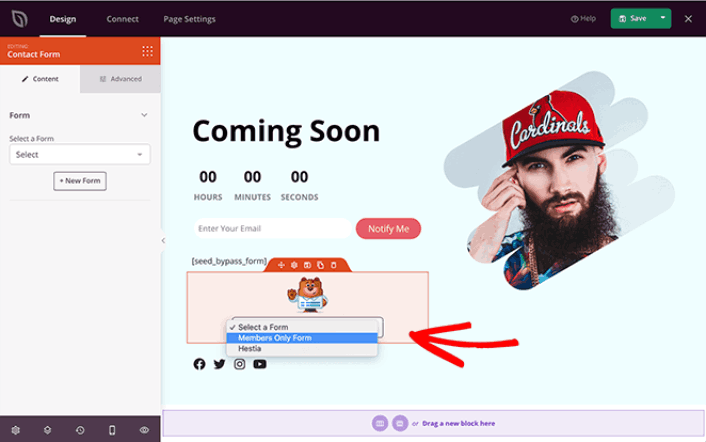
And you’re done. If you follow the directions properly, you should be able to see this on your password-protected form page:
Now That You Know How to Edit Password Protected Pages in WordPress
Now that you know how to edit password-protected pages in WordPress, it’s time to work on your traffic, engagement, and sales. You should try using push notifications on your site. Push notifications are a great marketing tool that can help you grow your business.
Take a look at these epic resources and you’ll know what we mean:
- 7 Smart Strategies to Boost Customer Engagement
- Are Push Notifications Effective? 7 Stats + 3 Expert Tips
- How to Set Up Abandoned Cart Push Notifications (Easy Tutorial)
- How to Add a Web Notifications WordPress Plugin to Your Site
We recommend using PushEngage to create your push notification campaigns. PushEngage is the #1 push notification software in the world. So, if you haven’t already, get started with PushEngage today!


