Looking for a simple way to add web app push notifications that can help you grow your business?
Setting up push notifications for web apps can be a little bit tricky. There’s always some conflict with sending web push notifications. Usually, the biggest problem is the delivery rates. You can add web push to your web app in many ways. But how do you send web push notifications that actually get delivered from your web app?
Don’t worry! In this article, we’re going to show you step-by-step how you can send web app push notifications with reliable delivery rates in less than 10 minutes.
Let’s dive in.
How to Install Web App Push Notifications
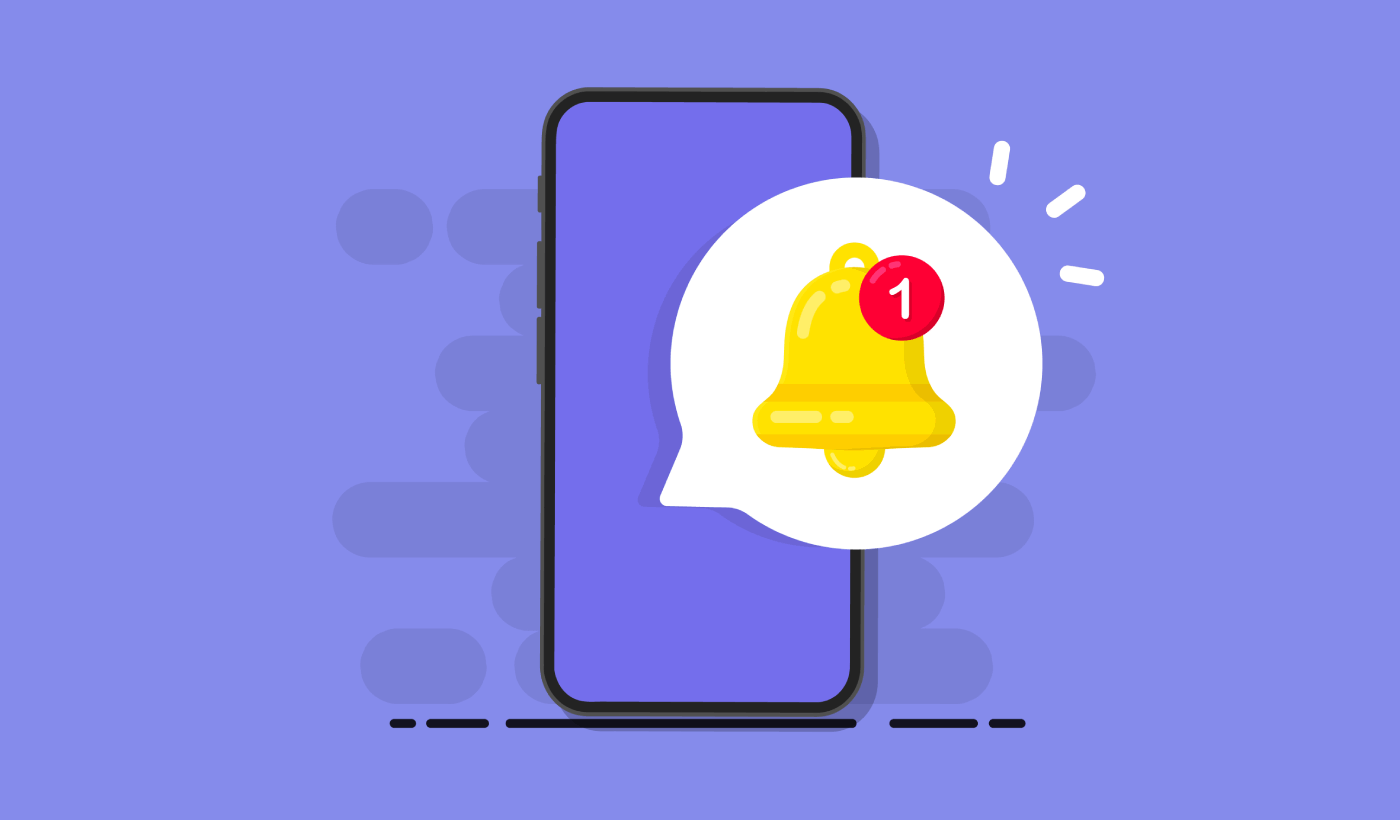
Adding push notifications to a web app is quite simple. Just follow the steps in this article. If you follow every step, by the end of this article, you should be able to send push notifications like this one:

The main challenge is that all web push notification software uses a Javascript file called service_worker.js. The service worker helps you collect push notification subscribers through popup modals. But all web apps already have a service worker file that serves a different purpose. And at a time, your web app can only use one service worker.
In simple words, web push services confuse your web app. So, sometimes it will collect push notification subscribers and sometimes, it won’t. Sometimes you can send notifications and sometimes you can’t. You might even end up sending push messages to your entire subscriber list and have it delivered only to a few subscribers.
Of course, web app builders like Mendix come with their own push notification system. But what if you want to migrate to some other push notification service? What if you want more flexibility and control over your push notification campaigns?
We recommend using PushEngage to send web app push notifications. PushEngage is the #1 push notification software in the world. So, you know that your campaigns are in safe hands.
Let’s get started.
Step #1: Set Up Your PushEngage Account
Head over to the PushEngage home page and click the Get Started button:

You can try out PushEngage for free. If you’re running a small blog that needs repeat traffic and engagement, that’s probably good enough. But if you’re serious about sales, you should get the Enterprise package and unlock the automated campaigns.
Once you’ve signed up for your PushEngage account, head over to your PushEngage dashboard and go to Site Settings » Site Details:

You can set your logo, site name, and site URL here. It’s really important to sort this stuff out right now so that you can test your entire setup later.
Step #2: Get the Installation Code from PushEngage
To install push notifications, you’ll need to get an installation code. In your Site Settings screen, scroll down and click on the Click Here For Setup Instruction button:

Then, click on the Any Site tab:

You can use the Javascript code to start sending push notifications.
Step #3: Add the Service Worker Code For Web App Push Notifications
The most tricky part of the process is finally here. In the PushEngage dashboard under Setup Instructions, you’ll also see an option to download the service worker file.
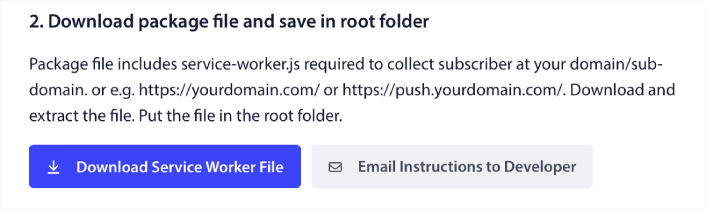
IMPORTANT: By default, a web app doesn’t require a service worker file. All you need to turn any site into a web app is a manifest file. So, if your web app doesn’t have a service worker file, then you can simply add the PushEngage service worker to the root directory of your website or web app.
But if your web app already has a service worker in place, then DO NOT directly upload the PushEngage service worker file as is. Open the PushEngage service worker in a text editor like Notepad and copy the code in the PushEngage service worker file. Then, find the service worker file for your web app and simply add the PushEngage service worker code to the file.
If you neglect this step, you won’t be able to collect push notification subscribers.
Step #4: Configure the PushEngage Opt-In
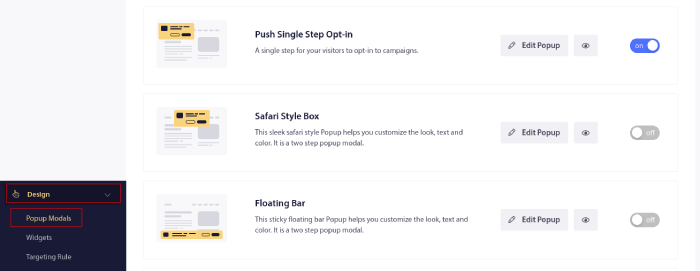
Now, head back to your PushEngage dashboard. Go to Design » Popup Modals and select the optin of your choice:
The idea here is to give your visitors a solid reason to subscribe. If you need some help with that check out our article on how to create a custom push notification opt-in.
And if you’d like some templates to get started, you should check out this article on high-converting push notification opt-ins.
Step #5: Create Your First Campaign
Now that your web app can send push notifications, you should create an actual campaign.
An abandoned cart campaign helps generate extra revenue by converting abandoned carts. It’s a simple reminder that sells a lot of products on autopilot. So, it’s a great campaign to support any landing page that brings in direct sales.
Just head over to your PushEngage dashboard and go to Campaigns » Triggered Campaigns » Create A New Triggered Campaign:

And then, select the Cart Abandonment campaign template:

If you’re new to creating automated marketing campaigns, you can simply follow along with our article on how to set up an abandoned cart push notification campaign. Follow every step, and you can set up push notifications like this one:
And just in case you’re wondering, you don’t need to be a household name brand for your push notification campaigns to be effective. In fact, PushEngage was built to help small businesses grow using push notifications.
But before you start marketing your site, you should fix any issues with your push notification subscription process. Check out this article on testing your push notifications. If everything’s working perfectly, you’re done!
What To Do After Adding Web App Push Notifications?
That’s all for this one, folks!
You can now send web app push notifications. By now, you’ve also created a powerful web push notification campaign to boost your growth. All that, in less than 10 minutes!
Check out how to create other automated push notification campaigns as well. Most push campaigns are simple and effective. So, we recommend setting up multiple campaigns for your site. Here are a few great ones to start with:
- How to Automatically Send RSS Push Notifications
- How to Setup Cart Abandonment Push Notifications Using GTM
- How To Schedule Push Notifications the Easy Way [5 Min. Guide]
And if you haven’t already, get started with PushEngage. PushEngage is the #1 push notification software in the world. So, your campaigns are in safe hands.


