Looking for an easy way to add push notification action buttons that actually work?
The biggest challenge isn’t to add a button to your push notification. What’s most challenging is creating buttons that get clicks. Unlike your website, you don’t have unlimited characters to craft compelling buttons.
So, you need to keep your buttons simple, relevant, and focused.
In this article, we’ll show you how to add multiple push notification action buttons, how to optimize them for clicks, and some cool ways to use them. And yes, there will be some real examples as well.
Let’s dive in.
How to Add Multiple Push Notification Action Buttons
Before we get started, it’s always best to choose a push notification service to send push notifications. The right push notification service will make it super easy to create powerful campaigns with little to no code.
If you’ve been using Firebase Cloud Messaging (FCM) to send push messages, then it’s time to switch up right away. Check out this article to get a better understanding of why FCM is not the best option for you.
We recommend using PushEngage to create and send your push notifications.

PushEngage is the #1 push notification service in the world.
Push notifications help you grow your website traffic and engagement on autopilot. And if you’re running an online store, PushEngage also helps you grow your sales by helping you create automated eCommerce push notifications.
You can get started for free, but if you’re serious about growing your business, you should buy a paid plan. Also, before buying any push notification service, you should check out this guide to push notification costs.
Here’s a quick glance at what you get with PushEngage:
- High-converting automated campaigns
- Multiple targeting and campaign scheduling options
- Goal tracking and advanced analytics
- Smart A/B testing
- A Dedicated Success Manager
You’ll see that PushEngage is hands down the best bet if you want to build traffic, engagement, and sales for your business. And if you’re on a budget, you can always get a little bit creative with your push notifications.
Head over to your PushEngage dashboard and go to Campaign » Push Broadcasts and click on the Create a New Push Broadcast button:

Under the Content tab, add your push notification content:

Then, scroll down to Multi Action Notification and enable it:
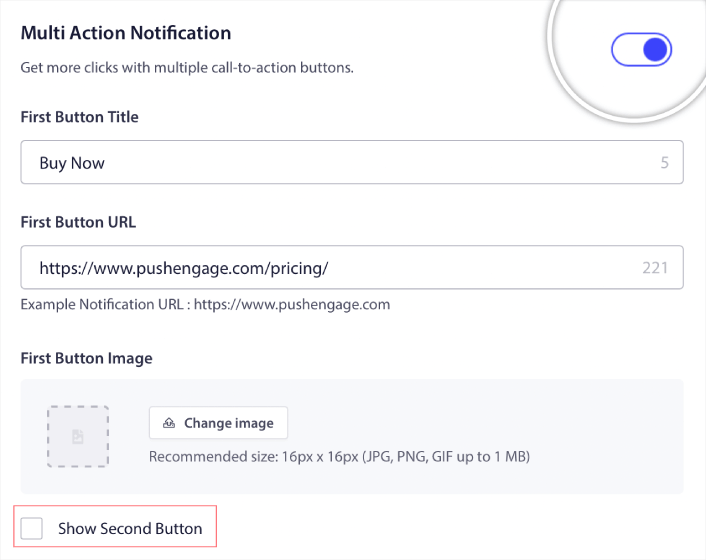
You can click the Show Second Button option to create a second push notification action button.
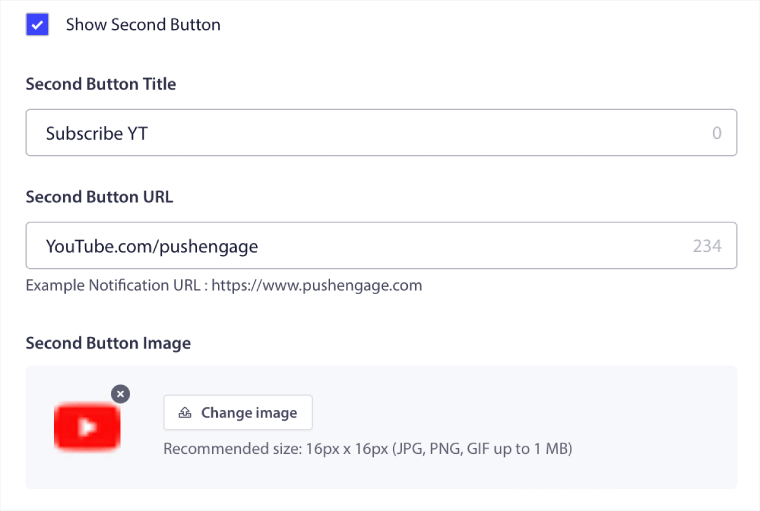
Since you can only use 12 characters for your button label, it can be difficult to write compelling copy sometimes.
For instance, you can ask your push notification subscribers to subscribe to your email newsletter or your YouTube channel. But how do you let them know what to subscribe to without using so many words? A cool hack is to use the button images to add more context to your button.
You can only use a maximum of two push notification action buttons. So, you need to make them both count. Before you send your notification, be super clear on what you want from your push campaign. An easier way to get better results would be to use drip push notifications.
PushEngage allows you to create push notification action buttons for your drip campaigns as well. This way, you can send out targeted push notifications to get focused results.
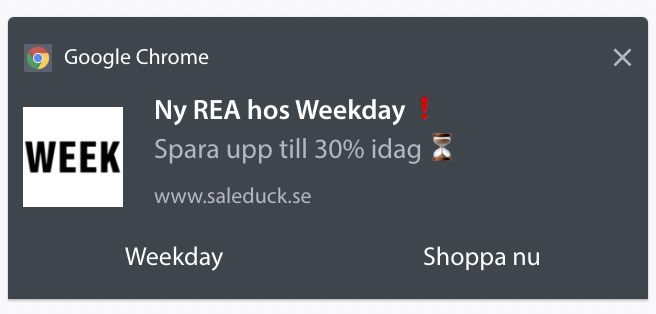
Let’s check out some cool ways to use push notification action buttons now.
How to Use Push Notification Buttons to Get More Traffic
If you’re running a blog or a news site or even an agency site, repeat traffic is super important. The only issue is getting clicks on your push notification action buttons.
You can’t really use power words in your button copy like you can in an email.
So, what do you do?
A simple way to increase your repeat traffic is to use your push notification action buttons to give them more options to click. For instance, if you’re running an eCommerce site, you’re likely going to use a browse abandonment campaign. You can use one button to ask your visitors to complete the purchase and another to get them to browse a category page.
By giving them two options, you get a much better chance of your visitors clicking through to your site.
How to Add a Click to Subscribe Button to Your Popup
Push notifications help you grow your website traffic and engagement on autopilot. And if you’re running an online store, PushEngage also helps you grow your sales by helping you create automated eCommerce push notifications.
You can get started for free, but if you’re serious about growing your business, you should buy a paid plan. Also, before buying any push notification service, you should check out this guide to push notification costs.
Here’s a quick glance at what you get with PushEngage:
- High-converting automated campaigns
- Multiple targeting and campaign scheduling options
- Goal tracking and advanced analytics
- Smart A/B testing
- A Dedicated Success Manager
You’ll see that PushEngage is hands down the best bet if you want to build traffic, engagement, and sales for your business. And if you’re on a budget, you can always get a little bit creative with your push notifications.
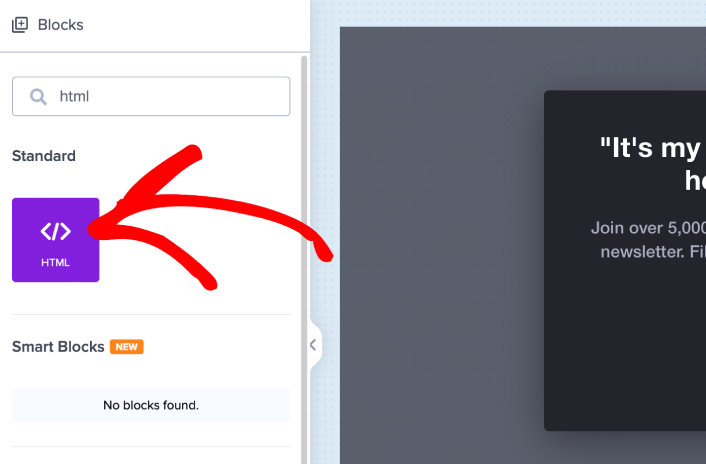
First, add an HTML block to your popup from the sidebar in OptinMonster.
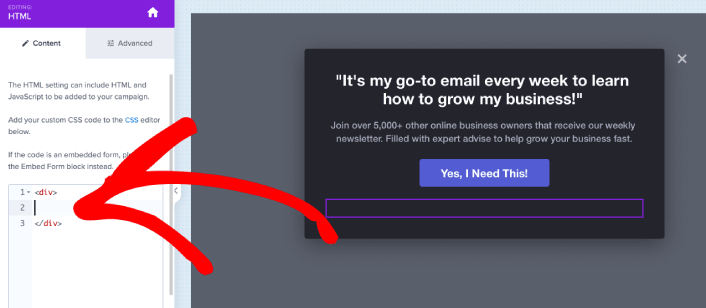
This is where we’re going to add the code to collect push notification subscribers. First, paste in the following code to create a clickable button:
<button onclick="subscribeOnClickButton()" style="border: none; width: 100%; padding-left: 15%; padding-right:15%; text-align: center; display: inline-block; color: white;">Get Updates via Push Notifications</button>Paste the code where it says you can add HTML:
Of course, you can play around with the styles to make it look more appealing. Next, we’re going to make the button collect push notification subscribers when clicked.
Head over to the PushEngage home page and click the Get Started button:

Then, you’ll want to select the free plan to try out PushEngage or choose a paid plan if you’re serious about growing your business. The paid plans come with more campaign options and the ability to build even bigger subscriber lists.
In your PushEngage dashboard, head over to Site Settings » Site Details and click the Click Here for Setup Instructions button. Under Any Site, you’ll get your installation code:

WARNING: You need to copy the code you get from your dashboard. The code is unique for each PushEngage user. You won’t be able to copy the code in the image and collect push notification subscribers.
Once you have the code in your PushEngage dashboard, take the second script and add some extra code to it. Your final code should look something like this:
<script src="https://clientcdn.pushengage.com/core/02a6e92667ae2279fcba8932356c1d93.js" async></script>
<script> window._peq = window._peq || [];
function subscribeOnClickButton(){
window._peq.push(['subscribe',{}.pe,function(res){
console.log(res);
}]);
}
</script>
Add this code to the HTML block in OptinMonster right after the code for your button and in between the <div></div> code block and you’re done!
How to Use Push Notification Buttons to Get More Sales
Sales keep your business alive. And you can use push notifications to get a ton of extra sales. Let’s check out how you can use your push notification action buttons to get more sales.
Think of a simple cart abandonment campaign. The point is to get your customers to buy what’s in their cart. But instead of using a straightforward cart abandonment campaign, you can also use personalized recommendations for other products and get them to revisit your store. Chances are that they’ll add the new product to their cart and actually make a purchase.
It’s super easy to do using push notification segments. And if this sounds like a new idea to you, it’s not. Thousands of our customers already use this idea. It’s called cross-selling.
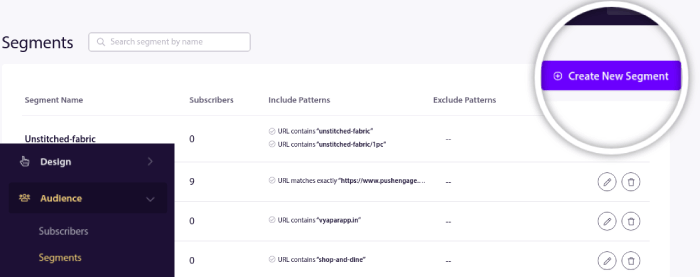
Cross-selling push notifications help you increase sales as you’re 60-70% more likely to sell to an existing customer. Head over to your PushEngage dashboard and go to Audience » Segments and create your segments:
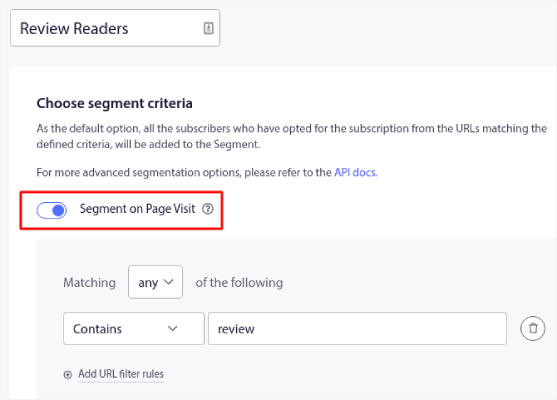
You’ll want to segment your visitors when they visit a product in a specific category:
Then, just pair a product with each of your segments. Not all your customers will be interested in the exact same product. You’ll want to find products that are interesting to each customer segment.
Once that’s done, create a drip autoresponder to promote it.
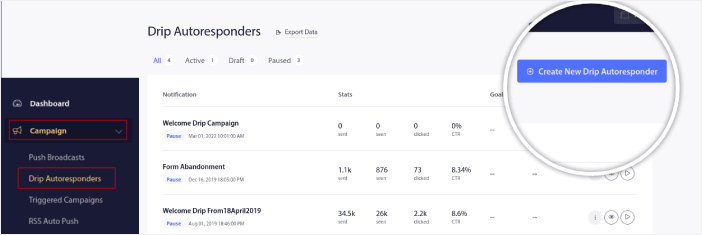
Head over to your PushEngage dashboard and go to Campaign » Drip Autoresponders » Create New Drip Autoresponder:
Go ahead and create separate drips for each segment. If you’re new to push notifications, you should check out our article on how to use eCommerce push notifications for epic campaign ideas.
What to do After You Learn to Use Push Notification Action Buttons
That’s all for this one, folks!
Once you’ve created a click-on-subscribe button for your site, you should check out our advanced segmentation rules.
Creating granular segments can help you personalize your push notifications to a great extent. This means more engagement, higher clicks, and more sales from your push notification campaigns. Check out these epic resources to get started:
- How to Convert Subscribers To Buyers Using Web Push Notifications
- Push Notification Best Practices
- Why Welcome Push Notifications Are Important
And if you’re new to push notifications, you should try out PushEngage. PushEngage offers some of the most powerful and flexible push notification campaigns anywhere. So, if you’re serious about growing your business, get started with PushEngage today!


