
Looking for a tutorial on how to create an expense approval form in WordPress?
An expense approval form is a superb tool to streamline and monitor company expenditures. But, you might wonder, how do you craft one? Is it worth designing an expense form from the ground up?
The straightforward scoop? Probably not. You can whip up a WordPress expense approval form with a form plugin in significantly less time than starting from zero. And if you’re no tech whiz, leaning on a plugin is will likely be much kinder on your wallet too.
But hold on! The plugin universe is vast. So, which one should you choose?
In this article, we’re going to show you step by step how to create your own expense approval form in WordPress. The best part? You’ll be done in 10 minutes and you don’t need to write a single line of code.
Let’s dive in.
Why You Need an Expense Approval Form in WordPress
Incorporating an expense approval form into your WordPress website streamlines the way you manage, monitor, and authorize company expenditures. It becomes an essential tool for maintaining financial discipline and transparency in your organization.
PushEngage is the #1 push notifications plugin in the world. Get it for free!
Through a clear format like, “What’s the purpose of this expense?” or “Attach your expense receipt here”, you can maintain a consistent record of every penny spent. Expense forms can categorize expenses based on their nature like travel, supplies, or entertainment, ensuring clarity in documentation.
Often, expense approval forms also allow a section for notes or clarifications. This section provides valuable context to approvers, making sure there are no ambiguities when it’s decision time.
By routinely processing expenses through this system, you’re creating a clear financial trail. This periodic review ensures that expenses align with company policies and budgets. Plus, it’s a quick way to spot any irregularities or misuse.
The insights you gather can lead to tangible policy improvements. Over time, you might spot patterns – maybe your team frequently overspends in one area or there are recurrent unjustified expenses. This can guide policy updates or staff training.
To integrate an expense approval form into your WordPress platform, you can use specific plugins or incorporate forms from external finance tools. Ensure your form is straightforward, intuitive, and easily accessible to those who need it.
In essence, expense approval forms in WordPress help synchronize company spending with financial guidelines, ensuring budget adherence and fiscal responsibility.
How to Create an Expense Approval Form in WordPress
Now that you know why you should be creating your expense approval form, it’s time to start building one for your site. To create your expense approval form, we’re going to use a super popular form builder plugin for WordPress called WPForms.
Let’s get started.
Step #1: Create a New WordPress Form
The first thing you’ll need to do is install and activate WPForms.

WPForms is the #1 WordPress form builder plugin in the world. If you’re not sure how to install WPForms, you should check out this step-by-step guide on how to install a plugin in WordPress.
Then, head over to your WPForms dashboard and go to Downloads to get your plugin:
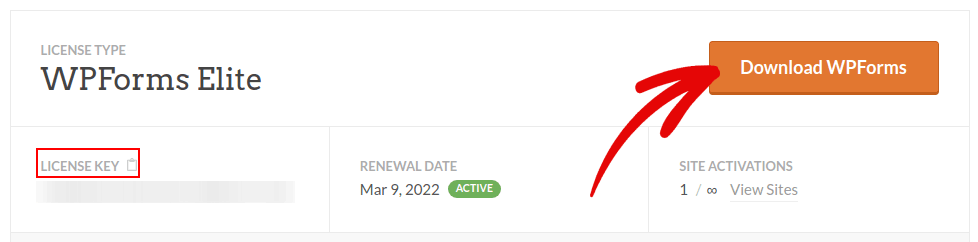
Next, install and activate the plugin on your site. And copy your license key in the same tab.
Finally, go to your WordPress dashboard and head over to WPForms » Settings and paste in your License Key:
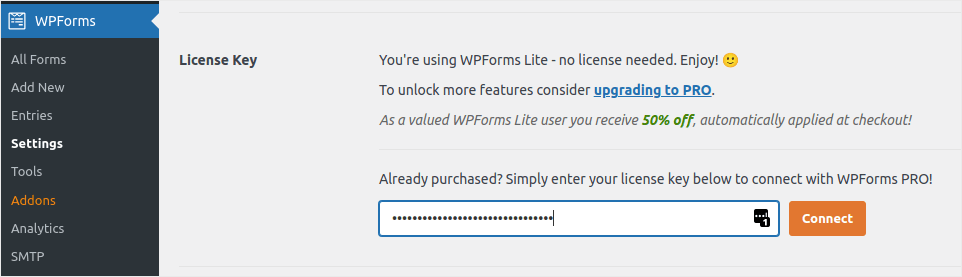
When you’re done, click Connect.
Step #2: Add the Right WPForms Addons
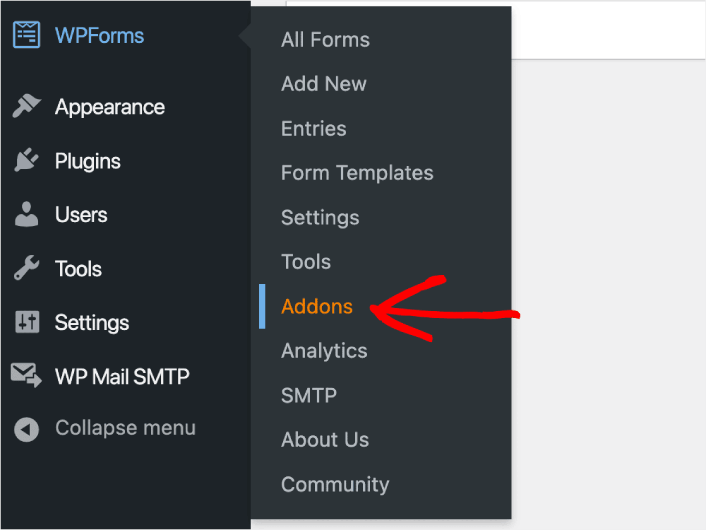
From your WordPress dashboard, navigate to WPForms » Addons.
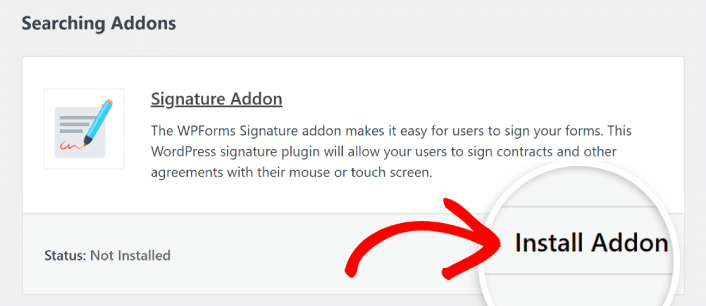
Now, search for the Save and Resume Addon by typing its name in the Search Addons field. Next, click on Install Addon.
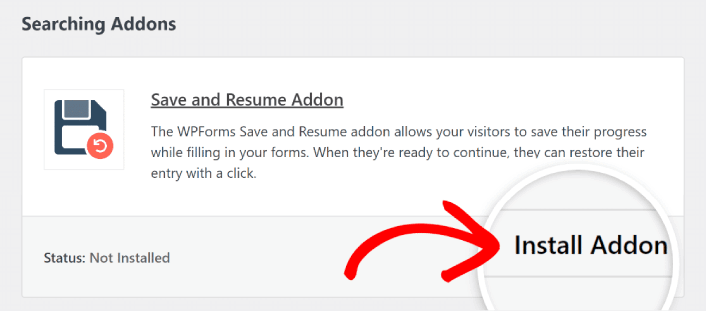
After the addon has been installed successfully, press the same button again to Activate it. And do the same thing for the Signature Addon.
Now that WPForms is installed and activated, it’s time to create your first form. Head over to WPForms » Add New:

This will open the WPForms drag and drop form builder.
Step #3: Select Expense Approval Form Template
To create a new form, give it a name and select your form template:
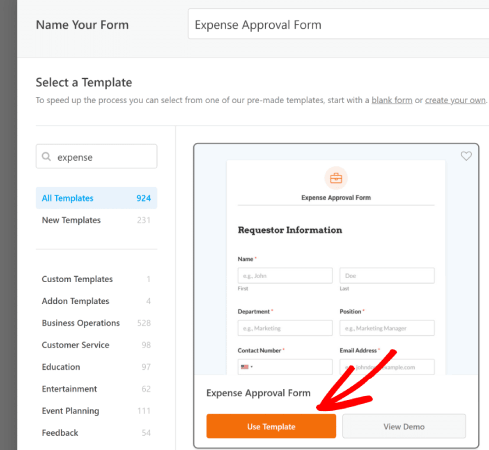
With WPForms, you get a ton of predesigned form templates that you can simply import with a single click and then customize as you please. For a closer look at the full list of features, you should check out our review of WPForms.
Step #4: Customize Your Expense Form
Next, you’ll be taken to the form builder with your template loaded.
You can use the template straight off the rack to collect feedback from your customers. But you’re free to make changes to this template if you’d like to add additional fields to collect more details and insights from your customers.
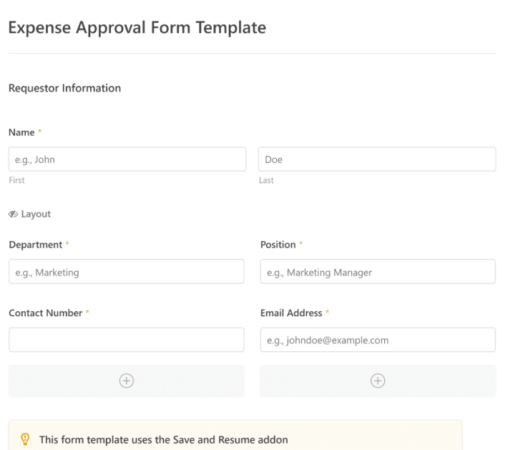
You’ll notice that this template is built with fields that automate capturing the requestor’s information, expense details, and approval via Signature.
If required, you can use WPForms’ intuitive form builder to easily add, modify, and arrange fields to tailor the form to your liking.
You can also make forms look great by following the steps in our post on how to create a multi-step form in WordPress. It’s a great way to improve the user experience and reduce cart abandonment rates. But we’ll stick with a single page for this tutorial.
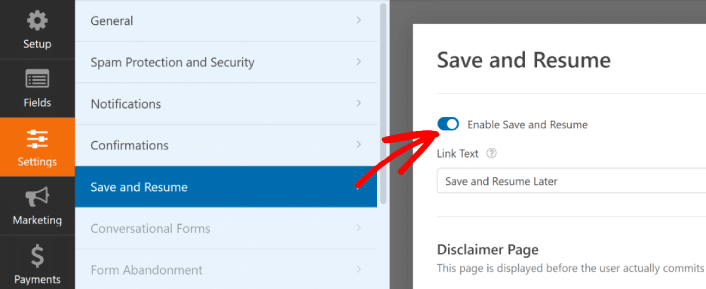
Step #4: Enable Save and Resume Settings
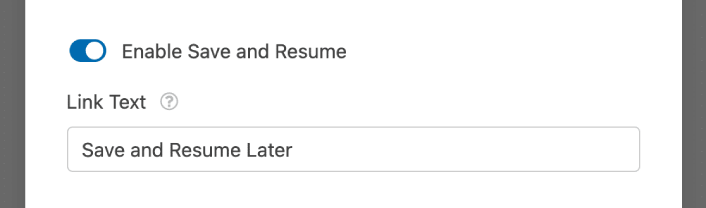
First, you’ll want to add the Save and Resume feature to your expense approval form. Go to Settings » Save and Resume from the form builder. To turn on save and resume functionality, toggle on the Enable Save and Resume option.
To begin, you can personalize the wording on the link that users will click to save their progress in your form.
You can change the text in the supplied field. By default, it says Save and Resume Later, but you can change it to anything you like.
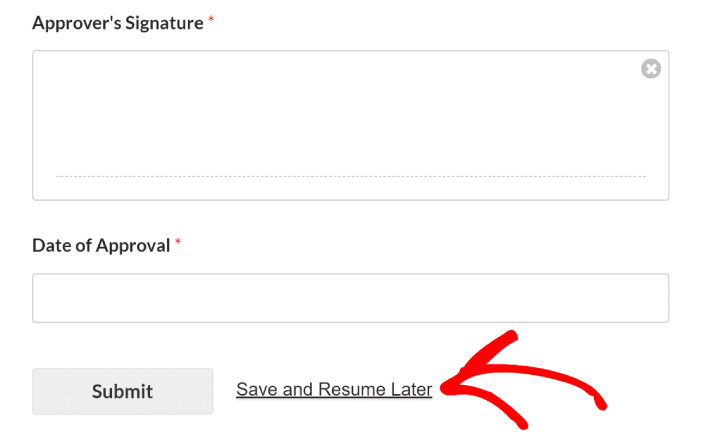
This link will show up at the bottom of your form, next to the button labeled Submit.
NOTE: The resume URLs will stop working after 30 days. So, make sure to add a disclaimer on your form that mentions this fact.
Step #5: Configure Your WordPress Expense Approval Form Settings
Next, you’ll want to set up notifications and confirmations.
Notifications are emails that you get when someone fills out the form. Confirmations are meant to alert the user that they’ve successfully filled up the form. Usually, this is a “Thank You” message, but you can also redirect your users to a dedicated page.
Head over to Settings » Confirmations to configure confirmation settings:

And then in the same menu, go to Notifications to configure your notification messages:

By default, the notifications are sent to the WordPress admin email. So, if you’d like the emails to be sent somewhere else, such as the email ID of your Head of Sales, you can do that right here.
Step #6: Add the Expense Approval Form to Your Site
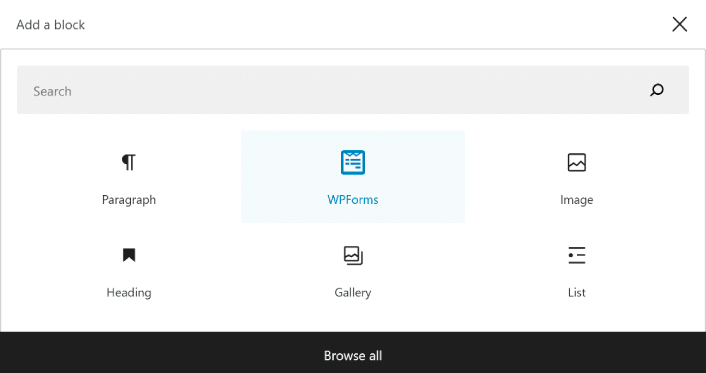
You can add the expense approval form on your site using the WPForms Gutenberg block:
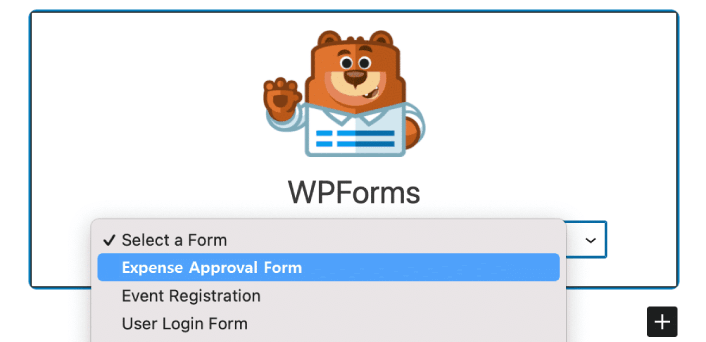
All you need to do is select your expense approval form.
If you’re satisfied with the way your form looks, hit the Update or Publish button, and your form will go live.

And you’re done!
How to Promote Your Expense Approval Form
That’s all for this one, folks!
By now, you’ve learned how to create expense approval form in WordPress. Next, you should set up form abandonment tracking to reduce your form abandonment rates.
After that, all that’s left is generating traffic to your site so that your form can get to work and start converting. A simple way to do that is to start using push notifications. Sending push notifications is a great way to generate repeat traffic for your site. If that’s something you’re interested in, you should check out these articles as well:
- Push Notification Cost: Is It Really Free? (Pricing Analysis)
- How to Get More Traffic to Your WordPress Blog (9 Easy Ways)
- How to Boost Your Web Push Notification Opt-In Rate (7 Ways)
- How to Add a Web Notifications WordPress Plugin to Your Site
We recommend using PushEngage to send your push notifications. PushEngage is the #1 push notification software in the world. So, if you haven’t already, get started with PushEngage today.


