Are you losing sales to browse abandonment on your Shopify store?
Browse abandonment is when your site visitors browse your site and then bounce without buying anything. Even worse, they don’t even add anything to their cart. So, what can you do?
One simple way to deal with this issue is to create retargeting ads on Facebook, Instagram, and Google Search Ads. But that can be super expensive. And you’ll need to be a seasoned advertiser to make it work.
The easiest way to recover from browse abandonment is to create browse abandonment push notification campaigns.
In this article, we’ll check out how to recover from browse abandonment in Shopify using automated push notifications. It’s super easy to do, and it’s also super affordable.
Let’s dive right in.
How to Set Up a Shopify Browse Abandonment Campaign
For this tutorial, we’re going to show you how to enable Shopify push notifications using the PushEngage Shopify app.

PushEngage is the #1 web push notification software in the market.
Push notifications help you grow your website traffic and engagement on autopilot. And if you’re running an online store, PushEngage also helps you grow your sales by helping you create automated eCommerce push notifications.
You can get started for free, but if you’re serious about growing your business, you should buy a paid plan. Also, before buying any push notification service, you should check out this guide to push notification costs.
Here’s a quick glance at what you get with PushEngage:
- High-converting automated campaigns
- Multiple targeting and campaign scheduling options
- Goal tracking and advanced analytics
- Smart A/B testing
- A Dedicated Success Manager
You’ll see that PushEngage is hands down the best bet if you want to build traffic, engagement, and sales for your business. And if you’re on a budget, you can always get a little bit creative with your push notifications.
So, if you haven’t already, get started with PushEngage today.
Step #1: Install PushEngage on Your Shopify Site
Shopify allows you to create eCommerce websites without writing a single line of code. Whatever feature or functionality isn’t available by default, you can install using an app. So, you can use an app to enable Shopify push notifications.
Head over to the Shopify account and click on Apps to search for the PushEngage app:
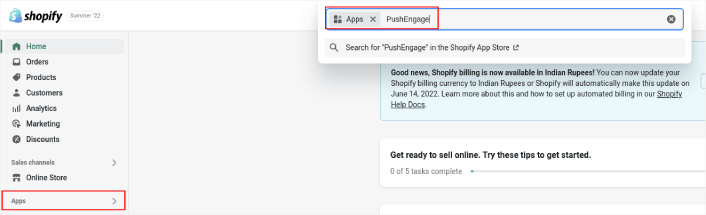
Next, search for the PushEngage Push Notification Shopify App:
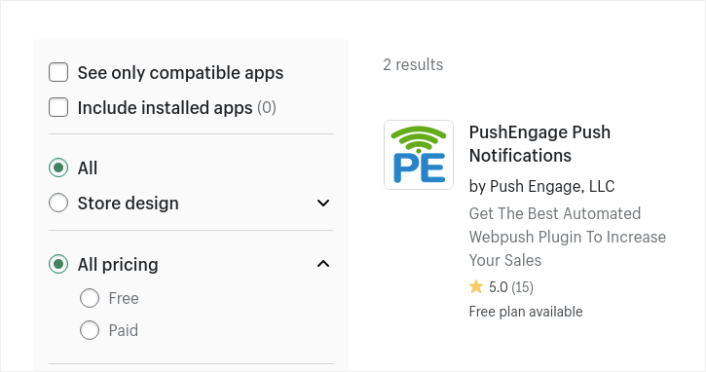
And hit Install App:
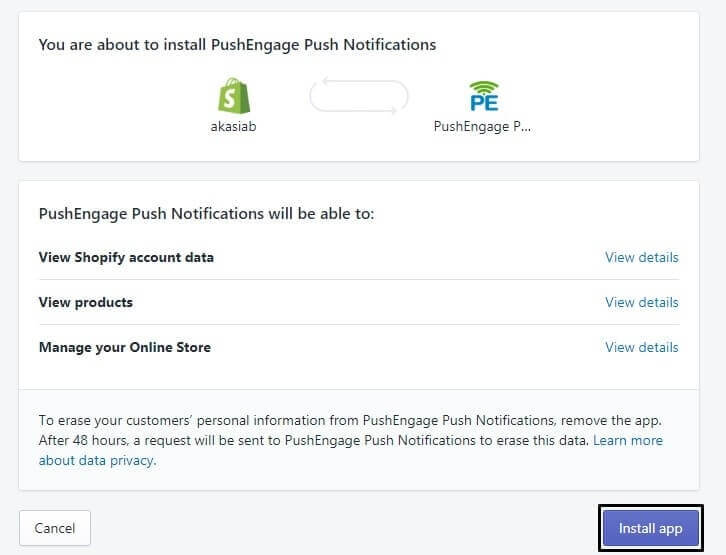
You’re almost done.
Next, you’ll want to head over to your PushEngage dashboard and configure your PushEngage account to send your notifications instantly. You’ll see a 7-point checklist to complete inside your PushEngage dashboard.
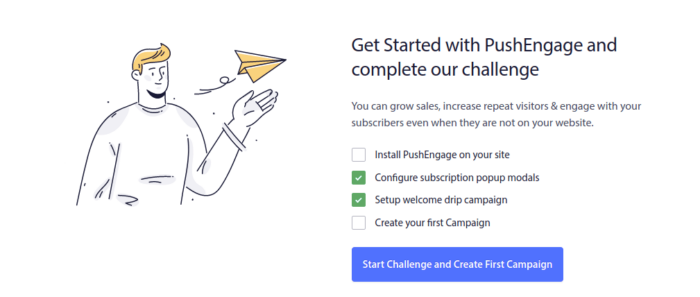
If this is your first time using push notifications software, we highly recommend taking the challenge to get set up.
Step #2: Create a Browse Abandonment Push Notification Campaign
Head over to the PushEngage dashboard again and go to Campaign » Triggered Campaigns to create a new triggered campaign:

Then, create a new Browse Abandonment campaign by click on the Create New button:

Next, you’ll be able to set up your entire sequence of push notifications along with a delay in between each notification:
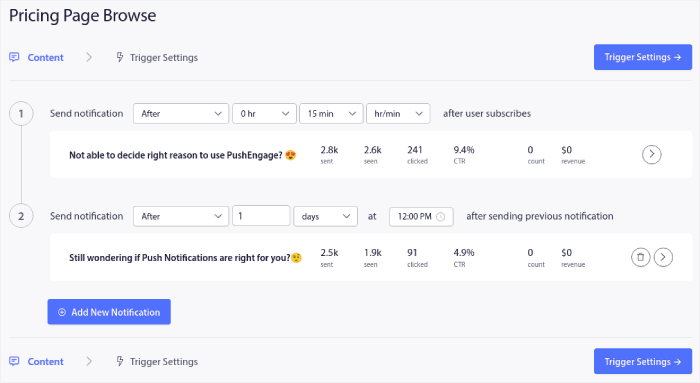
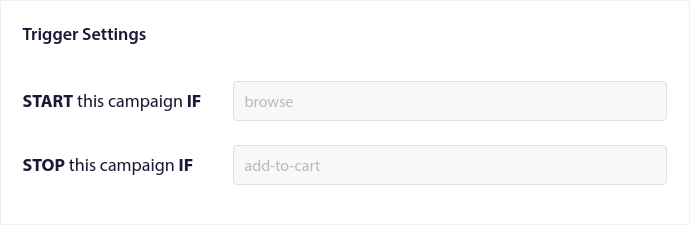
If you’re new to push notifications, you should check out our article on push notification best practices. When you’re happy with your push notification content, click on Trigger Settings. You’ll see that the conditions for a browse abandonment campaign have been pre-configured into the sequence.
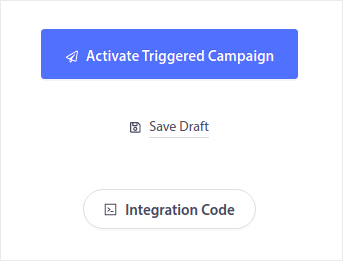
Click on the Integration Code button to get the code snippet you need to embed the browse abandonment campaign on your site.
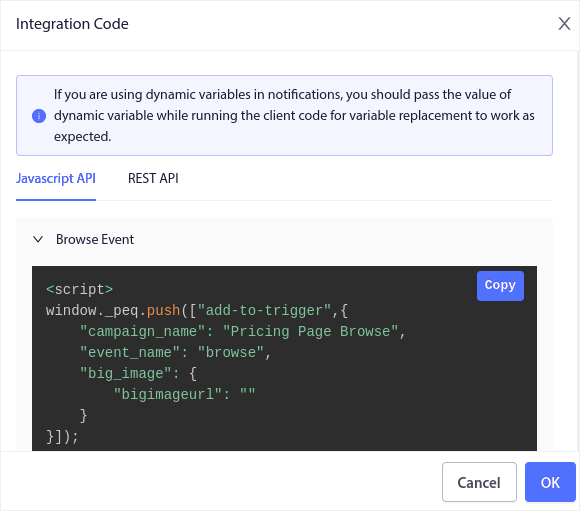
Then, copy the code and paste it into your site. You want to paste that code into the HTML <head> section of the page that you want to track. Finally, click on the Activate Triggered Campaign button:
If you followed every step, you’ll have created a browse abandonment campaign in Shopify like this one:

Step #3: Set Up Your Push Notification Optin
Finally, in your PushEngage dashboard, go to Design » Popup Modals:
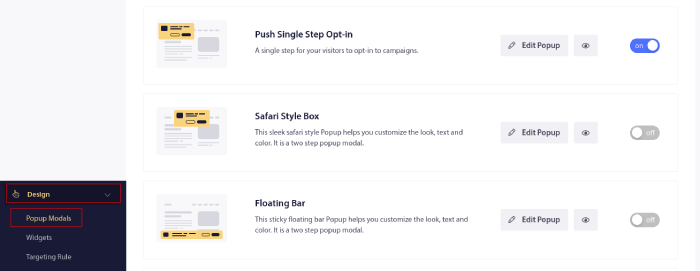
From here, you can customize your push notification opt-in. If you need help with that, you should check out this article on how to create a custom push notification opt-in.
If you need some inspiration, you can check out this article on high-converting push notification opt-ins.
What to do After You Set Up Browse Abandonment in Shopify
You should check out our article on browse abandonment email campaigns when you’re done. It’s a great little resource to get inspiration and create your own campaigns.
If you’re looking for a cost-effective way to increase your traffic, engagement, and sales, you should get started with push notification campaigns. Push notifications are powerful marketing tools that can help any eCommerce business grow quickly.
Not convinced? Check out these amazing resources:
- How to Set Up Abandoned Cart Push Notifications (Easy Tutorial)
- How To Schedule Push Notifications the Easy Way [5 Min. Guide]
- How to Create Price Drop Notification Campaigns In < 10 Min.
- How to Use eCommerce Push Notifications to Boost Revenue
PushEngage is the #1 push notifications software in the world. So, we recommend using PushEngage to create your push notifications and grow your eCommerce business.


