Looking for a way to create a video popup in WordPress?
Videos can skyrocket the engagement rates on your site. While you can technically embed a video directly on your WordPress site, there are some drawbacks to that idea:
- If someone wants to make the video larger, they’ll click the ‘See on YouTube‘ button and exit your site.
- Embedded videos create an HTTPS connection from your site to the video hosting site to fetch a video preview. This can slow down your site a lot.
- You can’t trigger the video based on some user action with video embeds like you can with a popup. since there’s no way to control how the video is shown, the conversions from an embedded video will be lower than a popup.
- Typically, you can’t use an embedded video to collect leads unless you place it directly above a form. Placing an optin form like that can seem quite unnatural because visitors usually expect more content right after the video.
A video popup can resolve most of these issues without a hitch.
In this article, we’re going to set up a video popup on your WordPress site in less than 10 minutes.
Let’s dive in.
What You Need to Know Before You Start
We recommend using OptinMonster to create your popups.
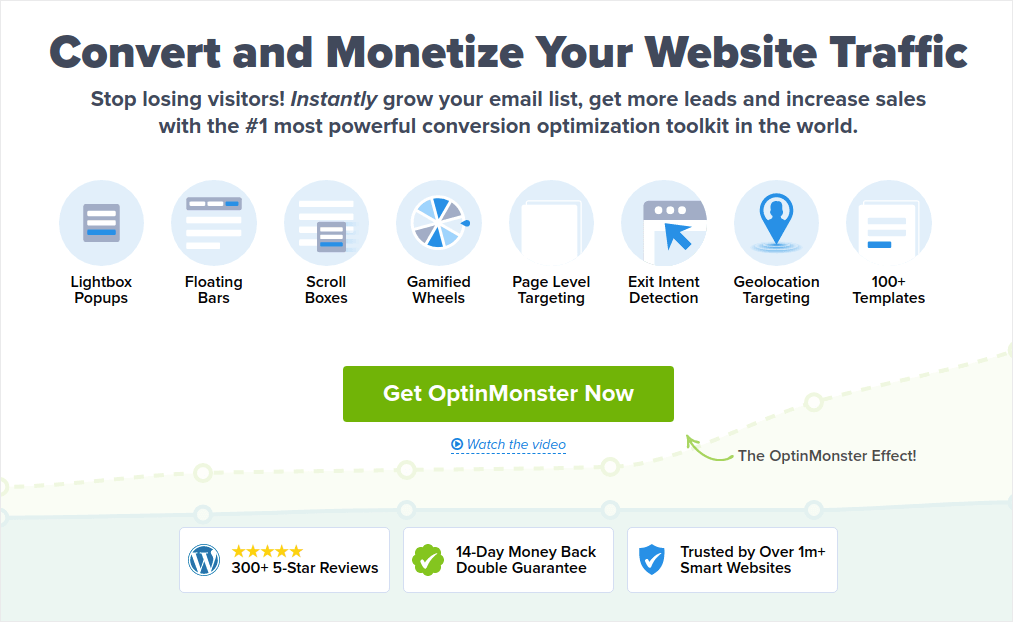
OptinMonster is the #1 conversion toolkit in the world and we’ve used it ourselves. OptinMonster makes it super simple to create powerful popups that convert. And you’ll never have to use any coding at all.
We even wrote a full review of OptinMonster.
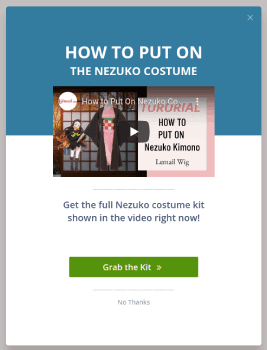
You can check that out, or get started with your campaign right now. All you have to do is sign up for OptinMonster and follow along with the rest of this article. If you follow along with this tutorial, you’ll be able to create a video popup in WordPress like this one:
How to Create a Video Popup
Now that you have a basic understanding of how a video popup works, let’s get into creating a video popup.
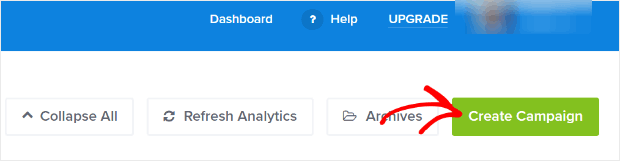
Step #1. Create Your Campaign
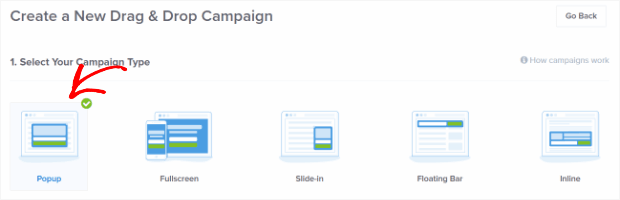
Now, it’s time to create your first campaign. Head over to your OptinMonster dashboard and click on Create Campaign:
We recommend getting started with the super high-converting lightbox popup:
Then, choose a campaign template. We’re going with the Simple campaign type for this tutorial but you can use any template you want to create a video popup for your WordPress site:

The Simple campaign template has very few elements. So, you can easily add elements to the optin without cluttering it.
Now, give your campaign a name. The campaign name is mainly for you and you’ll likely create a whole bunch of these popups with different targeting options. So, give the campaign a meaningful name so that you can manage your campaigns easily.
Also, depending on your plan, you can also use OptinMonster on multiple sites. So, select the website where you want to display your campaign as well.
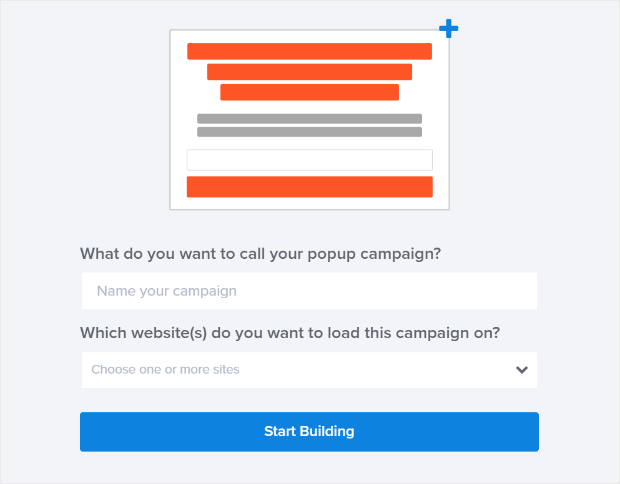
Press Start Building when you’re done.
Step #2: Get Your Video Embed URL
Next, you’ll want to get the URL for the video you want to embed. We’re going to use YouTube in this tutorial, but OptinMonster also works with other video hosting platforms such as Vimeo and Wistia.
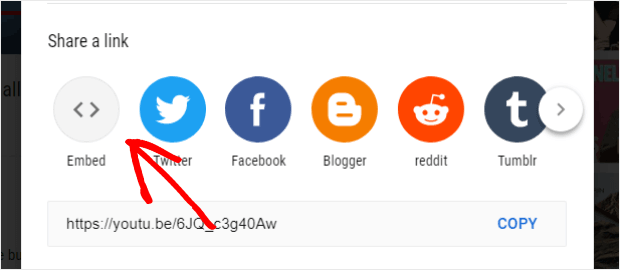
For this tutorial, we’re using a YouTube video on push notifications powered by PushEngage. Click on the Share button:

Then, click on the Embed button:
You’ll see a preview of the code snippet:
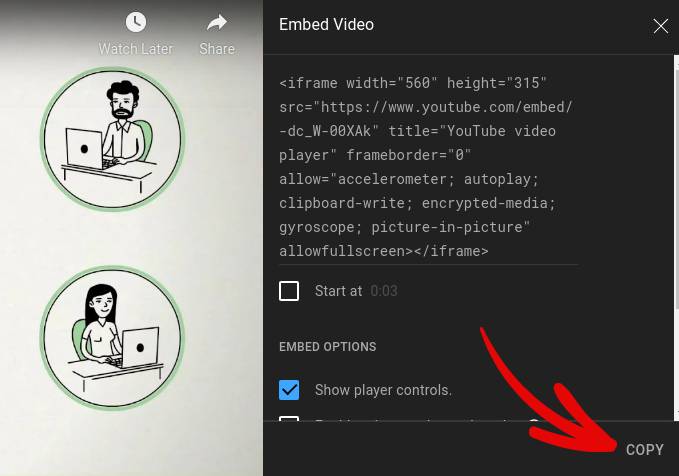
Copy only the video embed link instead of the full code:
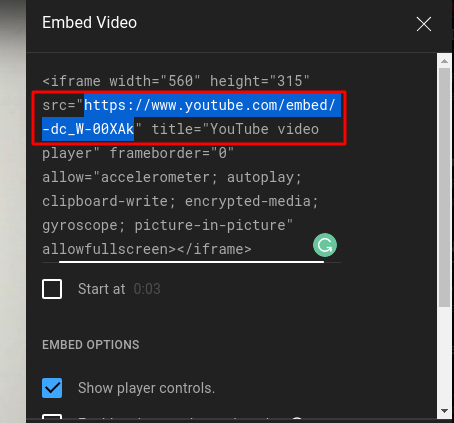
Save this video embed link because you’ll need it for your campaign in the next step.
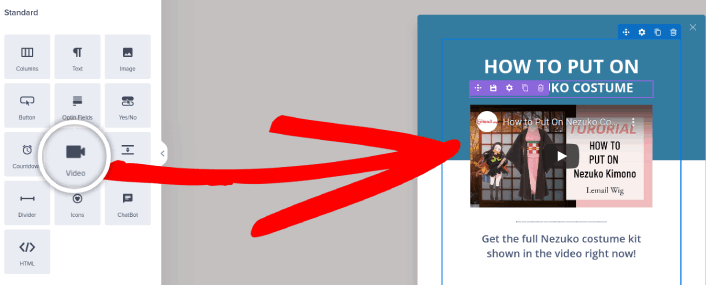
Step #3: Embed the Video in Your Campaign
Return to the OptinMonster campaign builder. From the Design view of the campaign builder drag and drop an Video block into your campaign design where you would like the popup to show up.
Click directly on the video in the live preview to bring up the editing tools. Enter the embed URL for the video in the Hosted Video URL box:
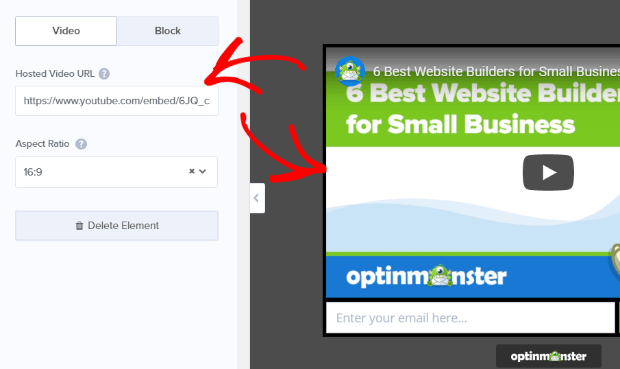
The campaign preview will update to show the updated YouTube lightbox video popup campaign. Be sure to save your campaign by clicking on the Save button in the upper right-hand corner of the screen.

Step #4: Add a Click to Subscribe Button to Your Popup
Push notifications help you grow your website traffic and engagement on autopilot. And if you’re running an online store, PushEngage also helps you grow your sales by helping you create automated eCommerce push notifications.
You can get started for free, but if you’re serious about growing your business, you should buy a paid plan. Also, before buying any push notification service, you should check out this guide to push notification costs.
Here’s a quick glance at what you get with PushEngage:
- High-converting automated campaigns
- Multiple targeting and campaign scheduling options
- Goal tracking and advanced analytics
- Smart A/B testing
- A Dedicated Success Manager
You’ll see that PushEngage is hands down the best bet if you want to build traffic, engagement, and sales for your business. And if you’re on a budget, you can always get a little bit creative with your push notifications.
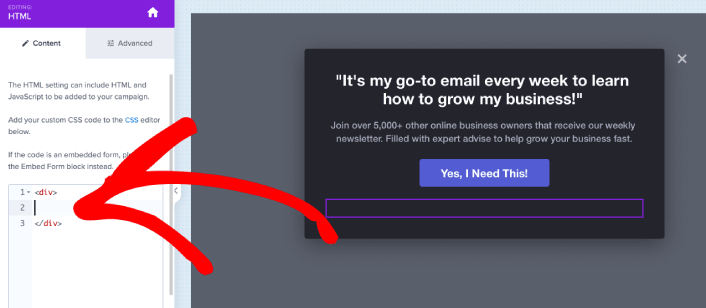
First, add an HTML block to your popup from the sidebar in OptinMonster.
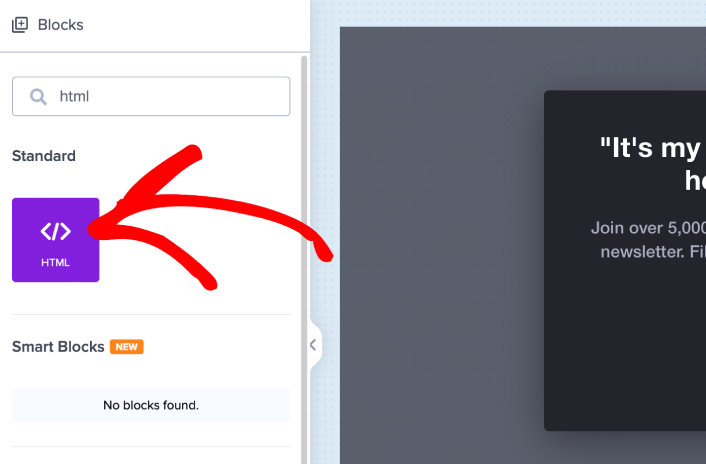
This is where we’re going to add the code to collect push notification subscribers. First, paste in the following code to create a clickable button:
<button onclick="subscribeOnClickButton()" style="border: none; width: 100%; padding-left: 15%; padding-right:15%; text-align: center; display: inline-block; color: white;">Get Updates via Push Notifications</button>Paste the code where it says you can add HTML:
Of course, you can play around with the styles to make it look more appealing. Next, we’re going to make the button collect push notification subscribers when clicked.
Head over to the PushEngage home page and click the Get Started button:

Then, you’ll want to select the free plan to try out PushEngage or choose a paid plan if you’re serious about growing your business. The paid plans come with more campaign options and the ability to build even bigger subscriber lists.
In your PushEngage dashboard, head over to Site Settings » Site Details and click the Click Here for Setup Instructions button. Under Any Site, you’ll get your installation code:

WARNING: You need to copy the code you get from your dashboard. The code is unique for each PushEngage user. You won’t be able to copy the code in the image and collect push notification subscribers.
Once you have the code in your PushEngage dashboard, take the second script and add some extra code to it. Your final code should look something like this:
<script src="https://clientcdn.pushengage.com/core/02a6e92667ae2279fcba8932356c1d93.js" async></script>
<script> window._peq = window._peq || [];
function subscribeOnClickButton(){
window._peq.push(['subscribe',{}.pe,function(res){
console.log(res);
}]);
}
</script>
Add this code to the HTML block in OptinMonster right after the code for your button and in between the <div></div> code block and you’re done!
Step #5. Set Display Rules for Your Video Popup
Next, you’ll want to specify when visitors should see your video popup campaign.
To do that, go to the Display Rules tab.
Check out the Default Display Rule for any campaign:
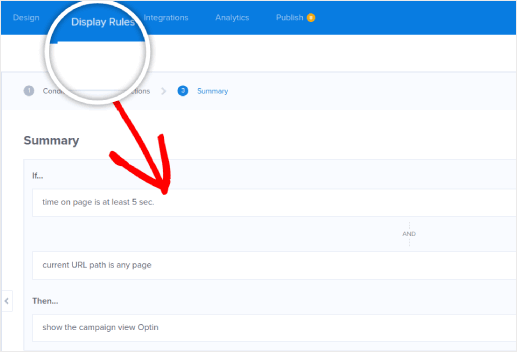
This means that even if you forget to set a custom display rule, visitors will see your video popup after spending at least 5 seconds on your site.
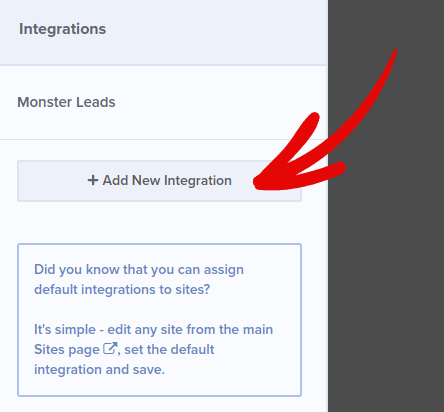
Step #6. Add Your Email Service Integration
Click Add New Integration from the Integrations tab and add your Email Service Provider. Just choose your email service provider from the Email Provider dropdown.
We recommend using ConstantContact for your email campaigns. ConstantContact offers multiple email automation campaigns that can help you engage and sell to your email list on autopilot.
Step #7. Publish Your Campaign
Every campaign on OptinMonster is Paused by default. So, we’re going to publish your campaign so that your site visitors can see the popup when they land on your site.
Head back to the OptinMonster dashboard. Go to the Publish tab from the top menu to see the Publish Options. Then, set the status to Publish and select the website platform:
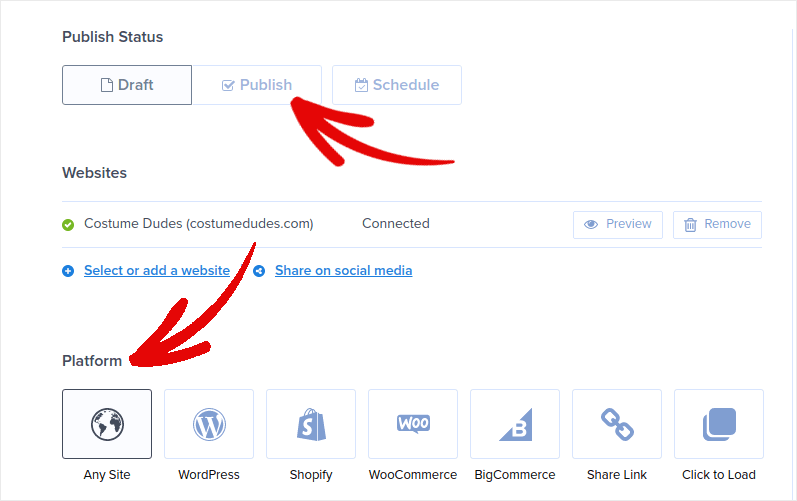
If you’re running a WordPress site, the OptinMonster plugin handles the rest of the setup automatically. Just remember to hit Save when you’re done. When you go back to your site, you will see the video popup you just created.
What to do After You Create a Video Popup in WordPress
That’s all for this one, folks!
Creating video popups for your WordPress site is a super effective way to convert your traffic into email subscribers and genuine business leads. the only challenge you have after setting up a video popup is to grow your site traffic.
And if you’re looking for an affordable way to grow your traffic, we recommend using push notifications. Push notifications can help you bring in more repeat traffic and site engagement. You can also create automated push notification campaigns that generate sales.
Not convinced? Check out these resources:
- 7 Smart Strategies to Boost Customer Engagement
- Are Push Notifications Effective? 7 Stats + 3 Expert Tips
- How to Set Up Abandoned Cart Push Notifications (Easy Tutorial)
- How to Add a Web Notifications WordPress Plugin to Your Site
We recommend using PushEngage to create your push notification campaigns. PushEngage is the #1 push notification software in the world. So, if you haven’t already, get started with PushEngage today!


