WPVibe connects the AI assistant you already use (Claude, ChatGPT, Cursor, and others) to your WordPress site, so you can run the site by asking in plain English. As of today, PushEngage is a verified WPVibe partner: the WPVibe team, the people behind SeedProd, tested its PushEngage support on a live install and published recipes for it. The same chat that edits your pages can now look after your push notifications. WPVibe tells the story of testing it in Your AI Just Learned PushEngage.
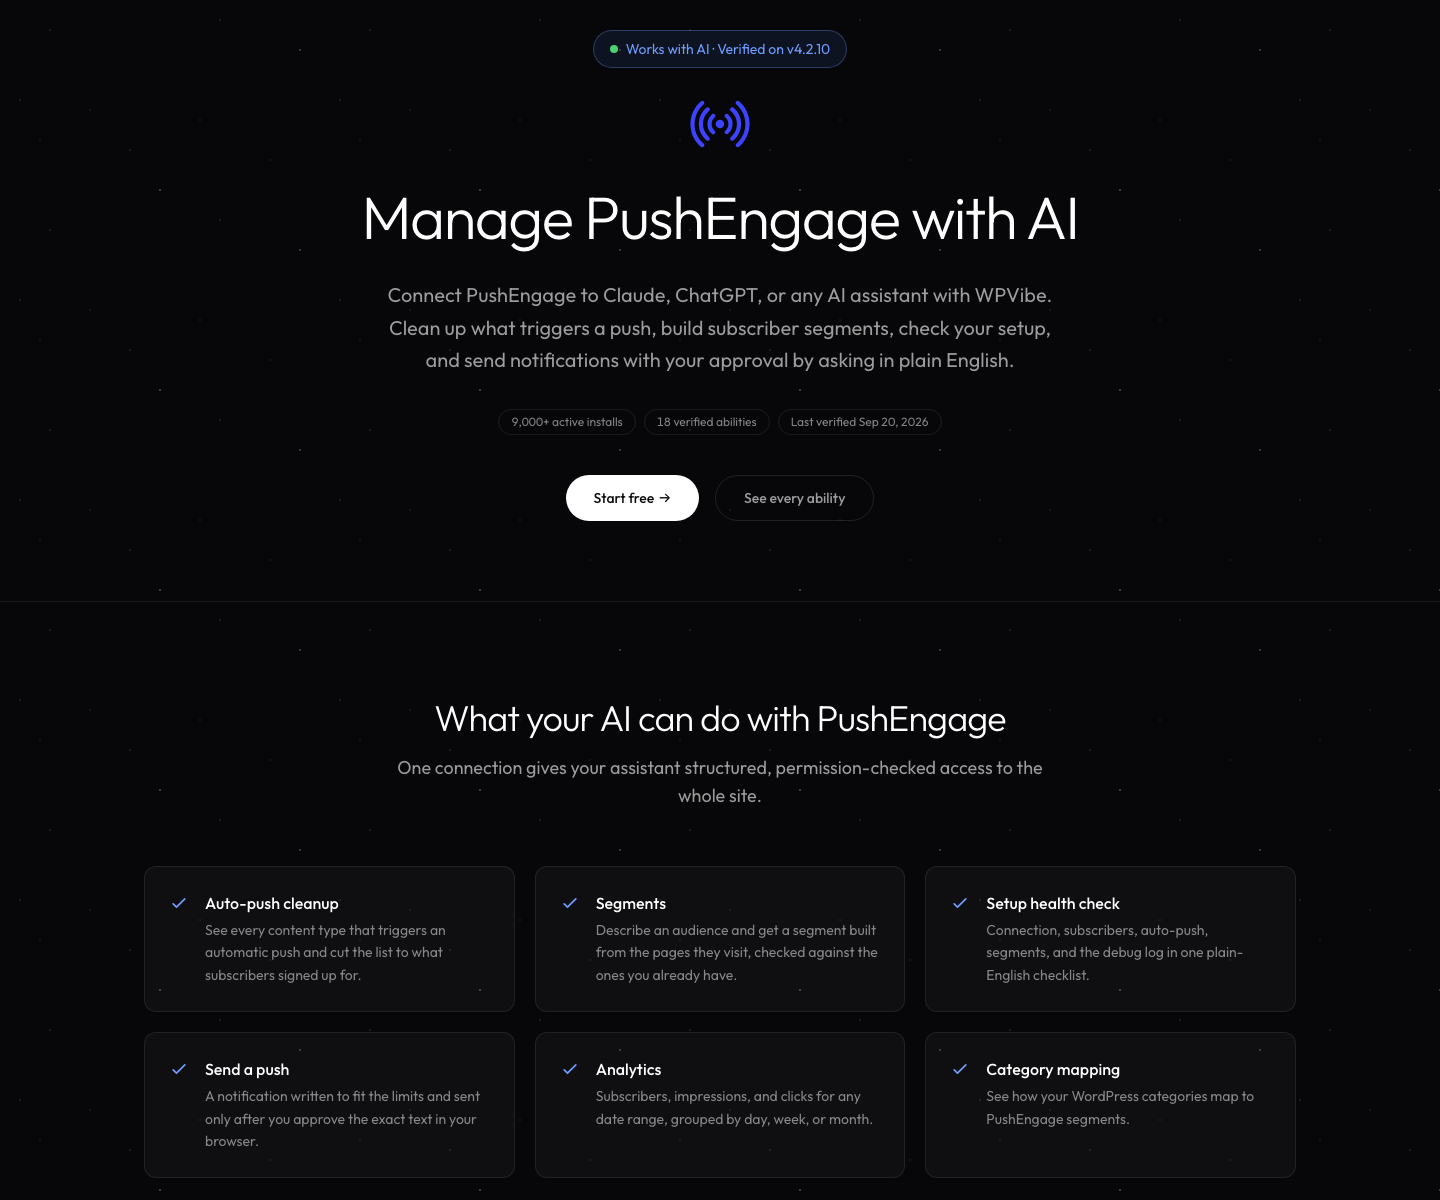
What you can ask for
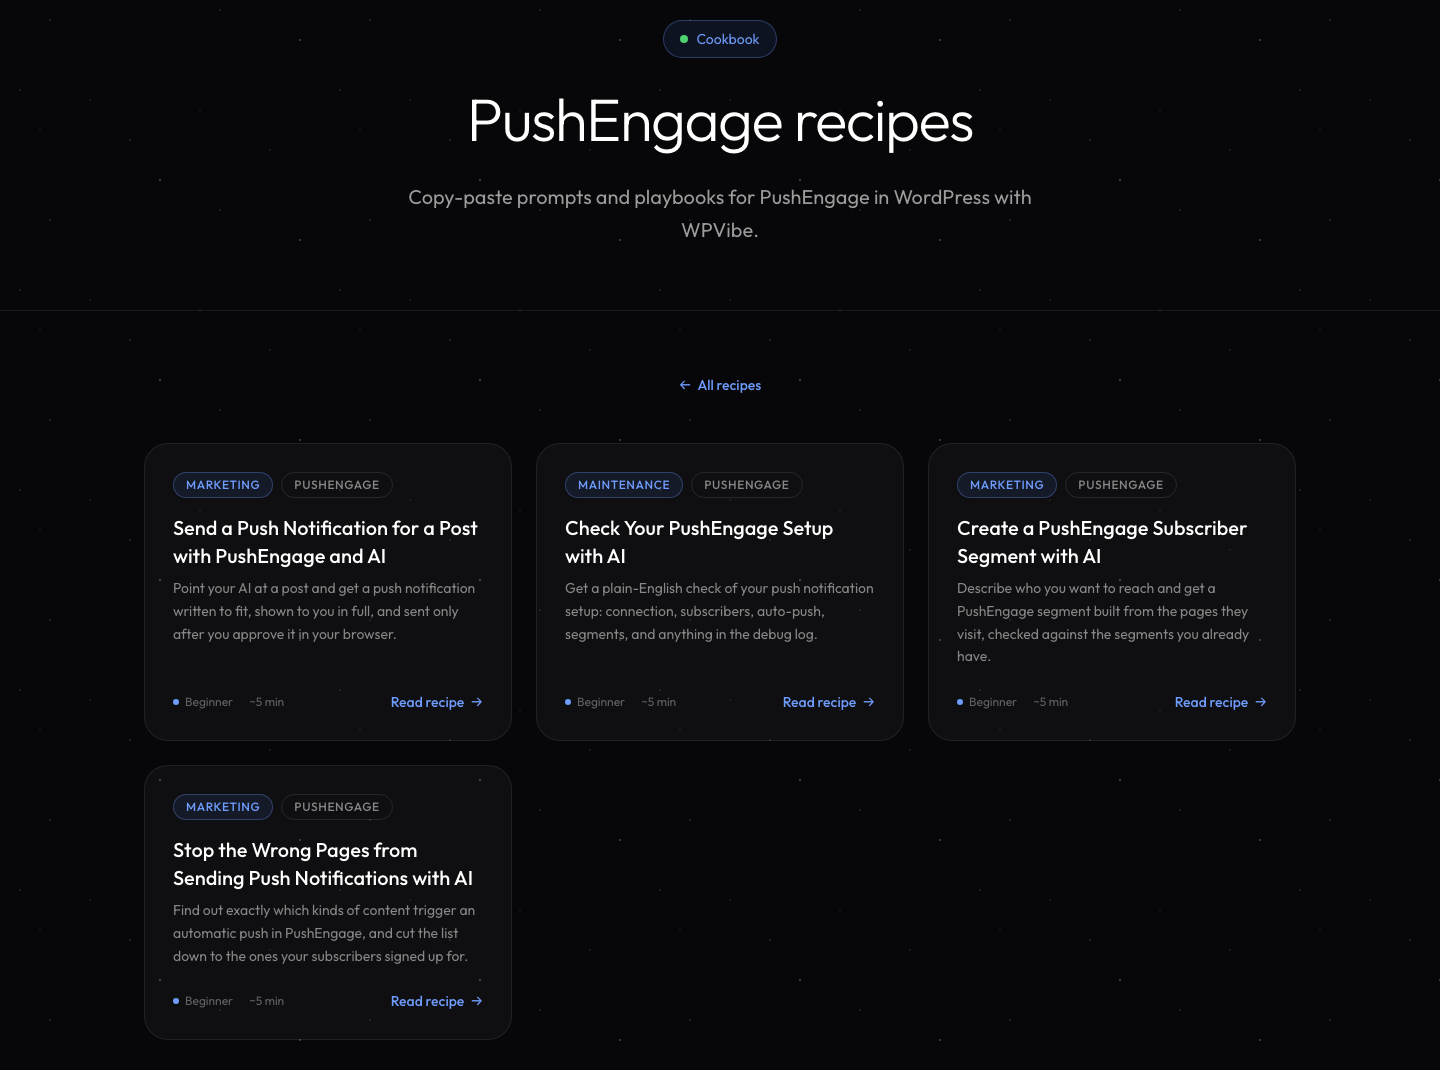
WPVibe launches with four PushEngage recipes. Each one is a copy-paste prompt that WPVibe ran against a real PushEngage account before publishing it.
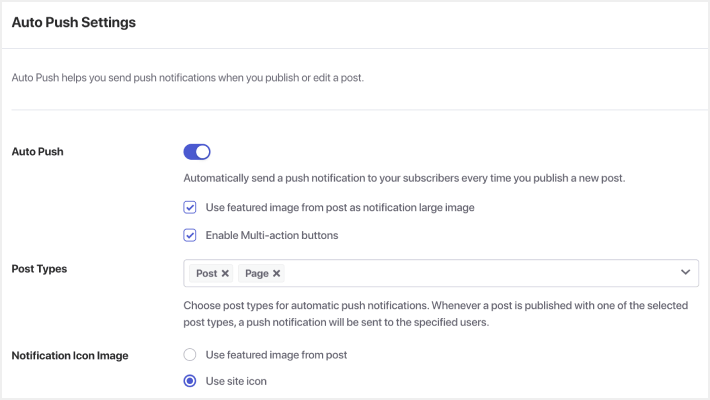
Stop the wrong pages from sending push notifications
With auto-push on, every content type on the list notifies your subscribers when something new is published. On a fresh install that list holds every public content type the site has, which can include page-builder templates, quizzes, or course certificates. The recipe shows you the whole list, helps you separate what subscribers signed up for from site plumbing, saves the shorter list, and reads the settings back so you can see the change stuck.
Create a subscriber segment from a plain-English description
Tell your assistant who you want to reach, for example people who read your houseplant articles. It works out how those page addresses are really built, proposes a rule, shows you pages the rule catches and pages it skips, and saves the segment once you agree. A segment built from page visits starts empty and fills with every subscriber who visits those pages from then on; it does not sort the subscribers you already have. Open the segment recipe.
Check your PushEngage setup
A read-only health check in plain English: whether the site is connected, how many subscribers you have, how auto-push is configured, which segments exist, and anything in the debug log. It is the best place to start, because it changes nothing. Open the health-check recipe.
Send a push notification for a post
Point your assistant at a post and it writes a notification that fits the character limits. Sending is marked as a sensitive action, so WPVibe stops and shows you the exact title, message, and link in your browser, and nothing goes out until you approve it. Open the send recipe.
Two things to know while this is new. A notification sent through WPVibe goes to all of your subscribers, so use the PushEngage dashboard when you want to target a segment. And saving a notification as a draft through WPVibe does not work yet, so the approval screen is your review step. The draft issue is with our plugin team, and more write abilities are on the way.
How it works
The PushEngage WordPress plugin describes what it can do through the WordPress Abilities API, a standard way for a plugin to tell AI assistants which actions it supports, what each one needs, and which ones change something on the site. Since version 4.2.10 the plugin registers abilities for notifications, segments, audience groups, analytics, auto-push settings, category mapping, connection status, and the debug log. WPVibe reads those abilities, checks permissions on every request, and asks for your approval on the sensitive ones. The full list is on WPVibe’s Works with PushEngage page.
It is the same idea behind the PushEngage MCP server, which lets Claude, Cursor, and other agents run campaigns, segments, A/B tests, and analytics on your PushEngage account directly. WPVibe works from inside your WordPress site; the MCP server works with your account from any agent. Use whichever fits the way you work.
Get started
- Update the PushEngage WordPress plugin to version 4.2.10 or later. WPVibe also needs WordPress 6.9 or later, with the plugin connected to your PushEngage account.
- Install the free WPVibe plugin from WordPress.org on the same site.
- Connect the AI assistant you already use. Authorizing takes one click, and no passwords go into the chat.
- Run the setup health check first. It is read-only, so there is nothing to undo.
New to PushEngage? You can start on the free plan and connect it to WPVibe the same day.


