Most of the eCommerce websites are using push notifications for customer re-engagement. The 1st step to increase customer re-engagement is the subscription optin. Do you want to know about custom push notification optin for a website? In this article, we will show you step by step instruction on how to create a custom push notification optin.

Brand elements play a pivotal role in creating differentiation with competitors. As a website, you have a considerable amount of time in finalizing the color scheme, logo, tag line, and other brand elements. When you ask the user to subscribe to your push notification without customizing the optin, it may appear fishy to some audience. If they find something that is not in line with your brand elements, they may ignore it. The best way to increase the likelihood of users subscribing to your push notification is to customize the optin. PushEngage understands this and allows the website to fully customize the optin. This can also help to increase the push subscription rate. Let’s see how you can customize push notification optin.
Steps to create custom push notification optin for a website
One thing to note is that custom push notification can be done only on multi-step optin type. Single-step optin type is browser selected and we cannot customize it. However, in a two-step optin, we can customize every element of push notification optin.
In PushEngage, you have the option to choose separate styles for Desktop and Mobile. We will explain how to edit the optin in Desktop. The same process can be followed in Mobile optin as well.
Step 1 Select the optin type
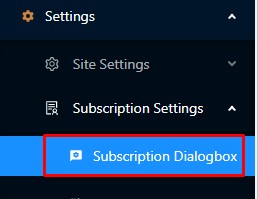
Login to PushEngage dashboard and go to Settings -> Subscription Settings -> Subscription Dialog box.
Step 2 Optin selection
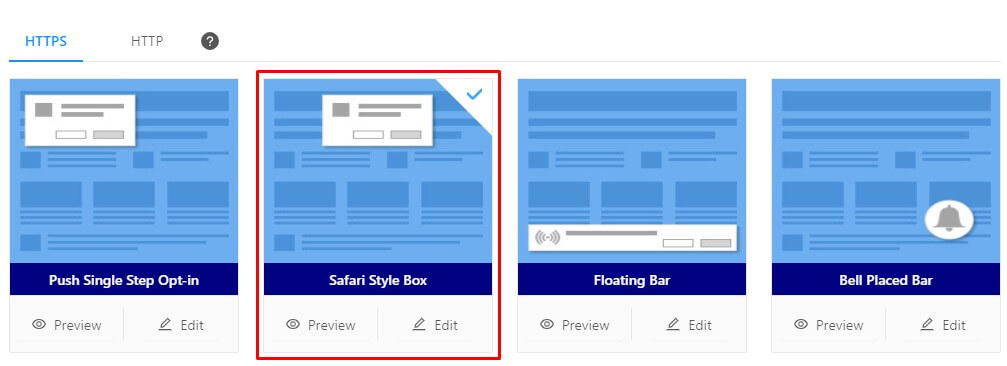
You will see two tabs – HTTP and HTTPS. Select the type depending upon your website. Next is to select the push notification optin type. Click on any of the optin types except single step optin. On a single click, the optin type will be selected.
Step 3 Optin Editing
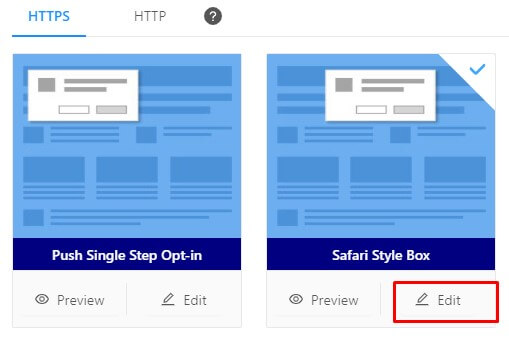
Click on the edit button on the optin, it will open the optin editing option.
Step 4 Editing optin message
Optin message
This is where you have to tell users why should they subscribe to your push notifications. Use power words to increase your subscription rate.
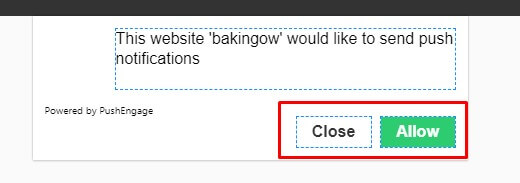
By default, the CTA buttons are named “Allow” and “Block”. You can edit them and put some other converting words.
Step 5 Style option
Click on the style option under Desktop section.
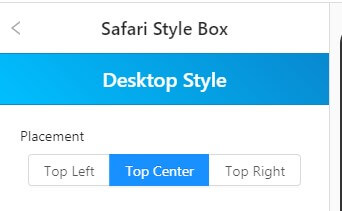
Alignment
By default, the push notification optin alignment is center aligned. You can make different alignments for the optin. You can also preview the alignments on the dashboard.
Background color
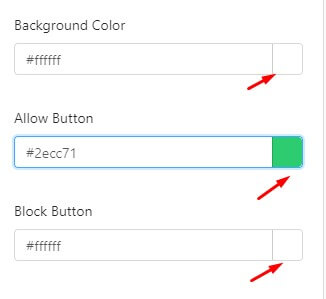
Next is the background color. As a brand, you already have your color scheme. You can change the color to match your color palate. You can change the color of both buttons.
Ste 6 Intermediate page
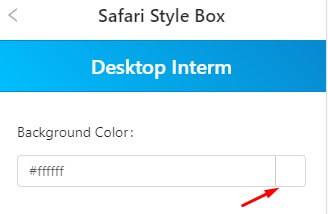
In a two-step optin, you have an intermediate page. The user has to again click on the CTA to subscribe or block the push notification. Click on the “Intermediate Page” to edit the content.

Messaging
In this section, you don’t have any word limit. You can mention the benefits of subscribing to your push notifications in more detail.
Color scheme
You have the option to change the color of the text and the background.
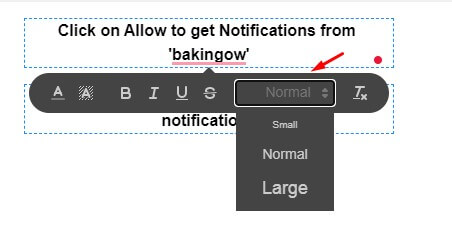
Font size
In all the above, you also have the option to change the font size – small, medium, and large. Select the text for which you want to change the font size.
Once all the editing is done, click on Save & Use. All the changes in the custom push notification optin will be activated.
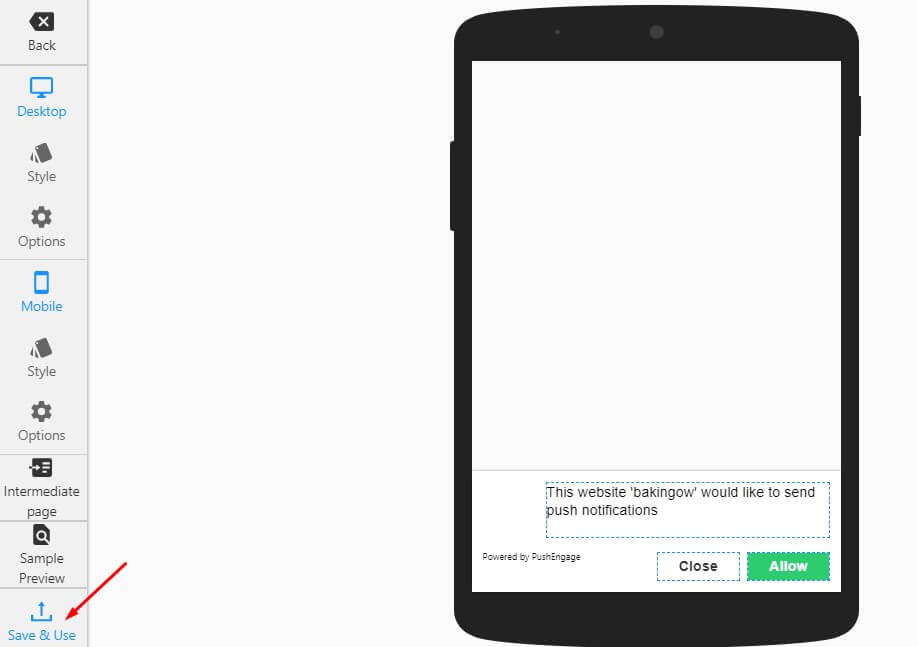
For Mobile
Click on the Style and Options to make changes in the push notification optin in mobile. The process is the same as mentioned above for Desktop.
One important optin feature that PushEngage offers is the option to choose different optin for Desktop and Mobile
How do you set different push notification optin for mobile and desktop?
Desktop and mobile have different screen sizes. Push notification optin that looks better on the desktop doesn’t necessarily look better on mobile. At PushEngage, we understand and give the user the choice to select a different type of push notification.
- Go to edit window of subscription optin.
- Under the Desktop section, you will see the option. Click on it.
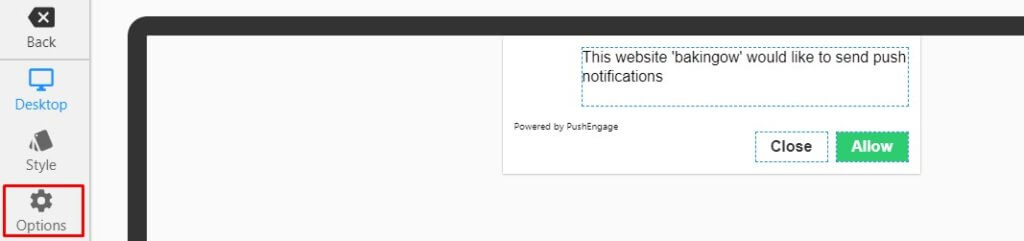
- Now you can select whether you want to show this optin or not by making a subscription optin On or Off.
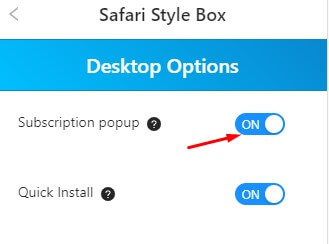
- Similarly, under the Mobile section, you will see the option. Click on it.
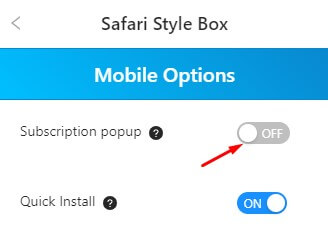
Now you can select whether you want to show this optin or not by making a subscription optin On or Off.
E.g. you want to show the Safari Style Box optin on desktop and Floating Bar optin on mobile. Mark the desktop option ON Safari Style Box and Mobile option OFF. Now open the Floating Bar optin type. Mark the desktop option Off and mobile option ON. This way on the desktop the Safari Style box will open and on the mobile Floating Bar optin will appear.
Now you know how to create a custom push notification optin for a website. Create a customized optin that matches your brand and increase the push subscription rate.


