Notice: There is no legacy documentation available for this item, so you are seeing the current documentation.
PushEngage chat widget that sends messages to Email, SMS, or WhatsApp without another inbox. You will meet the customers where they already are available.
You need to ensure that the PushEngage Installation script is added to the website. If you do not have it added, please follow the instructions below and set up the chat widget.
Setting up Chat Widget
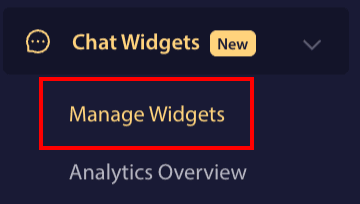
Login to PushEngage Dashboard and navigate to Chat Widgets
You can click on Manage Widgets page.
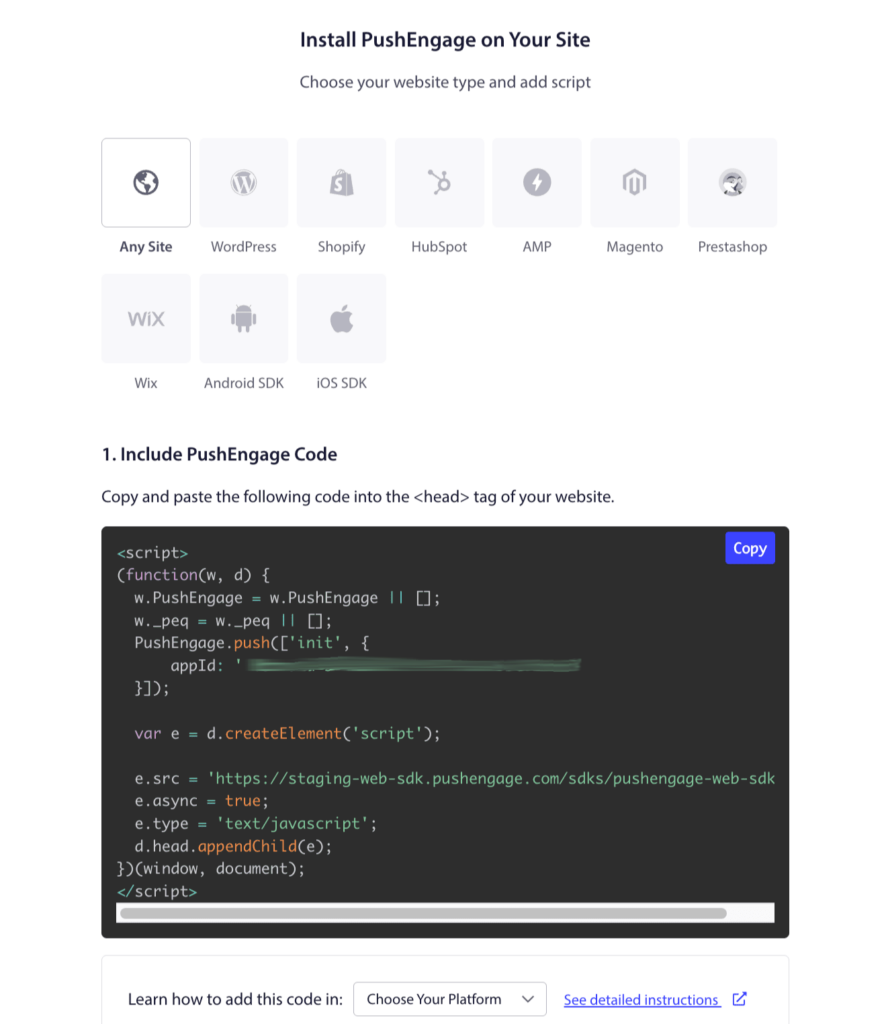
If you have not already installed PushEngage on your website. You can navigate to Site Settings
From the items, you can click on Installation Tab. Choose Any Site Tab if you have custom-built website or your CMS system within the tabs.
You only need to place the PushEngage Installation JavaScript code on your website, which would be the first step. You only have to complete the second step if you also intend to enable Web Push Notifications for your business.
Now that you have completed the Installation, we can move on to setting up the chat widget.
Under Manage Widgets Page. You can click on Create Widget Button or if you have the widgets already you can choose the existing widgets.
Add Agents to Personalize Chat
When you scroll down to Agents section, you can add profiles for your team members, including their name, title, and a photo. This gives your widget a personal touch and lets customers know who they are talking to.
You can add as many channels as you need, including Messenger, TikTok, SMS, Instagram Message, X, Slack, Discord, and more. The preview on the right will update in real-time.
Analytics for Agents
Log in to the PushEngage Dashboard and navigate to Chat Widgets
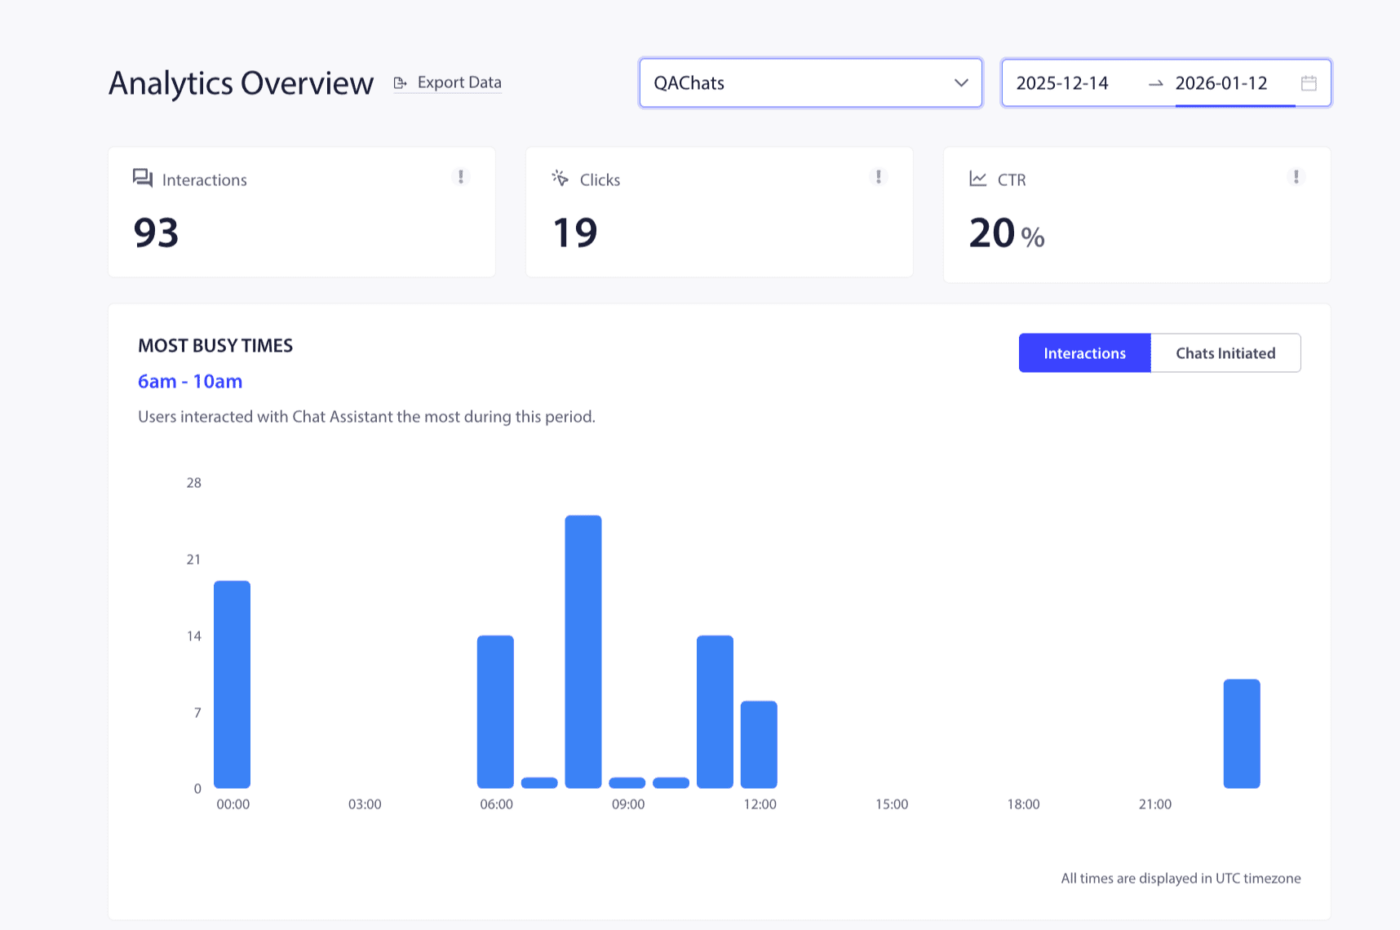
You can click on the Analytics Overview page.
This analytics overview helps in providing details of total interactions, clicks, and CTR.
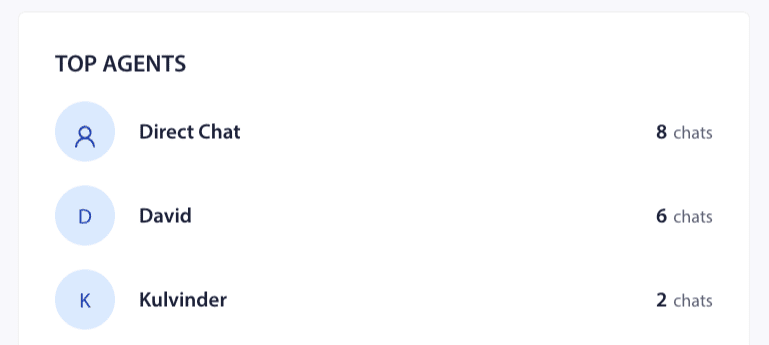
You can also see the distribution of Top Agents & Popular Channels on this screen. This way, your traffic or customer attribution can be measured.
You can also assign different agents and see every individual agent’s performance so you can see who the better performing agents are in your team.
That’s it, you can now manage the agents and also check their analytics.
If in case you run into any issues, please feel free to contact us by clicking here. Our support team would be able to help you.


