Notice: There is no legacy documentation available for this item, so you are seeing the current documentation.
This guide will walk you through connecting Pushengage to your Business App so you can start using WhatsApp Automation for your WooCommerce Store.
Before You Start
This guide assumes you have the WhatsApp Business App created with Meta and you have generated the tokens that are required. If you don’t already have a Meta business account set up, you can create one and generate the necessary tokens by following this guide.
Connect PushEngage to your Business App
PushEngage would need some information before we can help you send messages to your customers.
You can follow below steps to connect your PushEngage account to your Business App
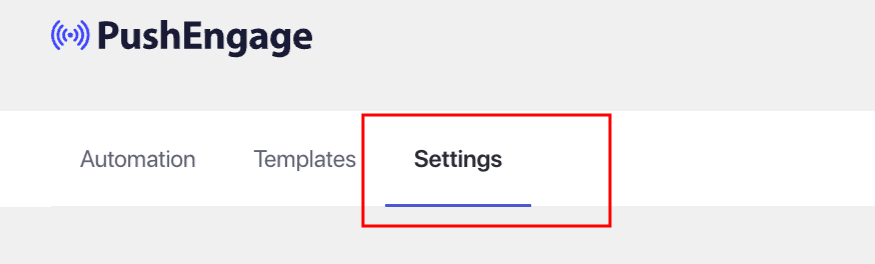
You can navigate to PushEngage in listed plugins, click on WhatsApp and navigate to Settings Tab
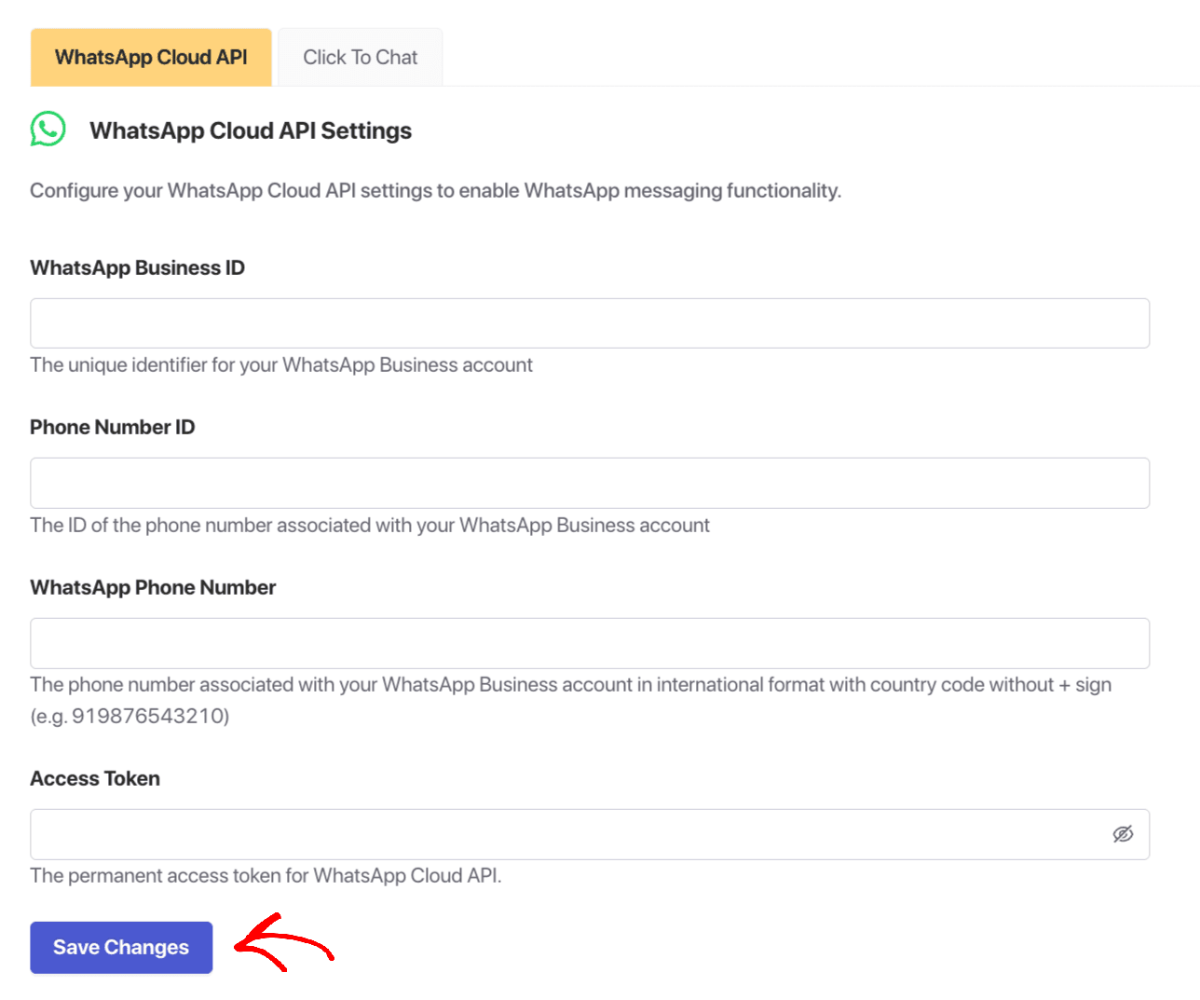
Here, you will be adding details to the WhatsApp Cloud API Settings. Here are the things you would need –
If you are unsure where should you fetch these details from, you can go through the guide and collect these details.
Your Meta Developer account will help you gather the details, please note a WhatsApp Phone Number & Phone Number ID are different.
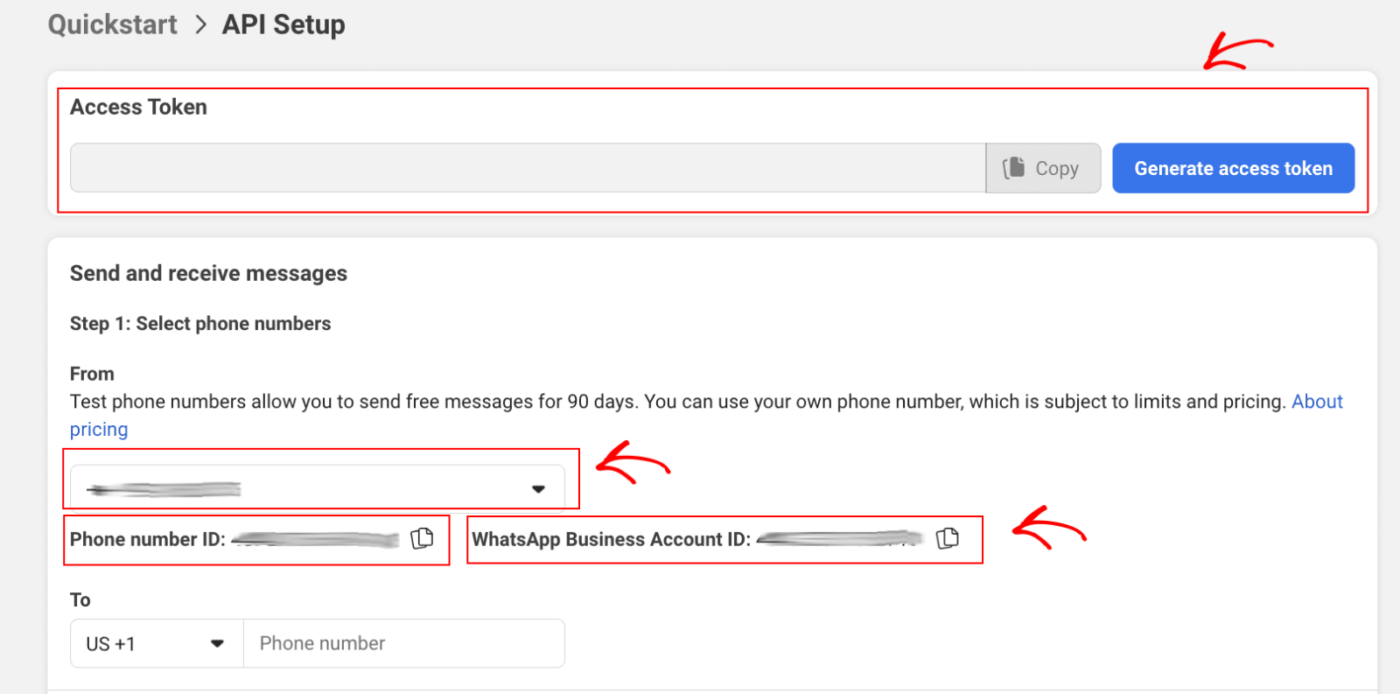
- WhatsApp Business Account ID
- Phone Number ID
- WhatsApp Phone Number
- Permanent Access Token
That’s it, you have created WhatsApp Business account and also linked it to PushEngage. You can now start sending campaigns.
If in case you run into any issues, please feel free to contact us by clicking here. Our support team would be able to help you.


