
Looking for a simple tutorial to add WordPress Open Graph meta tags to your site?
Open Graph is how Facebook handles metadata when you share your post or page on Facebook posts. It’s how Facebook automatically fetches the featured image and meta description just from the URL.
But adding it manually to your site can be a real pain.
For one thing, you’ll have to learn how Open Graph structured data is written. Then, you’d have to insert it into your WordPress theme files. And that’s super risky. You’ll have to edit files that help your entire site run properly. A single line out of place could crash your entire site.
In this article, we’re going to add WordPress Open Graph meta tags the easy way with zero coding involved.
Plongeons dans le vif du sujet.
Step #1: Install All in One SEO
All in One SEO is the #1 WordPress SEO plugin in the world. It’s the perfect plugin to add WordPress Open Graph meta tags to your site without any coding.

All in One SEO (AIOSEO) is one of the most acclaimed SEO plugins in the WordPress community. The original version was completely revamped to add a ton of new features and addons. So, if you used AIOSEO in the past you need to check out the plugin once again.
Non seulement AIOSEO est suffisamment puissant pour mettre en œuvre les meilleures pratiques SEO actuelles, mais vous bénéficiez également d'options avancées pour résoudre des problèmes SEO spécifiques dès le départ. Cela comprend :
- Modules SEO locaux pour les petites entreprises ayant une audience locale
- SEO WooCommerce pour les boutiques en ligne
- Un optimiseur SEO à l'intérieur de votre éditeur WordPress
- Smart Sitemaps pour un indexation instantanée sur les moteurs de recherche
- Un plugin Schema pour que votre contenu se classe dans les Rich Snippets
And a lot more! For a full list of All in One SEO’s features, check out our review of the plugin.
The first thing you need to do is install and activate the All in One SEO plugin. If you’re not sure how to do that, you should check out this guide on how to install WordPress plugins.
After you download and install the plugin, you get a Setup Wizard:
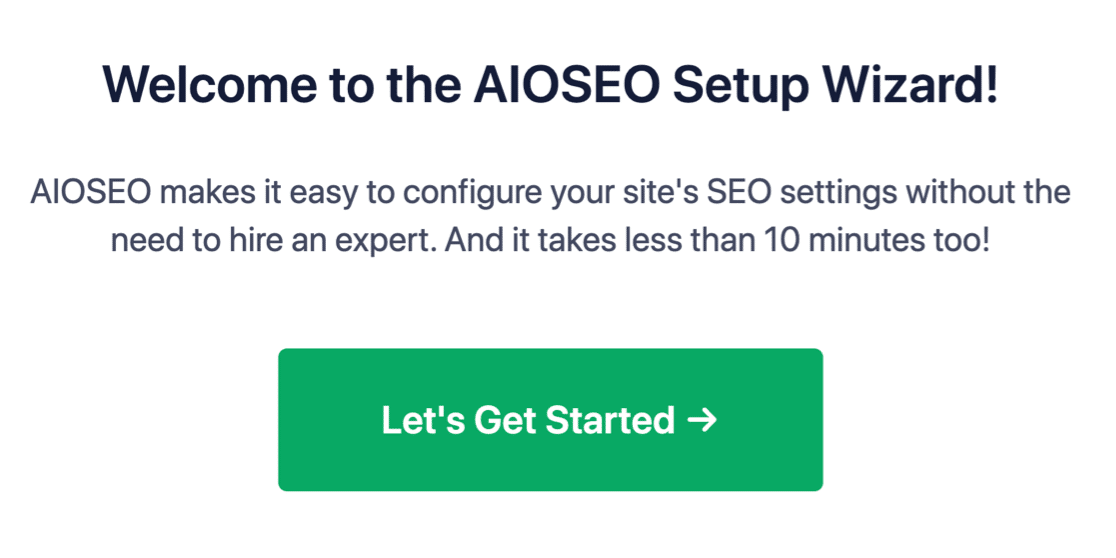
Et le processus de configuration prend moins de 10 minutes.
Mais que faire si vous migrez depuis un autre plugin SEO ? Chaque plugin gère les métadonnées différemment. Alors, devez-vous tout refaire à zéro ? Tous vos efforts précédents sont-ils vains ?
Non ! Si All in One SEO détecte un autre plugin SEO pendant l'Assistant de configuration, il vous proposera de copier les paramètres de base pour vous :

À la fin de la configuration, l'Assistant de configuration vous demandera également de désactiver votre ancien plugin SEO. Ainsi, il n'y aura pas de conflits de plugins ni d'erreurs :
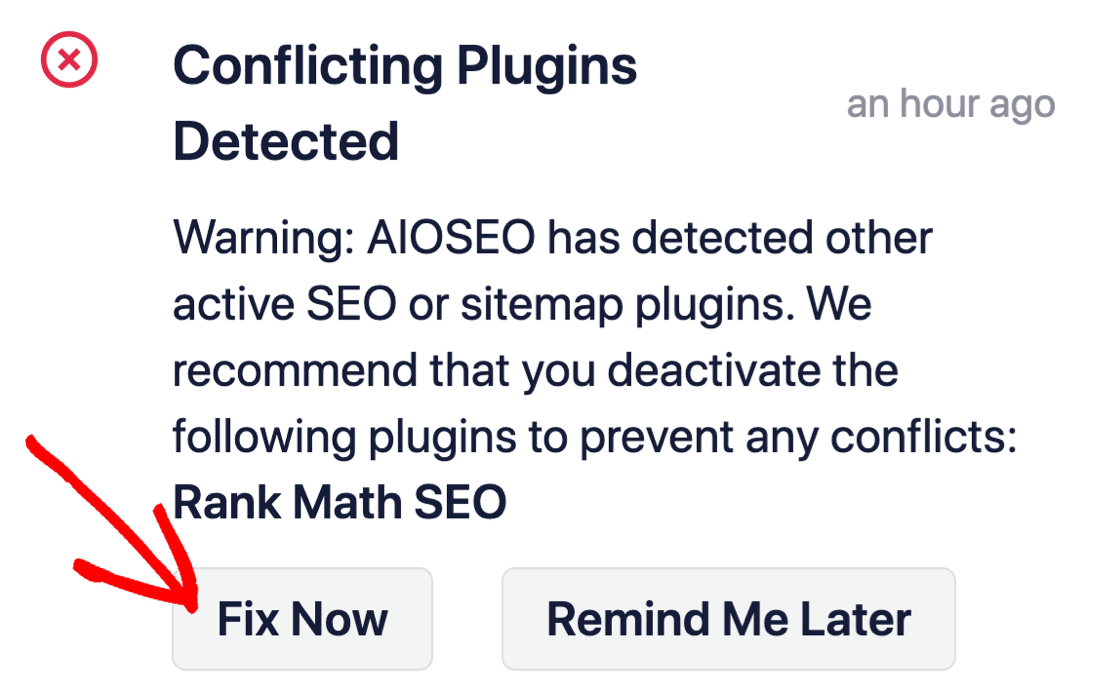
Cliquer sur Corriger maintenant ne supprimera pas les paramètres de votre ancien plugin SEO. Il désactive simplement le plugin pour éviter les conflits.
Step #2: Configure Social Media Settings
In your WordPress dashboard, go to All in One SEO » Social Networks » Social Profiles and add your social profiles to the site:
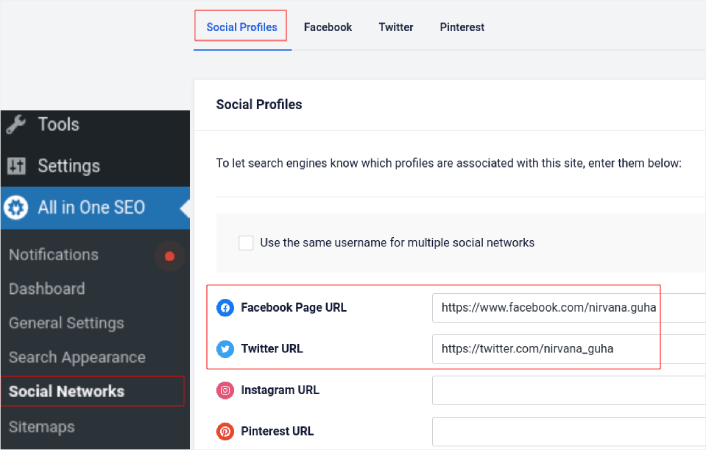
This step ensures that Search Engines such as Google and Bing know what social media profiles are associated with your site. At the same time, this helps you with your social media sharing settings as well. That’s up next.
Step #3: Edit Facebook General Settings
Go to All in One SEO » Social Networks and click on the Facebook tab. Here, you can configure your General Facebook Settings:
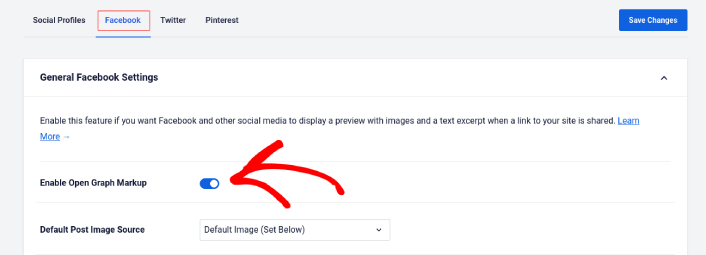
Toggle the Enable Open Graph Markup switch to activate it.
Here, you can set the Default Post Image Source and a Default Post Facebook Image:
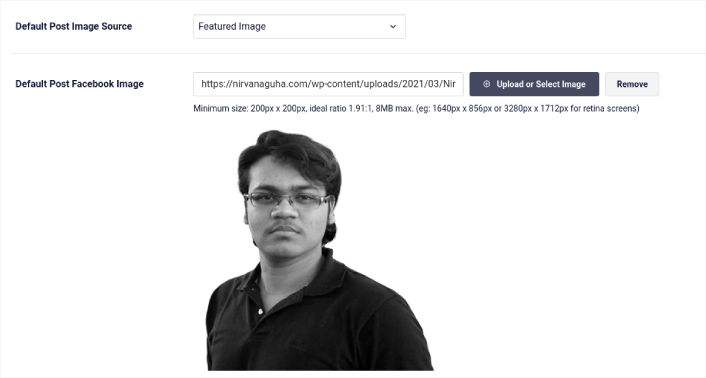
We recommend using the Featured Image option as the image source for your posts. But should check out the other options as well:

You can set the default Facebook image to be your logo or anything that represents your brand. Click on the Upload or Select Image button to change the default image. In our example, we’re using a personal brand. So, the default Facebook image is a photo of the author.
Once you’re done, hit the Save button.
And that’s it! You’re done. Once you save the changes, you can try sharing a post on your site to your Facebook page or profile.
What to do After You Add WordPress Open Graph Meta Tags
C'est tout pour cette fois, les amis !
Next, you should start thinking of multiple ways to engage and convert the traffic you bring in from your social media accounts. A great way to do that is to use push notifications. Push notifications can be a powerful marketing tool to bring in traffic, engagement, and direct sales for your business.
If you’re not 100% convinced, you should check out these resources on how to effectively use push notifications:
- 7 stratégies intelligentes pour stimuler l'engagement client
- Les notifications push sont-elles efficaces ? 7 statistiques + 3 conseils d'experts
- Comment configurer des notifications push pour paniers abandonnés (Tutoriel facile)
- Comment ajouter un plugin WordPress de notifications Web à votre site
Nous vous recommandons d'utiliser PushEngage pour créer vos campagnes de notifications push. PushEngage est le logiciel de notifications push n° 1 au monde. Donc, si ce n'est pas déjà fait, commencez dès aujourd'hui avec PushEngage !


