Notice: There is no legacy documentation available for this item, so you are seeing the current documentation.
PushEngage allows you to convert your website visitors to web push subscribers. A subscriber is anyone who would click on allow on the subscription popup you configure on your website. A web push campaign does not capture personal information like email or phone number. However, you get to reach out to your subscribers even when they are not on your website.
Install PushEngage On Your Site
Add Site Details
1. To complete the PushEngage installation navigate to Site Settings » Site Details.

2. You need to enter then Site information – Site name, the logo of your brand, and ensure the site URL is correct.
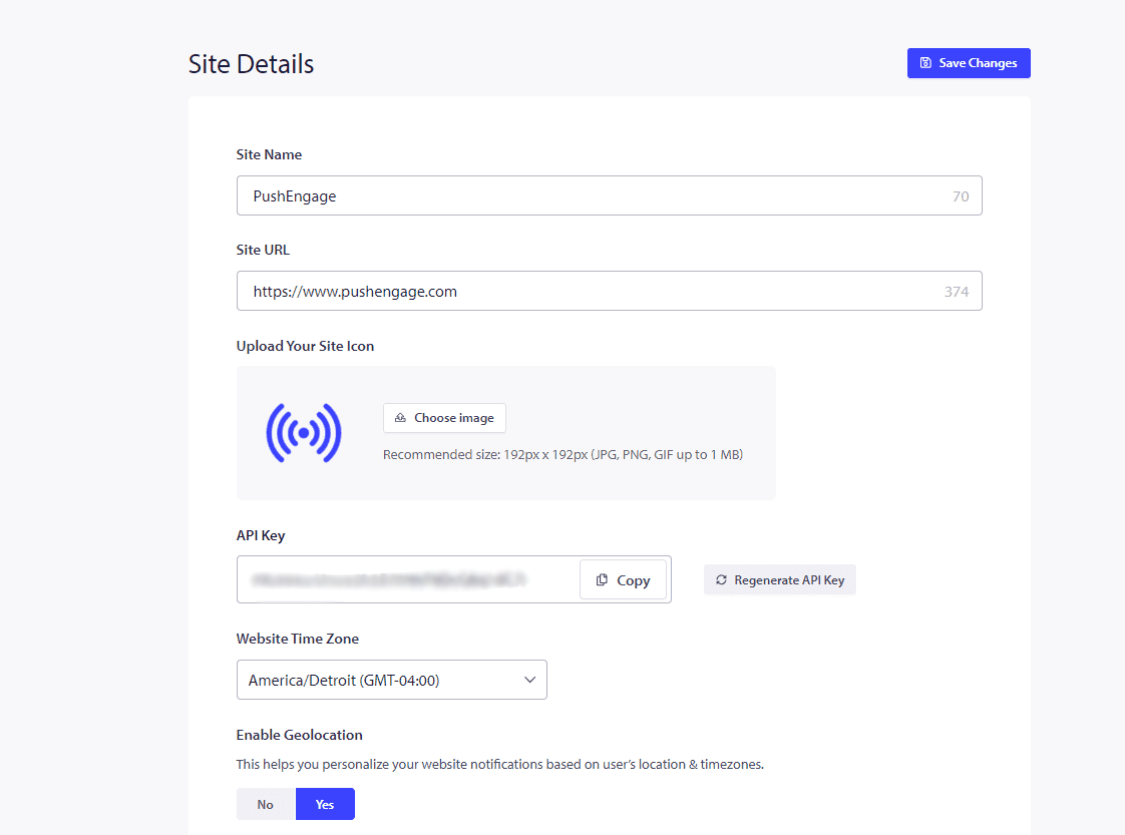
3. If you have paid plans, ensure to remove PushEngage Branding. You can check this box and save changes.
Once done, click on Click Here For Setup Instructions.
4. Select your site type from the option mentioned and follow the shared steps to complete the installation.
If the platform on where your site is hosted is not mentioned, then copy the installation code and add it to the HTML of your website. If you have access to your root directory, then please download the service-worker.js file and add it to the root directory such that it is publically accessible.
If you don’t have access to the root directory you can skip the step of adding the service-worker.js file. You can just add the code and use any double-step optin to collect subscribers.
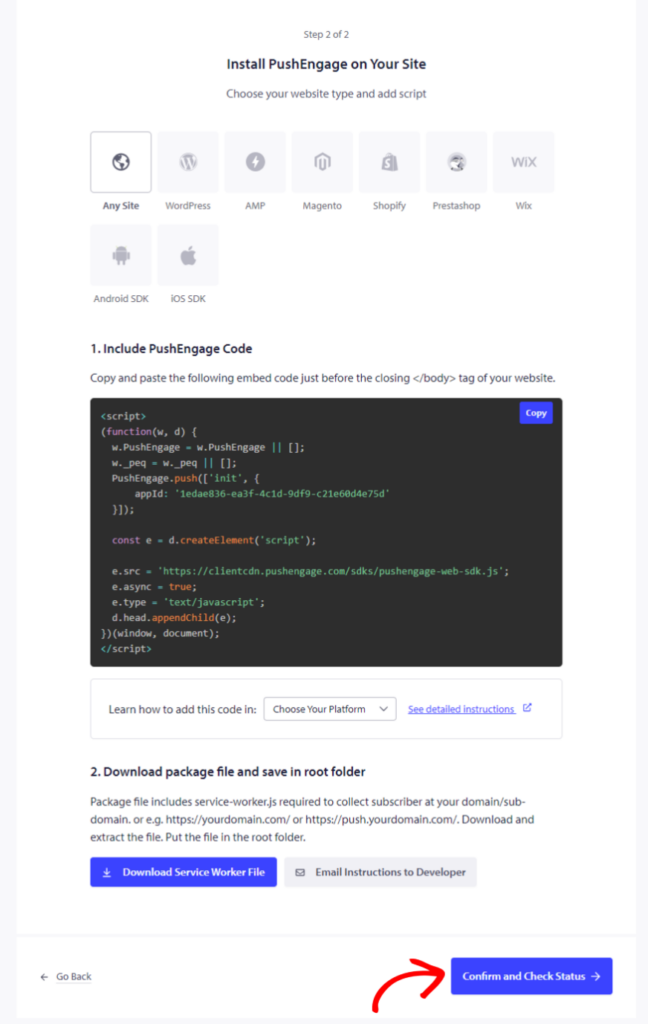
Once this is done, click on Confirm and Check Status and save the settings.
Selecting the Subscription Opt-in
Now that you have completed adding the code. You can configure the subscription opt-in.
You can navigate to Design » Popup Modals.
You can choose either of the Subscription Dialog box styles by switching on the Toggle button.
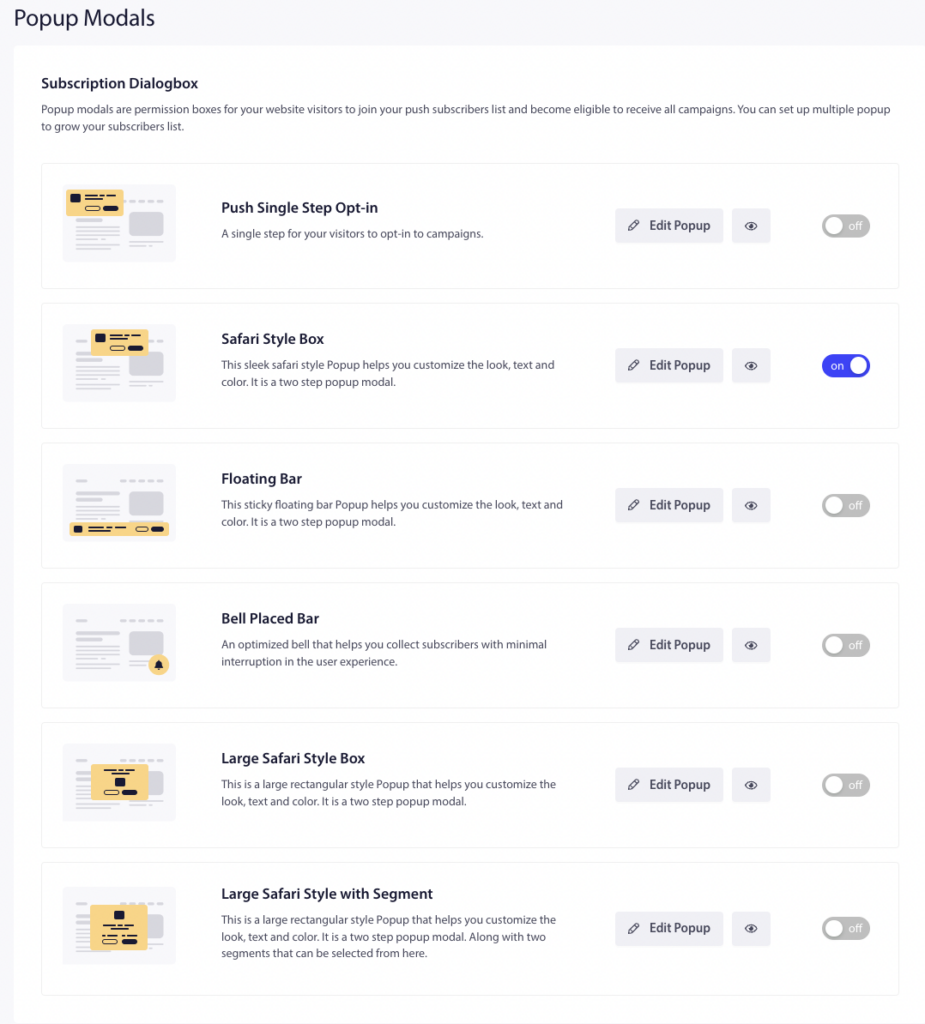
You can then design the Opt-in styles to suit your business requirements. Push Single Step Opt-in is a one-step subscription; the others are Double Step Opt-in, which allows visitors to customize but requires two steps to become subscribers.
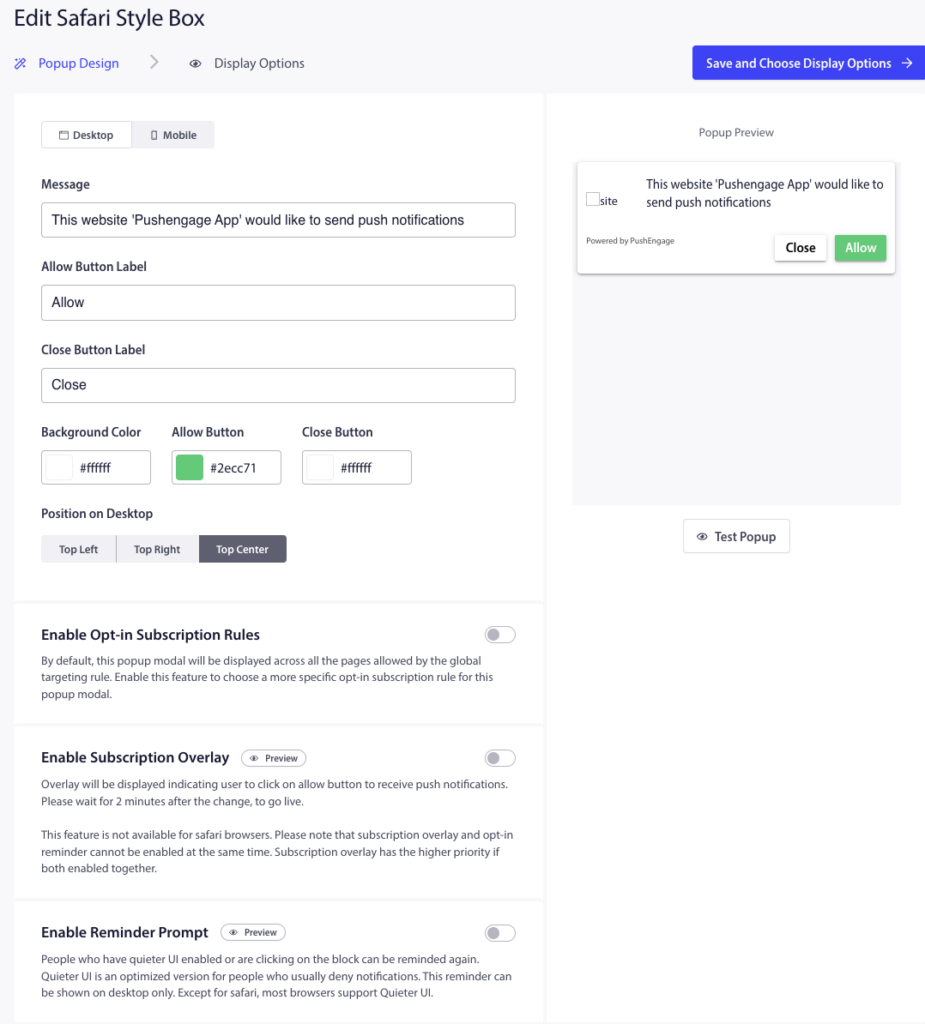
Once you have completed the editing click on Save and Choose Display Options » Save and Enable Popup.
Setup Welcome Drip Campaign
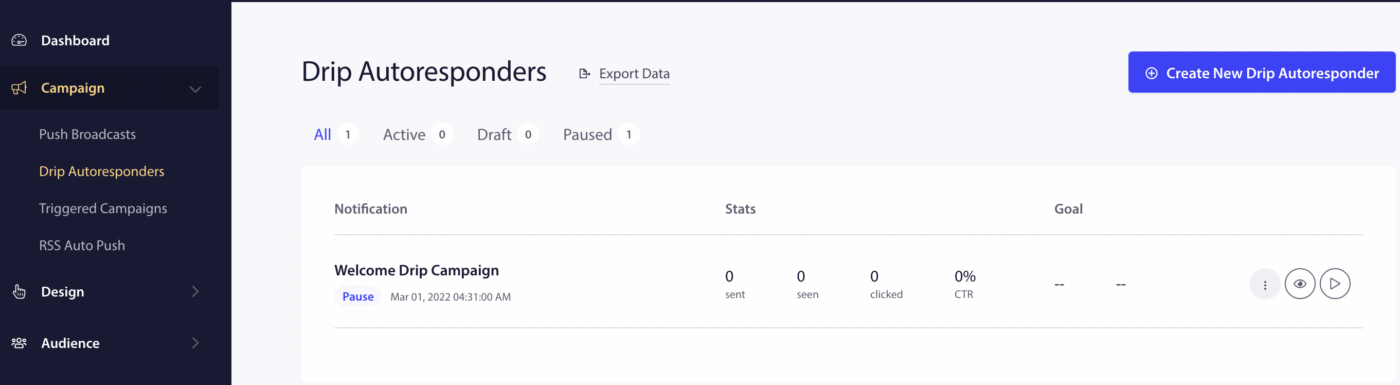
To create the welcome campaign, navigate to Campaigns » Drip Autoresponders. You will see a template of a Welcome Drip, which you can activate by clicking on the Play Button.
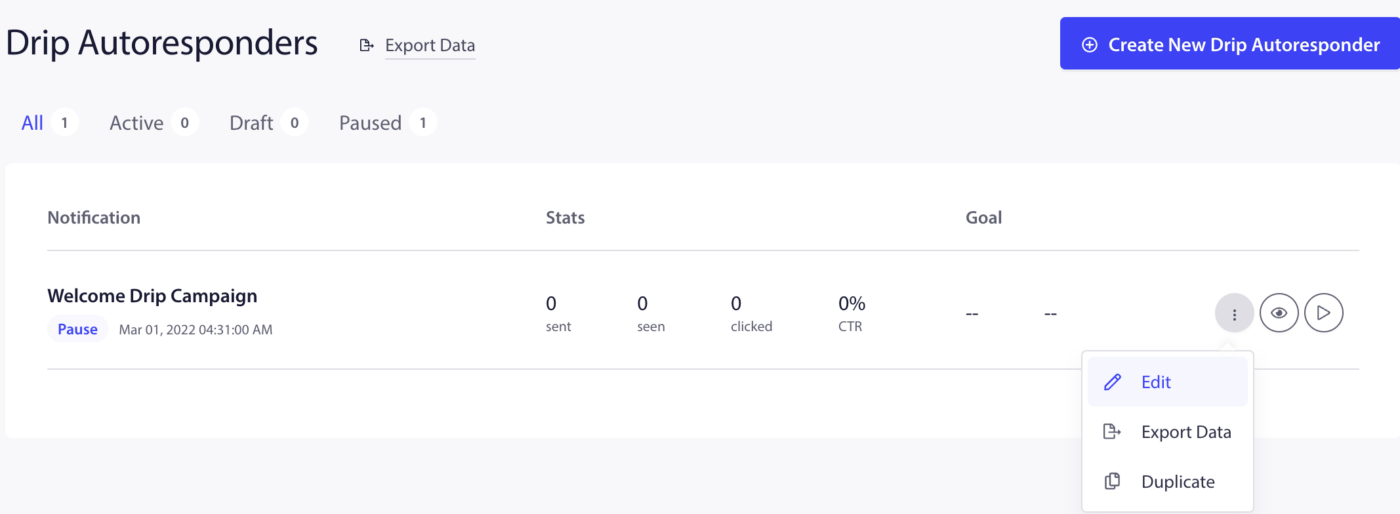
You can also edit the same campaign if you like, by clicking on the more option and then selecting Edit.
You can either send the welcome notifications to your subscribers immediately or x hours/mins after completing the subscription. Instead of sending one notification, you can create a series of 2-3 notifications as well.
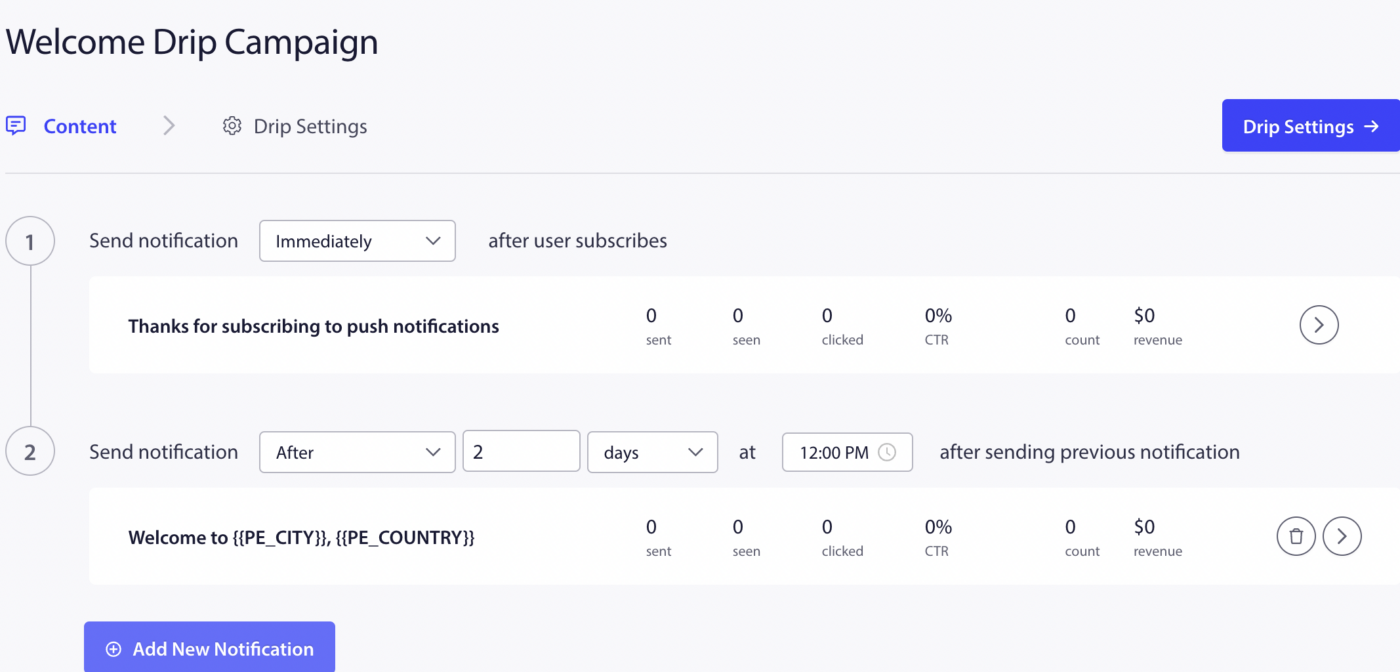
Once done, click on Activate Autoresponder.
Create Your First Campaign
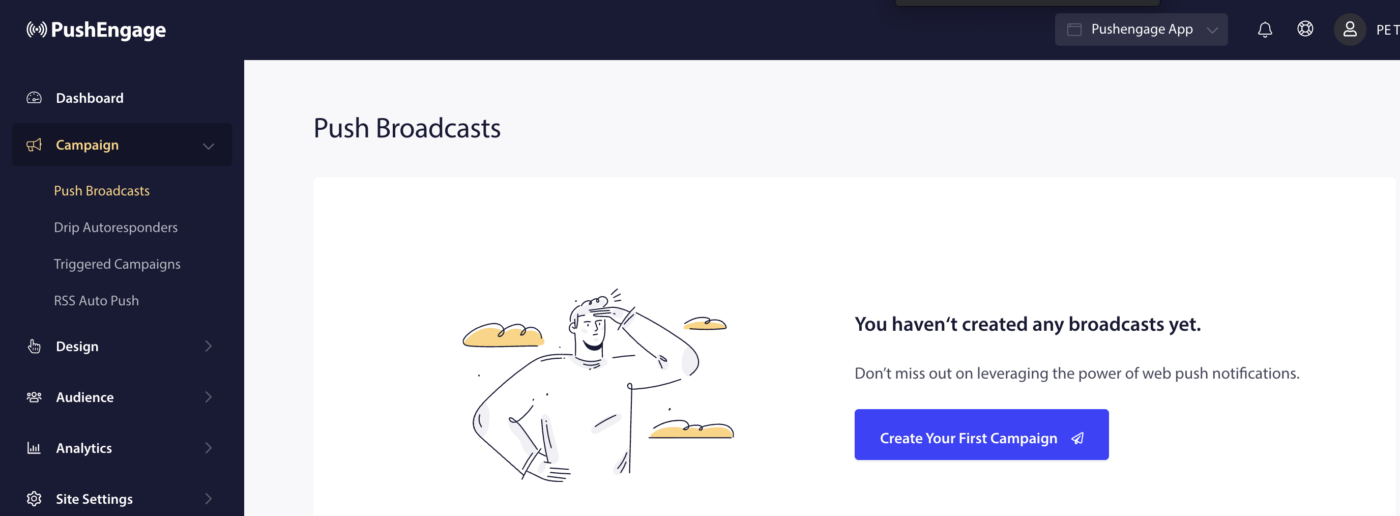
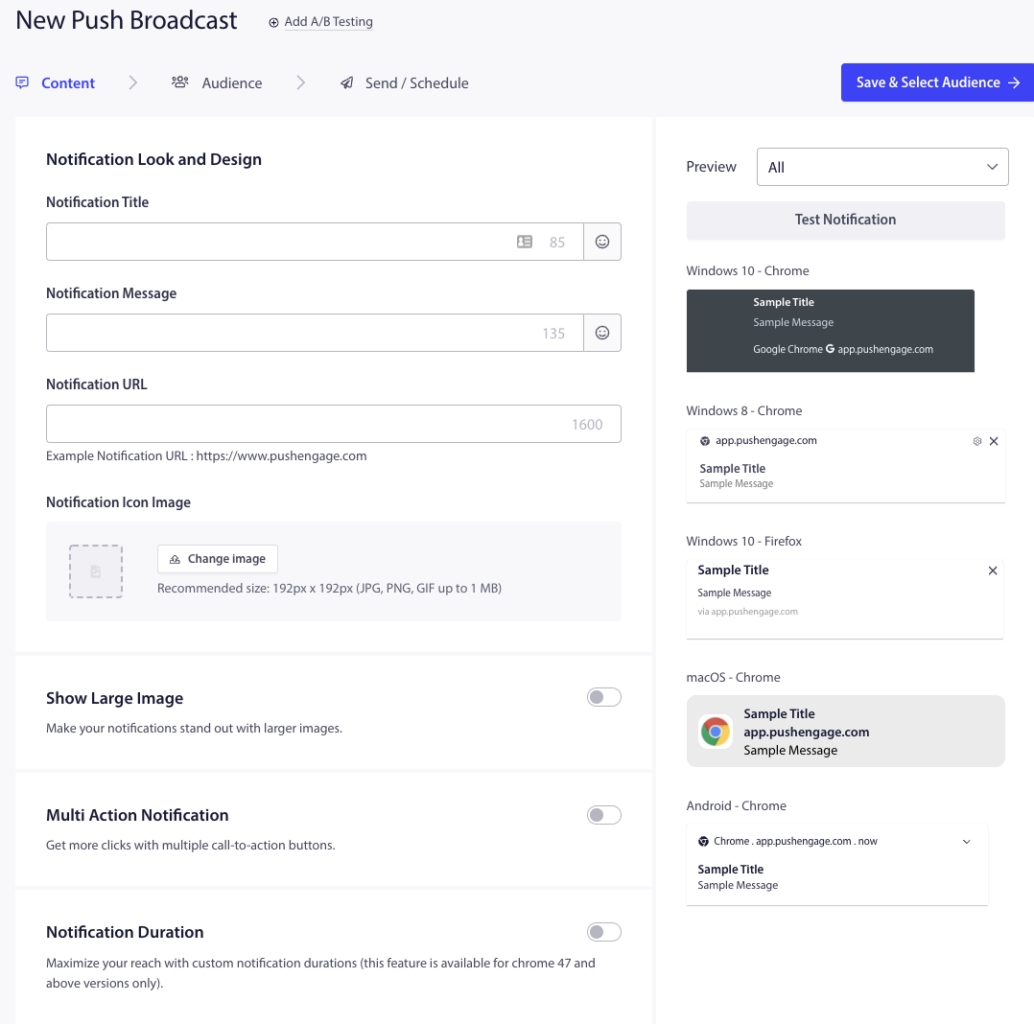
To create the first push broadcast, navigate to Campaign » Push Broadcasts » Create Your First Campaign.
Enter the notification title, message, URL and an image under New Push Broadcast. Keep a check of the character limit and image size while creating the campaign.
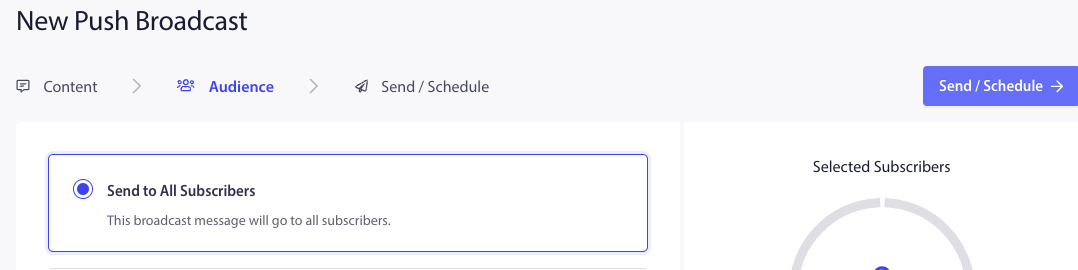
Then select Save and Select Audience band on the next tab select Send to All Subscribers » Send.
You have now reached the end of the challenge and you are all set to use PushEngage.
If in case you run into any issues, please feel free to contact us by clicking here. Our support team would be able to help you.


