Notice: There is no legacy documentation available for this item, so you are seeing the current documentation.
The Back-in-Stock Alert campaign sends an automated push notification to subscribers who opted in to restock alerts for a specific out-of-stock product on your Shopify store. When you update a product’s inventory to make it available again, PushEngage detects the change and notifies everyone waiting for that product.
This guide explains how the alert widget works, how to enable and customize it, and how to configure the notification campaign.
Before You Start
- PushEngage is installed on your Shopify store.
- Back-in-Stock Alert campaigns require a PushEngage Growth/Automation plan or above.
- The campaign is pre-built by PushEngage during onboarding. This guide covers enabling and customizing it.
How Back-in-Stock Alerts Work
The Back-in-Stock Alert runs in two parts: a widget on your product pages that customers use to subscribe, and a trigger campaign that fires when inventory is restored.
- A visitor lands on an out-of-stock product page and sees the Restock Alert widget.
- They click Notify me when back in stock and subscribe.
- When you update the product’s inventory in your Shopify admin to mark it as available, PushEngage detects the change.
- Every subscriber who opted in for that product receives a push notification.
Subscribers only receive notifications for the specific products they opted in to. They will not receive alerts for other products unless they subscribe to those separately.
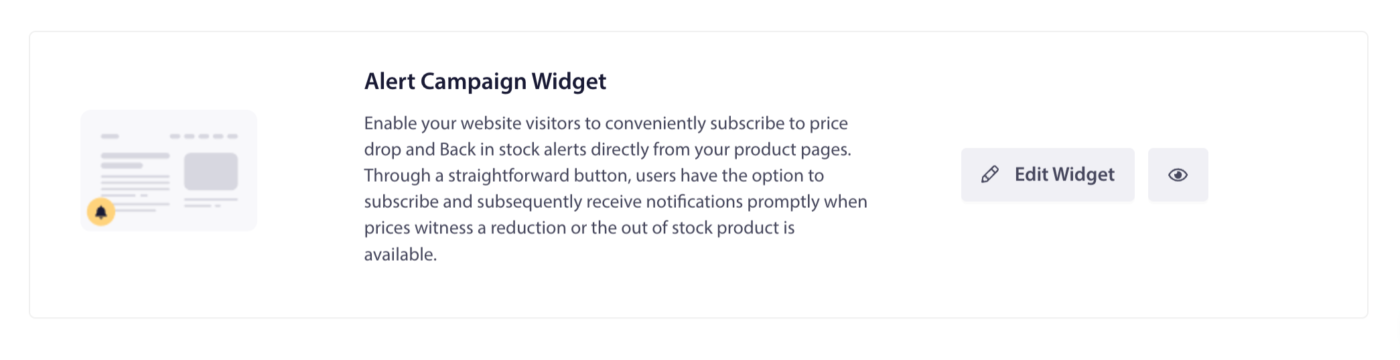
Step 1: Enable the Alert Widget
The widget must be enabled for customers to subscribe to restock alerts on your product pages.
- Log in to your PushEngage dashboard.
- Go to Design » Widgets.
- Scroll down to Alert Campaign Widget.
- Toggle the switch to On.
Customizing the Widget
Once enabled, customize the widget to match your store’s branding and encourage more opt-ins.
| Setting | Description |
|---|---|
| Widget message | Text shown to visitors on the product page. Example: “This item is out of stock. Get notified when it returns.” |
| Button text | Label on the subscribe button. Example: “Notify Me” or “Alert Me” |
| Colors | Match widget and button colors to your store theme |
Tip: Place the widget prominently near the Add to Cart button on out-of-stock product pages to maximize opt-in rates.
Click Save after making changes.
Step 2: Open the Back-in-Stock Campaign
- Go to Campaigns » Trigger Campaigns.
- Find Inventory Alert (also referred to as Restock Alert) in the list and click Edit.
Step 3: Edit the Notification
The pre-built campaign contains one notification. Click on it to edit.
Available Variables
| Variable | What it inserts |
|---|---|
{productname} | Name of the product that is back in stock |
{price} | Current listed price of the product |
{notificationurl} | Direct link to the product page |
{imageurl} | Your store logo |
{bigimageurl} | Product image |
Note: Do not remove these variables. They pull live product data from your Shopify store at the time the notification fires.
Recommended Field Settings
| Field | Recommendation |
|---|---|
| URL | Use {notificationurl} to link directly to the product page |
| Image | Use {bigimageurl} to show the product image |
Copy Options
| Option | Title | Message |
|---|---|---|
| 1 | {productname} is back in stock! | You asked, we delivered. {productname} is available again at {price}. Grab it before it sells out. |
| 2 | Good news! Your item is back | {productname} is back in stock and ready for you at {price}. Shop now before it goes again. |
| 3 | Your wait is over | {productname} has been restocked. Click to purchase now at {price} before it sells out. |
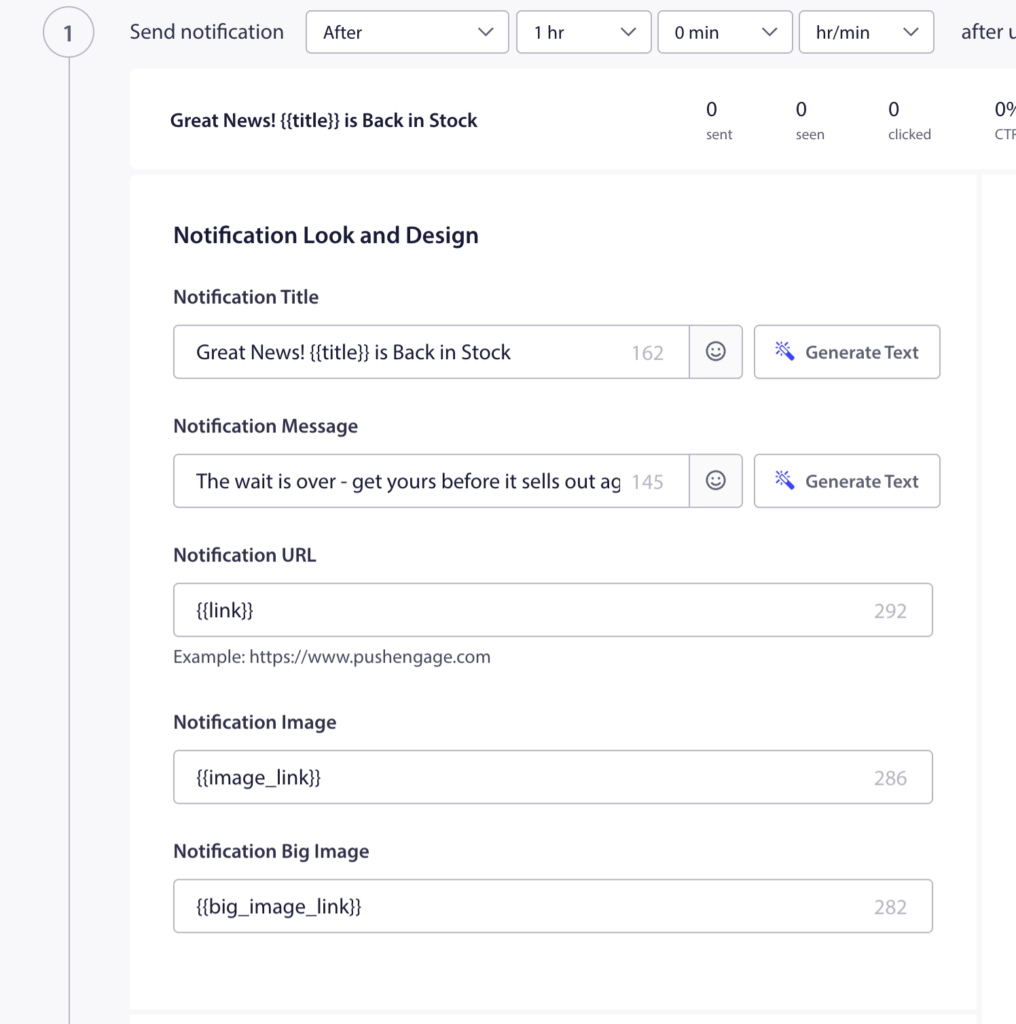
Step 4: Set Notification Duration
Recommended setting: 48 hours
Enable Keep notification open until user interaction so the notification stays visible in the subscriber’s notification center until they act on it.

Step 5: Activate the Campaign
- Click Save in the campaign editor.
- Return to Campaigns » Trigger Campaigns.
- Click the Play / Resume button next to Inventory Alert.

The campaign is now active. The next time a product is marked as back in stock in your Shopify admin, subscribers who opted in to that product’s restock alert will receive the notification automatically.
Tracking Performance
To review how the campaign is performing:
- Go to Campaigns » Trigger Campaigns.
- Click on the Inventory Alert campaign to expand the analytics view.
- Review sent, delivered, clicked, and conversion metrics.
For revenue attribution, it will be integrated by default, you simply have to enable goal tracking. See How to Set Up Goal Tracking for instructions.
Frequently Asked Questions
Does the widget appear automatically on out-of-stock products? The widget is enabled globally from the PushEngage dashboard. Once enabled, it appears on product pages based on how your Shopify theme renders it. Make sure the widget is positioned on pages where products are listed as out of stock so customers can see it.
Can a subscriber opt in to restock alerts on multiple products? Yes. A subscriber can opt in to restock alerts for as many products as they want. Each product maintains its own subscriber list.
What if a product goes out of stock again after the alert fires? If the product sells out again, subscribers are not automatically re-enrolled. They would need to visit the product page and subscribe again through the widget.
Will subscribers who were notified automatically unsubscribe from that product’s alert? After a restock notification fires, the subscriber has been notified. They remain subscribed to future restock events for the same product unless they unsubscribe.
Can I add a second notification to follow up if the subscriber does not click? Yes. Click Add Notification in the campaign editor to add a follow-up notification with a delay. Set the expiry of the first notification to match the delay of the second.
If you run into any issues, please feel free to contact us by clicking here. Our support team will be able to help you.


