Notice: There is no legacy documentation available for this item, so you are seeing the current documentation.
This guide will help you in enabling the WhatsApp chat button on your website so that your customers can directly start chatting with you on WhatsApp. The only prerequisite is that they have to be logged in to web WhatsApp on their desktop.
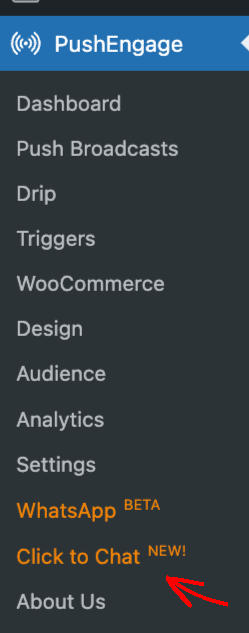
Navigate to Installed Plugins, click on PushEngage
You can then click on the Click to Chat option from the navigation bar.
Under Settings, switch over to Click to Chat Tab.

1. You need to click on the Enable option so that you can add the chat widget.
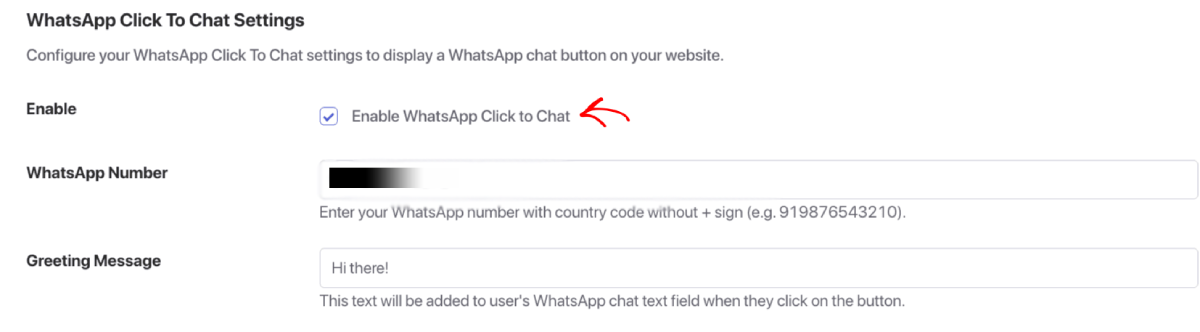
2. Now you need to Enter your Phone number.
Add your phone number starting with Country Code but without the + sign
3. Set a greeting message
This is important as user would see this first on your website, and then it will redirect them to your WhatsApp Chat Window.
4. Choose a button Style
Select any icon style. We have some simple, familiar icon for users.
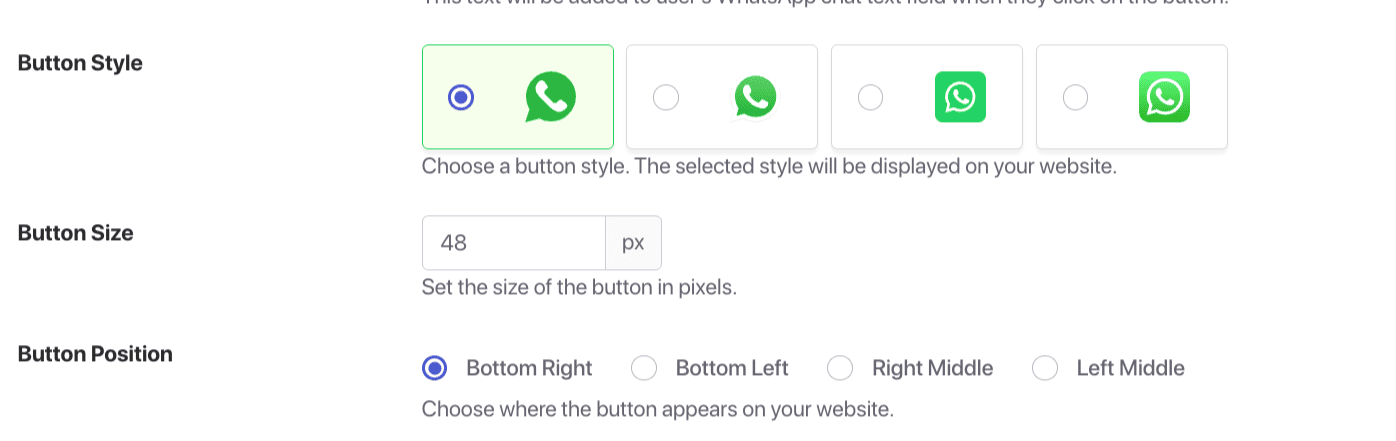
5. Set the Button size.
You can choose the default size 48px. This ensures its visible without being too intrusive.
6. Choose Positioning
You can select the widget position on the screen.
7. Add the Offset Settings
These ensure the button has enough spacing from screen edges. You can choose horizontal and vertical offset.
8. Z-index
In simpler words, it will help you highlight the chat widget over the website.
Once all the settings are added, you can click on Save Changes button.
If in case you run into any issues, please feel free to contact us by clicking here. Our support team would be able to help you.


