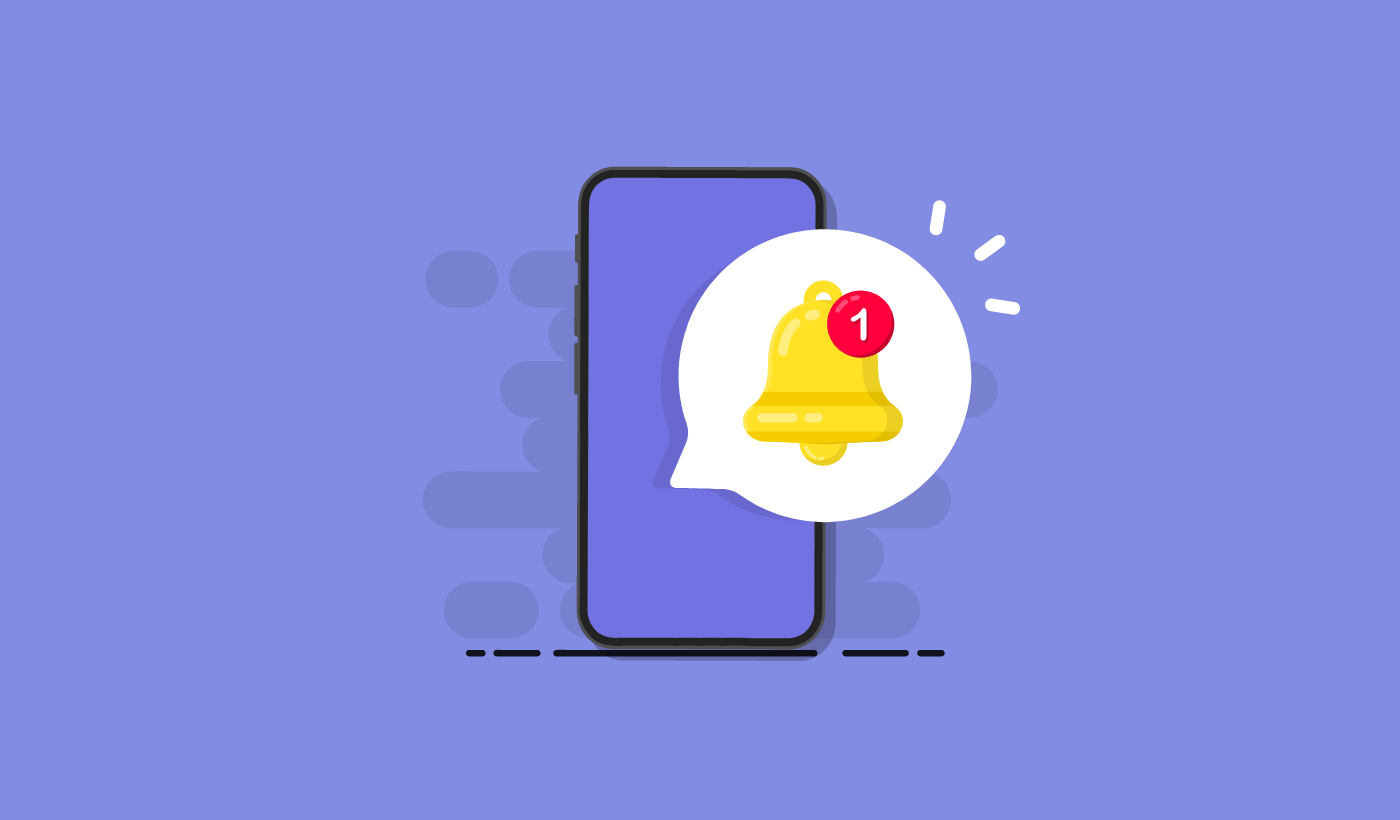
What are push messages?
Push messages are short, clickable messages delivered to a subscriber’s device even when they’re offline. You can easily send out any link to promote any part of your business using push messages from a simple, easy-to-use dashboard.
Here’s the most awesome part: Push messages are a super-easy way to get repeat visitors to your site on autopilot even if…
- Вы только начинаете, и ваша база поклонников еще мала
- Даже если... вы управляете интернет-магазином с сотнями акций каждый месяц
- Даже если... у вас есть мега-блог, который уже генерирует тонны SEO-трафика
В этой статье мы покажем вам, как мгновенно получать повторных посетителей каждый раз, когда вы публикуете новый материал:

Вы можете начать бесплатно прямо сейчас. Как только вы начнете получать результаты от бесплатного программного обеспечения для push-уведомлений, вы можете перейти на другой тариф или обновиться, чтобы получить больше функций, которые помогут вам расти быстрее.
But first, let’s understand a little more about push messages and how they work.
What Are Push Messages?
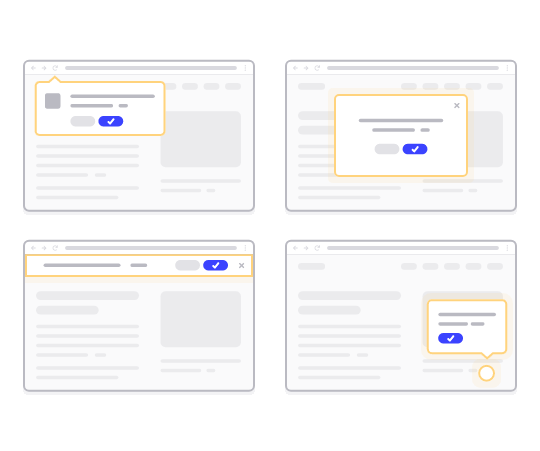
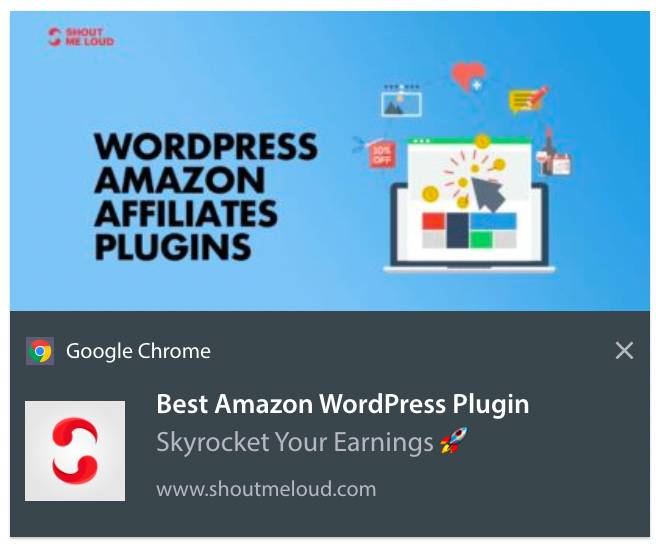
A push message is a short, clickable popup that you can send to a subscriber to promote offers and other content:
The best part is that the messages will get delivered even if your subscriber isn’t using a browser. It’s like an email blast, but with a web push message, your subscribers don’t need to be using an app to see your message. And unlike social media websites, there is no algorithm reducing your reach to get you to pay for ads.
The coolest part about web push messages is that you can use them to complement your lead magnets and email opt-in forms.
We recommend using PushEngage to get started with push messages for free. The simplest push message you can send for free is an RSS push message. In an RSS push, every time you publish a blog post, PushEngage automatically sends out a broadcast message to all your subscribers.
How to Add Push Messages to Your Website
Before you get started with push message campaigns, you’ll have to get a service to send push messages.
Мы рекомендуем начать с PushEngage. PushEngage — один из лучших плагинов для push-уведомлений для WordPress. Вы мгновенно охватываете до 200 подписчиков только на бесплатном тарифе. Если ваш сайт вырастет до более чем 200 подписчиков, вы можете быстро масштабироваться, обновив свой план.
Давайте посмотрим, как вы можете использовать бесплатную версию PushEngage для начала отправки push-сообщений.
Шаг № 1: Создайте бесплатную учетную запись PushEngage
Перейдите в PushEngage и нажмите Начать работу:

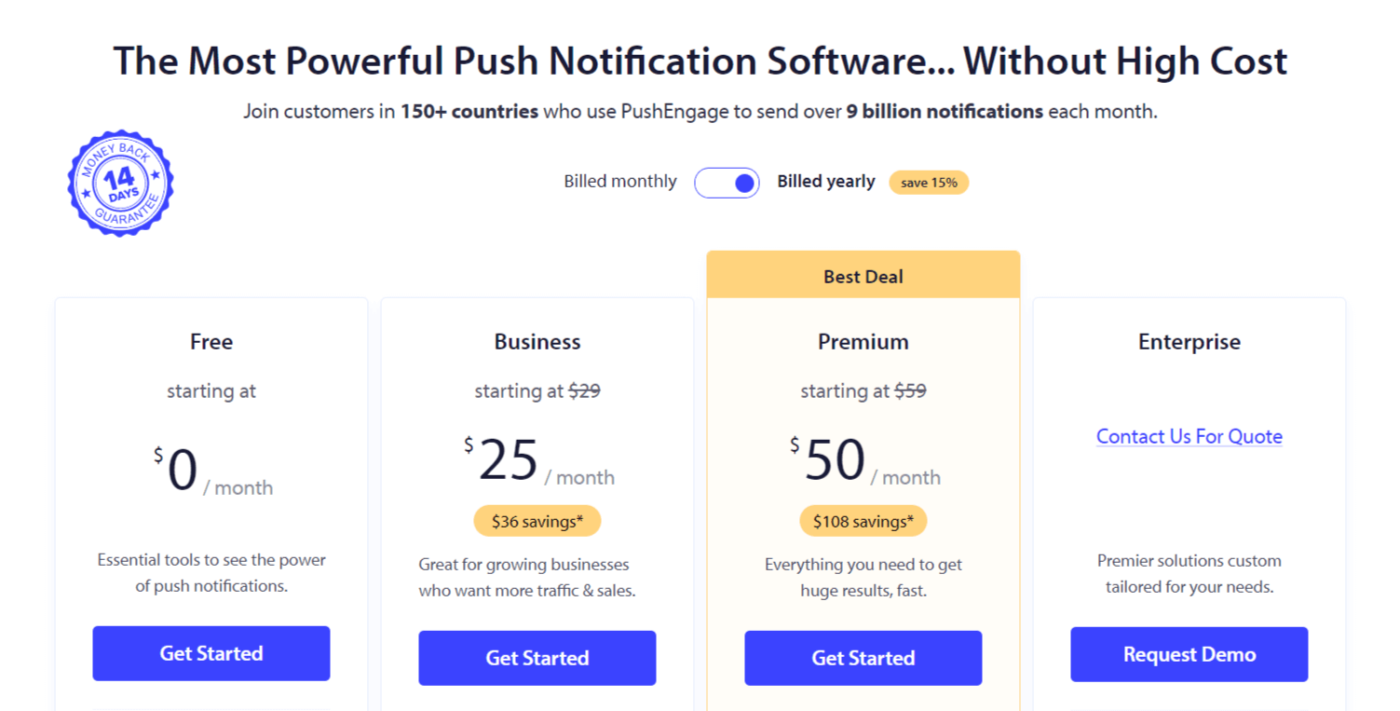
Далее выберите план для вашей учетной записи PushEngage. Вы можете начать бесплатно, но если вы серьезно настроены на развитие своего бизнеса, мы рекомендуем выбрать платный план, чтобы разблокировать более продвинутые кампании.
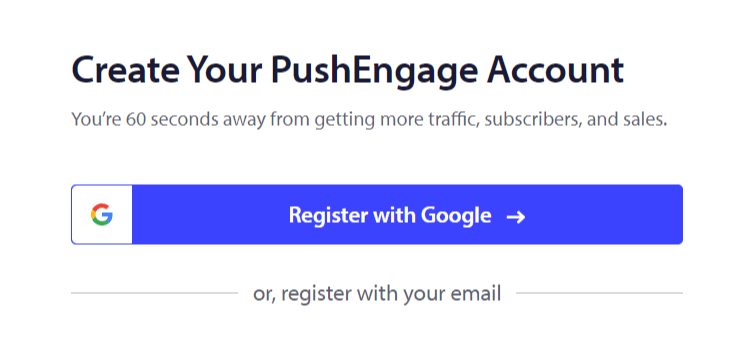
Шаг № 2: Зарегистрируйтесь в PushEngage
Зарегистрируйтесь для плагина, используя свои данные пользователя, идентификатор Gmail или адрес электронной почты и пароль:
И просто следуйте инструкциям, чтобы завершить настройку вашей учетной записи.
Step #3: Install PushEngage to Your Site
После регистрации вы попадете на панель управления PushEngage:
The process to add push messages to your site is different for different platforms. So, we’ve created detailed, step-by-step guides for the most popular platforms for you:
- Установите push-уведомления на WordPress
- Установите push-уведомления на WordPress (без плагина)
- Установите push-уведомления на WooCommerce
- Установите push-уведомления на Wix
- Установите push-уведомления на Blogger
- Установите push-уведомления на Zoho
- Установите push-уведомления на Volusion
- Установите push-уведомления на Weebly
- Установите push-уведомления на ClickFunnels
- Установите push-уведомления на PrestaShop
- Установите push-уведомления на OpenCart
- Установите push-уведомления на CS-Cart
- Установите push-уведомления на Drupal
- Установите push-уведомления на Squarespace
- Установите push-уведомления на X-Cart
- Установите push-уведомления на BigCommerce
- Установите push-уведомления на Jimdo
Step #4: Set Up the PushEngage Opt-In
Once you’re done installing PushEngage to your site, head back to the PushEngage dashboard and go to Design » Popup Modals and select an optin to collect subscribers:
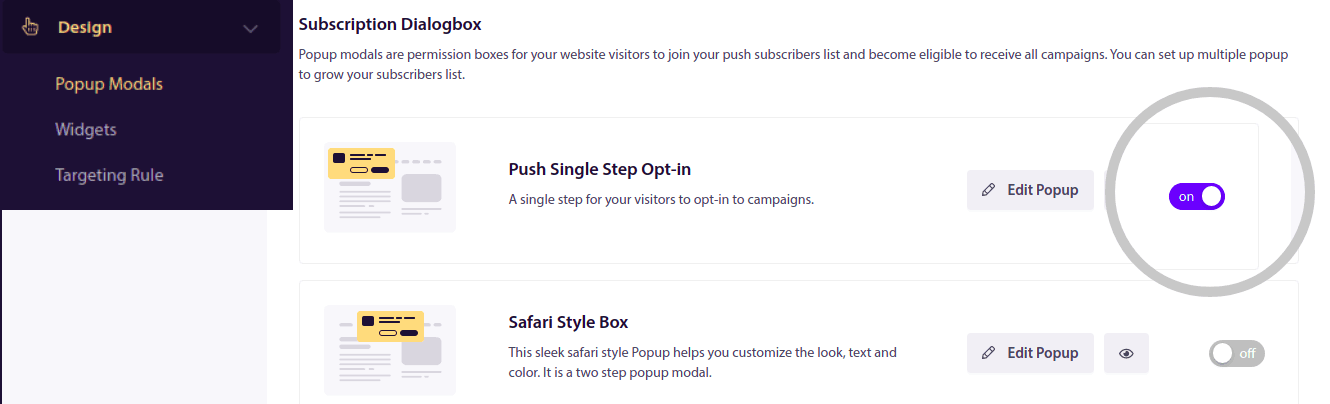
Отсюда вы можете настроить форму подписки на push-уведомления. Если вам нужна помощь с этим, ознакомьтесь с этой статьей о том, как создать пользовательскую форму подписки на push-уведомления.
If you need some inspiration, you can check out this article on high-converting push notification opt-ins.
Remember: You need to install an SSL certificate on your website to be able to use single opt-ins. But you can install two-step opt-ins even without a secure website. So, if you have an SSL certificate installed, use single opt-ins. If not, check out this article on how to install an SSL certificate on WordPress websites.
И это все!
You have successfully set up push messages on your website.
How Do Push Messages Work?
Let’s check out how push messages work.
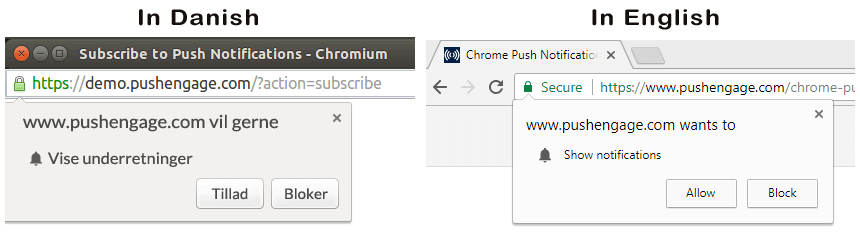
The short version is that every time a new visitor enters your website, they get prompted to become a push notification subscriber.
Next, you use a web push notification service like PushEngage to create and schedule the messages you want to send out to your subscribers. You can either send out a single push message manually or set up an automated sequence of push messages:

Also, you can choose to either send it to every subscriber on your list or to specific segments of your subscribers. Finally, your subscribers receive your messages when their device comes online and take the suggested action.
To PushEngage and our servers, your subscribers are a unique hash number generated based on your subscriber’s device and browser. Besides, the server can also store the geolocation of your subscribers. No personal or identifying data is stored for any of your subscribers.
The beauty of it all is that you don’t need to know anything about coding or how to maintain the original servers. We take care of all that for you. All you have to worry about is setting up your campaigns and making a profit!
By now, you’re probably wondering how personalized push messages work if the servers only store a hash number and no personal details. This is where the service provider API comes into play. For you, that would be the PushEngage Javascript API. You can use this API and connect it to any other CRM or database you might have.
This allows you to use the personal details of your subscribers to send them personalized push messages like this one:

You can also send out advanced eCommerce campaigns such as cart abandonment campaigns without using the PushEngage API.

Что дальше?
На этом всё.
Если вы только начинаете работать с push-сообщениями, ознакомьтесь с тем, как создать свое первое приветственное сообщение с помощью PushEngage. Приветственное сообщение отлично подходит для повторного вовлечения и привлечения повторных посетителей на ваш сайт.
Думаете, сложно придумать идеи для кампаний? Ознакомьтесь с этими потрясающими ресурсами:
- 75 эпичных примеров push-уведомлений, которые вы можете украсть прямо сейчас
- Как использовать push-сообщения о незавершенных формах для восстановления потерянных лидов
- Как отправлять персонализированные push-уведомления с атрибутами Drip
- 10 примеров интернет-магазинов, которые эффективно используют push-уведомления
- 8 персонализированных push-уведомлений, которые работают [подтверждено данными]
И если вы еще этого не сделали, начните работу с PushEngage сегодня!


