Looking for a way to create a lightbox popup for your site?
A lightbox popup can be incredibly effective for capturing leads. They’re designed to convince and convert.
But having to code one from scratch is a real pain. For one thing, you’d have to know enough HTML, CSS, and Javascript to create the popup along with trigger rules for when to show it. Then, you’d have to create a manual integration with your email service provider. And finally, you’d have to deal with any privacy and security issues.
Good news: there’s a much simpler way.
In this article, we’re going to show you how to launch a lightbox popup with zero coding in less than 10 minutes.
Давайте начнем.
What is a Lightbox Popup?
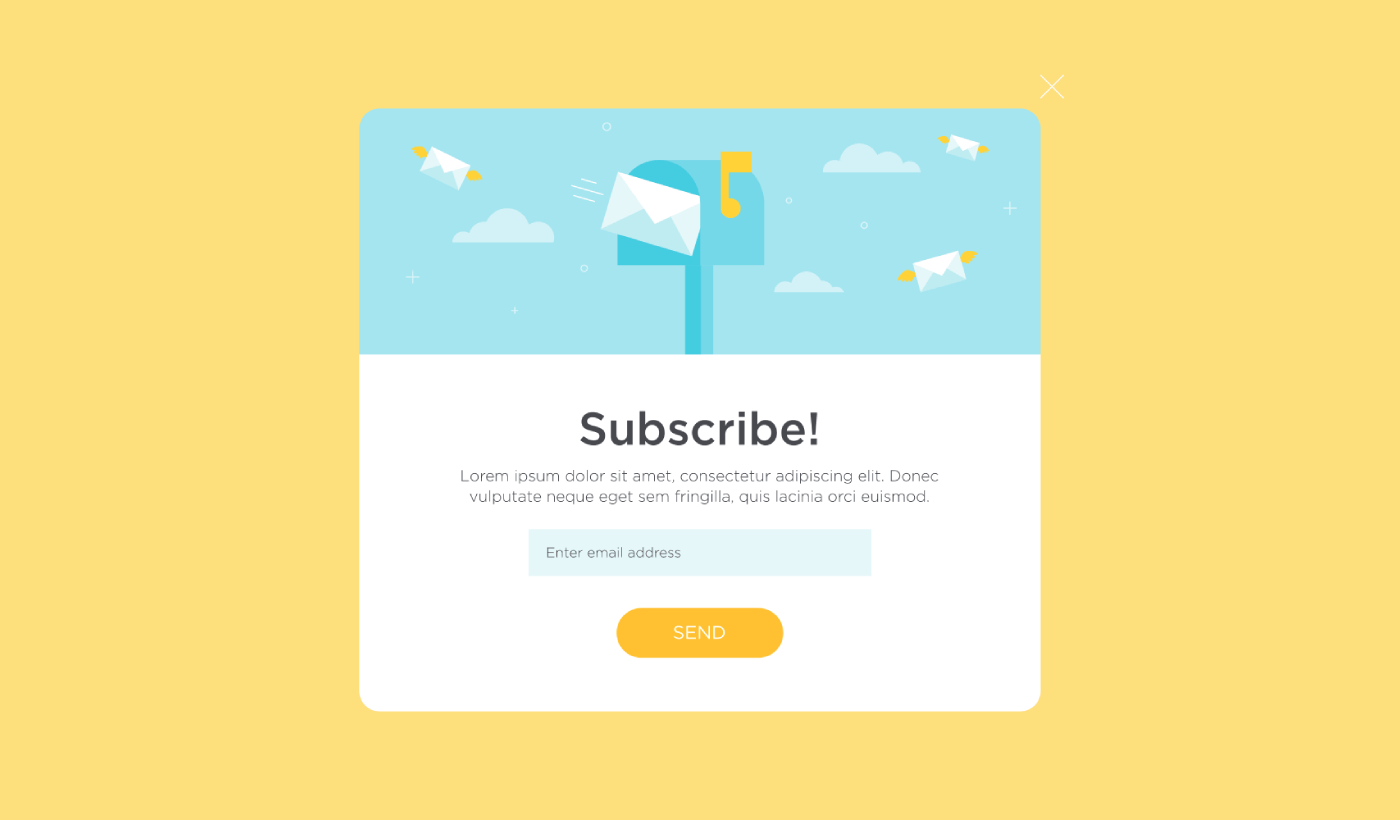
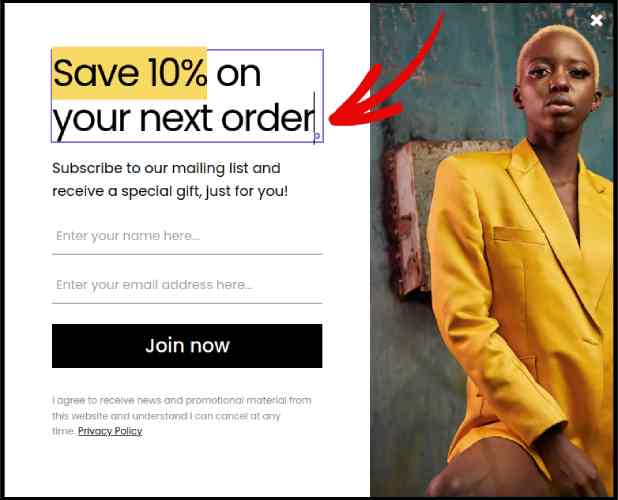
A lightbox popup is an opt-in form that popups up with a cinematic effect. When a lightbox pops up, it blurs out the rest of the site in the background. This way, your entire focus is on the popup.
Originally, the concept of lightboxes come from outdoor advertising:
And then, some developers thought that this was a really cool effect and they created a Javascript library to recreate the same effect on web assets. Later on, the idea of using lightbox popups came into play.
Why Lightbox Popups Work
Lightbox popups capture more emails than a traditional email optin form.
But why do they work?
Let’s take a quick look at the main reasons why lightbox popups work so well.
#1. Lightbox Popups Feature a Clear Call to Action
Most people believe that it’s a great thing to give their customers a lot of options.
But that’s not really true.
If you’re looking for direct conversions, you want a single, clear call to action that your audience can focus on. This way, you remove all distractions from the user’s mind. And lightbox popups do a great job of highlighting your core offer and getting people to focus on your call to action.
So, naturally, the conversion rates are pretty great.
#2. Lightbox Popups Are Impossible to Ignore
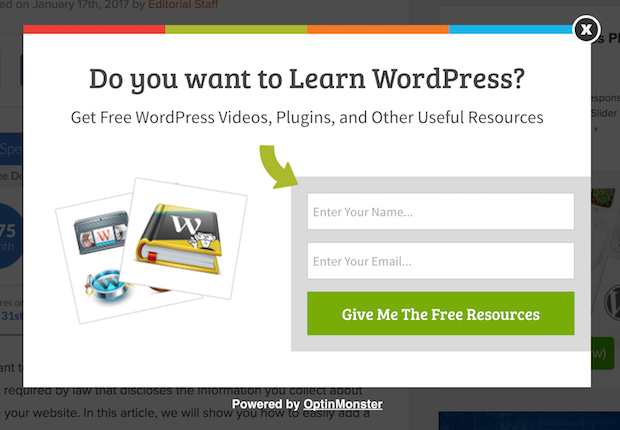
Lightbox popups take up the entire screen and blur out everything else. So, it’s practically impossible to ignore them.
This is especially true if they’re animated:
Of course, you have to ensure that your popups aren’t intrusive. And you can do that by customizing when to trigger different popups on your site. As long as your audience isn’t annoyed by the interruption, you can very easily convince and convert them.
#3. Lightbox Popups Have Personalized Triggers
You shouldn’t be showing the same offer to all your web visitors. If you’re running an eCommerce store, you’ll need very different offers for new and returning customers.
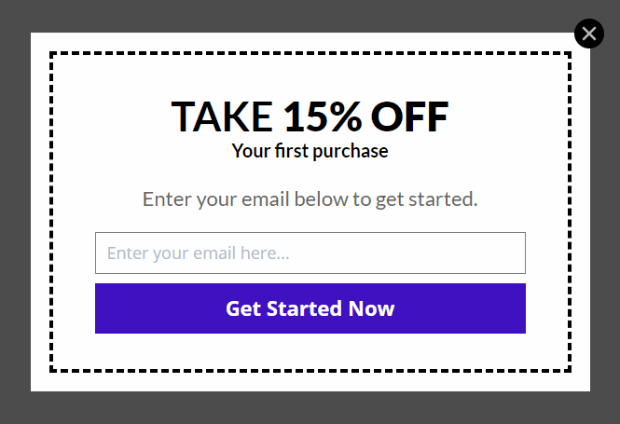
For a new customer, you can trigger a welcome campaign:
But for a returning customer, you may want to send them a different offer:
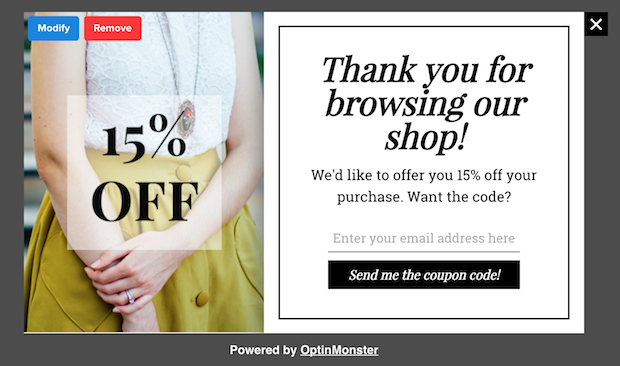
Notice how the discount amounts for both offers are exactly the same. But the way in which the offer is framed is drastically different. And this is super important because lightbox popups are built for theatrical effects. So, a more personalized approach will get you much better results for sure.
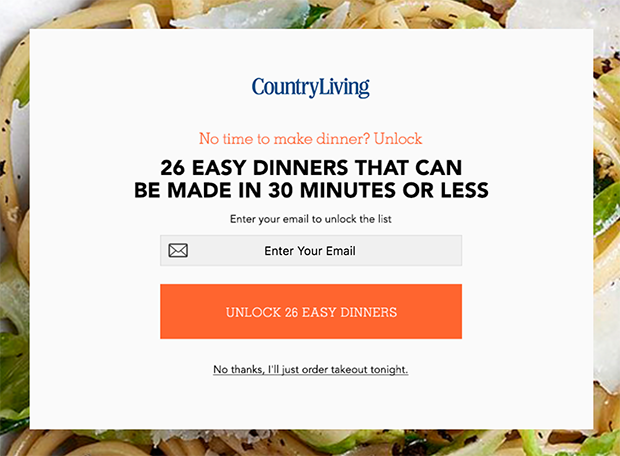
You could even personalize the offer based on your user’s content preferences. If they’re reading an article on dinner recipes, it makes more sense to show them an offer related to dinner recipes rather than showing them an offer for cars.
#4. Lightbox Popups Can Capture Abandoning Visitors
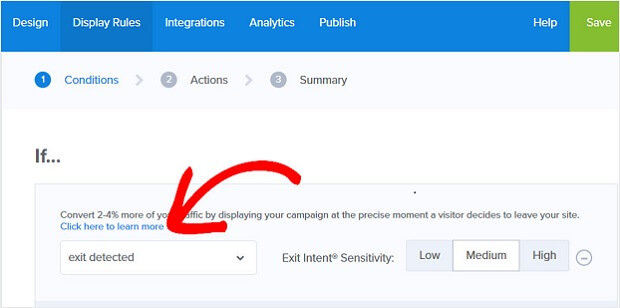
Lightboxes are just a method of displaying your popup. So, there’s really nothing stopping you from customizing the trigger to any extent you like. We recommend creating exit-intent lightbox popups.
Exit-intent popups get triggered when your visitors try to exit your website. As a result, you retain a huge number of visitors who would have otherwise abandoned your site. So, if you’re suffering from site abandonment, you should definitely create an exit-intent lightbox popup.
How to Create a Lightbox Popup
Now that you understand what a lightbox popup is and why you’d want to create one, how do you a lightbox popup? We recommend using OptinMonster to create your popups.
OptinMonster — это лучший набор инструментов для конверсии в мире, и мы сами им пользуемся. OptinMonster очень просто создавать мощные всплывающие окна, которые конвертируют. И вам никогда не придется использовать какой-либо код.
We even wrote a full review of OptinMonster.
You can check that out, or get started with your campaign right now. All you have to do is signup for OptinMonster and follow along with the rest of this article.
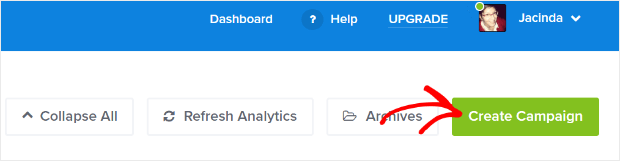
Step #1: Create a Campaign
Перейдите на панель управления OptinMonster и нажмите кнопку Создать:
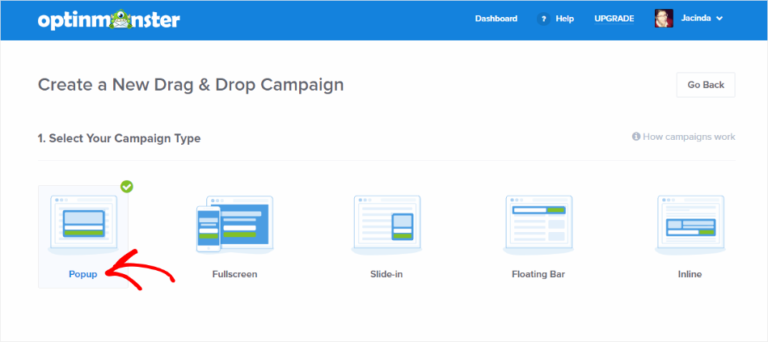
Select the Lightbox Popup campaign type:
Then, choose a campaign template. You can choose whatever template you like, but we’re going with the Simple campaign type for this tutorial.

Now, give your campaign a name. Remember, this campaign name is for you and you’ll likely create a whole bunch of these popups with different targeting options. So, give the campaign a meaningful name or you’ll end up really confused later on.
Also, depending on your plan, you can also use OptinMonster on multiple sites. So, select the website where you want to display your campaign as well.
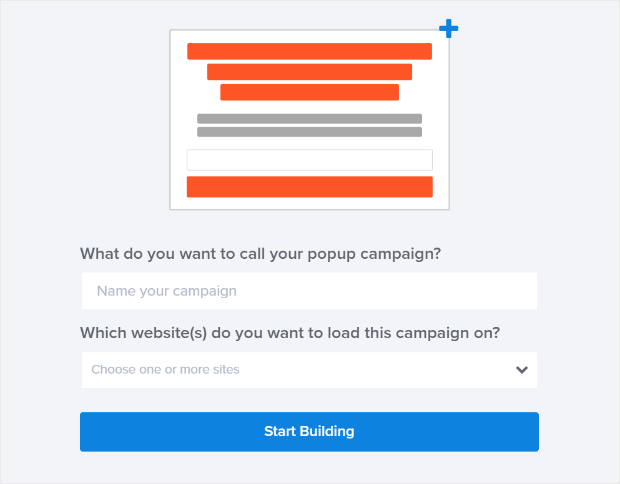
Press Start Building when you’re done.
Step #2: Edit Your Lightbox Popup
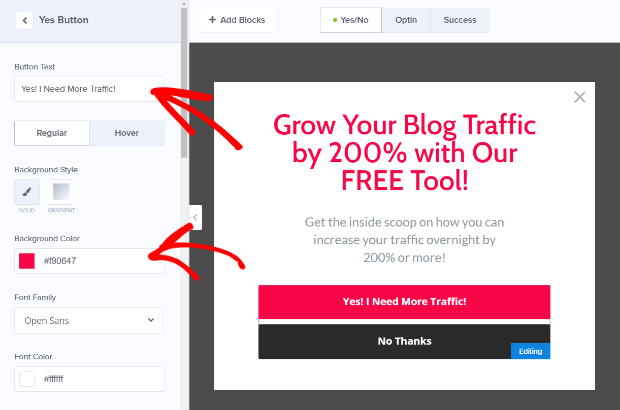
With OptinMonster, you’ll get a visual drag and drop popup builder. Once you’re done creating your campaign, you’ll be able to edit even the tiniest details about your popup. Start by editing your popup headline:
Самое удивительное здесь то, что вы просто нажимаете на любой текст, который хотите отредактировать, и меняете его прямо на месте. Нет необходимости заполнять форму или редактировать какой-либо HTML-код во всплывающем окне.
And then, adjust your button text and appearance to create a clear call to action:
When you’re happy with your popup’s appearance, you can move on to more advanced settings.
Step #3: Set Display Rules
Display rules are meant to define when your campaign shows up on your site and who sees it.
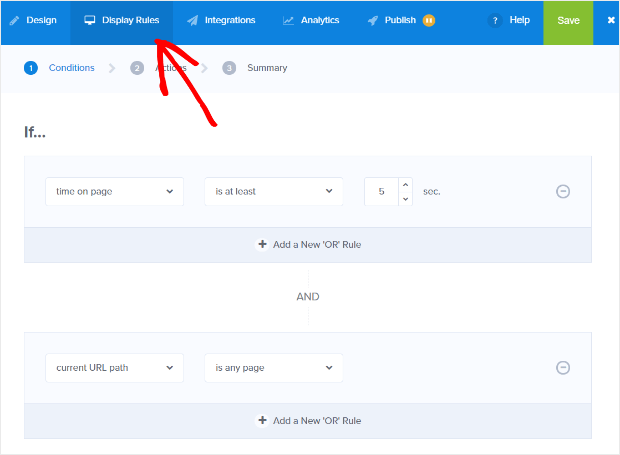
Our recommendation is that you change the trigger condition to exit-intent:
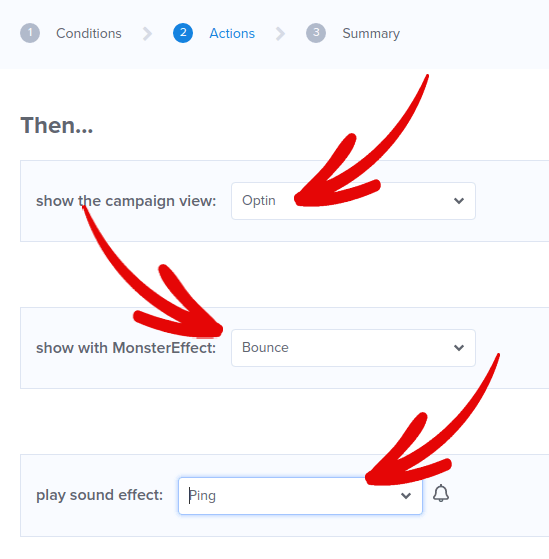
Click Next Step to choose the Action. Here, we recommend that you set Show the campaign view to Optin View, set the show with MonsterEffect to any entry animation you like, and play sound effect to any sound effect for your popup.
And then, click the Next Step button. You can see the full extent of your settings in the Summary tab.
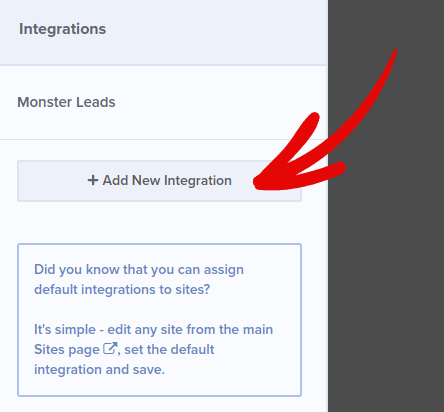
Step #4: Setup Your Email Integration
The next step is to set up your email integration. Click Add New Integration from the Integrations tab and select your email service provider:
We recommend using Drip for your email marketing if you don’t already have an email service provider.
Step #5: Publish Your Lightbox Popup
Когда вы создаете новую кампанию, по умолчанию она приостановлена.
Перейдите на вкладку Опубликовать в верхнем меню, чтобы увидеть Параметры публикации. Затем установите статус Опубликовать и выберите платформу веб-сайта:
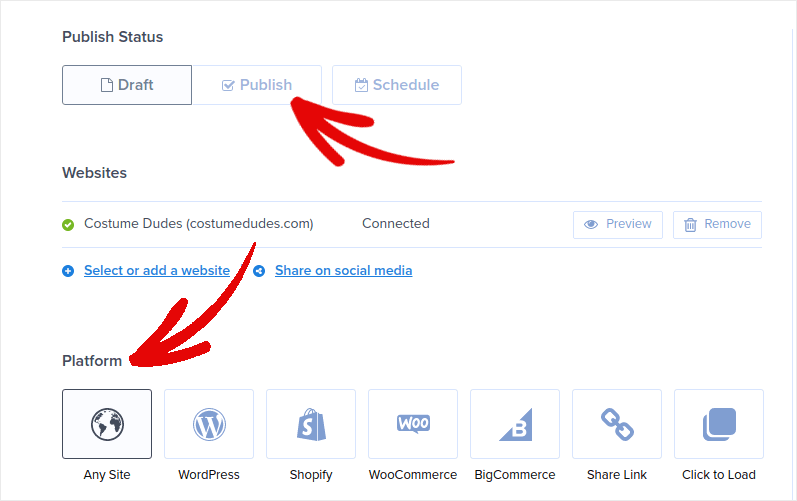
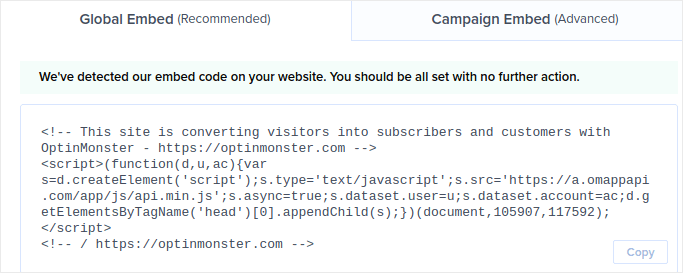
Если у вас сайт на WordPress, плагин OptinMonster автоматически выполнит остальную настройку. То же самое касается Shopify и BigCommerce. Для любого другого сайта нажмите Любой сайт и вставьте код вставки в раздел head вашего веб-сайта:
И вы закончили!
BONUS: Collect Push Notification Subscribers from Your Popup
Push notifications help you grow your website traffic and engagement on autopilot. Web push notifications are an effective way to bring back users who may have abandoned their session or left the website. It helps in re-engaging users by notifying them of new content, offers, or events.
Push notifications also include clear and actionable messages and call to action buttons, encouraging users to take specific actions, such as reading an article, completing a purchase, or participating in an event.
Вы можете настраивать push-уведомления в зависимости от предпочтений, поведения и интересов пользователей, чтобы сообщения были релевантными и ценными для каждого пользователя. Пользователи должны согласиться на получение веб-push-уведомлений. Это гарантирует, что сообщения не будут восприниматься как спам и что они отправляются с разрешения пользователей.
The coolest part is that you can collect push notification subscribers from your email popup. So, just in case your site visitors don’t want to give up their email ID, you can still get them to subscribe using web push notifications.
And that’s what we’re going to work on.
Шаг №1: Выберите службу push-уведомлений
We recommend using PushEngage to send web push notifications.

Here’s a quick glance at what you get with PushEngage:
- Высококонверсионные автоматизированные кампании
- Multiple targeting and campaign scheduling options
- Отслеживание целей и расширенная аналитика
- Smart A/B testing
- Выделенный менеджер по успеху
Вы можете начать бесплатно, но если вы серьезно относитесь к развитию своего бизнеса, вам следует приобрести платный план. Кроме того, прежде чем покупать какую-либо службу push-уведомлений, ознакомьтесь с этим руководством по стоимости push-уведомлений.
А если у вас интернет-магазин, PushEngage также поможет вам увеличить продажи, создавая автоматические push-уведомления для электронной коммерции.
Вы увидите, что PushEngage — это, без сомнения, лучший выбор, если вы хотите увеличить трафик, вовлеченность и продажи для своего бизнеса. И если у вас ограничен бюджет, вы всегда можете немного проявить креативность с вашими push-уведомлениями.
Step #2: Add an HTML Block to Your Popup
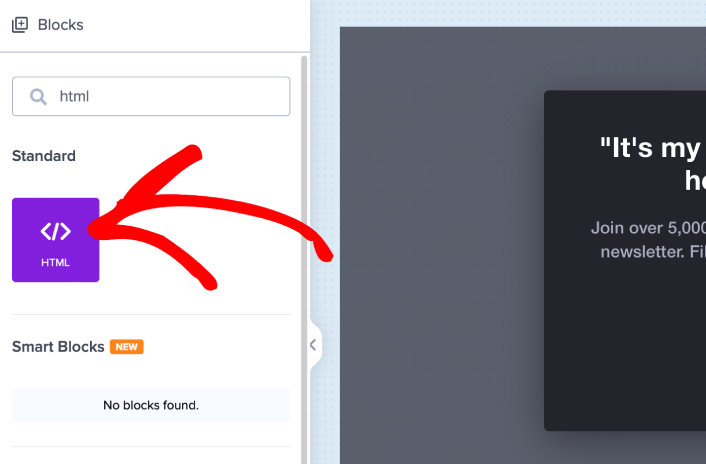
Сначала добавьте блок HTML в ваше всплывающее окно из боковой панели в OptinMonster.
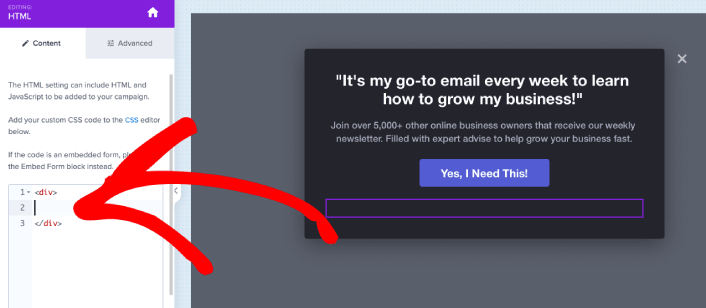
Здесь мы добавим код для сбора подписчиков push-уведомлений. Сначала вставьте следующий код, чтобы создать кликабельную кнопку:
<button onclick="subscribeOnClickButton()" style="border: none; width: 100%; padding-left: 15%; padding-right:15%; text-align: center; display: inline-block; color: white;">Get Updates via Push Notifications Instead</button>Вставьте код туда, где указано, что можно добавить HTML:
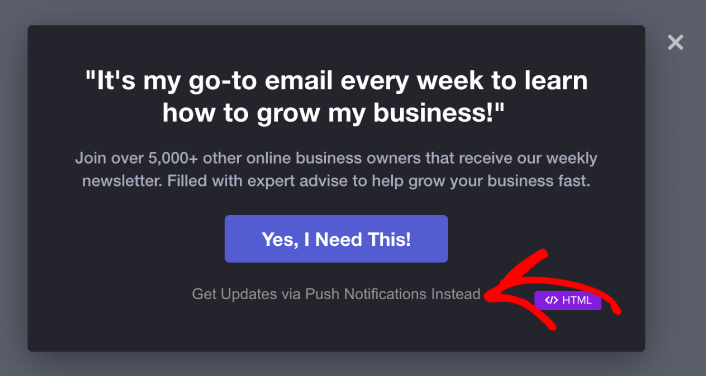
At this point, you should see a new button in your popup that says, “Get Updates via Push Notifications Instead” right below the email subscription button:
Конечно, вы можете поэкспериментировать со стилями, чтобы сделать его более привлекательным. Далее мы сделаем так, чтобы кнопка собирала подписчиков push-уведомлений при нажатии.
Step #3: Get Subscription Code from PushEngage
Перейдите на главную страницу PushEngage и нажмите кнопку Начать:

Затем выберите бесплатный план, чтобы попробовать PushEngage, или выберите платный план, если вы серьезно относитесь к развитию своего бизнеса. Платные планы включают больше опций для кампаний и возможность создавать еще большие списки подписчиков.
В вашей панели управления PushEngage перейдите в раздел Настройки сайта » Детали сайта и нажмите кнопку Нажмите здесь для инструкций по настройке. В разделе Любой сайт вы получите код установки:

ВНИМАНИЕ: Вам нужно скопировать код, который вы получите из вашей панели управления. Код уникален для каждого пользователя PushEngage. Вы не сможете скопировать код из изображения и собирать подписчиков push-уведомлений.
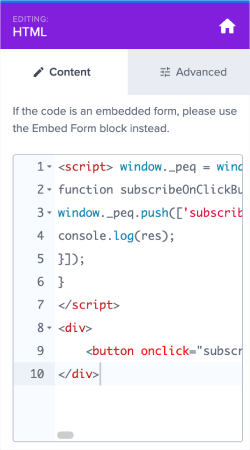
Когда у вас будет код в вашей панели управления PushEngage, возьмите второй скрипт и добавьте к нему дополнительный код. Ваш окончательный код должен выглядеть примерно так:
<script src="https://clientcdn.pushengage.com/core/02a6e92667ae2279fcba8932356c1d93.js" async></script>
<script> window._peq = window._peq || [];
function subscribeOnClickButton(){
window._peq.push(['subscribe',{}.pe,function(res){
console.log(res);
}]);
}
</script>
Step #4: Add Your Subscription Code to the HTML Block in Your Popup
Add this code to the HTML block in OptinMonster and you’re done!
When you’re done, just hit the Save and Publish buttons.
If you check out your website, you should now see the lightbox popup collecting both email and push notification subscribers:
And just like that, you’re collecting push subscribers from your popup. Push notifications come with their own popup modals. But they’re a bit difficult to customize. So, you can create beautiful popups using OptinMonster and then use them as your push notification popups.
What to do After You Create a Lightbox Popup
На этом всё, друзья!
Let us know if this article helped. Creating popups on your site can help you convert your traffic into email subscribers and genuine business leads. And we highly recommend that you start creating lightbox popups right away.
And if you’re looking for an affordable way to grow your traffic, we recommend using push notifications. Push notifications can help you bring in more repeat traffic and site engagement. You can also create automated push notification campaigns that generate sales.
Не убедились? Ознакомьтесь с этими ресурсами:
- 7 умных стратегий для повышения вовлеченности клиентов
- Эффективны ли push-уведомления? 7 статистических данных + 3 совета экспертов
- Как настроить push-уведомления о брошенной корзине (простое руководство)
Мы рекомендуем использовать PushEngage для создания ваших кампаний push-уведомлений. PushEngage — это программное обеспечение для push-уведомлений №1 в мире. Так что, если вы еще этого не сделали, начните использовать PushEngage сегодня!


