ポップアップモーダルは、ストアフロントに表示されるサブスクリプションプロンプトで、プッシュ通知の許可を求めるものです。PushEngageでは、オンにして、スタイルを設定し、特定のページにターゲット設定できる複数のオプトインスタイルを提供しているため、購読者リストを増やすことができます。このガイドでは、PushEngage Shopifyアプリでポップアップモーダルを有効にして設定する方法を説明します。
開始する前に
- PushEngageをShopifyストアにインストールして接続し、ストアフロントにオプトインを表示できるようにします。
- ストアに合ったオプトインスタイルと、表示したい場所を決定します。
- Safariなどの一部のブラウザや、ワンステップオプトインは動作が異なるため、PushEngageでは複数のスタイルを提供しています。
ポップアップモーダルの仕組み
各オプトインはテンプレートであり、オンにしてカスタマイズできます。スタイルを選択し、テキストと外観を編集し、プロンプトを表示するページを決定するターゲティングルールを設定します。状況に応じて複数のスタイルを有効にでき、プレビューで公開前に各スタイルがどのように見えるかを確認できます。
| オプトインスタイル | 最適 |
|---|---|
| 洗練されたオプトインボックス | クリーンでモダンなサブスクリプションボックス。 |
| Safariスタイルボックス | ネイティブブラウザスタイルのプロンプト。 |
| ベル配置バー | オプトインを招待するための通知ベル付きバー。 |
| フローティングバー | ページにフローティングするスリムバー。 |
| Pushシングルステップオプトイン | 訪問者がキャンペーンにオプトインするための1つのステップ。 |
| 大きなSafariスタイルボックス | メッセージ用のスペースが多い、より大きなネイティブスタイルのプロンプト。 |
ポップアップモーダルの有効化とカスタマイズ
1. プッシュ通知 » デザインに移動します。
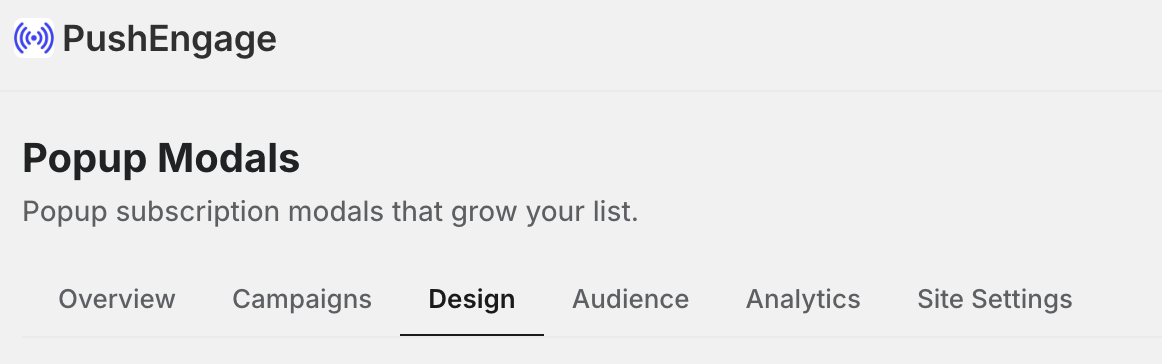
2. 次に、ポップアップモーダルタブに移動します。目的のオプトインスタイルを見つけてオンにします。
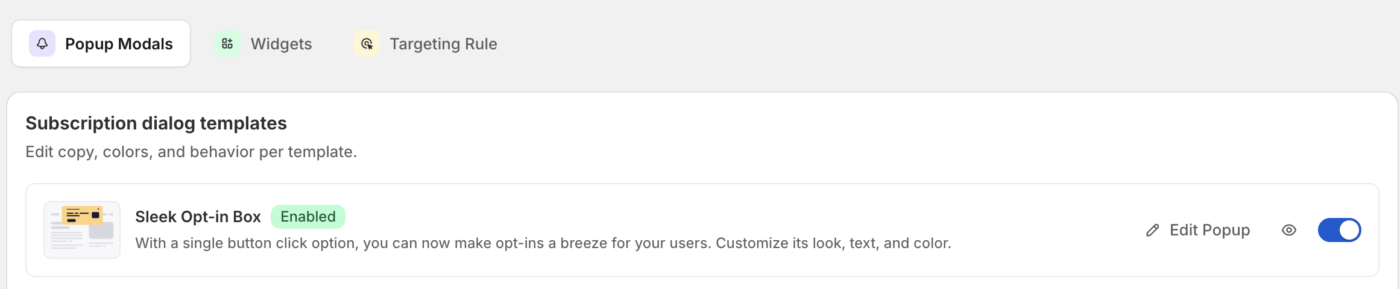
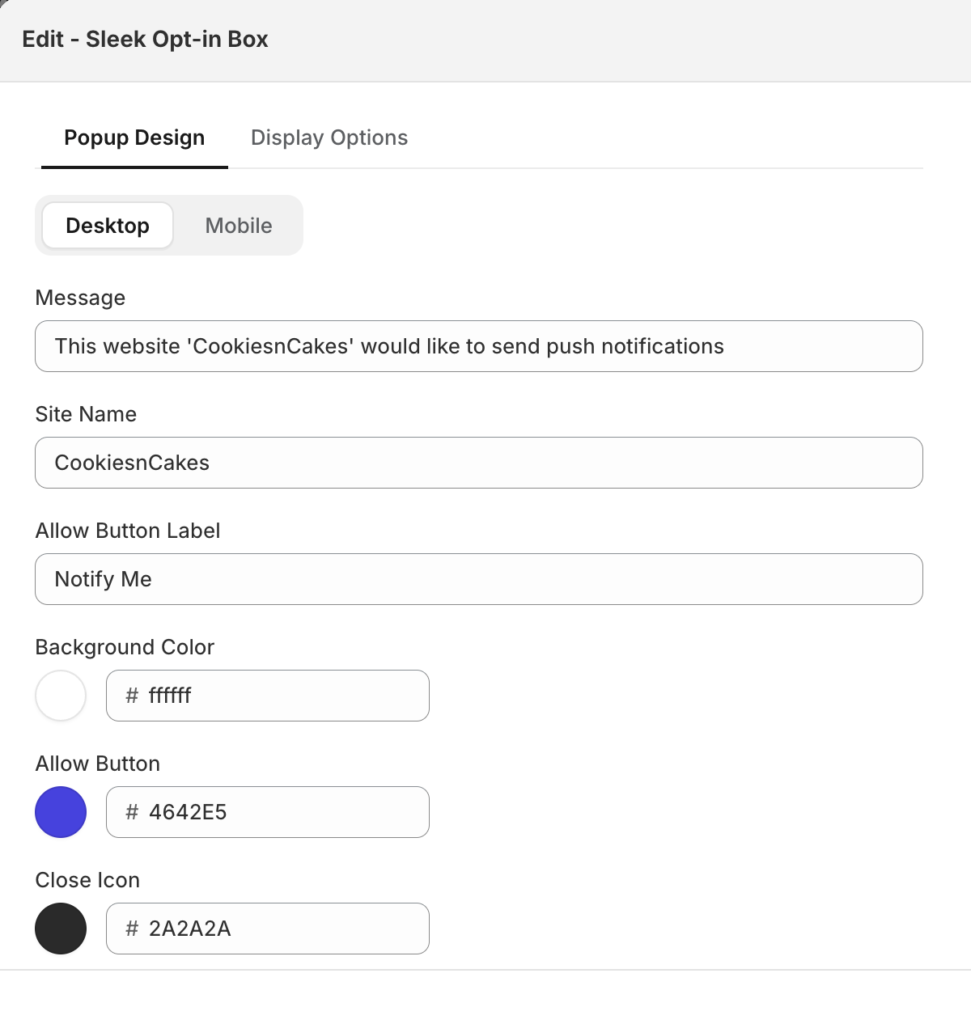
3. スタイルを開いて、見出し、メッセージ、ボタンのテキストを編集します。ストアフロントに合わせて、外観と配置を調整します。
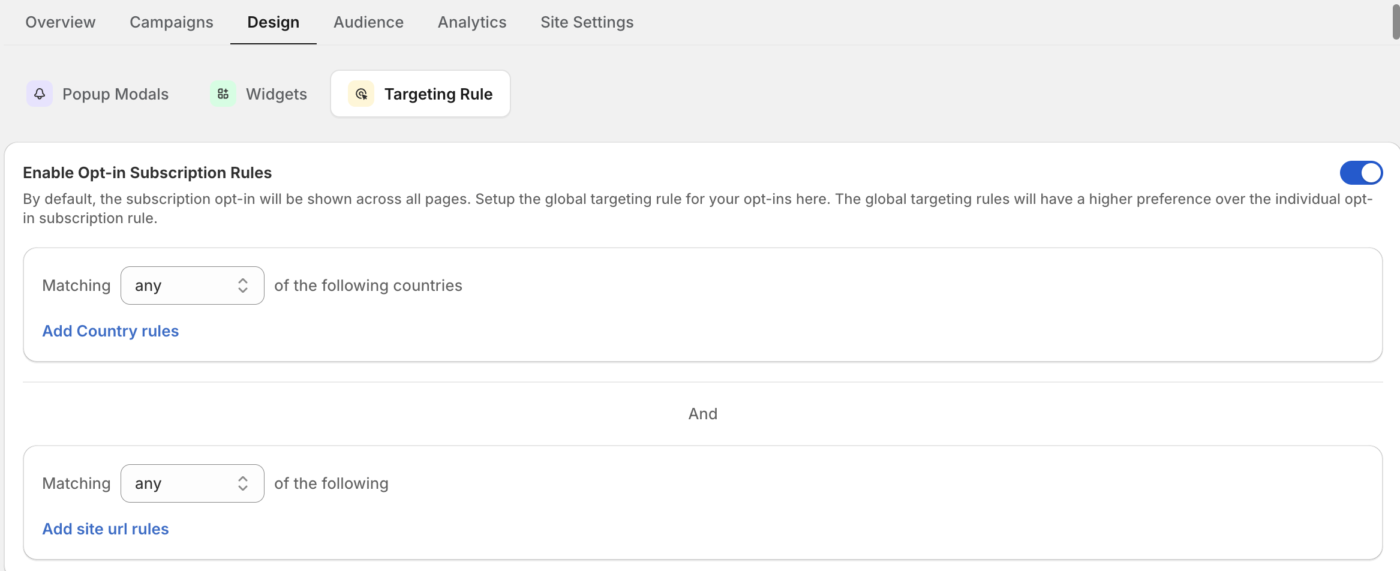
4. ターゲティングルールを設定して、プロンプトを表示するページを制御します。
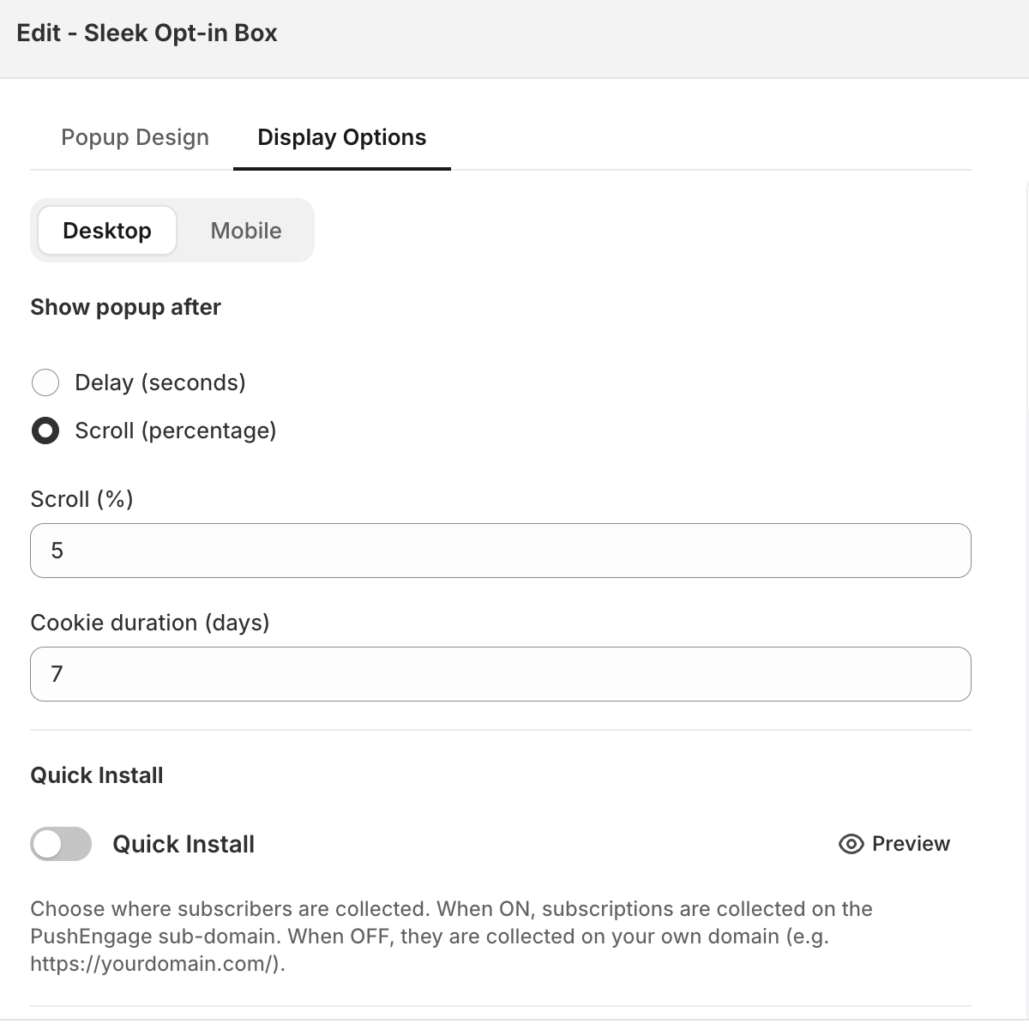
5. 変更を保存してオプトインを公開します。
コンテンツと外観の編集
スタイルを開いて、見出し、サブスクリプションメッセージ、ボタンのラベルを含む、テキストと外観を編集します。公開前にプレビューを使用して、文言とレイアウトを確認します。
適切なページをターゲットにする
ターゲティングルールを使用して、オプトインを表示する場所を決定します。条件(含む、開始、終了、等しいなど)を使用してページURLで一致させ、特定のページにプロンプトを表示したり、他のページから除外したりできます。ルールを組み合わせて、購入者がサブスクリプションプロンプトを表示する場所を微調整します。
よくある質問
どのオプトインスタイルを使用すべきですか?
Sleek Opt-in BoxやSafari Style Boxのような、購入者がサブスクリプションのプロンプトとして認識する、クリーンで視認性の高いスタイルから始めましょう。複数のスタイルを有効にし、ターゲット設定ルールを使用して、各スタイルが適切な場所に表示されるようにすることができます。
特定のページにのみオプトインを表示できますか?
はい。ターゲット設定ルールを使用して、ページURLと「次を含む」または「次で始まる」などの条件で一致させることで、プロンプトを希望の場所にのみ表示し、チェックアウトなどのページには表示されないようにすることができます。
購入者がオプトインを表示しないのはなぜですか?
スタイルがオンになっていること、ターゲット設定ルールが期待どおりのページと一致していること、および購入者がすでにブラウザで通知を購読またはブロックしていないことを確認してください。以前にプロンプトを却下またはブロックした購入者は、再度表示されない場合があります。サブスクライバーがブラウザのゲストモード/シークレットモードでウェブサイトを開いている場合、オプトインが表示されない可能性があります。
問題が発生した場合は、ここをクリックしてお気軽にお問い合わせください。サポートチームがお手伝いします。