Looking for a tutorial on how to create a blog page on WordPress?
Creating a separate page for your blog makes it easier for visitors to find your latest posts. But if you’ve never made a blog page before, how do you even get started? Do you need a plugin to do it? Or can you do it from WordPress default settings as is?
In this article, we’re going to show you how to create a blog page on WordPress step by step and in the simplest way possible.
Ça vous dit ? Plongeons.
What Is a WordPress Blog Page?
A WordPress blog page is a page on a WordPress website that displays posts in reverse chronological order, with the most recent post at the top of the page. The page is usually called the “blog” or “news” page and is often the main page of a WordPress website.
You can use a blog page to share updates, news, stories, and other information with website visitors. A blog posts page typically includes the following web design elements:
- Navigation menu
- Blog posts list
- Pied de page
We also recommend having a sidebar to showcase your most popular posts, a newsletter subscription form, and even ads from Google AdSense or Google AdSense alternatives.
Blog pages are a common feature of WordPress websites and are easy to set up and customize. You can use the built-in WordPress editor to add and format your blog posts. But if you want to customize the blog page itself, you can use WordPress plugins to add features and functionality.
Why Create a Blog Page on WordPress?
There are many reasons why you might want to create a blog page on your WordPress website. Here are a few:
- Share updates and news with your audience: A blog page is a great way to share updates, news, and other information with your website visitors. You can use it to keep them informed about what’s going on with your business, organization, or personal life.
- Engage with your audience: By allowing comments on your blog posts, you can encourage your visitors to share their thoughts and ideas with you and with each other.
- Improve your website’s search engine rankings: Search engines, like Google, tend to favor websites that have fresh, regularly-updated content. By regularly publishing blog posts, you can help your website rank higher in search engine results.
- Establish yourself as an authority in your field: If you are knowledgeable about a particular topic, a blog can be a great way to share your expertise with others and establish yourself as an authority in your field.
- Monetize your website: If you have a large and engaged audience, you may be able to monetize your blog by selling advertising space or promoting products or services.
In short, a blog page can be a valuable addition to any WordPress website, whether you are using it for personal or professional purposes. If you’re not sure where to get started, you should check out our article on how to create a website.
How to Create a Blog Page on WordPress with a Page Builder
One of the easiest ways to create a blog page on WordPress is to use a WordPress page builder plugin. We recommend using SeedProd.

SeedProd est le meilleur plugin WordPress pour créer des pages de destination qui convertissent.
Vous obtenez un constructeur de pages de destination par glisser-déposer qui regorge d'options pour créer des pages e-commerce et des pages de destination. Contrairement aux constructeurs de sites Web WordPress, vous pouvez personnaliser chaque centimètre de votre page de destination, y compris les menus de navigation, les pieds de page et les styles. SeedProd fonctionne également avec n'importe quel thème WordPress et crée des pages de destination adaptées aux mobiles.
Avec SeedProd, vous obtenez des modèles prédéfinis pour des pages de destination à forte conversion que vous pouvez publier instantanément. Cela inclut des modèles pour :
- Pages de vente
- Pages "Bientôt disponible"
- Pages 404
- Pages de maintenance
- Pages de destination d'applications
- Pages de connexion
- Pages de remerciement
- Pages de webinaires
- Pages vidéo
And lots more! We love using SeedProd and we even wrote an in-depth review of the SeedProd plugin. Go ahead and check that out!
Step #1: Install the SeedProd Plugin on Your Site
First, you’ll need to visit the SeedProd website and purchase the plugin. Then, you can download the plugin file to your computer. Then, copy the plugin license key from your SeedProd dashboard.
Next, you’ll have to log into your WordPress dashboard and install the plugin. If you need detailed instructions, check out this step-by-step guide to installing a WordPress plugin. Head over to the SeedProd plugin welcome screen on WordPress and verify your license key:

After your account is verified, you’re ready to create a blog page on WordPress.
Step #2. Choose a Starter Theme Template
Head over to SeedProd » Theme Builder in your WordPress dashboard:
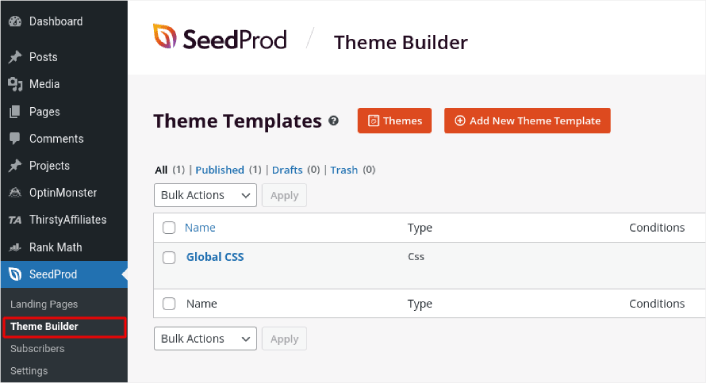
Here, you can select a starter theme with SeedProd. You can create a custom theme using SeedProd very easily. But for now, we’re going to select a pre-built template. Click on the Themes button and select your starter theme.
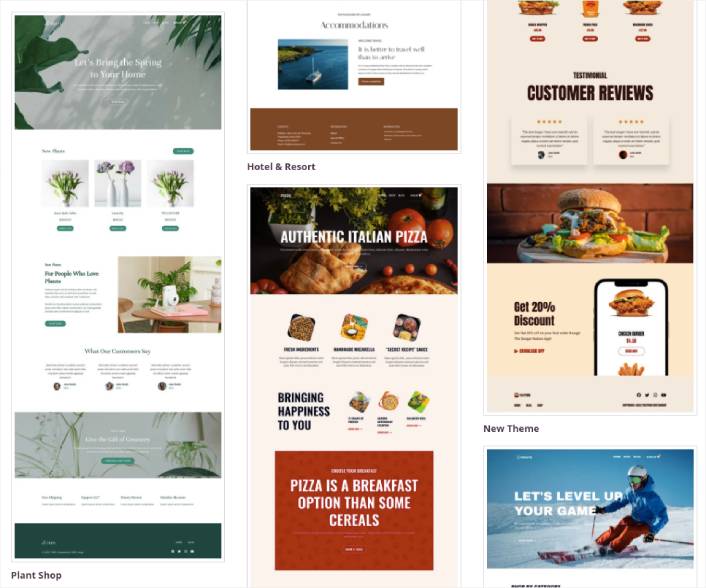
After choosing a theme, SeedProd will automatically create all the theme templates. From here, you can edit each template using the drag-and-drop editor. Each page is set up automatically with an attractive layout and placeholder content ready for you to customize.
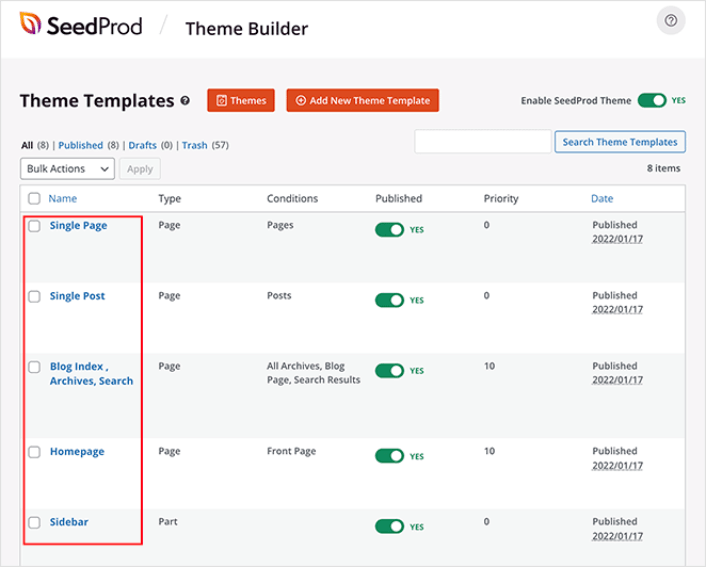
Here, you can choose to customize every part of your theme. We recommend customizing your home page first, but for this article, we’re going to skip ahead and go straight for the blog page.
Step #3. Customize Your Blog Page
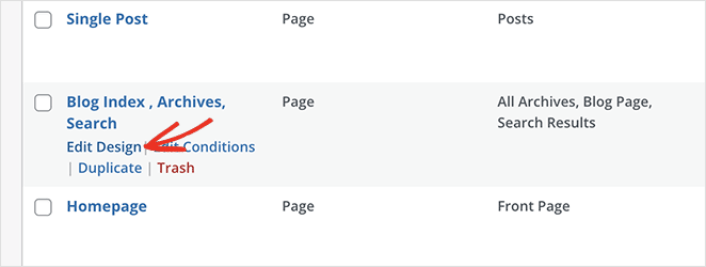
SeedProd’s theme builder comes with many ways to customize your blog page. Click the Edit Design link on the Blog Page template file to get started:
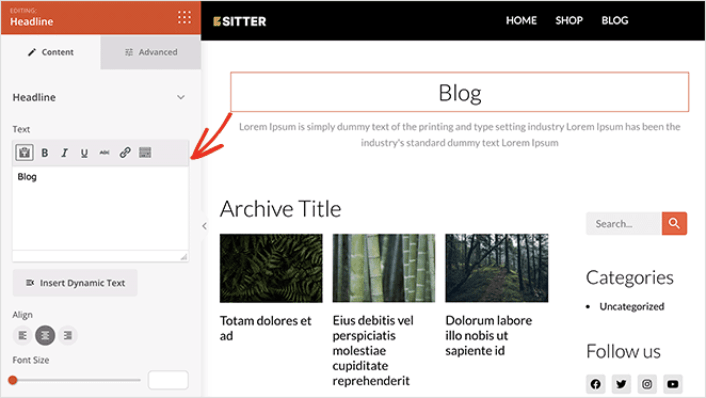
It’s super easy to customize the blog page using the SeedProd builder. All you have to do is click on an element and edit it:
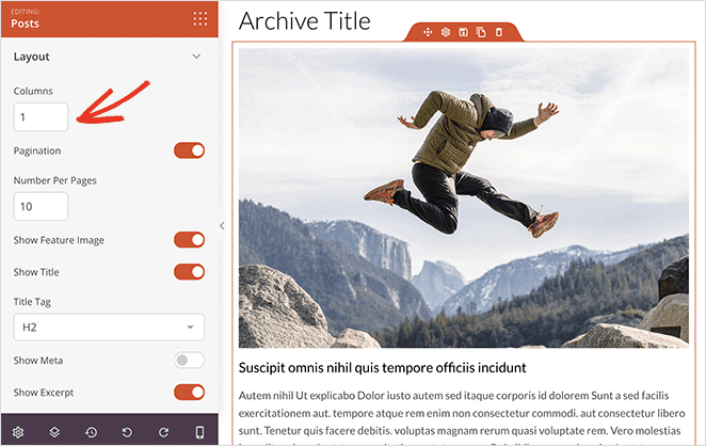
SeedProd offers several blocks you can use on your blog page. The most important is the Posts block which shows a list of recent blog posts.

You can change the layout of the Posts block easily by clicking it and choosing different settings in the left-hand panel.
If you scroll through the block settings, you’ll see other toggles to show or hide:
- Featured image
- Read more text
- Pagination
- Meta information
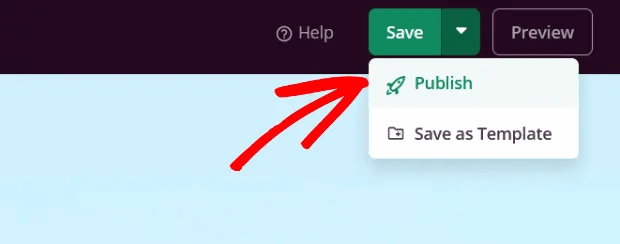
These settings allow you to display your blog posts to best suit your target audience. When you’re done customizing your page, click on Save. Then, click on the dropdown arrow next to the Save button and hit Publish:
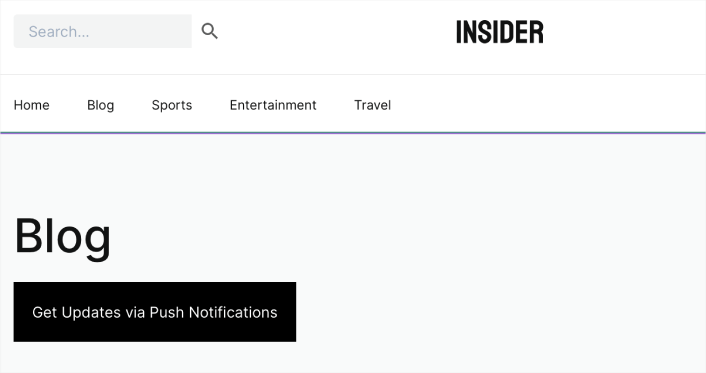
Step #4: Add a Click to Subscribe Button to Your Blog Page
You can also add a click to subscribe button to collect push notification subscribers. Push notifications are a great way to increase your repeat traffic, get more engagement and even sell official merch if you have some.
In SeedProd, just drag and drop the Custom HTML module from the sidebar.
We’ve put the subscribe button directly underneath the blog title in the first fold.
But you can insert the button anywhere you like.
For this part, you need some experience with HTML and CSS. Or, you can copy this code and paste it into your Custom HTML block:
<button onclick="subscribeOnClickButton()" style="border: none; padding-left: 5%; padding-right:5%; text-align: center; display: inline-block; color: blue;">Get Updates via Push Notifications</button>That’s a standard button in HTML with very little styling. The only fancy bit is the onclickfunction in the code. It basically means that your visitors can click on the button to subscribe to something. Now, we need to give the button some extra code to allow your visitors to subscribe to push notifications.
Rendez-vous sur la page d'accueil de PushEngage et cliquez sur le bouton Commencer :

Ensuite, vous devrez sélectionner le plan gratuit pour essayer PushEngage ou choisir un plan payant si vous êtes sérieux au sujet de la croissance de votre entreprise. Les plans payants offrent plus d'options de campagne et la possibilité de créer des listes d'abonnés encore plus grandes.
Dans votre tableau de bord PushEngage, allez dans Paramètres du site » Détails du site et cliquez sur le bouton Cliquez ici pour les instructions de configuration. Sous N'importe quel site, vous obtiendrez votre code d'installation :

ATTENTION : Vous devez copier le code que vous obtenez de votre tableau de bord. Le code est unique pour chaque utilisateur de PushEngage. Vous ne pourrez pas copier le code de l'image et collecter les abonnés aux notifications push.
Une fois que vous avez le code dans votre tableau de bord PushEngage, ajoutez cet extrait de code à votre code :
<script> window._peq = window._peq || [];</script> <script>
function subscribeOnClickButton(){
window._peq.push(['subscribe',{}.pe,function(res){
if(res.statuscode==1)
{
// Code to return response
console.log(res);
}
}]);
}
</script>
Votre code final devrait ressembler à ceci :
<script src="https://clientcdn.pushengage.com/core/02a6e92667ae2279fcba8932356c1d93.js" async></script>
<script> window._peq = window._peq || [];</script> <script>
function subscribeOnClickButton(){
window._peq.push(['subscribe',{}.pe,function(res){
if(res.statuscode==1)
{
// Code to return response
console.log(res);
}
}]);
}
</script>
You’ll want to add this code to the HTML block in your landing page after the code for the button. It should look something like this:

Feel free to customize the styles for the button any way you please. When you’re done customizing your blog page, go ahead and hit the Save button.
What to do After You Create a Blog Page on WordPress
Now that you know how to create a blog page on WordPress, all that’s left is to send traffic to your site and watch your business grow.
Et si vous recherchez un moyen abordable de développer votre trafic, nous vous recommandons d'utiliser les notifications push. Les notifications push peuvent vous aider à générer plus de trafic de retour et d'engagement sur le site. Vous pouvez également créer des campagnes de notifications push automatisées qui génèrent des ventes.
Pas convaincu ? Consultez ces ressources :
- 7 stratégies intelligentes pour stimuler l'engagement client
- Les notifications push sont-elles efficaces ? 7 statistiques + 3 conseils d'experts
- Comment configurer des notifications push pour paniers abandonnés (Tutoriel facile)
- Comment ajouter un plugin WordPress de notifications Web à votre site
Nous vous recommandons d'utiliser PushEngage pour créer vos campagnes de notifications push. PushEngage est le logiciel de notifications push n° 1 au monde. Donc, si ce n'est pas déjà fait, commencez dès aujourd'hui avec PushEngage !


