
Looking for a quick and easy tutorial on how to embed Instagram photos in WordPress?
Instagram embeds are not the same as having a link to an Instagram post. With Instagram embeds, you can showcase your entire Instagram feed or parts of it as you see fit.
But the tricky part is to create an Instagram embed for WordPress. WordPress doesn’t support Facebook and Instagram oEmbeds anymore. oEmbed was a simple way to fetch Instagram photos on any site by simply pasting the link. But now, you have to sign up as a Facebook app developer and create an app with oEmbed permissions to embed Instagram photos in WordPress.
If that sounds complicated, that’s because it really is. The good news is that there’s a super simple way to embed Instagram photos in WordPress. In this article, we’re going to see exactly how you can embed Instagram photos in WordPress without a single line of code.
Et nous allons le faire en 10 minutes ou moins !
Plongeons dans le vif du sujet.
Why You Should Embed Instagram Photos in WordPress
If you can embed Instagram photos in WordPress, you’ll see a lot of benefits right away. It’s a great way to get the website visitors you bring in from other channels such as SEO to become your Instagram follower.
But that’s just the most obvious benefit. With Instagram feeds, you can customize the section to show your customer reviews, content from your top affiliates and influencers, and your most successful campaigns. It’s super easy to do as well. You can filter the showcased posts by specific hashtags and brand mentions.
Le contenu dynamique augmente également l'engagement sur votre site. Vous pouvez même obtenir des boosts pour le SEO de votre site en raison du contenu supplémentaire sur vos pages.
How to Embed Instagram Photos on Your WordPress Site
You can easily embed Instagram feeds on your website using the Instagram Feed Pro plugin from Smash Balloon.
Smash Balloon is the #1 social media feed plugin for WordPress. The Instagram Feed Pro plugin by Smash Balloon is the easiest way to embed Instagram photos in WordPress.
Vous pouvez utiliser Smash Balloon pour :
- Utiliser vos flux de hashtags sur votre site comme preuve sociale
- Display interactive Twitter feeds to boost website engagement
- Intégrer vos vidéos YouTube sur votre site pour augmenter vos abonnés
- Ajouter des avis authentiques de votre page professionnelle Facebook sur votre site pour augmenter les conversions
And lots more! Most importantly, Instagram Feed Pro lets you embed an Instagram feed without registering as an app developer. This will save you a ton of time and hassle.
Si vous souhaitez consulter la liste complète des fonctionnalités de Smash Balloon, vous devriez consulter notre avis sur Smash Balloon.
The next few steps are all you need to do to embed Instagram photos in WordPress. If you follow every step, you should be able to create an Instagram feed on your site like this one:

Commençons.
Step #1: Install and Activate the Instagram Feed Pro Plugin
First off, install and activate the Instagram Feed Pro plugin. You can download the Instagram Feed Pro plugin from your Smash Balloon account under Downloads:

Then, activate the plugin using your license key in your WordPress dashboard by going to Instagram Feed » Settings » General » License Key:
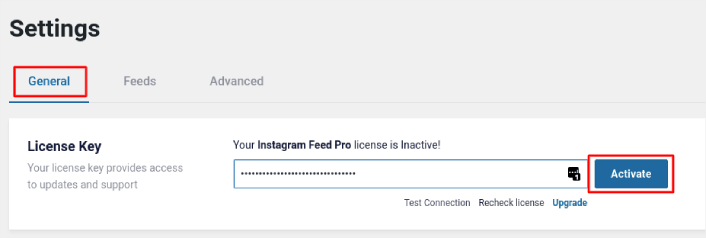
Paste in your license key and click on the Activate button.
Step #2: Connect Your Instagram Account to WordPress
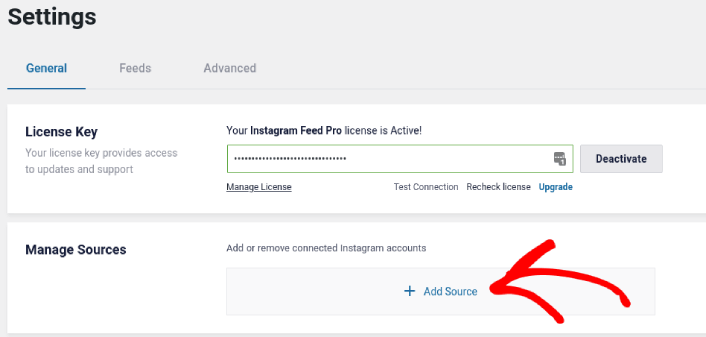
In your WordPress dashboard, go to Instagram Feed » Settings » General » Manage Sources and the click the plus (+) button:
Then, click on the Login with Instagram button:
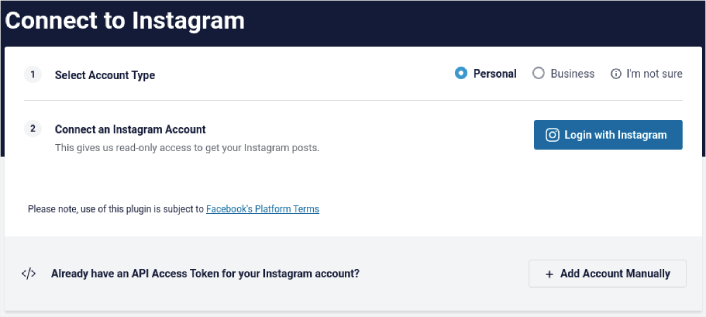
Once you’re done logging in to your account, you can start creating Instagram feeds for your site.
Step #3: Choose the Instagram Content to Display
In your WordPress dashboard, go to Instagram Feed » All Feeds and click the Add New button:
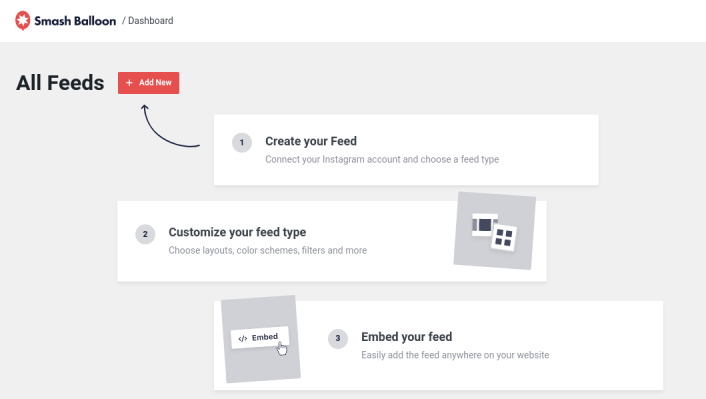
Next, you’ll need to select the type of content you want to display on your site:
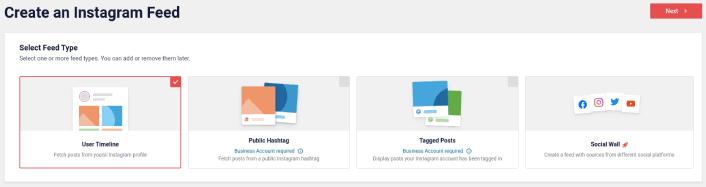
You can create 4 types of Instagram feeds:
- Chronologie utilisateur : Ce type de flux est disponible pour tous les comptes et vous pouvez l'utiliser pour afficher vos derniers messages.
- Public Hashtag: You can embed this type of feed to display only posts with a specific hashtag.
- Tagged Posts: This type of feed displays only posts where your Instagram handle is tagged. It’s perfect for showcasing social media reviews.
- Social Wall: You can embed Instagram photos in WordPress as part of a custom wall with feeds from other social media platforms as well.
Pick the right type of content for your site and click the Next button. You’ll be prompted to select the source for your Instagram feed. Just select the account you connected with your WordPress site earlier.
Step #4: Customize Your Instagram Feed
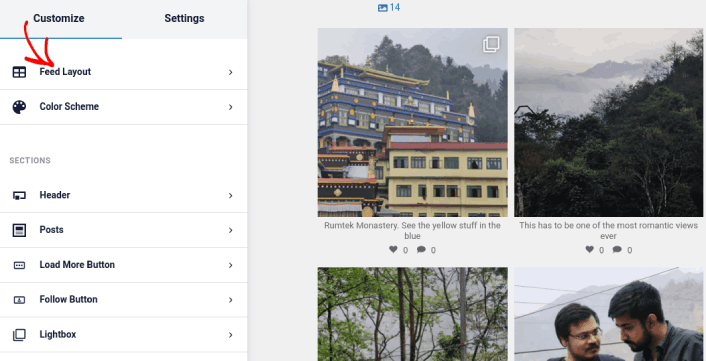
Now for the coolest bit about Smash Balloon. You can use a drag-and-drop editor to customize your Instagram feed! In the left-hand sidebar, you get a bunch of design options that are super easy to use.
Personnaliser la mise en page du flux
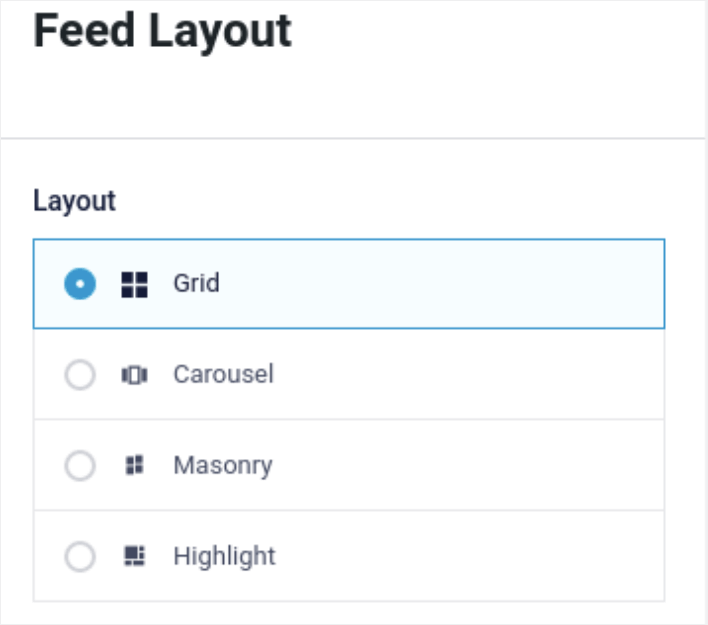
Vous pouvez cliquer sur l'onglet Mise en page du flux sous Personnaliser pour choisir une mise en page pour votre intégration :
Il y a 4 types de mises en page parmi lesquelles vous pouvez choisir. Vous pouvez voir à quoi ressemble chacune d'elles dans l'aperçu, puis sélectionner celle que vous préférez :
Vous pouvez également définir une hauteur et un remplissage personnalisés pour le flux :
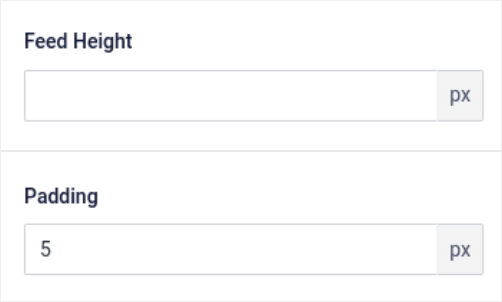
Vous pouvez même sélectionner le nombre de publications que vous souhaitez afficher à la fois :
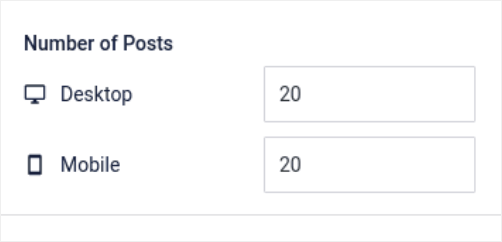
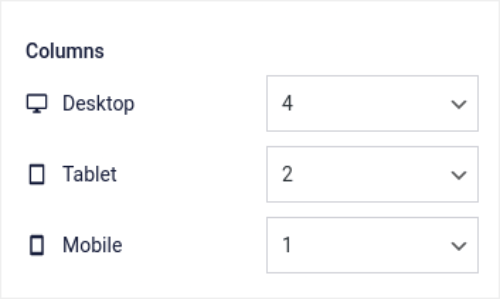
And if you’re feeling really fancy, you can also set the number of columns in your Instagram feed:
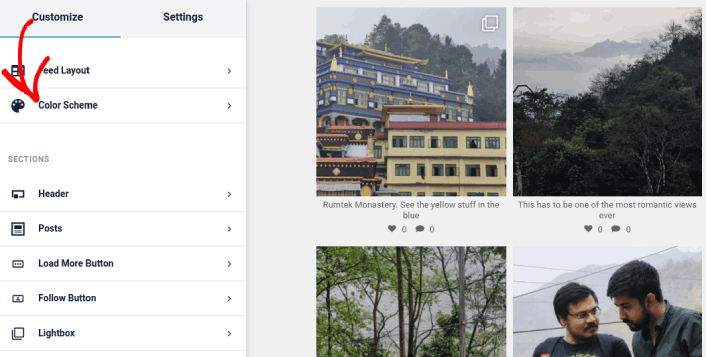
Personnaliser le schéma de couleurs
The default color scheme in Instagram Feed Pro is meant to work with almost any site’s design. But just in case you feel that it’s out of place with the rest of your site, you can customize the feed’s color scheme as well.
Sous Personnaliser, allez dans Schéma de couleurs pour sélectionner un aspect personnalisé :
Nous recommandons d'utiliser l'option Hériter du thème car elle récupère automatiquement les styles de votre thème.
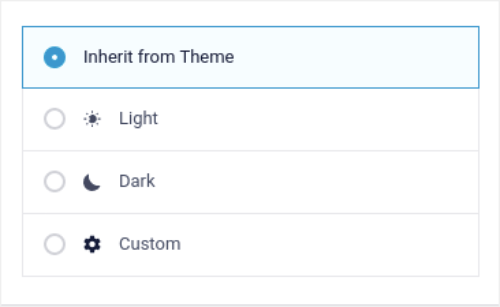
Mais vous pouvez cliquer sur Personnalisé pour créer votre propre schéma de couleurs.
Ajouter des sections à votre flux Instagram
Finally, you can also add custom sections to your Instagram feed under Customize » Sections:
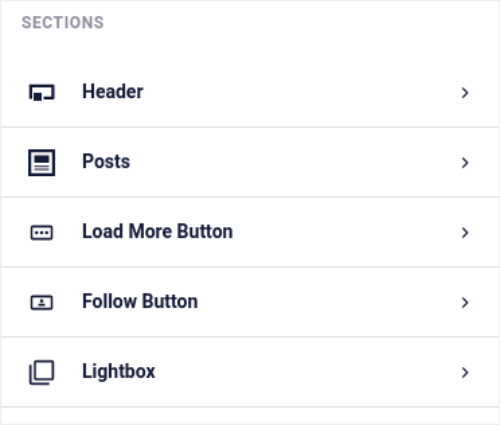
Cela inclut :
- En-tête : Vous pouvez personnaliser l'en-tête pour inclure des styles de police, une image d'affichage personnalisée, une biographie personnalisée, et plus encore.
- Publications : Vous pouvez personnaliser la résolution des images et des vidéos pour vos publications, autoriser les légendes, inclure les résumés des likes et des commentaires, et créer des effets de survol.
- Bouton Charger plus : Vous pouvez ajouter un bouton Charger plus à votre flux pour récupérer plus d'images lorsque vos visiteurs cliquent dessus.
- Follow Button: You can add a button to nudge your website visitors to follow you on Instagram.
- Lightbox : Vous pouvez créer une fenêtre modale où vos publications apparaissent en mode plein écran lorsque vous cliquez dessus.
Une fois que vous êtes satisfait des paramètres, cliquez sur le bouton Enregistrer.
Step #5: Embed Instagram Photos in WordPress Page/Post
Now that your feed has been fully customized, it’s time to embed Instagram photos on your site. In your WordPress dashboard, go to Instagram Feed » All Feeds and copy the feed shortcode:
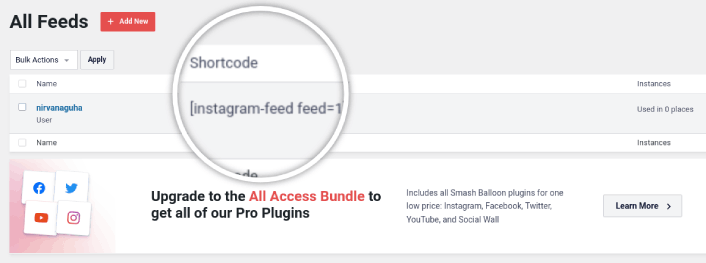
Now, you can use this shortcode to embed Instagram photos in WordPress instantly. You can add it to the sidebar, footer, posts, and even pages across your site.
If you followed all the steps from start to finish, you should have an Instagram feed on your site like this one:
Et voilà ! Vous avez terminé.
What to do After You Embed Instagram Photos in WordPress
C'est tout pour cette fois, les amis !
By now, you’ve managed to embed Instagram photos in WordPress. Next, you should set up a viral giveaway to supercharge your social media following.
After that, all that’s left is generating traffic to your site so that your contact forms can get to work. A simple way to do that is to start using push notifications. Sending push notifications is a great way to generate repeat traffic for your site. If that’s something you’re interested in, you should check out these articles as well:
- Coût des notifications push : Est-ce vraiment gratuit ? (Analyse des prix)
- Comment obtenir plus de trafic vers votre blog WordPress (9 méthodes faciles)
- Comment augmenter votre taux d'opt-in pour les notifications push Web (7 méthodes)
- Comment ajouter un plugin WordPress de notifications Web à votre site
Nous vous recommandons d'utiliser PushEngage pour envoyer vos notifications push. PushEngage est le logiciel de notification push n°1 au monde. Donc, si ce n'est pas déjà fait, commencez dès aujourd'hui avec PushEngage.


