Notice: There is no legacy documentation available for this item, so you are seeing the current documentation.
When a new visitor subscribes to push notifications on your Shopify store, they are added to your Leads segment — they have opted in but have not yet made a purchase. A welcome drip is a series of automated push notifications that fires for every new subscriber in sequence, introducing your store and nudging them toward their first order.
This guide shows you how to build a three-notification welcome drip targeted specifically at new Shopify subscribers.
Before You Start
- PushEngage is installed on your Shopify store and you have active push subscribers.
- The Leads segment is enabled in your store. If not, see Understanding Default Shopify Segmentation and Audience Groups.
- Drip Autoresponders are available on Automation plans and above.
The 3-Push Welcome Sequence
Plan your sequence before building it. Each notification has a different job.
| Step | Timing | Goal | Tone |
|---|---|---|---|
| Push 1 | Immediately on subscribe | Welcome the subscriber and direct them to your store | Warm, welcoming |
| Push 2 | 24 hours after Push 1 | Highlight your bestsellers or a top collection | Helpful, discovery-focused |
| Push 3 | 72 hours after Push 1 | Offer an incentive to make a first purchase | Direct, incentive-led |
Step 1: Create a New Drip Autoresponder
- Log in to your PushEngage dashboard.
- Go to Campaigns » Drip Autoresponders.
- Click Create New Drip Autoresponder.
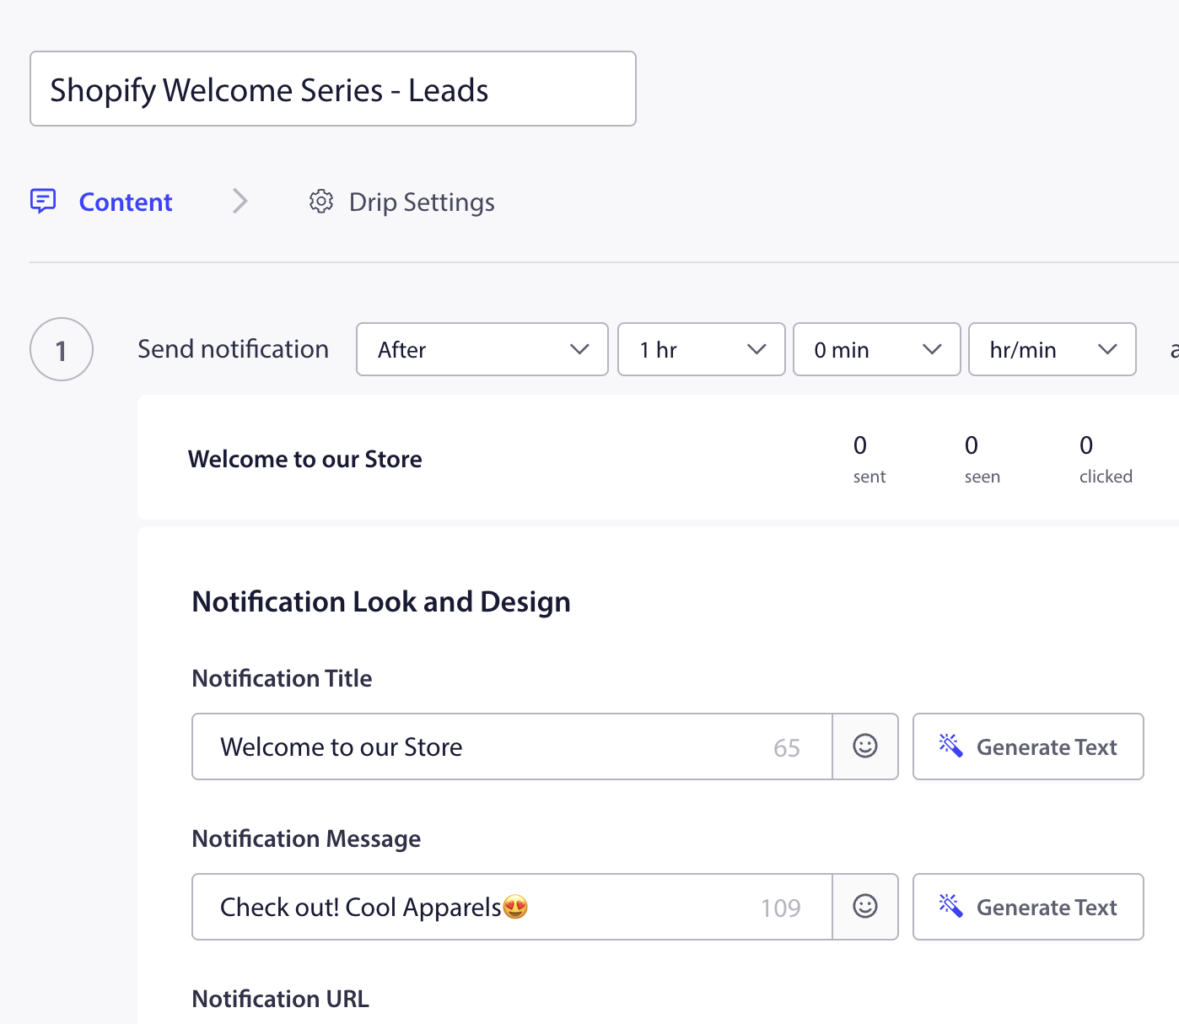
- Enter a name for the campaign. Example: Shopify Welcome Series – Leads.
[Screenshot: Drip Autoresponders page with Create New Drip Autoresponder button and campaign name field]
Step 2: Add Push 1 (The Welcome)
The first notification fires after some time when a subscriber opts in.
Set the delay to 10 minutes (send after some time). You can also send after an hour.
Copy Options for Push 1
| Option | Title | Message |
|---|---|---|
| 1 | Welcome to [Store Name]! | Thanks for subscribing. Explore our latest collection and find something you will love. |
| 2 | You are in! | Welcome to [Store Name]. Check out what is new and get inspired. |
| 3 | Great to have you here! | Browse our store and discover our bestsellers. We will keep you posted on deals and new arrivals. |
Click Save when done.
Step 3: Add Push 2 (Bestsellers Highlight)
Click Add Notification at the bottom of the campaign editor.
Set the delay to 1 day after the previous notification.
Copy Options for Push 2
| Option | Title | Message |
|---|---|---|
| 1 | Our most popular picks | Here are the products our customers love most. See what is trending in our store. |
| 2 | Not sure where to start? | We picked our bestsellers just for you. Find your next favorite today. |
| 3 | Top picks this week | Discover our most-loved products. New to our store? These are the best places to start. |
Click Save when done.
Step 4: Add Push 3 (First Purchase Incentive)
Click Add Notification again.
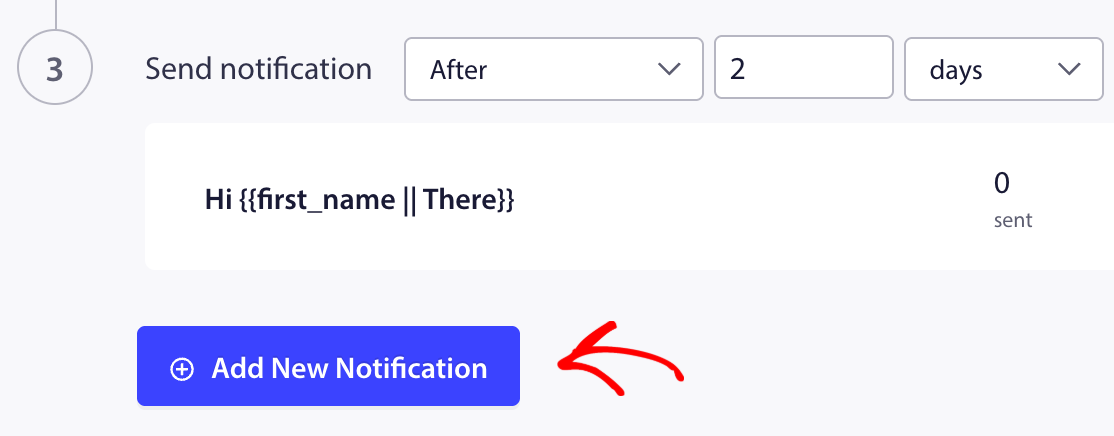
Set the delay to 2 days after the previous notification (3 days total from subscription).
Copy Options for Push 3
| Option | Title | Message |
|---|---|---|
| 1 | A little gift for you | Use code WELCOME10 at checkout for 10% off your first order. Valid for 48 hours. |
| 2 | Your first order discount is here | We want to make your first purchase easy. Use code FIRST10 for 10% off. |
| 3 | Ready to treat yourself? | Here is 10% off your first order. Use code SAVE10 at checkout. Offer expires soon. |
Click Save when done.
Step 5: Target the Leads Segment
- In the campaign editor, navigate to the Audience or Settings section.
- Select the Leads segment as the target audience.
This ensures the welcome drip only fires for subscribers who have not yet made a purchase. Once a subscriber completes their first order and moves to the Customers segment, new drip notifications will not fire for them.

Step 6: Configure UTM Parameters
Adding UTM parameters lets you track how much traffic and revenue each notification in the sequence is generating.
In the Drip Settings section, add UTM parameters for the campaign. Example:
| Parameter | Value |
|---|---|
| utm_source | pushengage |
| utm_medium | push |
| utm_campaign | welcome-drip |
| utm_content | push1 / push2 / push3 |
Use a different utm_content value for each notification so you can see which step in the sequence drives the most clicks and purchases.
Step 7: Activate the Campaign
After drafting the entire campaign, you can click on Activate Autoresponder
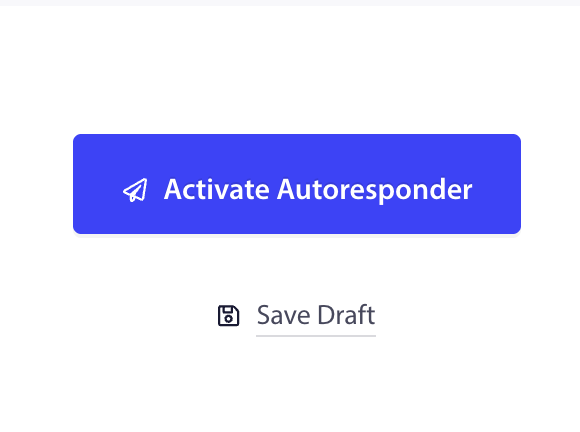
The campaign is now live. Every new push subscriber on your Shopify store will automatically receive the three-notification sequence starting from the moment they opt in.
Tracking Performance
To see how each notification is performing:
- Go to Campaigns » Drip Autoresponders.
- Click on the campaign name to expand analytics.
- Review sent, delivered, clicked, and conversion metrics per notification.
The third notification (incentive push) will typically have the highest conversion rate. If it is not converting, test a stronger offer or adjust the timing.
Frequently Asked Questions
Will a subscriber receive this drip if they already made a purchase? The drip targets the Leads segment, which only includes subscribers who have not purchased. Existing customers in the Customers segment will not receive it.
Can I add more than three notifications to the drip? Yes. Click Add Notification to add as many steps as you want. Four and five-step welcome sequences are common for stores with a strong content or collection story to tell.
Can I use the same welcome drip for all subscribers, not just Leads? Yes. You can remove the segment filter to send the drip to all new subscribers regardless of purchase history. This is useful if you want every new subscriber to receive a welcome series.
If you run into any issues, please feel free to contact us by clicking here. Our support team will be able to help you.


