Notice: There is no legacy documentation available for this item, so you are seeing the current documentation.
With PushEngage, you can automatically send campaigns to users for each newly published post and set the frequency to improve user experience and manage multiple RSS feeds. If you effectively use RSS Auto Push, you can rely entirely on your RSS feed and Pushengage to nudge your subscribers timely, requiring that you post new content daily and avoid sending manual notifications. This is just a one-time setup. However, you are free to come back and customize your campaign later if you like.
How to Setup PushEngage RSS Auto Push –
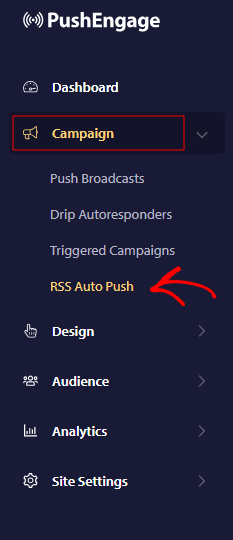
- Login to your PushEngage dashboard and navigate to Campaign » RSS Auto Push
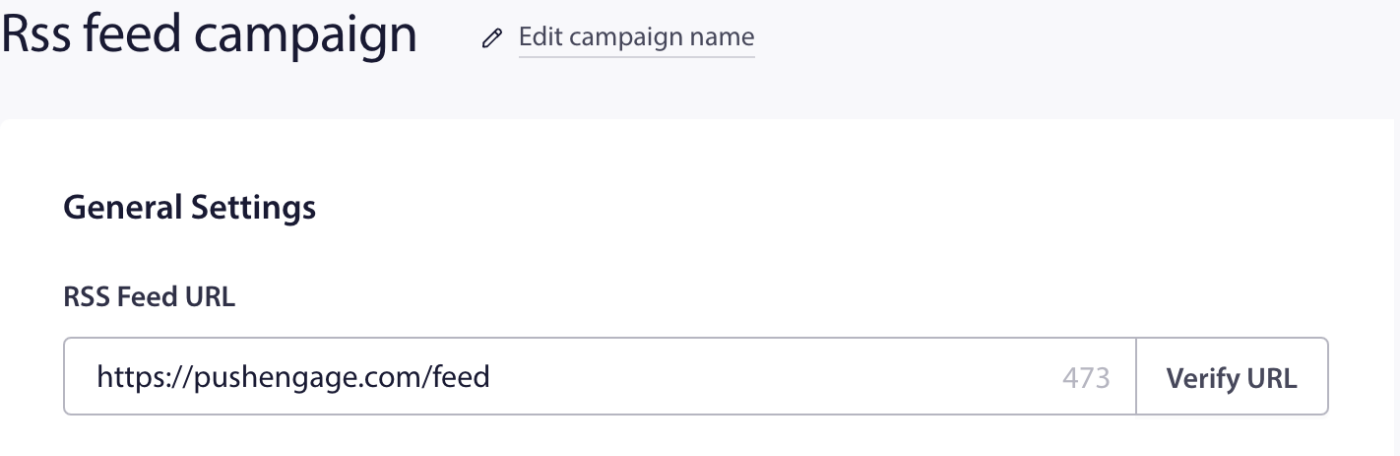
- Please enter the valid URL of your RSS Feeb and verify it.
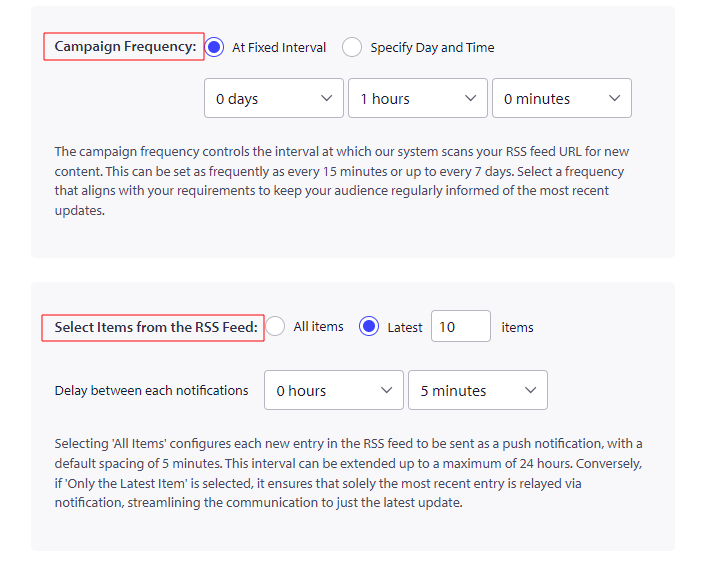
- The next step is to set the campaign frequency. Here we decide how much time we will read the feed item. You can set the frequency of the timer using the dropdown, with 15 minutes being the minimum time and 7 days being the maximum time.
- When you select ‘All Items’ all new items in the RSS feed will be sent as push notifications with a 5-minute gap between each one. If you select ‘Only the Latest Item’ only the most recent item will be sent in the notification in the timeframe you have selected
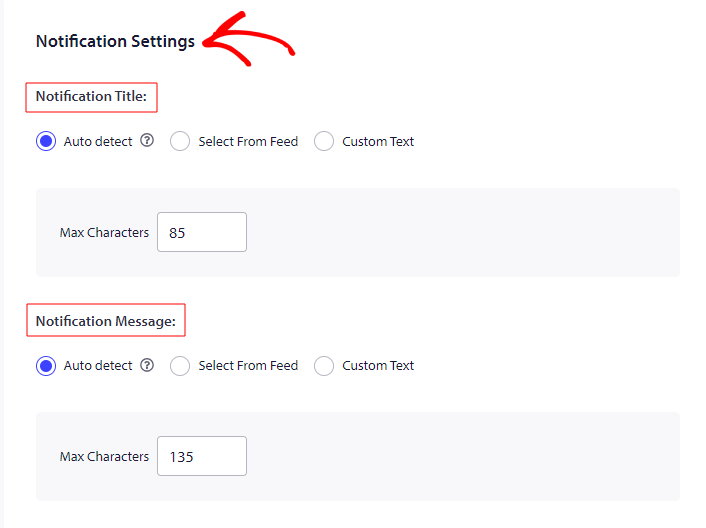
In the next step, you can set the character limit for the notification title and the message.
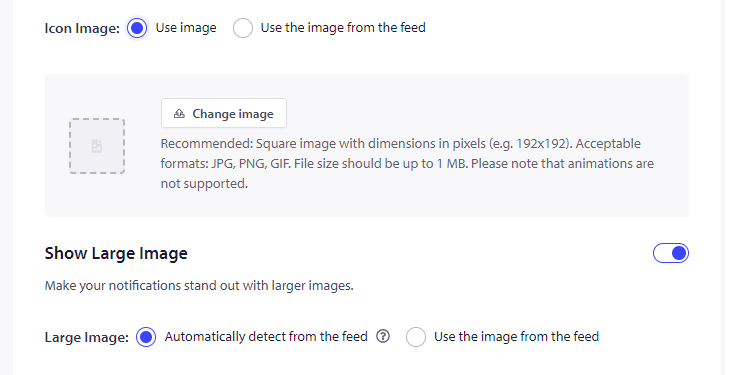
- Then, you can decide if you wish to show the “Icon Image” in the notification growing through RSS Feed or if you want the show the image from the feed. If you want to use the image from the then use the value of the element or attribute in the RSS feed item as the icon image URL for your notification. To select a sub-element, separate the element name with ‘>’. For example, to target the ‘media: thumbnail’ sub-element, use the notation
media:content > media:thumbnail
- In the same way, if you don’t wish to send a large image notification using the RSS Feed then you can either automatically detect the image from the feed or use the image from the feed. If you want to use the image from the feed, use the value of the element or attribute in the RSS feed item as the large image URL for your notification. To select a sub-element, separate the element name with ‘>’. For example, to target the ‘media: thumbnail’ sub-element, use the notation
media:content > media:thumbnail
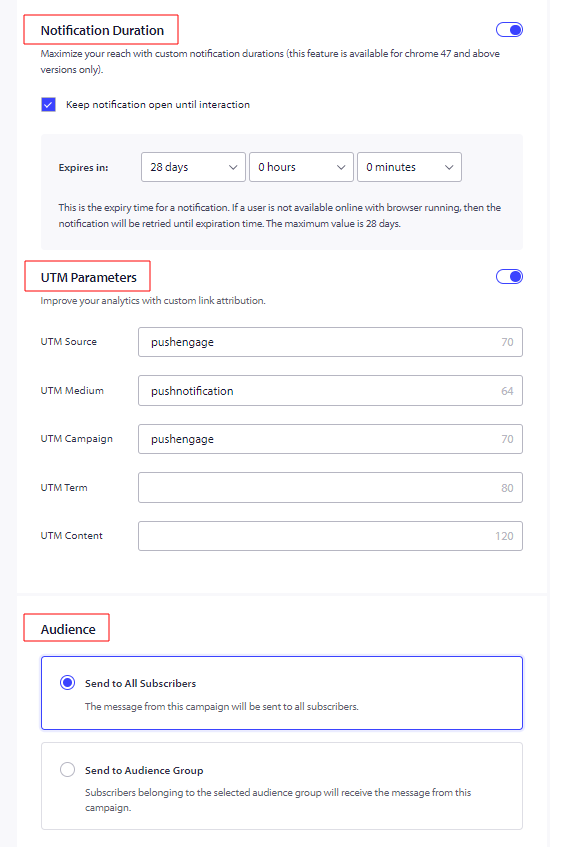
Notification Duration: You need to set the Duration of all the notifications before sending, them in order to avoid overwhelming your subscribers with notifications. This not only pours your subscribers with loads of notifications but also paves the way for an increase in unsubscribes. You can set the expiry of the notification to a maximum of 28 days.
UTM parameters for Google Analytics Tracking: Adding UTM parameters lets you analyze data in Google Analytics. When you send out notifications, setting up UTM parameters will help to capture the data that populate in GA. You can mention the mandatory fields – UTM Source, UTM Medium & UTM Campaign as shown in the below example.
Select Audience: The feature to select the Audience is available in the Business plan & above. Selecting Audience lets you send targeted notifications, which in turn increases the views & clicks for the notifications sent.
Once done, save the campaign, and in case you run into any issues, please feel free to contact us by clicking here. Our support team would be able to help you.


