Notice: There is no legacy documentation available for this item, so you are seeing the current documentation.
The PushEngage Plugin in WordPress allows you to send personalized campaigns to your website visitors and gives you an easy way to collect subscribers. It’s a marketing plugin that helps you get more web push notification subscribers, increase sales, and grow your business.
The best part is you do not have to touch any code to complete the installation and start collecting subscribers; the plugin does it for you.
In this article, you will learn how to start with PushEngage and convert your website visitors to subscribers.
Installing PushEngage
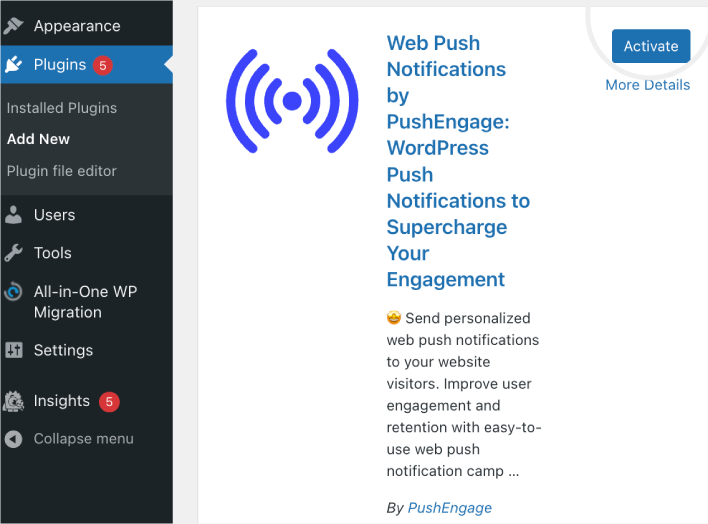
1. Log in to the admin panel of your WordPress site. Then you need to navigate to Plugins » Add New screen.
2. Search for “PushEngage” and select the Install Now button.
3. Once installed, click Activate.
4. After you’ve activated the plugin, you will see a new PushEngage tab within the left navigation of your WordPress website. Click on PushEngage.
5. You will either be shown to create a new account or connect an existing account with your website.

Once you connect your existing account or create a new one and finish the initial setup. Your installation will be complete.
That is it; you will start seeing the Popup Modal/Subscription Opt-in on your website. This Opt-in shows up to your visitor, and they can click on Allow to become your web push subscriber.
Selecting the Subscription Opt-in
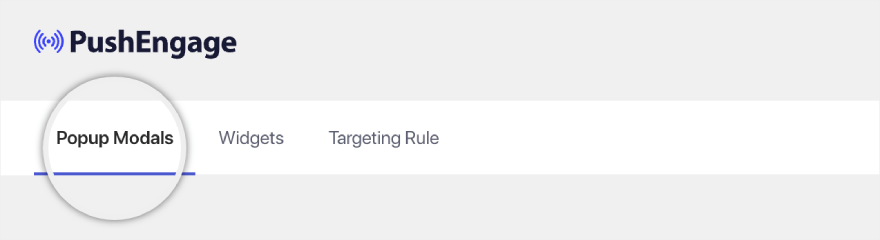
Now that you have installed the plugin click the PushEngage Plugin in the left navbar and select Design. Here you can navigate to the Popup Modals tab.
You can slide the Toggle On for any Opt-in you want to pick.
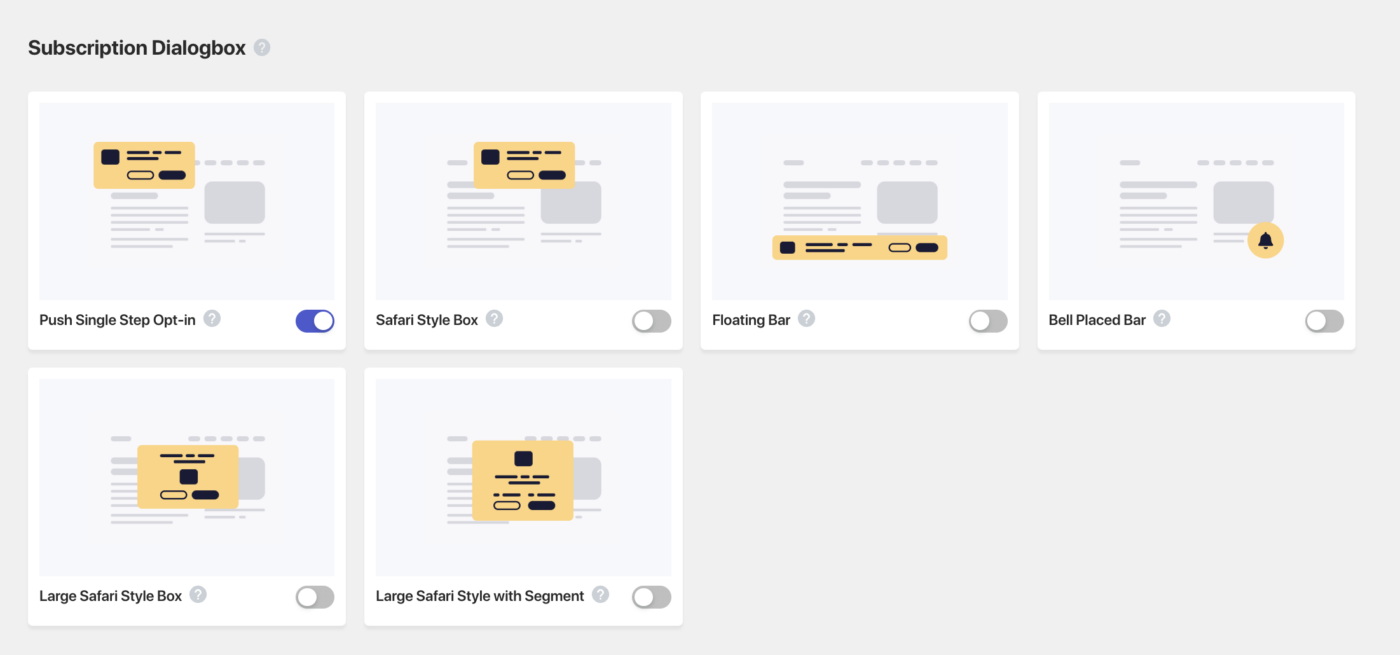
Once you click on Edit for any opt-in styles, you will be redirected to the App Dashboard. You can then design the Opt-in styles to suit your business requirements. Push Single Step Opt-in is a one-step subscription; the others are Double Step Opt-in, which allows visitors to customize but requires two steps to become subscribers.
Adding Yourself as the First Subscriber to Test
1. Adding a new profile to your Chrome/any other browser. Please navigate to the Avatar/Photo icon for Chrome and click Add. Once you have added a name and selected an icon, your new profile will open.
2. Visite your website in the newly created profile; you should see the Subscriber Opt-in you selected.
3. You can click on allow. Please ensure you have allowed push notifications in your operating system and browser settings.
Once you see the subscribers growing in your Dashboard, you can start designing the campaigns and reaching out to subscribers.
If you run into any issues, please feel free to contact us by clicking here. Our support team will be able to help you.


