Notice: There is no legacy documentation available for this item, so you are seeing the current documentation.
PushEngage is a tool that helps you send push notifications to users of their website. Push campaigns are brief messages that can be sent to a user’s device regardless of whether or not they are on your website. Suppose you have a WordPress website and want to use push notifications to inform your users about new content, promotions, or other updates. In that case, you can download the PushEngage Plugin and get started in four simple steps.
As soon as you have finished the installation, the subscription collection should start as the plugin automatically adds the javascript code and service worker to your website.
1. Setup Auto Sending
Select the PushEngage Plugin from your WordPress Dashboard and navigate to Settings > Auto Push Settings
- Activate the toggle button to automatically send a push notification to your subscribers every time you publish a new post and select the type of notification image you want for your campaigns
- Once this is done, select Save Changes
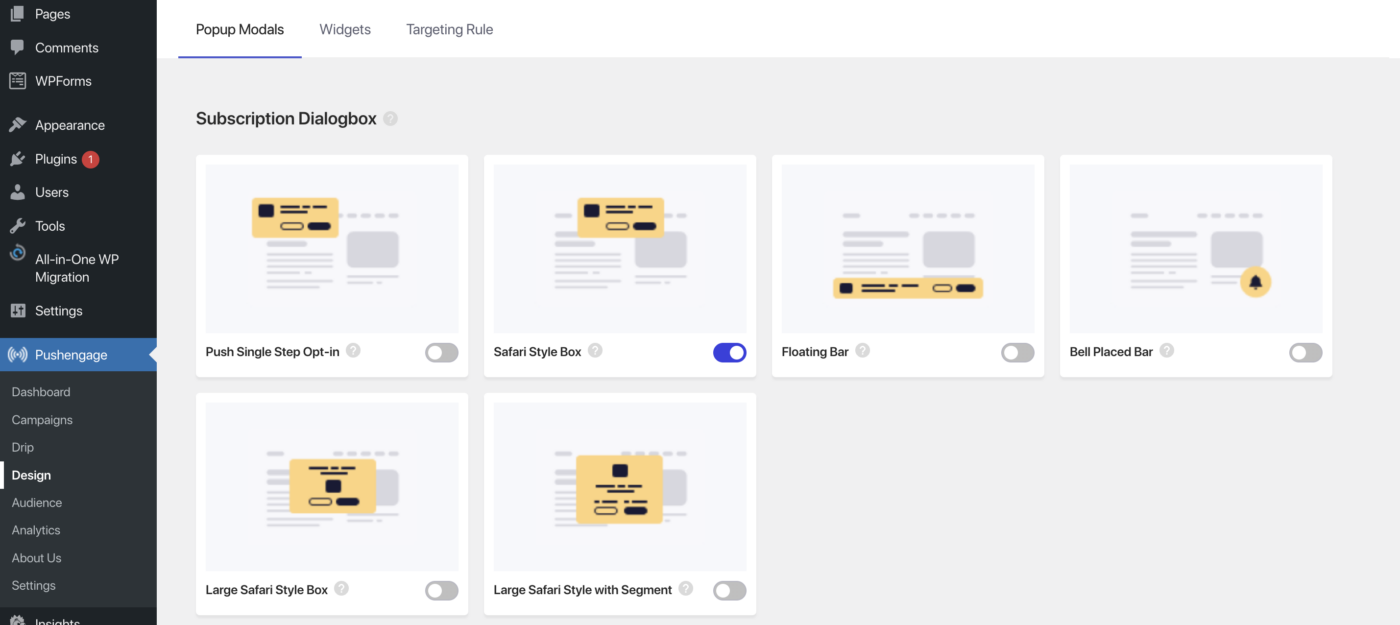
2. Configure Subscription Popup
The subscription opt-in or popup modal is the first thing a website visitor sees when they visit your site. You can customize the subscription popup’s appearance to match your website’s theme. Several different styles are available for the subscription popup, which are as follows –
- Safari Style Box
- Floating Bar
- Bell Placed Bar
- Large Safari-Style Box
- Large Safari Style with Segment
- Single Step Opt-in.
Before implementing any changes, it’s essential to consider which style will be most effective for your website and its visitors.
To access the Popup Modals design options, go to the Design tab > Popup Modals. From there, you can choose the desired style and click Edit Popup to customize its appearance.
In the Popup Design section, you can alter the placement of the opt-in, the background color, and the appearance of the allow and block buttons. To make the popup more consistent with your brand or website theme, you can customize these design elements to match your desired aesthetic.
Activate the Toggle button of the popup modal and start collecting subscribers.
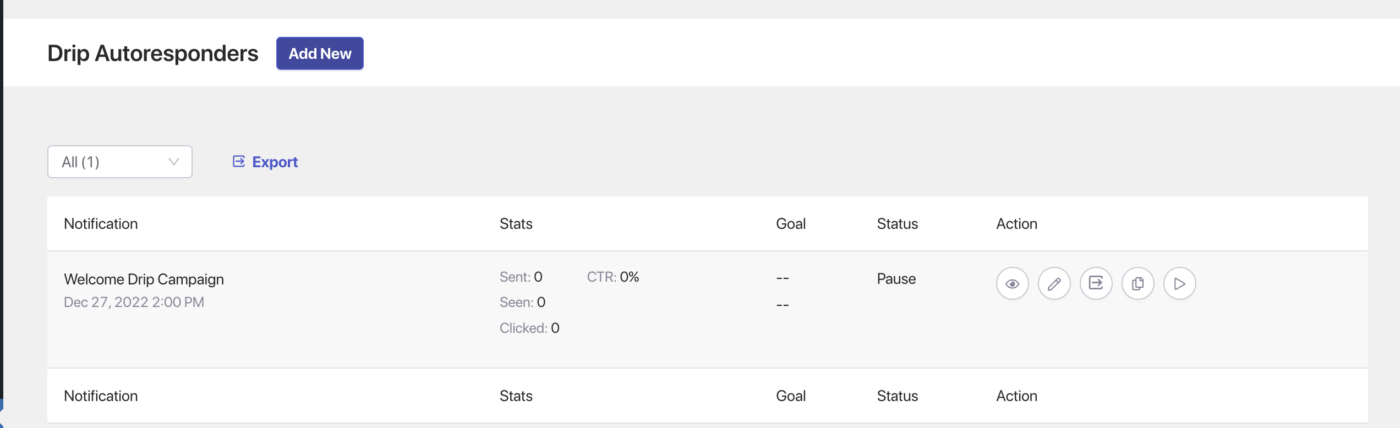
3. Enable Welcome Drip
- Navigate to Drip and activate the Welcome Drip Campaign by clicking on the Play button.
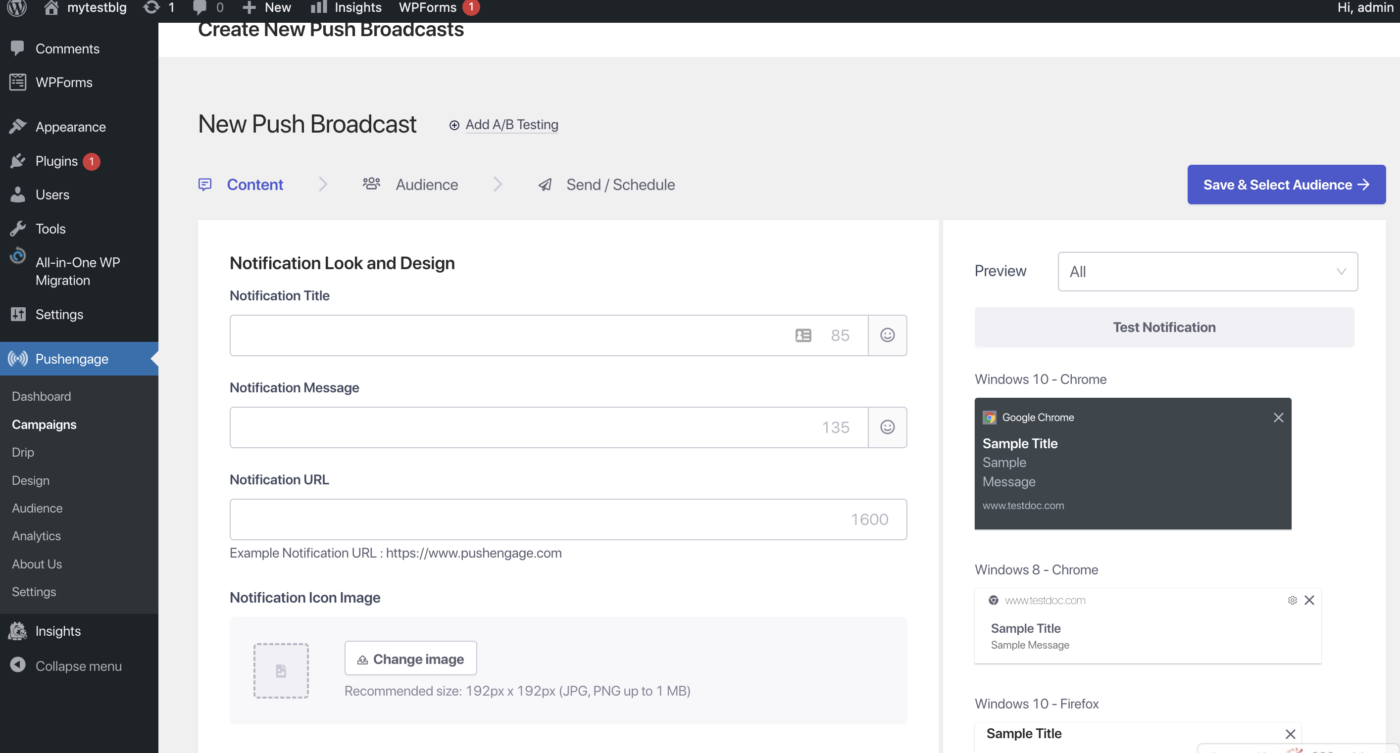
4. Create Your First Campaign
Navigate to Campaigns > Add new, and now you can start creating your first Push Campaign
When creating a broadcast message, you can include a message of up to 135 characters, including emojis, and a title of up to 85 characters. You can also have an image of up to 1MB and specify a landing URL to be opened when the message is clicked.
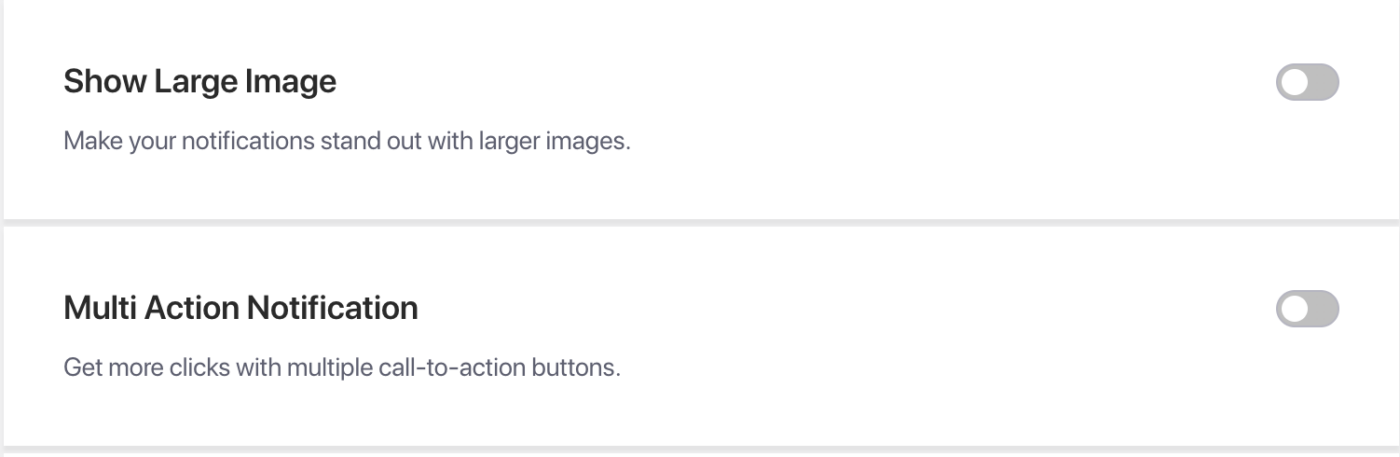
Multi-Action Campaign – In the campaign design process, you can add multi-action notification buttons, which provide additional call-to-action options for your campaigns. It is generally recommended to include additional call-to-action buttons as they can increase engagement with your campaigns.
Large Image – Using a large image in your notifications can help capture your audience’s attention and increase the click rate. When adding a large image to your notifications, you can upload an image with a maximum size of 360×180 pixels for desktop devices and 360×80 pixels for mobile devices.
In the Campaign Behaviour, Tracking & Audience settings, you can specify the duration of your campaigns to avoid overwhelming your subscribers. The maximum duration for notification expiration is 28 days, however, the best practice is to have it shorter based on next campaign you are planning to send.
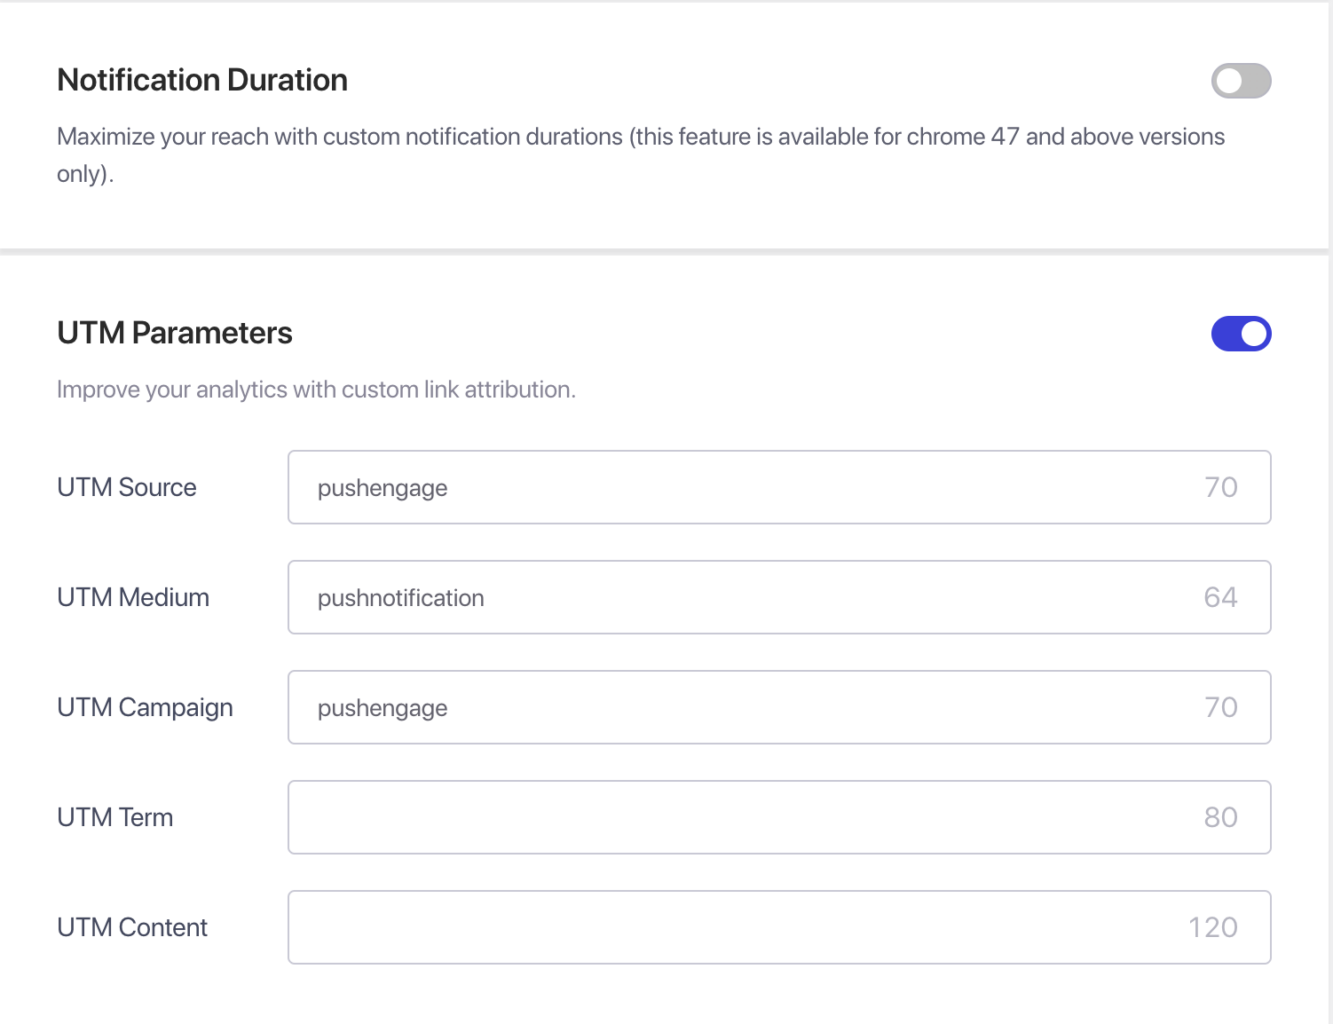
You can also use UTM parameters to track the data in Google Analytics and send targeted notifications to specific audiences, increasing the views and clicks for the notifications you send. This feature is only available in the Business plan and higher.
Scheduling – With the scheduling feature, you can set your notifications to be sent at a later time, even when you are not available or on vacation. You can also repeat the scheduling on specific days of the week and set the timing for the notifications to be sent. Two filters are available for scheduling: the ability to schedule for a particular day and time and the option to schedule a recurring campaign.
Once you have created the campaign, select Save and Schedule tab, and then you can send the campaign to your subscribers.
You have now successfully installed the PushEngage plugin. You can start collecting subscribers and send push campaigns.
If in case you run into any issues, please feel free to contact us by clicking here. Our support team would be able to help you.


