Notice: There is no legacy documentation available for this item, so you are seeing the current documentation.
ClickFunnels is a platform that lets you design and create sales and landing pages. It lets you manage your entire sales funnel. If you are willing to integrate web push notifications for your landing page, it is possible.
In this article, you will learn how to complete the installation and collect subscribers to send them web push notifications on ClickFunnels.
Before you start
You need to set up the ClickFunnel landing page/funnel to add the PushEngage installation code once your landing page is ready.
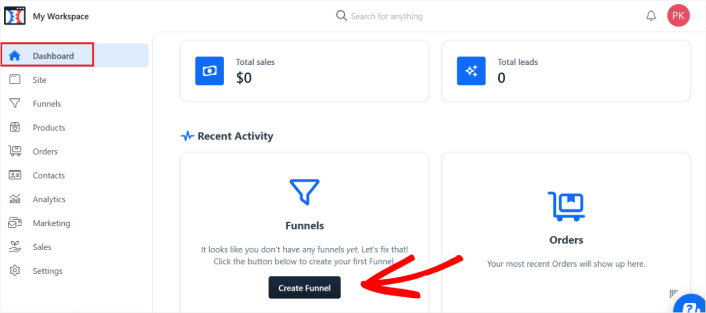
1. Log in to your ClickFunnels account and then navigate to the Dashboard. Once you are on the dashboard, click on Create Funnel if you do not have a funnel created already.
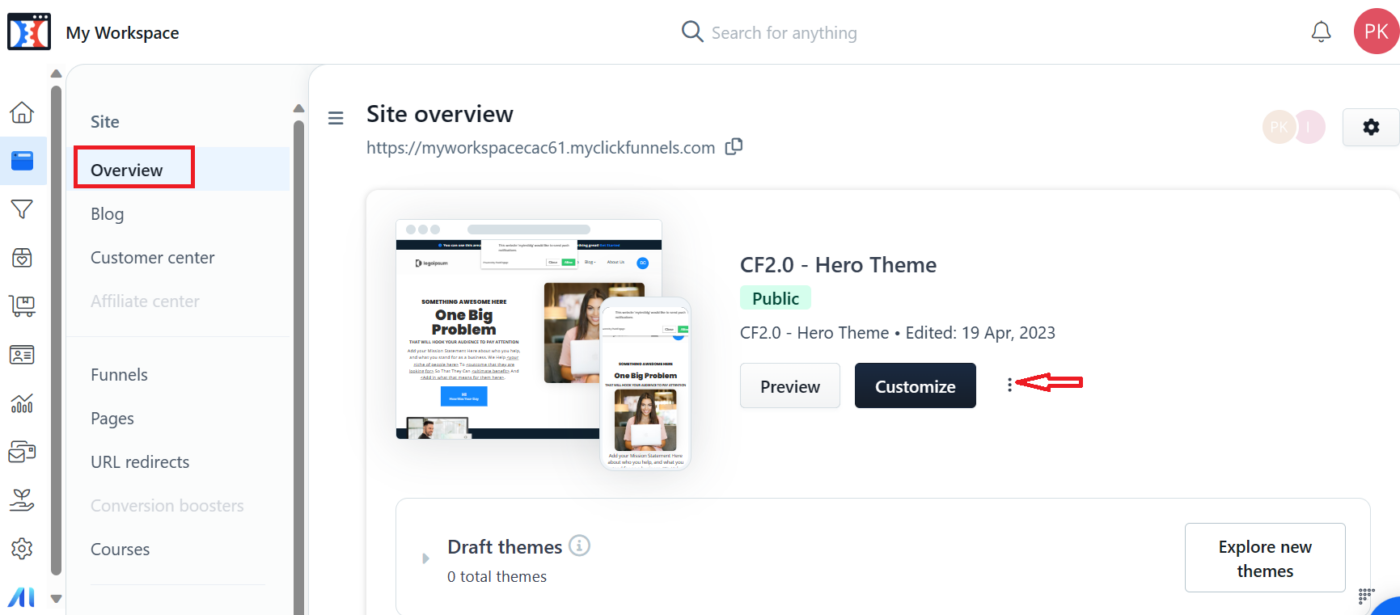
2. Once you have the Funnel created then you can go to the Sites section. In the site section click on Overview » Customize
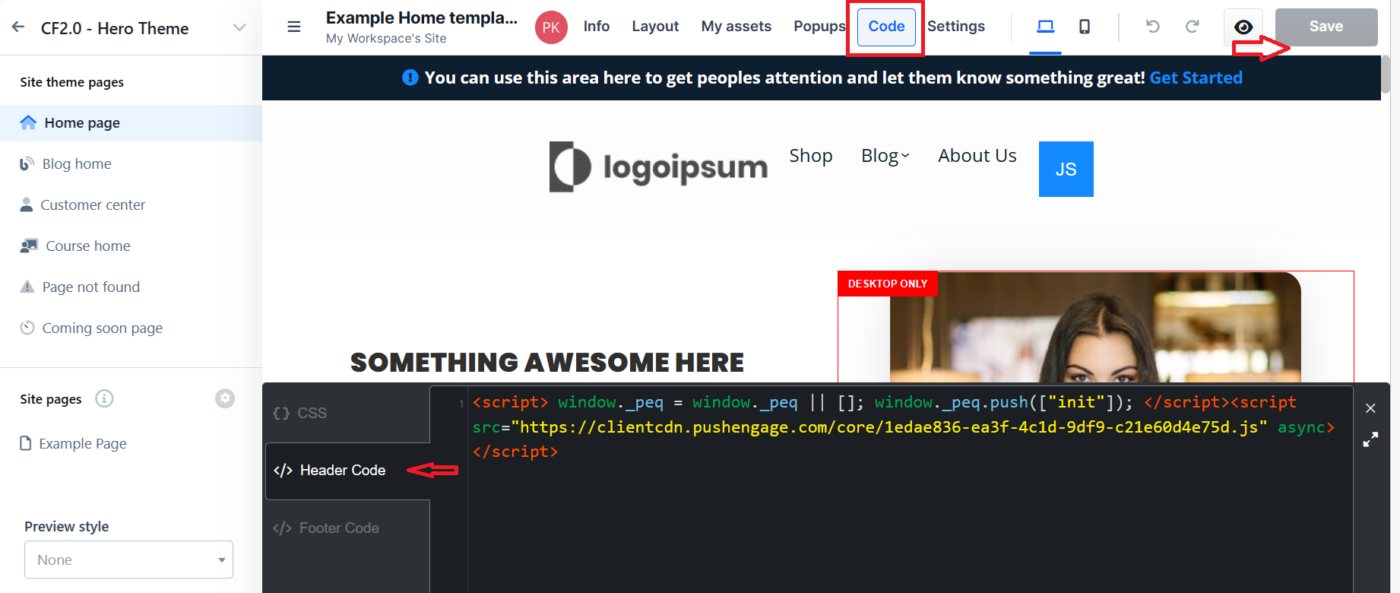
3. Now you need to move to the top navigation bar and click on the Code section. This will allow you to add the installation code to the Header/Footer section.
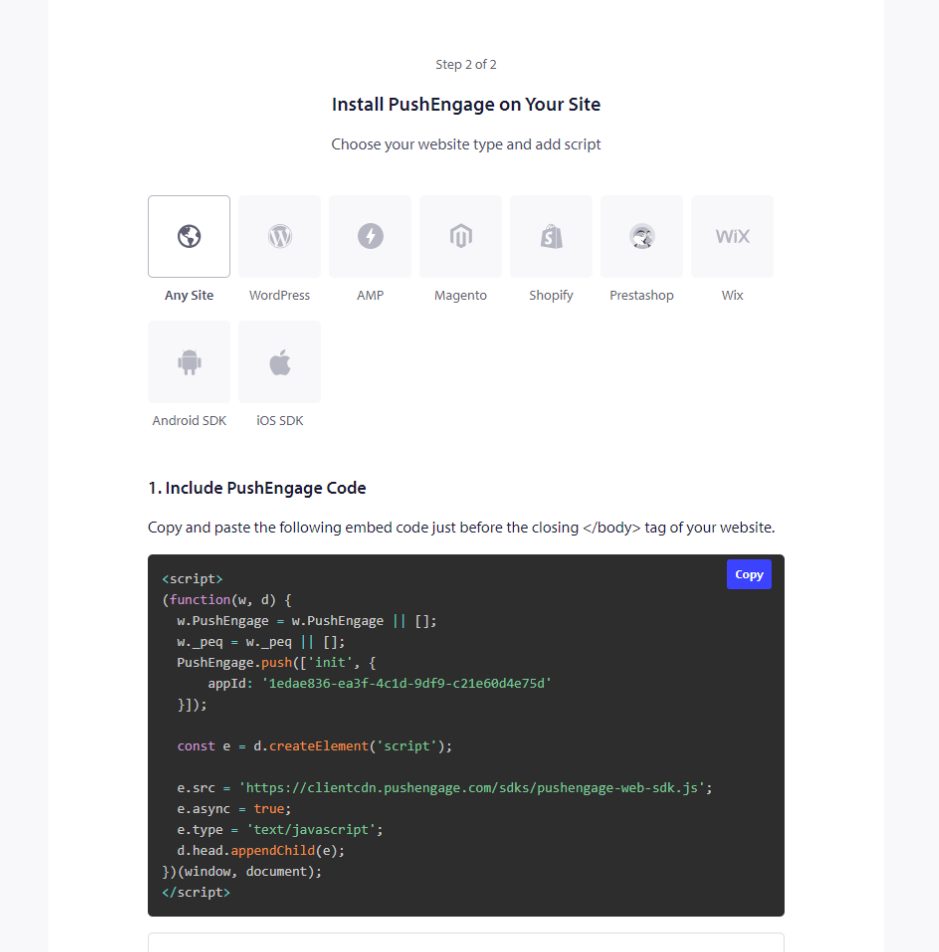
4. To grab the code, you need to log in to your PushEngage dashboard and navigate to Site Settings » Installation. Here please select the Any Site tab and copy the Installation code mentioned here.
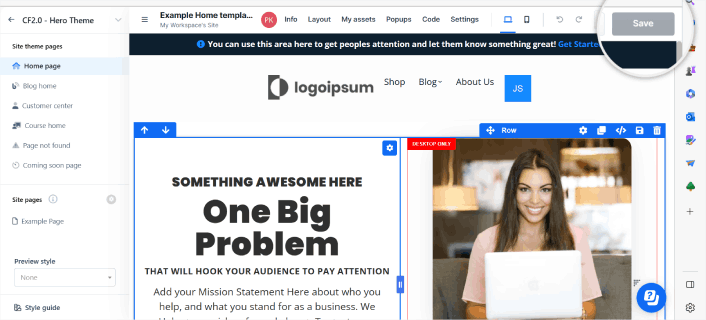
5. Once you have pasted the code in the Header/Footer section you can click on the Save button on the ClickFunnel dashboard.
Configuring the Popup Modal
Once the code is added, it is important to have the right setup in Popup Modal as it will help collect subscribers. You cannot choose Push Single Step Opt-in, as ClickFunnels does not allow you to add the service worker in the root folder.
Go to Design Settings » Pop-up Modals »
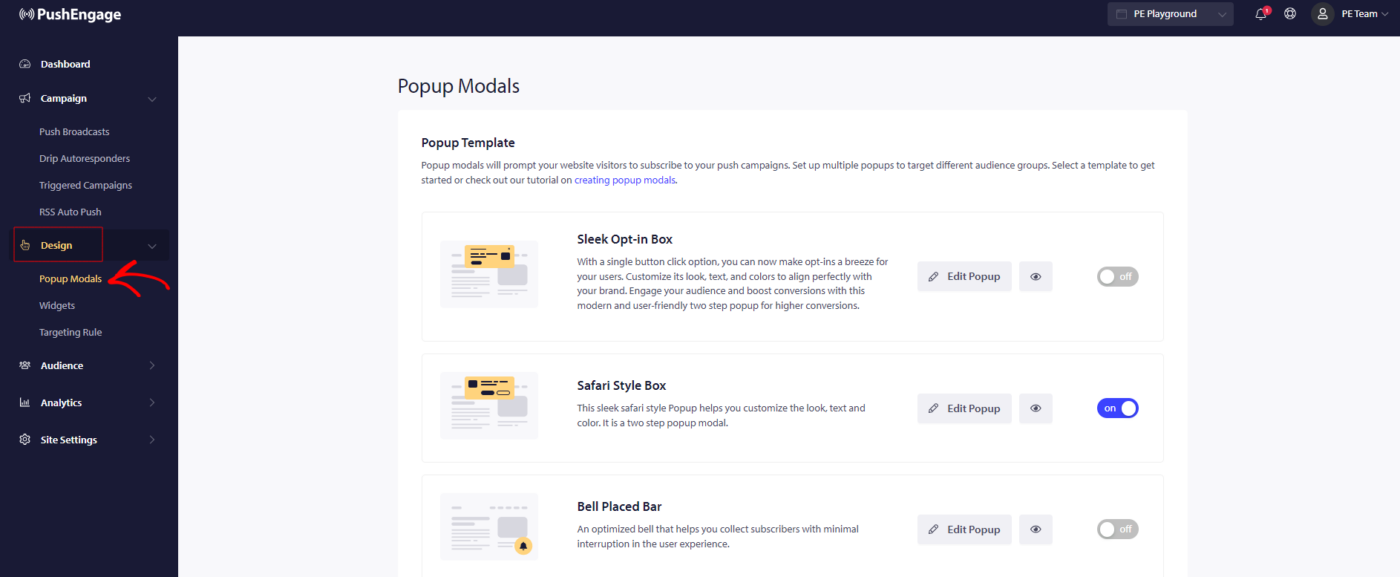
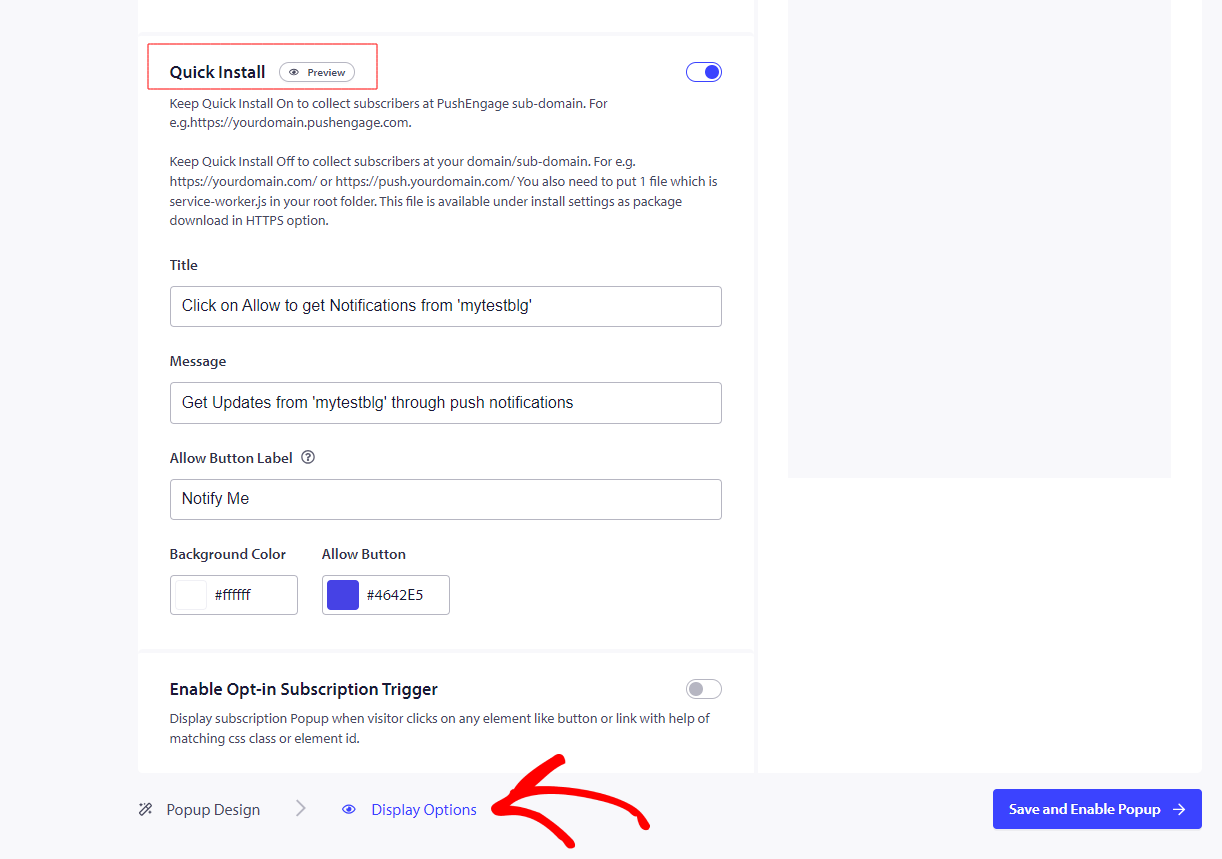
Select any one opt-in styles except for Push Single step opt-in. So you will have to turn the quick install On. Here is how you can do that –
Go to Design Settings » Edit Popup Modals » Display options
This is how you will see the opt-in on your website once configured.
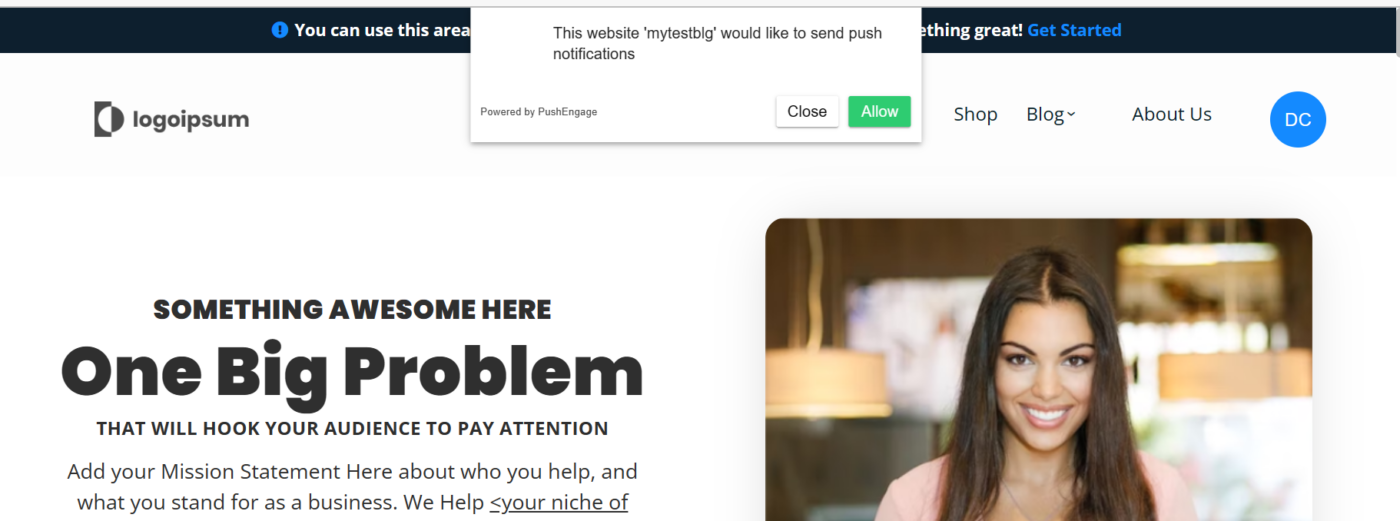
That’s all, and your installation is complete. You will receive an opt-in for the subscription when you visit your website.
Note: With ClickFunnels, you are limited to having a subscription on the PushEngage subdomain as we cannot add a service worker file to the ClickFunnels.
If you run into any issues, please feel free to contact us by clicking here. Our support team will be able to help you.


