Notice: There is no legacy documentation available for this item, so you are seeing the current documentation.
If you don’t want to edit the HTML of your website but install PushEngage, then you can use Google Tag Manager to complete the installation. It is an easy-to-use tool to place tracking codes or scripts without touching your website’s code base. You can complete the entire setup in less than ten minutes by following the steps mentioned below –
- Login to your PushEngage dashboard and navigate to Site Settings » Installation and copy the installation code
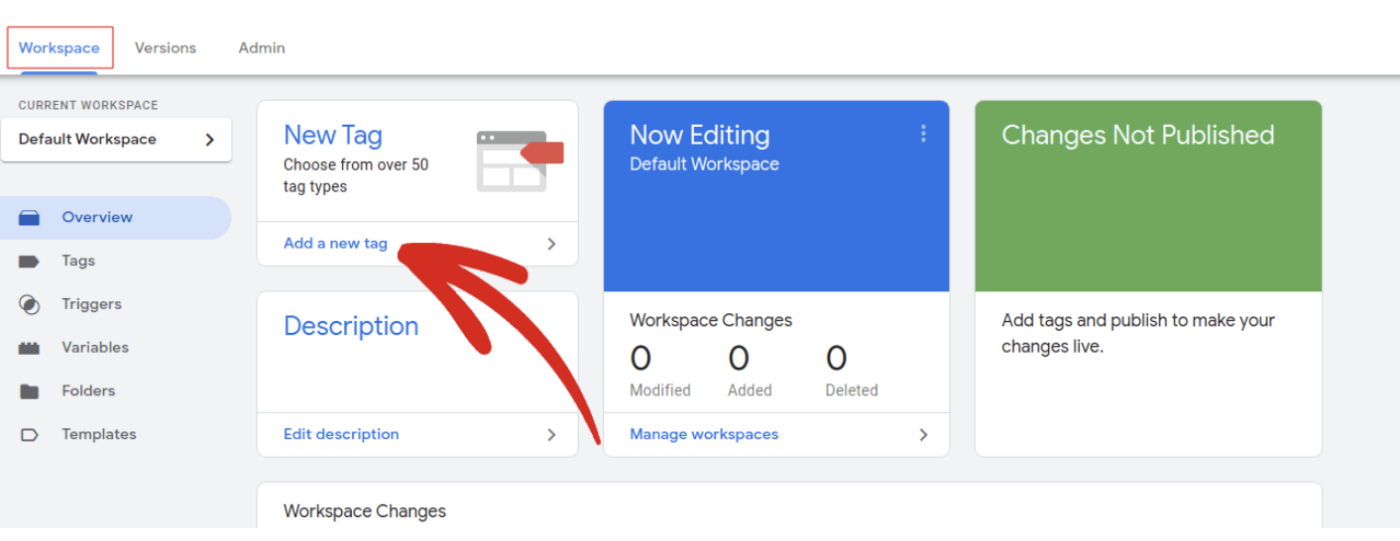
- Log in to your Google Tag Manager and select your website. Then, click on New Tag
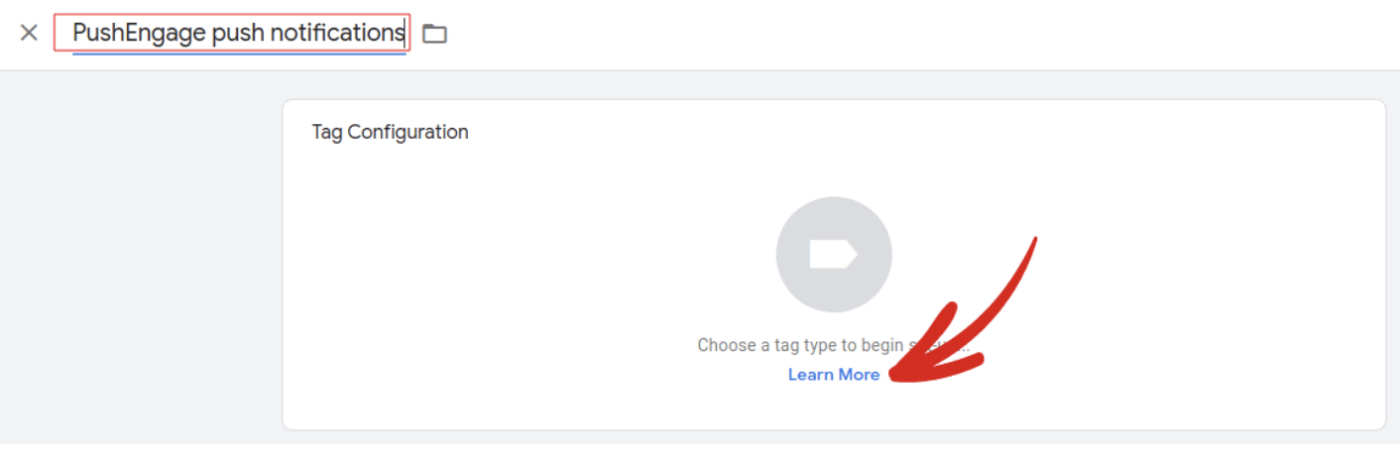
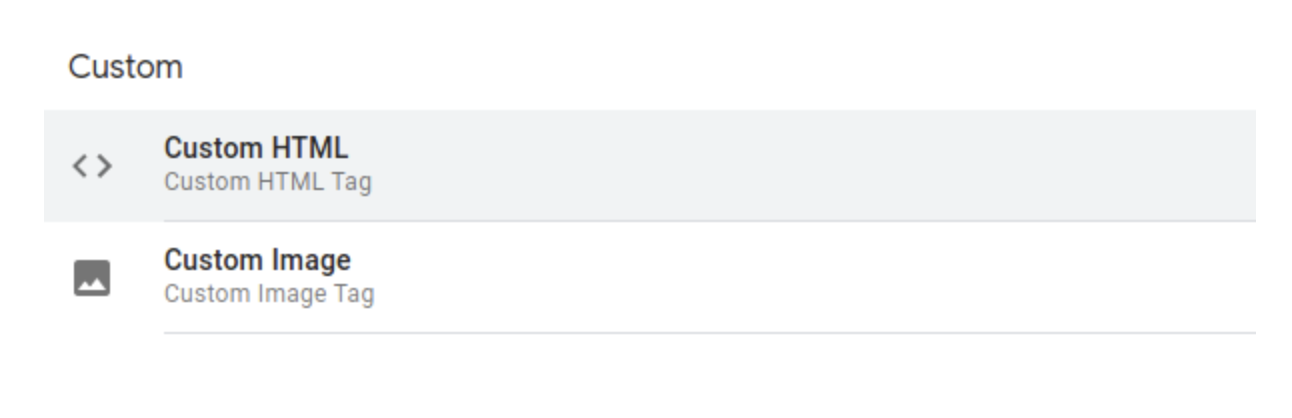
- Add a name for your tag and select Tag Configuration and then select Custom HTML Tag
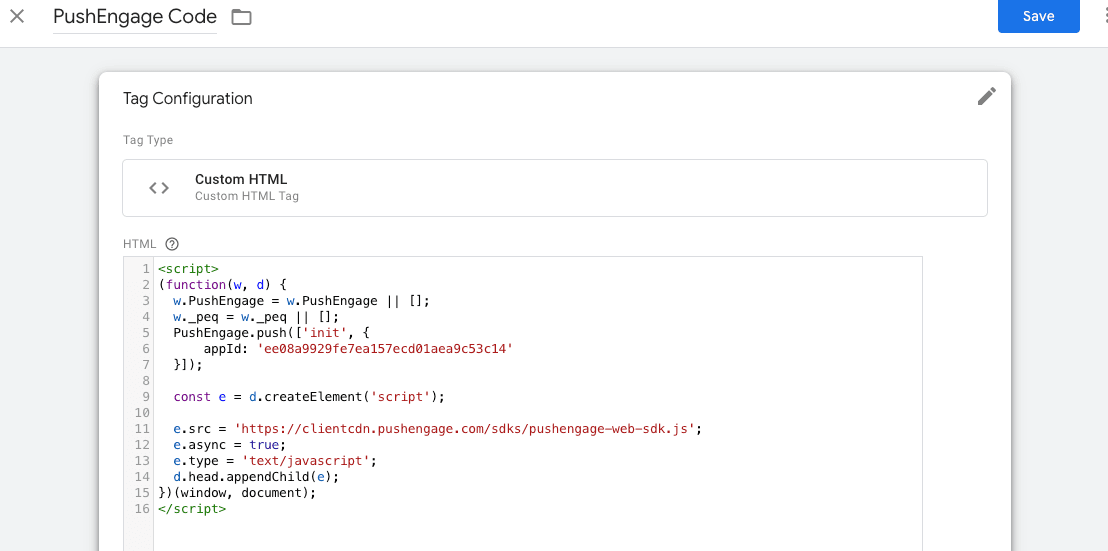
- Paste the PushEngage installation code you copied earlier
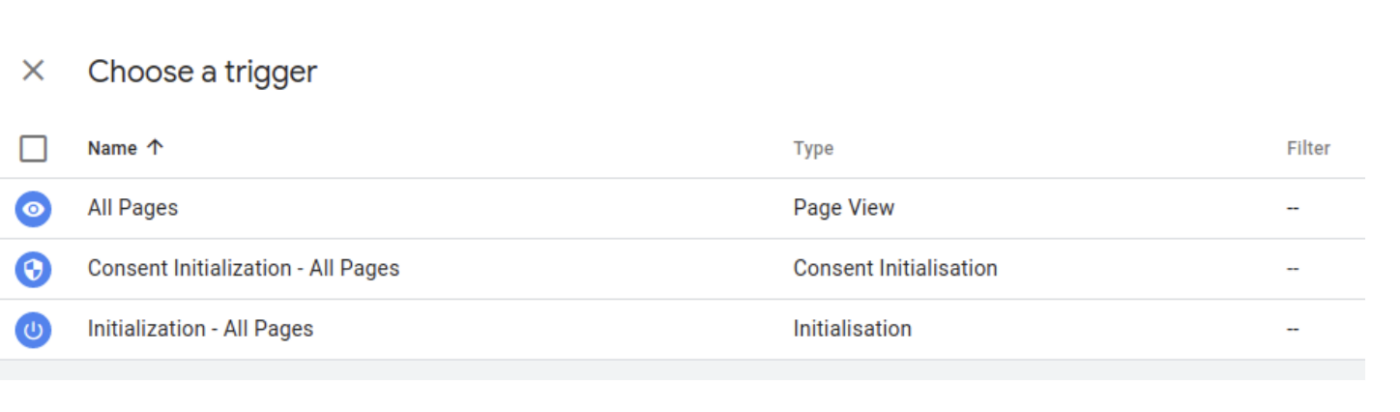
- You can either fire the code on all the pages or select trigger events from which you wish to collect subscribers. Once this is done, save the changes you have made.
- Then go back to your PushEngage dashboard and from Step 2, Download the package file and add it to the root directory to make it publicly accessible. For example, https://www.pushengage.com/service-worker.js.
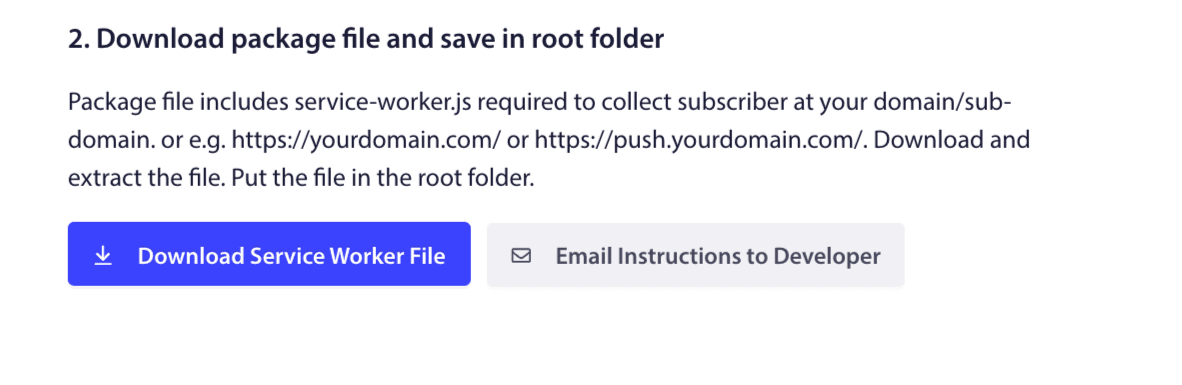
Note: You can only add code snippets using Google Tag Manager(GTM). To service-worker.js file is added to the root directory, and this step can’t be done using the GTM.
Once you have followed the steps mentioned above, your installation will be complete. You can start to collect subscribers and then notify them.
If in case you run into any issues, please feel free to contact us by clicking here. Our support team will be able to help you.


