Notice: There is no legacy documentation available for this item, so you are seeing the current documentation.
PushEngage allows you to send out targeted campaigns to a selected subscriber base instead of all. You can quickly achieve this by using Segmentation. Web push segmentation is a powerful way to send targeted notifications to specific subscribers based on their interests, behaviors, or other criteria. You can increase engagement, reduce churn, and drive more conversions by segmenting your audience.
In this article, we will help you understand all types of segmentation.
Segmentation is available in our Business plan & above. You can check our pricing here and start using the business plan to avail the benefits of this feature.
Types of Segmentation
You can use demographic, behavioral, and contextual data to create effective segments. Some examples of segmentation criteria might include – Demographics, behaviors, and context.
1. Automatic URL-based segmentation
2. Category segmentation
3. Default segmentation options – Device & browser.
4. Geo Location based segmentation
5. Custom Segmentation using Javascript API
How to Use Segmentation
When taking a targeted approach to your web push notifications, you can improve engagement rates, reduce unsubscribes, and ultimately drive more conversions for your business.
Automatic Segments
The automatic segment allows you to create a segment rule based on URL patterns. This is the easiest way to create segments using your dashboard with no extra code. You can navigate to Installed Plugins list on your WordPress dashboard and select PushEngage » Audience.
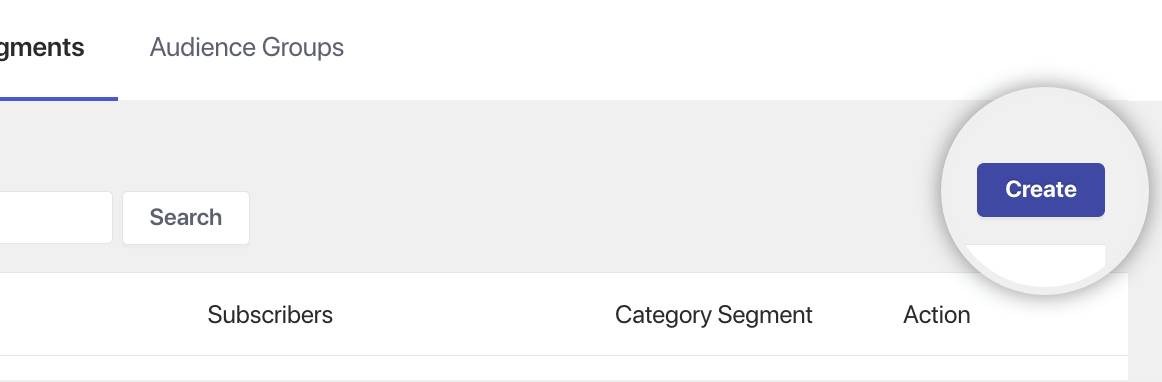
You can then navigate to the Segments Tab and click the Create button.
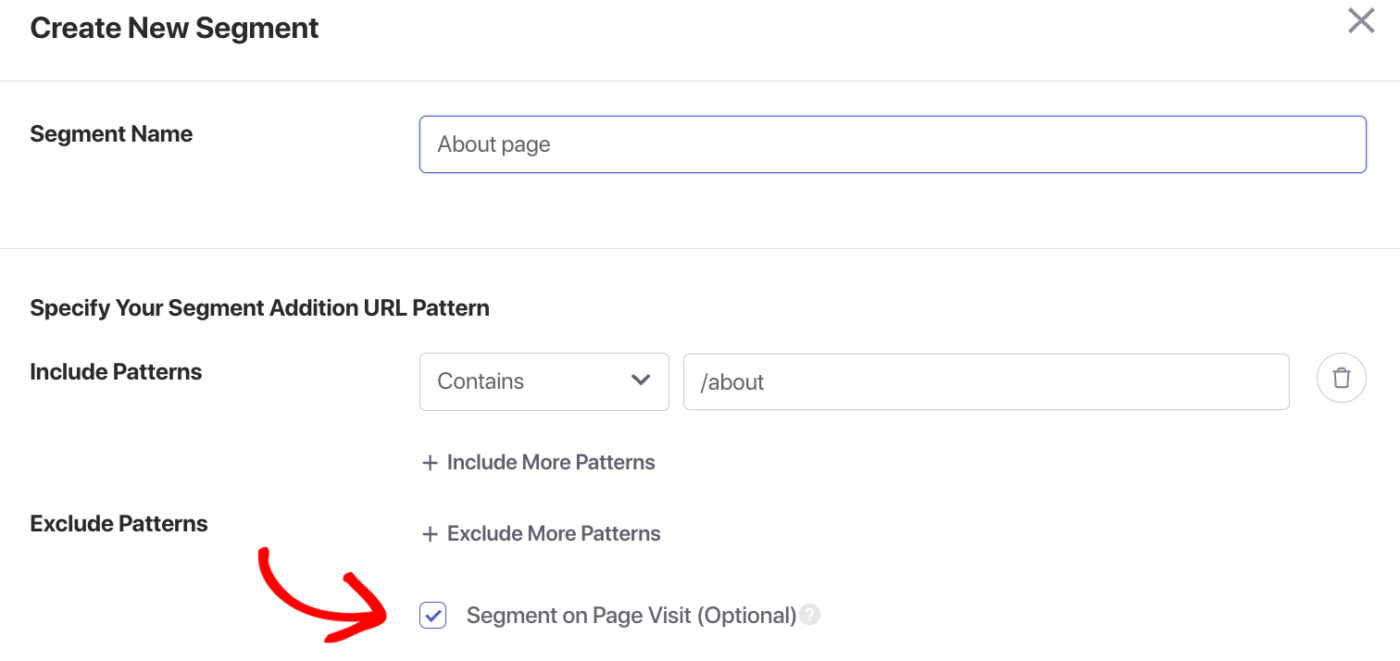
Then you can add the name of the Segment – ‘About Blog’ and add the URL pattern rule containing a condition.
Ensure that the segments on the page visit toggle are checked so that not only your new subscribers but also your old subscribers who might have just logged in from the home page will get added to the segment upon their next visit.
Category Segmentation
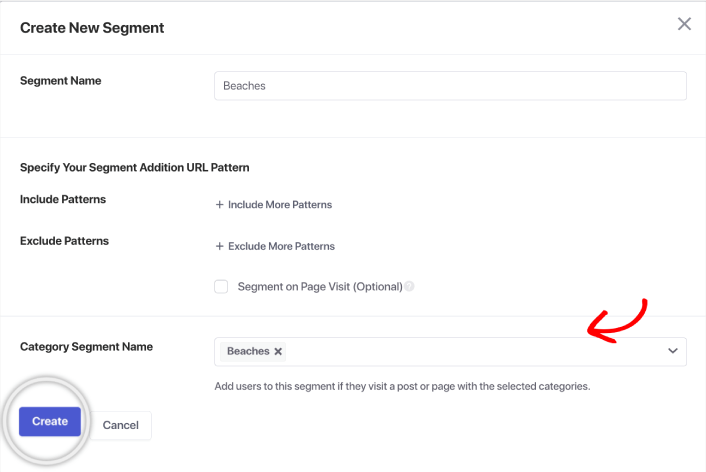
Category segmentation in WordPress can map the existing categories with segments. This way, you can target any subscribers visiting the specific categories. You can head to create a segment. Then choose any existing categories with the segment name and click on Create.
Default Segments
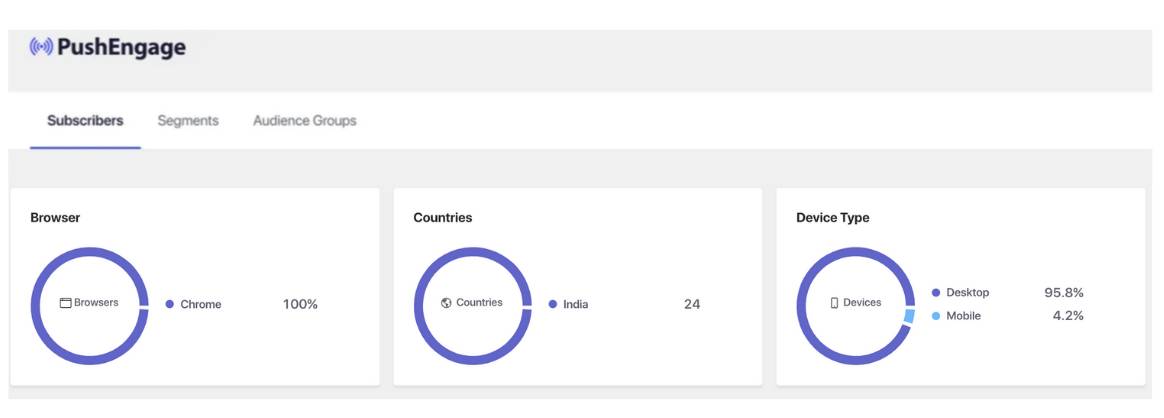
The default segmentation contains the demographic and device/browser segments. This data gets collected when a person clicks on allow and becomes your subscriber. Here you can check available segments under Audience » Subscribers Tab.
Custom Segments
Under custom segment, you can use any website event to capture as a segment using the Javascript API. You have the ability even to remove the segments or add them dynamically.
Sending Push Campaigns to Segmented Audiences
While you are crafting your web push campaigns, be sure to tailor your messages to each segment’s unique needs and interests. For example, you might send personalized product recommendations to customers who have recently made a purchase or time-sensitive offers to subscribers who have previously shown interest in a particular category.
You can send out web push campaigns in three ways using the WordPress dashboard –
1. Manual Push Broadcast
2. Send out through Auto-push campaigns
3. Send segmented campaigns to Drip autoresponders
Here is a guide that will help you send out web push broadcasts and Drip Autoresponders to segments and also help you design the campaign with best practices.
If you run into any issues, please feel free to contact us by clicking here. Our support team will be able to help you.


