Notice: There is no legacy documentation available for this item, so you are seeing the current documentation.
PushEngage allows you to segment subscribers and let them be in that segment only for a specified duration. This would mean that you will only add subscribers to a segment, but the removal from the segment is scheduled automatically based on the number of days defined.
This guide will help you learn how to use dynamic segmentation, and you can get some ideas with use cases.
Understanding the Usages of Dynamic Segment
Here are some of the popular use cases that are used for Dynamic Segmentation –
- Tagging your recent buyers for the next 30 days after their purchase to exclude them from flash sales or offers so they do not regret buying early.
- Keeping them in a Live Bookers segment past their booking date to not show them cheaper offers for travel sites.
- Your last 30 days signed up customers. You can also create a waterfall campaign by adding multiple segments of 30 Days, 60 Days, and 90 Days for your subscribers who sign up or purchase. When you have three variants of the dynamic segment, a subscriber after 30 days will get removed from first but remain in the 60 or 90-day bucket.
Creating Segment
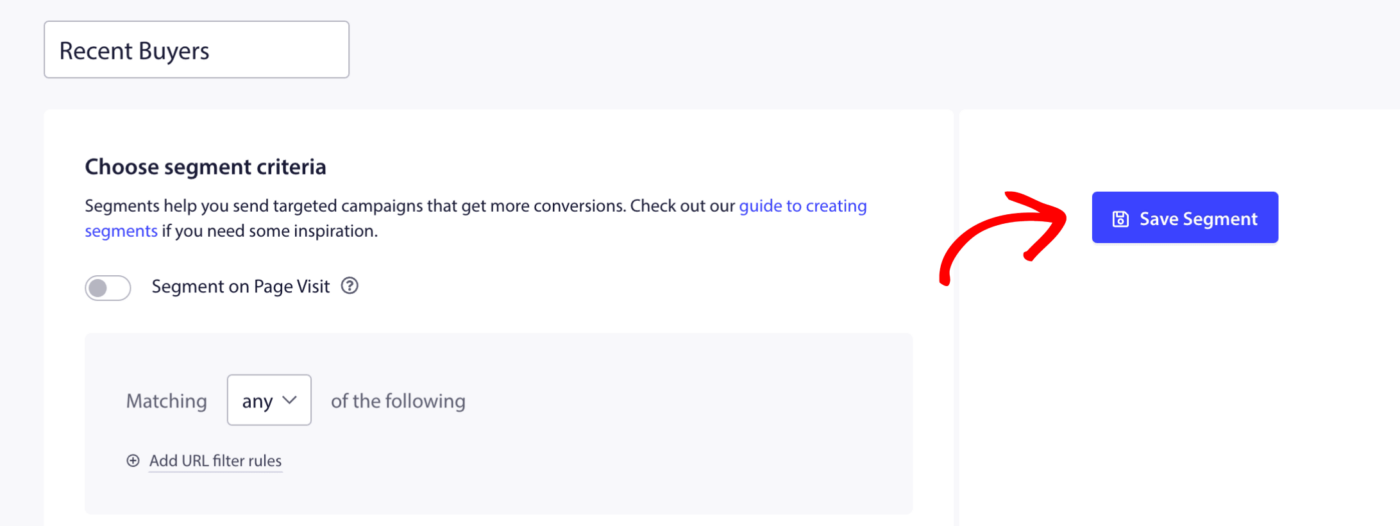
In your PushEngage dashboard, you must navigate to Audience » Segments
Then click on Create a New Segment and add the Segment’s name.

We will use Recent Buyers as an example. You can click the Save Segment button as you will not add any URL Patterns to this segment; the rules would be based on the event on your website.
Adding Segment to Event
As we use the Recent buyers as an example, we need to add the Javascript Pixel on the event after the purchase is confirmed.
The Javascript API explains the details of dynamic segmentation, but this is how the pixel looks like –
<script>
var days = 5;
window._peq.push(["add-to-dynamic-segment", "segmentName", days]);

or,

var dynamicSegments = [
  { name: "segment1", duration: 10 },
  { name: "segment2", duration: 20 },
  { name: "segment3", duration: 30 },
];
window._peq.push(["add-to-dynamic-segment", dynamicSegments]);
</script>
After adding it to the after-purchase event and using the proper name of the segment, the code would change to this –
<script>
var days = 30;
window._peq.push(["add-to-dynamic-segment", "Recent Buyers", days]);
</script>
That’s it; your segment addition will happen on the defined event, and the removal will happen automatically from the segment.
If you run into any issues, please contact us by clicking here. Our support team will be able to help you.


