Notice: There is no legacy documentation available for this item, so you are seeing the current documentation.
PushEngage helps to group already created custom segments, geo-location, and people interacting with your push campaigns. Audience group is different from segments. Segments are either having default criteria or custom criteria based on actions. Audience group combines all these segment criteria into a group and lets you target them, saving time in sending to multiple segments or selections. This will help you to send more targeted notifications resulting in better CTR.
You can refer to this guide for creating audience group for your WordPress site through PushEngage plugin, however if you do not have a WordPress website this guide will help you in creating and sending campaign using audience groups.
How To Create an Audience Group?
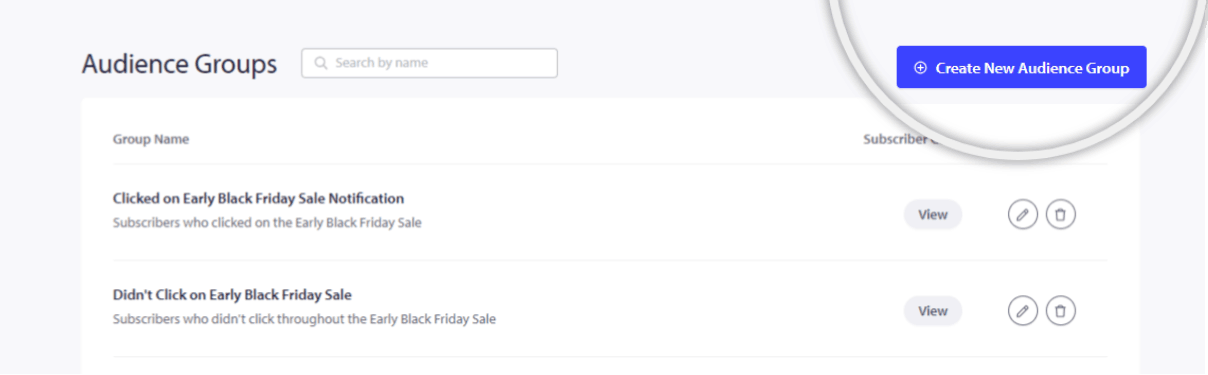
1. Once you’ve logged in to your PushEngage Account, navigate to Audience » Audience Group.
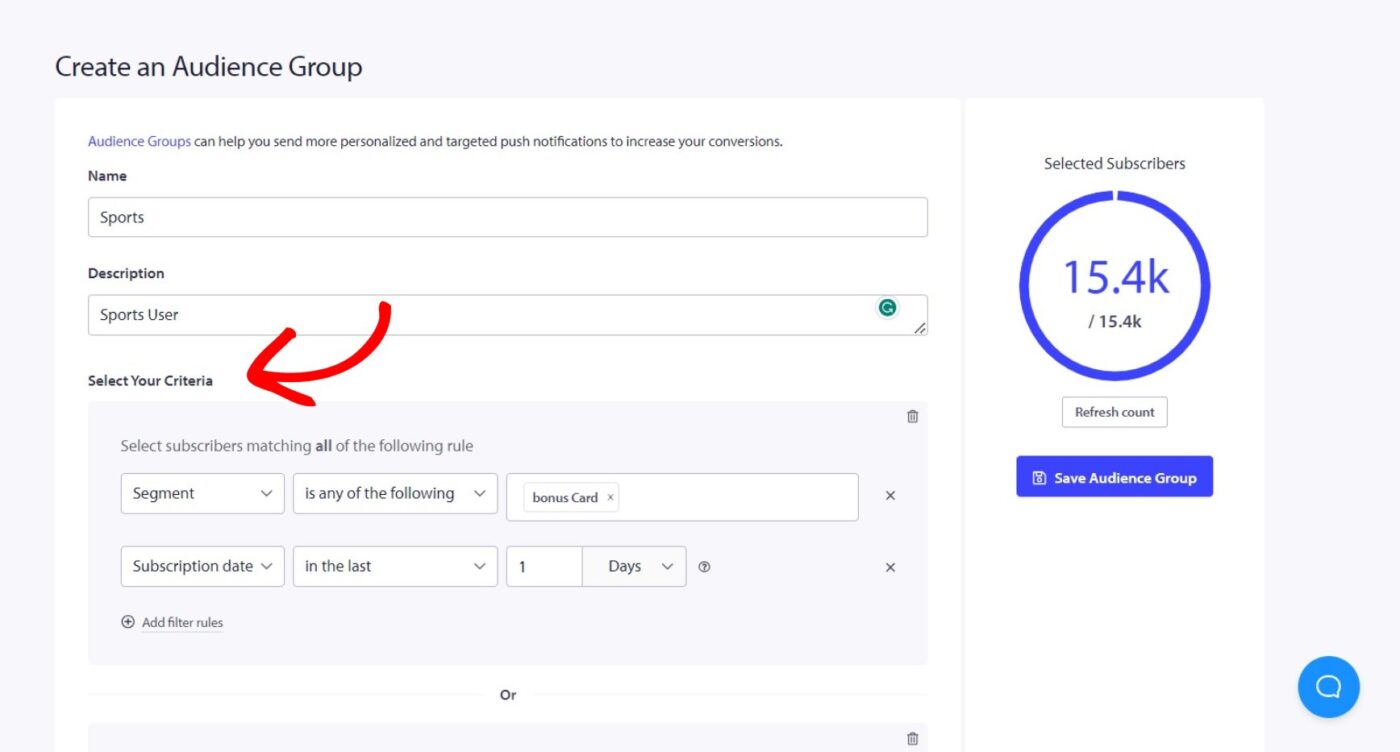
2. Select Create New Audience Group and enter the Audience Group name. If you want, you can also give a group description. This will later help you and your team to know about the audience group you have created by looking at the preview without having to edit and view it. Click the View button to know the number of subscribers in the Audience Group.
Now, you can select the criteria as you’ve been to remove inactive subscribers. You can select Attributes, Segments, Browsers, Devices, Countries, States, Cities, Subscription Dates, Last Click, Sent, View Date, Total Sent, View, Click Count, Profile id, Subscriber hash, etc.

3. You can add as many criteria as possible that suit your marketing campaign.
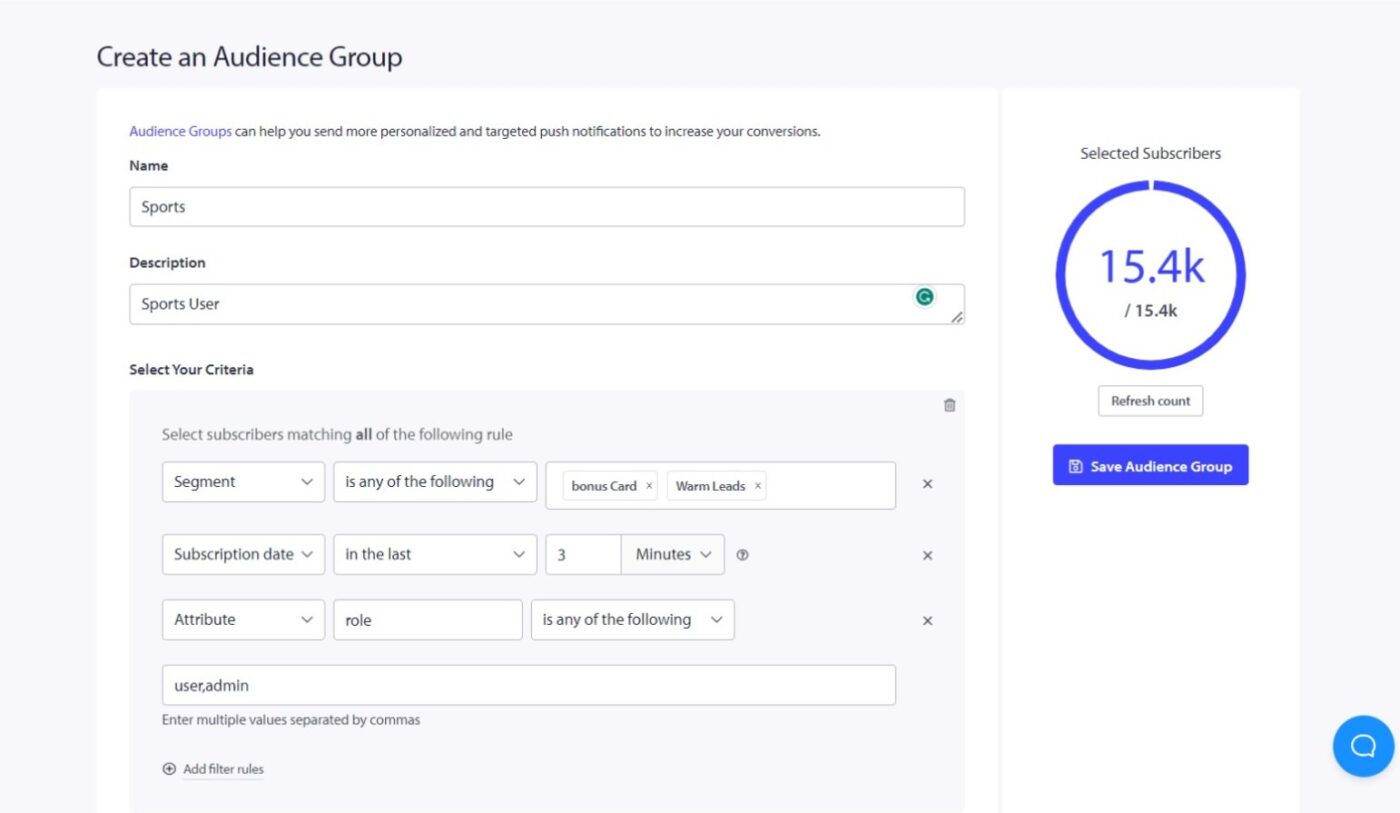
Note: To add custom segments, attributes, profile ids, and subscriber hash in the audience group, ensure you have created them earlier or before creating the audience group.
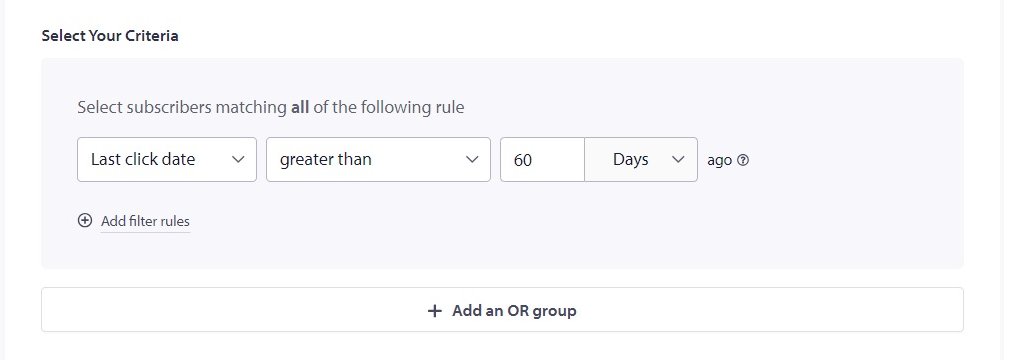
With this feature, you can also retarget the users who did not click on your notifications in the last few days. You can create a specific audience group for them, set criteria like the Last Click Date is greater than 60 days, and then retarget them. This way, you can send your least active subscribers more targeted notifications and engage them further. Adding more relevant criteria allows you to segment the same set of subscribers in the same Audience group.
This is all you need to build audience groups using various segments and attributes.
Key Facts about Audience Groups
- This feature also allows you to retarget users who have not clicked on your notifications in the last few days. You can create a specific audience group and set criteria, such as the Last Click Date exceeding 60 days.
- You can increase engagement and encourage them to interact with your content. You can do this by sending targeted notifications to your least active subscribers based on their activity criteria in audience groups.
Sending Campaign to Audience Group
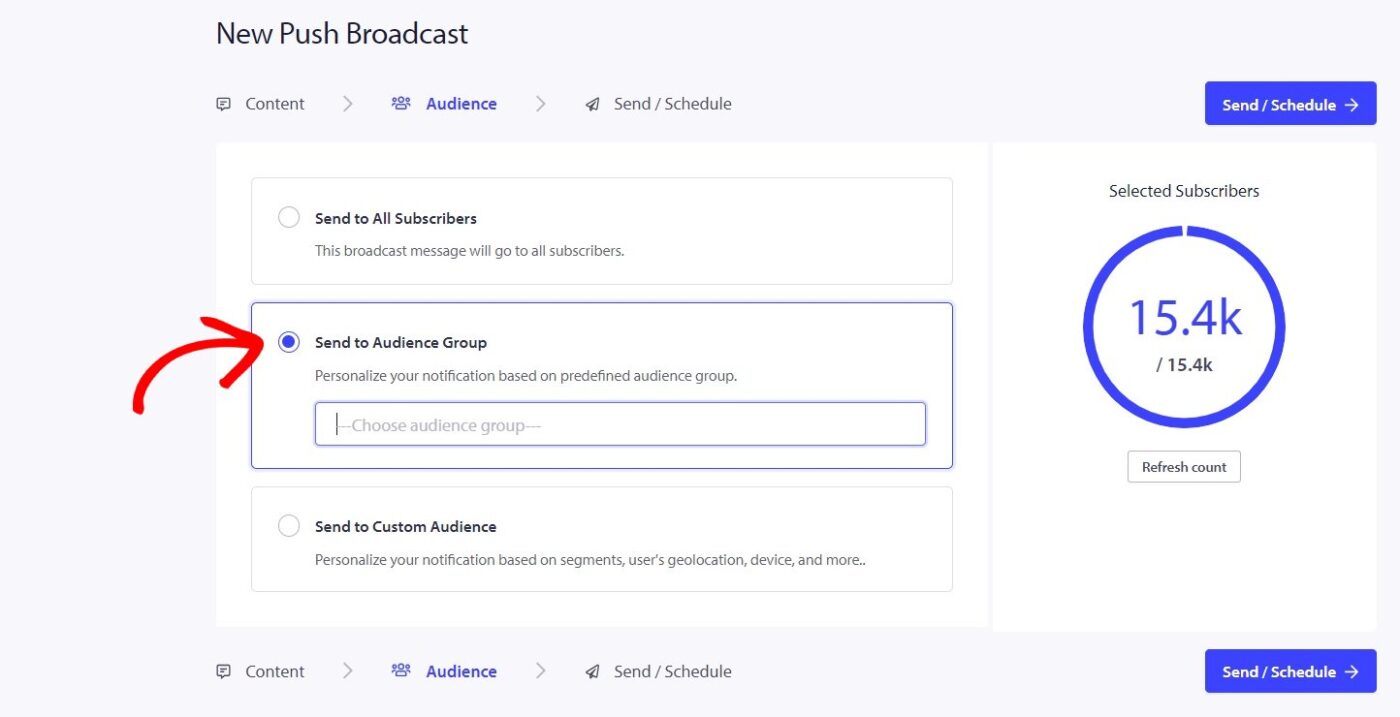
You can select Audience Group from the Audience tab in Push Broadcasts.
Now that you have created the Audience Group, you can create a Push Broadcast. Before sending it to your entire subscriber base, you can select an Audience Group you have created before, and then only one particular group will get the notification. You can check the campaign’s performance by navigating to Campaign » Push Broadcast.
If you run into any issues, please feel free to contact us by clicking here. Our support team will be able to help you.


