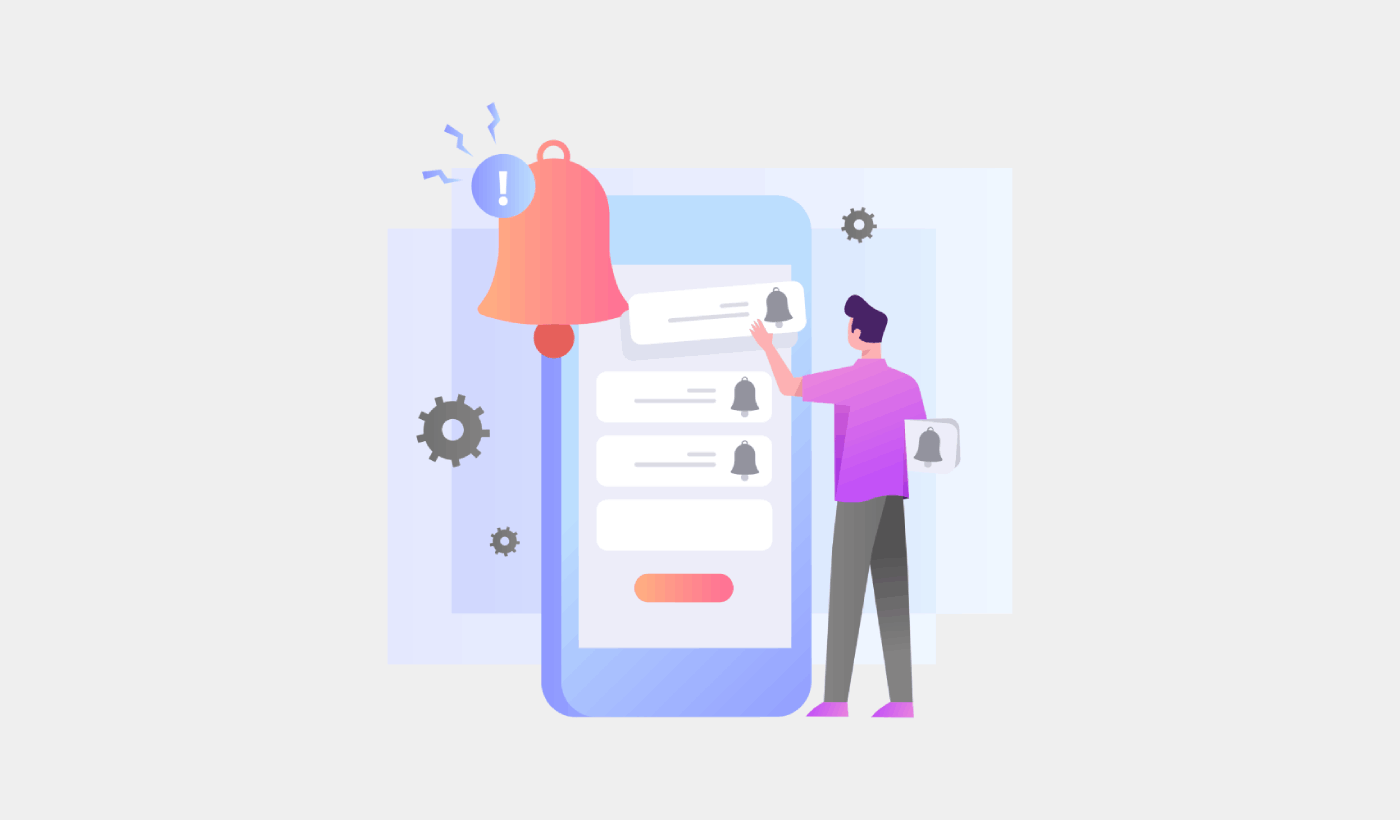
Looking for a simple way to add Webflow push notifications?
That’s a really great idea. Webflow is a powerful website builder that enables you to create instant websites. It’s super easy to create a website and start selling a product or a service.
But once your site is live, how do you get traffic? How do you build engagement? How do get more sales?
That’s where push notifications can be super effective as a marketing tool because they can generate repeat traffic and sales without having to run paid ads. You can also create automated campaigns to boost engagement and sales with very little effort.
But the painful bit is that there are hardly any articles out there that show you how to add Webflow push notifications.
Don’t worry! In this article, we’re going to show you step-by-step how you can add push notifications to a Webflow site in less than 10 minutes.
さあ、始めましょう。
How to Install Webflow Push Notifications
Adding push notifications to a Webflow site is quite simple. Just follow the steps in this article. If you follow every step, by the end of this article, you should be able to send push notifications like this one:

始めましょう!
ステップ1:PushEngageアカウントの設定
PushEngageのホームページにアクセスし、開始するボタンをクリックします。

PushEngageを無料で試すことができます。リピートトラフィックとエンゲージメントが必要な小規模ブログを運営している場合は、おそらくそれで十分でしょう。しかし、売上を真剣に考えている場合は、エンタープライズパッケージを取得して、自動キャンペーンのロックを解除する必要があります。
PushEngageアカウントにサインアップしたら、PushEngageダッシュボードにアクセスし、サイト設定 » サイト詳細に移動してください。

ここでロゴ、サイト名、サイトURLを設定できます。後で全体のセットアップをテストできるように、これらの項目を今すぐ整理することが非常に重要です。
ステップ2:PushEngageからインストールコードを取得する
プッシュ通知をインストールするには、インストールコードを取得する必要があります。サイト設定画面で下にスクロールし、セットアップ手順はこちらボタンをクリックしてください。

次に、どのサイトでもタブをクリックしてください。

そして、Javascriptコードスニペットをコピーします。これはすぐに必要になります。
Step #3: Place the Installation Code For Webflow Push Notifications
Log in to your Webflow dashboard and in the site builder, press A to open up the Add Panel and an Embed element:
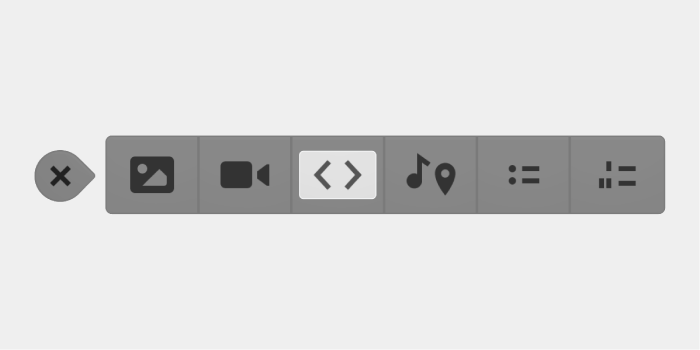
Then, simply paste the code snippet you got from your PushEngage dashboard. This is typically where you would place your Google Analytics code, Facebook Pixel, and other tracking code as well. When you’re done, hit Save.
ステップ4:PushEngageオプトインを設定する
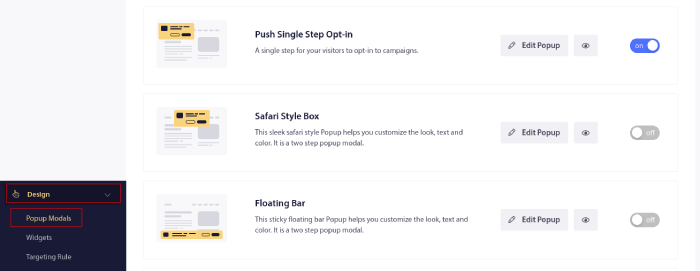
次に、PushEngageダッシュボードに戻ります。Design » Popup Modalsに移動し、希望するオプトインを選択します。
ここでのアイデアは、訪問者に購読する確かな理由を与えることです。そのためのヘルプが必要な場合は、カスタムプッシュ通知オプトインを作成する方法 に関する記事を確認してください。
そして、開始するためのテンプレートが必要な場合は、コンバージョン率の高いプッシュ通知オプトインに関するこの記事を確認してください。
ステップ#5:最初のキャンペーンを作成する
Now that your Webflow site can send push notifications, you should create an actual campaign.
Webflow isn’t really a frivolous free site builder. It’s an advanced builder for custom web development. So, you’re likely going to sell a product on your landing page. If that’s you, you should definitely set up an abandoned cart reminder for your store.
放棄されたカートキャンペーンは、放棄されたカートをコンバージョンさせることで追加の収益を生み出すのに役立ちます。これは、自動パイロットで多くの製品を販売する簡単なリマインダーです。したがって、直接販売をもたらすランディングページをサポートするのに最適なキャンペーンです。
PushEngageダッシュボードにアクセスし、「キャンペーン」>「トリガーキャンペーン」>「新しいトリガーキャンペーンを作成」に移動するだけです。

次に、「カート放棄」キャンペーンテンプレートを選択します。

自動マーケティングキャンペーンの作成が初めての場合は、放棄されたカートプッシュ通知キャンペーンの設定方法に関する記事に従うことができます。すべての手順に従えば、次のようなプッシュ通知を設定できます。
そして、念のためお伝えしておきますが、プッシュ通知キャンペーンが効果的であるために、あなたが有名ブランドである必要はありません。実際、PushEngageは中小企業がプッシュ通知を使用して成長するのを支援するために構築されました。
しかし、サイトのマーケティングを開始する前に、プッシュ通知の購読プロセスに問題がないか確認してください。プッシュ通知のテストに関するこの記事をご覧ください。すべてが完璧に機能していれば、完了です!
What To Do After Adding Webflow Push Notifications?
今回は以上です、皆さん!
You just added push notifications to your Webflow site. Then, you created a powerful push notification campaign to boost your growth. All that, in less than 10 minutes!
他の自動プッシュ通知キャンペーンの作成方法もご覧ください。ほとんどのプッシュキャンペーンはシンプルで効果的です。そのため、サイトに複数のキャンペーンを設定することをお勧めします。以下に、開始するのに最適なキャンペーンをいくつか紹介します。
まだ始めていない場合は、PushEngageを使い始めましょう。PushEngageは世界No.1のプッシュ通知ソフトウェアです。したがって、あなたのキャンペーンは安全な手に委ねられています。


