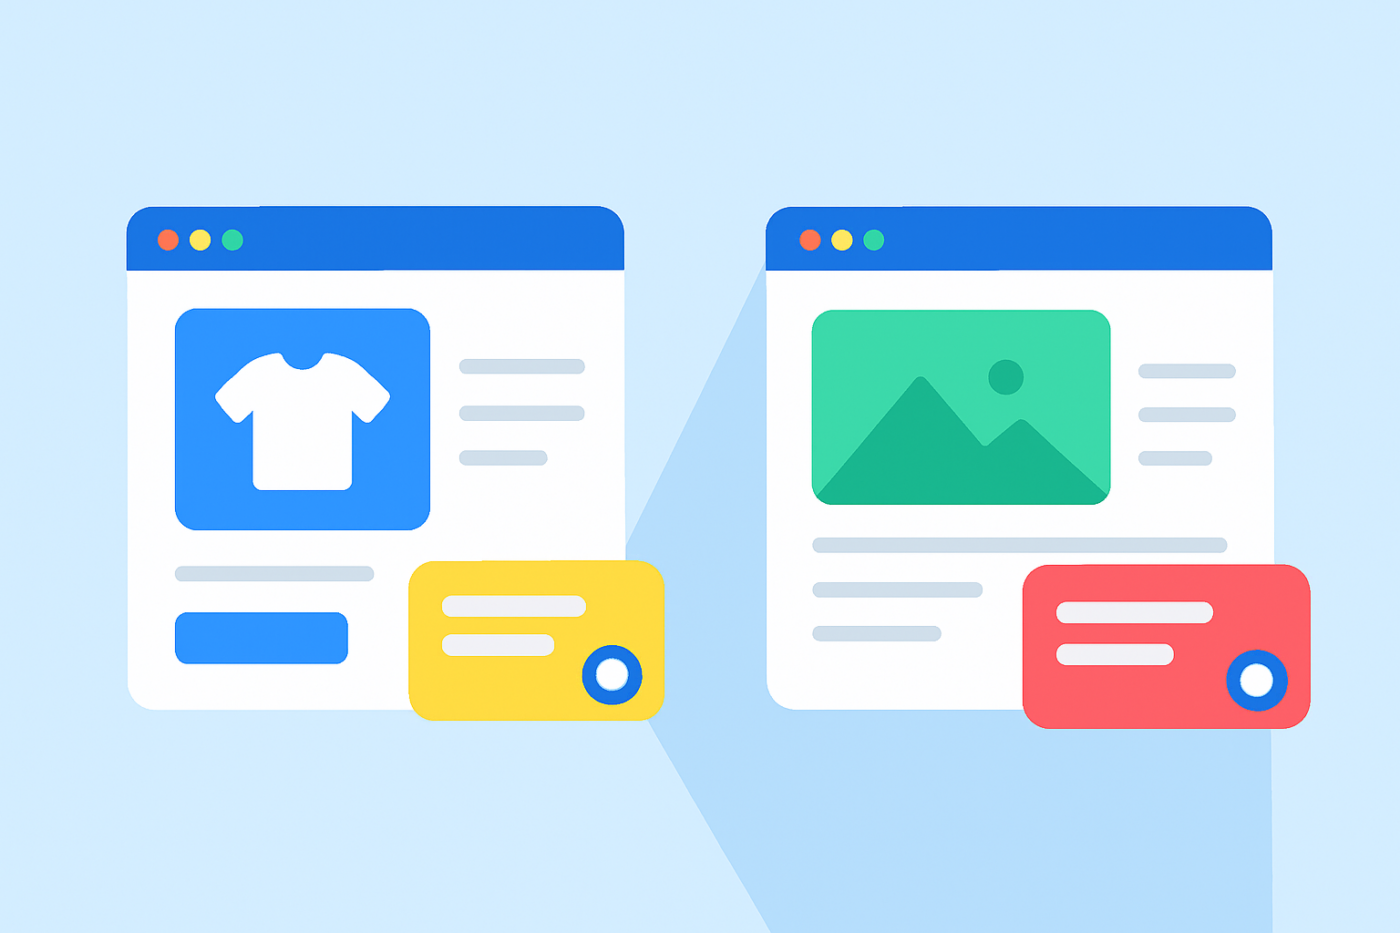
When visitors land on your website, they’re not all in the same mindset. Someone browsing a product page is evaluating a purchase. Someone reading a blog post is learning, researching, or just exploring.
Showing both visitors the same chat widget is one of the fastest ways to lose conversions, overwhelm your agents, and confuse user intent.
With PushEngage’s new chat widgets for WordPress and WooCommerce, you can create different widgets for different page types — each with its own design, message, channels, agents, and rules.
This guide will walk you through exactly how to set up one chat widget for product pages and another for blog posts.
マルチチャネルメッセージを今すぐ送信!
プッシュ通知とWhatsAppメッセージは、リピートトラフィック、エンゲージメント、および売上を自動的に増加させるための非常に効果的で低コストなマーケティングツールです。
Why Product Pages and Blog Pages Need Different Chat Experiences
Product Pages = High Intent, Low Patience
When someone is on a product page, they’re considering buying — or abandoning. They’re comparing prices, checking availability, wondering about shipping, and hesitating about quality.
Your chat widget on this page needs to:
- Be instant or high-visibility
- Connect to sales experts
- Provide reassurance
- Remove friction
- Close the sale
If you delay the chat or use a soft message, you lose the moment.
Blog Pages = Low Intent, High Curiosity
Visitors on a blog post aren’t ready to buy yet. They’re learning, researching, or forming a problem statement.
Your chat widget here should:
- Be helpful, not pushy
- Trigger after a delay
- Guide them toward resources
- Capture emails or lead intent
- Softly warm them toward products
Trying to sell aggressively here will push readers away.
Matching the Chat to Intent = More Conversions
Aligning your chat strategy to the visitor’s mindset is one of the simplest ways to improve engagement, reduce support load, and lift sales.
What Custom Chat Widgets Let You Do
PushEngage allows you to create multiple widgets — each with its own:
- Design
- Channels (WhatsApp, Live Chat, Email)
- Agent assignments
- Proactive messages
- Targeting rules
- Behavior triggers
この柔軟性こそが、「ページタイプベースのパーソナライゼーション」を可能にする理由です。
Examples: Product Page vs Blog Page Chat Strategies
Product Page Widget Ideas
These messages convert browsers into buyers:
- “Got questions before ordering? Chat with a product expert.”
- “Ask about delivery times or product specs.”
- “Need help choosing the right variant?”
Use:
- Sales agents
- WhatsApp + live chat
- Quick-trigger behavior (0–5 seconds or 20–30% scroll)
Blog Page Widget Ideas
These messages feel natural in a learning environment:
- “Need help understanding this topic?”
- “Looking for product recommendations? I can help.”
- “Want a summary or guide? Just ask!”
Use:
- Support agents
- Optional email capture
- Delayed triggers (40–60 seconds or 60–70% scroll)
PushEngageを使用して異なるチャットウィジェットを設定する方法
これは、PushEngageでWordPress/WooCommerceで使用する正確な構成です。
ステップ1:最初のチャットウィジェットを作成する
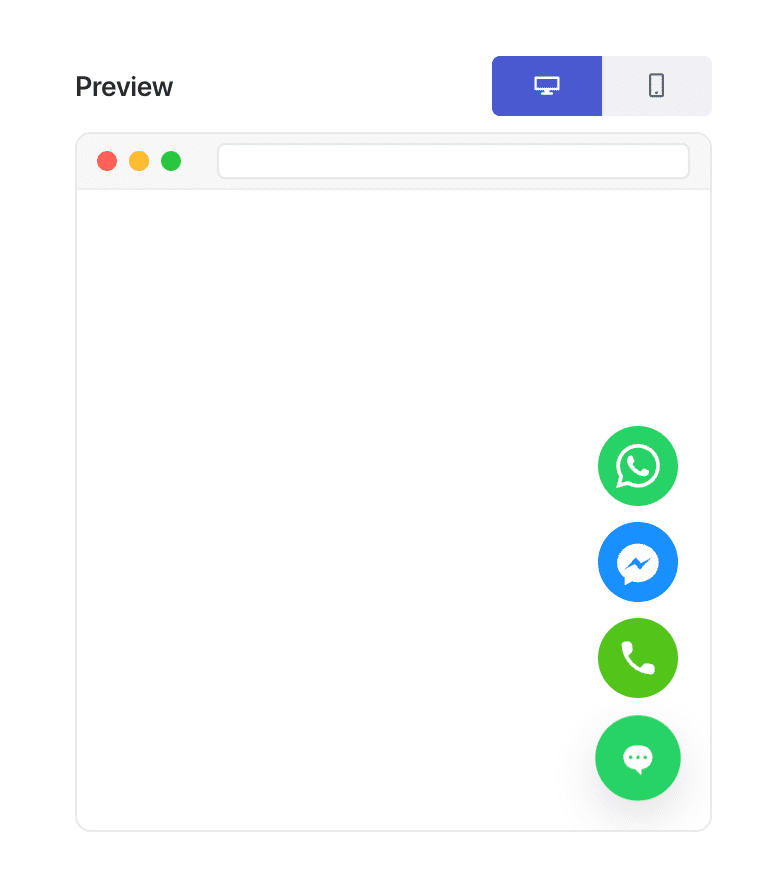
- In WordPress, go to: PushEngage → Chat Widgets → Create New Widget
- 名前を付けます:商品ページチャット
- 目立つ色とスタイルを選択します
- WhatsApp +ライブチャットなどのチャネルを追加します
- あなたの営業担当者または製品担当者を割り当てます
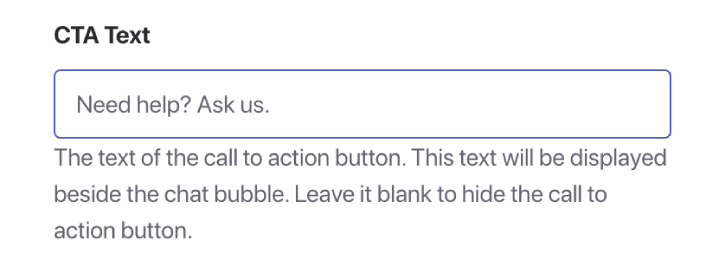
ステップ2:セールス重視のメッセージを追加する
コンテンツ » 外観 » 詳細表示の下で、CTAテキストフィールドまでスクロールし、セールスメッセージを追加します。
例:
- 「購入前にヘルプが必要ですか?何でも聞いてください。」
- 「サイズやフィット感が不明ですか?お手伝いします。」
- 「商品をより早くお届けします — 方法を尋ねてください!」
このメッセージは行動を促すためのものです。
ステップ3:ウィジェットをWooCommerce商品ページにターゲットする
トリガータブに移動し、表示ルールまでスクロールします。
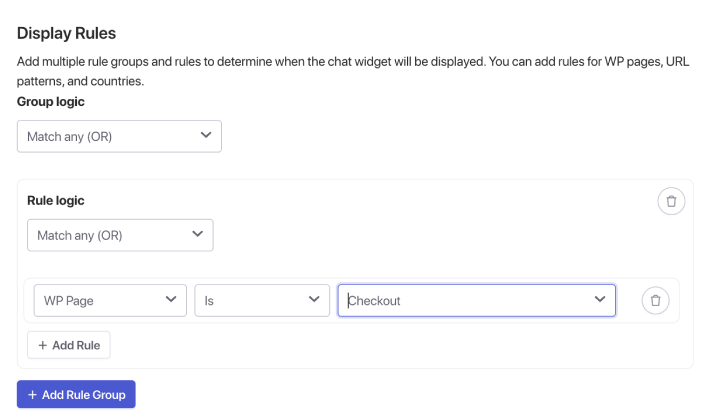
ここで、WPページオプションを使用して、商品、チェックアウトなどのWooCommerceページを見つけることができます。ただし、特定のURLを使用したい場合は、ドロップダウンをクリックして代わりにURLを選択し、それに応じてターゲティングを調整してください。
完了したら、チャットウィジェットを保存してアクティブ化してください。
The same goes for setting up a blog page chat widget. Create a separate widget that targets blog pages exclusively.
推奨される行動ルール
- 45〜60秒後に表示
- または60〜70%スクロール後に表示
- デスクトップのみ(オプション)
これにより、ウィジェットは邪魔ではなく、サポートしているように感じられます。
複数のチャットウィジェットを実行するためのベストプラクティス
1.デザインの一貫性を保つ
ウィジェットがコンテキストによって異なっても、同じブランドのように感じられる必要があります。
2.訪問者を圧倒しない
プロアクティブなポップアップが多すぎないようにしてください。コンテキストに任せましょう。
3. 適切な担当者を割り当てる
商品ページ → 営業
ブログページ → サポートまたは教育スタッフ
4. 月次でアナリティクスを確認する
以下を確認してください:
- トリガーされたセッション
- 平均応答時間
- コンバージョンフロー
- ユーザーが離脱するページ
実際のデータに基づいて微調整してください。
5. モバイルとデスクトップの違いを考慮する
モバイルプレビューは不可欠です。メッセージの長さとトリガーのタイミングを調整してください。
チャットウィジェットの設定後の対応
Creating different chat widgets for product pages and blog posts is one of the simplest, highest-impact improvements you can make to your WordPress or WooCommerce experience.
Product pages need fast, sales-oriented support.
Blog pages need slow, supportive guidance.
With PushEngage, you can set this up in minutes — and immediately start seeing better engagement, higher conversions, and more efficient agent workloads.
- 顧客は常に誰かがオンラインであることを見ます
- 応答時間が短縮されます
- 購入前のコンバージョンが上昇します
- サポートがより迅速かつ信頼性が高く感じられます
- あなたのストアはグローバル対応になったように感じられます
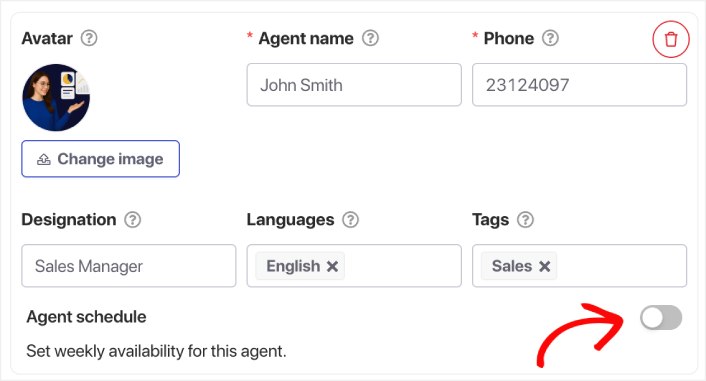
スケジュールが設定されると、チームはより効率的に運営できるようになり、顧客は期待通りのエクスペリエンスを得ることができます。
まだPushEngageでエージェントのプロフィールとスケジュールを設定していない場合は、今がその時です。
納得がいかないですか?マルチチャネルマーケティングキャンペーンに関するこれらのすばらしいリソースをご覧ください。


