Notice: There is no legacy documentation available for this item, so you are seeing the current documentation.
A/B testing lets you send two versions of a push notification to your subscribers and measure which one performs better. You can test different titles, messages, images, or landing URLs to learn what your Shopify audience responds to, then use that insight in every future campaign.
This guide covers both types of A/B testing available in PushEngage and how to read the results.
Before You Start
- A/B testing requires a PushEngage Premium plan or above.
- You should have an active subscriber list before running a test. Results are more reliable with a larger audience.
- To target a specific group (Customers or Leads), make sure your Shopify segments are enabled.
Types of A/B Tests
PushEngage offers two types of A/B testing.
| Type | How it works | Best for |
|---|---|---|
| Regular A/B Test | Versions A and B are sent to a randomly split 50/50 audience simultaneously. You review results manually and decide the winner. | One-off broadcast campaigns where you want equal exposure for both variants |
| Intelligent A/B Test | Versions A and B go to a sample percentage of your audience for a defined time window. After the window closes, PushEngage automatically sends the winning version to the remaining audience. | Campaigns where you want the best-performing message to reach the majority without manual follow-up |
Step 1: Create a New A/B Test
- Log in to your PushEngage dashboard.
- Go to Campaigns » Push Broadcasts.
- Click Create New Push Broadcast.
- Click Add A/B Testing at the top of the campaign editor.
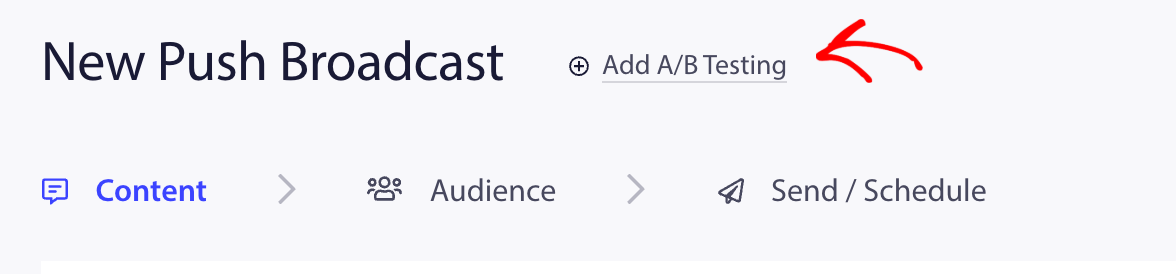
Two notification editors will appear side by side, labelled Version A and Version B.
Step 2: Build Your Two Versions
Fill in both versions of the notification. Change only the element you want to test. Keep everything else identical so the results are meaningful.
What You Can Test
| Element | Description |
|---|---|
| Title | Test different headlines for the same notification |
| Message | Test different body copy or calls to action |
| Image | Test a product image vs. your store logo |
| Large Image | Test a large banner image vs. no image |
| Landing URL | Test linking to a product page vs. a collection page |
| Multi-Action Buttons | Test one CTA vs. two CTAs with different labels |
Test one element at a time. If you change both the title and image between versions, you will not know which change drove the difference in results.
Set different UTM parameters for each version so you can track revenue separately in your analytics. For example, use utm_content=version-a and utm_content=version-b.
Step 3: Choose Your Audience
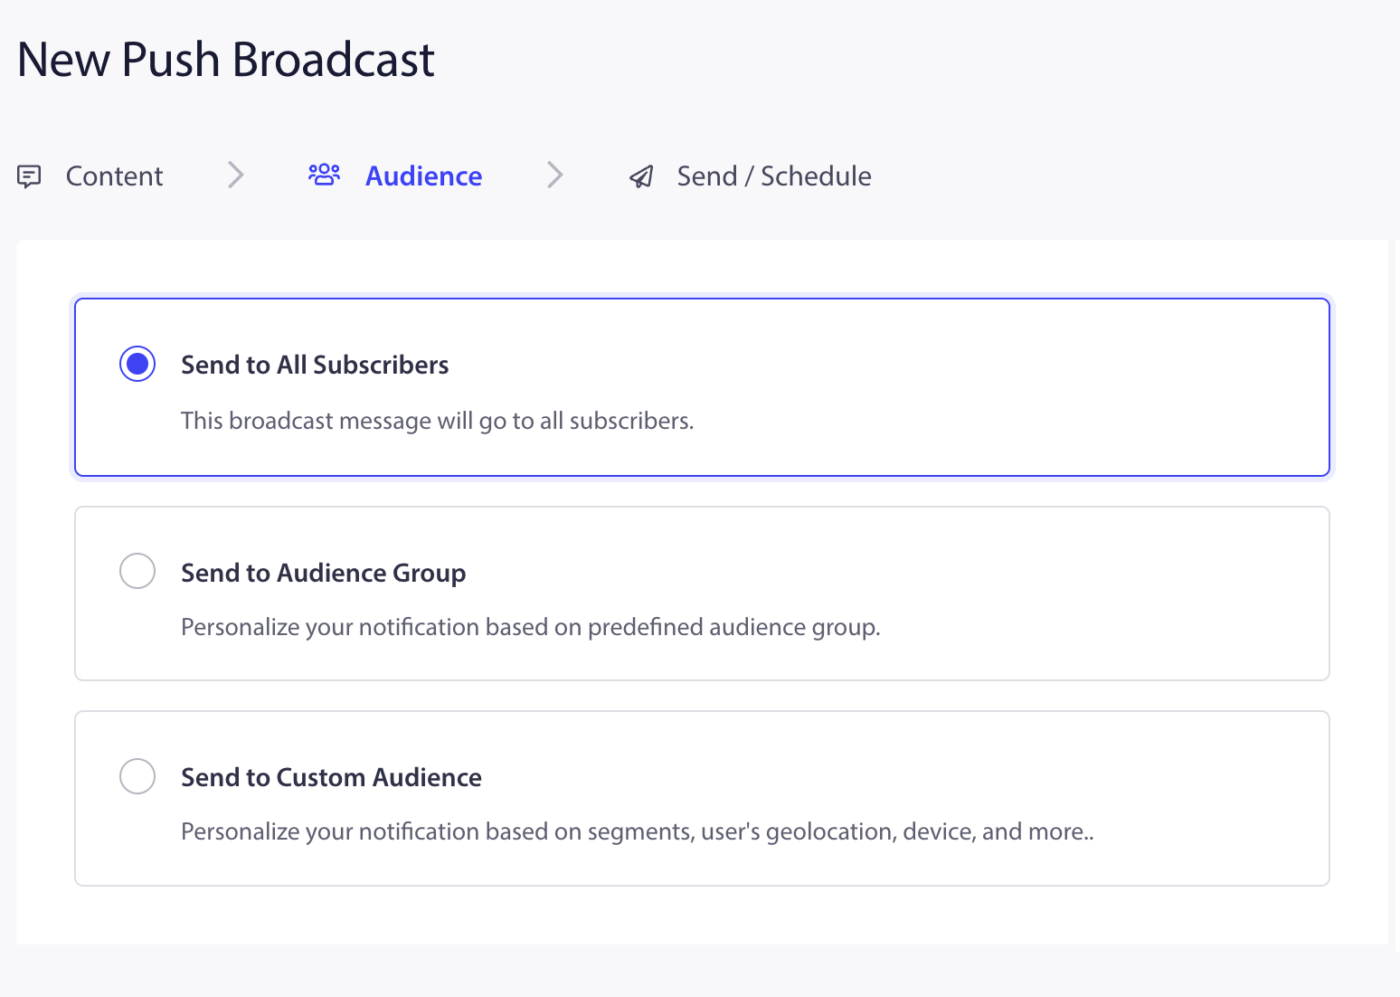
- Click the Audience tab in the campaign editor.
- Choose to send to all subscribers, or select a segment or audience group.
For Shopify stores, running A/B tests on specific segments gives more useful results.
| Test Goal | Recommended Audience |
|---|---|
| Test first-purchase messaging | Leads segment |
| Test repeat buyer copy or loyalty offer | Customers segment |
| Test a flash sale or store-wide promotion | All subscribers |
Step 4: Set Send or Schedule Rules
Regular A/B Test
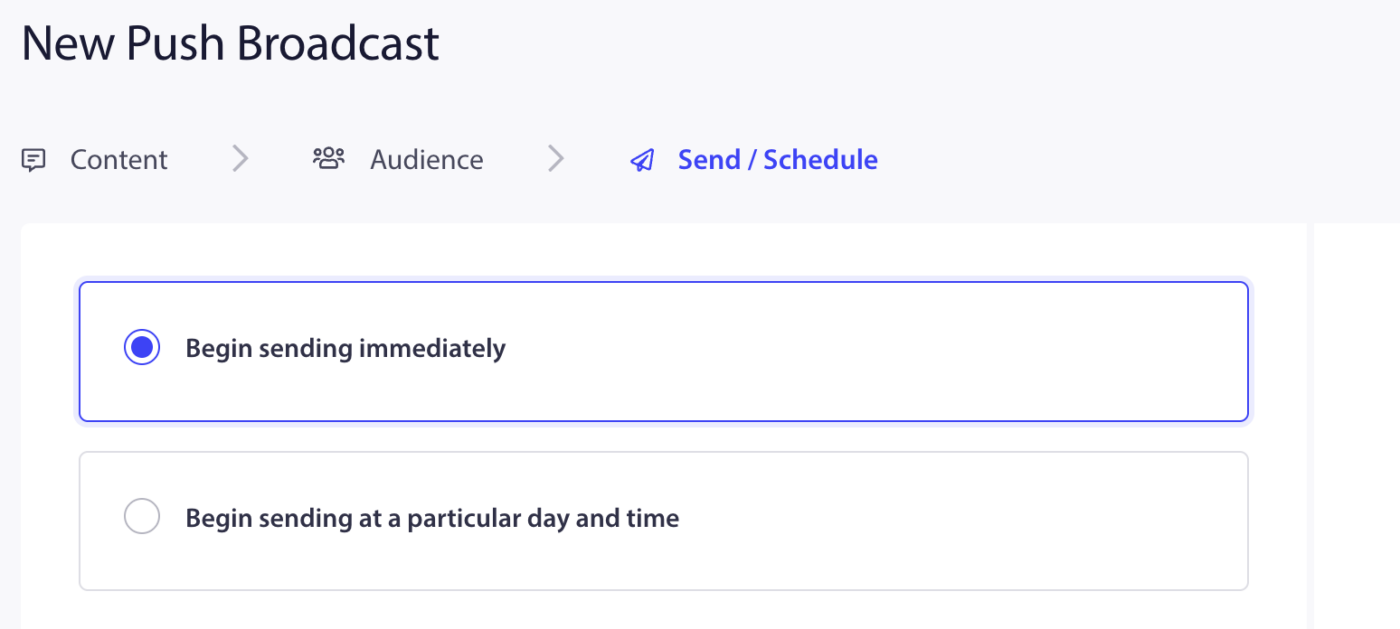
- Click the Send/Schedule tab.
- Send immediately or schedule for a future time.
- Both versions will go to a randomly split audience at the same time.
Intelligent A/B Test
- In the Send/Schedule tab, scroll to the Intelligent A/B Testing section.
- Toggle the switch On.
- Set the sample size (example: 30 means 30% of your audience will receive the test).
- Set the test duration (example: 30 minutes, 1 hour, 24 hours).
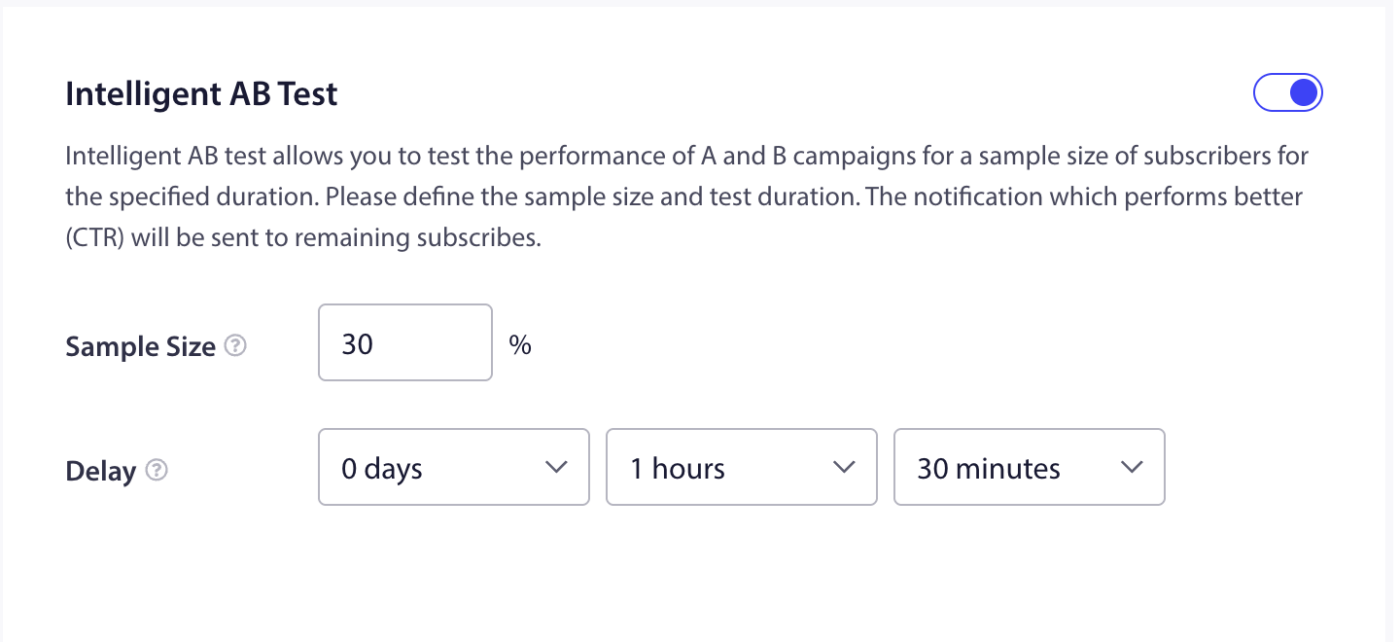
After the test window closes, PushEngage automatically sends the winning version to the remaining 70% of your audience. No action is required from you.
Step 5: View Results
For Regular A/B Tests
- Go to Campaigns » Push Broadcasts.
- Find your test campaign in the list.
- Review the sent, delivered, and clicked metrics for each version.
- The version with the higher click rate is your winner. Apply those learnings to your next campaign.
For Intelligent A/B Tests
- Go to Campaigns » Push Broadcasts.
- Find your campaign and click the eye icon to view analytics.
- You will see a full breakdown of Version A vs. Version B performance, including which version was selected as the winner and sent to the remaining audience.

Shopify A/B Test Ideas
| What to Test | Version A | Version B |
|---|---|---|
| Cart abandonment title | You left something behind! | Your cart is waiting for you |
| Browse abandonment image | Product image | Store logo |
| Flash sale CTA | Shop Now | Claim Your Discount |
| Price drop message | {productname} just dropped in price | Price drop alert on {productname} |
| Landing URL | Product page | Cart page |
Frequently Asked Questions
How large does my audience need to be for a reliable test? There is no hard minimum, but tests with fewer than 500 subscribers per variant tend to produce inconclusive results. The larger the audience, the more reliable the outcome.
Can I A/B test trigger campaigns like cart abandonment? A/B testing through the Push Broadcast editor is designed for broadcast campaigns. For trigger campaigns, you can manually edit and rotate copy over time to observe performance differences, or you can use workflows.
How long should I run an Intelligent A/B test? A test window of 30 minutes to 2 hours works well for time-sensitive campaigns like flash sales. For evergreen content, 24 hours gives a more representative sample.
Will both versions be sent to the same subscriber? No. Each subscriber receives only one version. The split is random and mutually exclusive.
Where can I see which version won in an Intelligent A/B test? Go to Campaigns » Push Broadcasts, find the campaign, and click the eye icon to view full analytics including the declared winner and its metrics.
If you run into any issues, please feel free to contact us by clicking here. Our support team will be able to help you.


