What are push messages?
Push messages are short, clickable messages delivered to a subscriber’s device even when they’re offline. You can easily send out any link to promote any part of your business using push messages from a simple, easy-to-use dashboard.
Here’s the most awesome part: Push messages are a super-easy way to get repeat visitors to your site on autopilot even if…
- Du lige er startet, og din fanbase stadig er lille
- Selv hvis… du driver en e-handelsbutik med hundredvis af kampagner hver måned
- Selv hvis... du har en mega-blog, der allerede genererer masser af SEO-trafik
I denne artikel vil vi vise dig, hvordan du får gentagne besøgende øjeblikkeligt, hver gang du udgiver:

Du kan komme i gang gratis lige nu. Når du begynder at få resultater fra en gratis push-notifikationssoftware, kan du skifte eller opgradere for at få flere funktioner, der hjælper dig med at vokse hurtigere.
But first, let’s understand a little more about push messages and how they work.
What Are Push Messages?
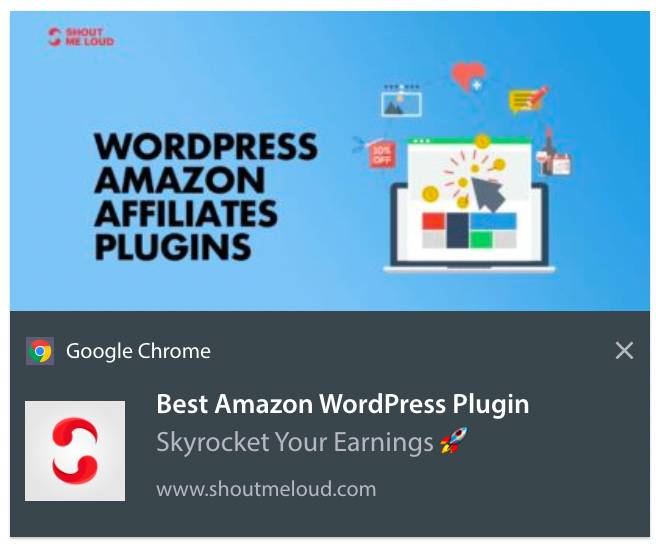
A push message is a short, clickable popup that you can send to a subscriber to promote offers and other content:
The best part is that the messages will get delivered even if your subscriber isn’t using a browser. It’s like an email blast, but with a web push message, your subscribers don’t need to be using an app to see your message. And unlike social media websites, there is no algorithm reducing your reach to get you to pay for ads.
The coolest part about web push messages is that you can use them to complement your lead magnets and email opt-in forms.
We recommend using PushEngage to get started with push messages for free. The simplest push message you can send for free is an RSS push message. In an RSS push, every time you publish a blog post, PushEngage automatically sends out a broadcast message to all your subscribers.
How to Add Push Messages to Your Website
Before you get started with push message campaigns, you’ll have to get a service to send push messages.
Vi anbefaler, at du kommer i gang med PushEngage. PushEngage er et af de bedste push-notifikationsplugins til WordPress. Du når øjeblikkeligt op til 200 abonnenter med kun gratisniveauet. Hvis dit websted vokser til mere end 200 abonnenter, kan du hurtigt skalere ved at opgradere din plan.
Lad os se på, hvordan du kan bruge gratisversionen af PushEngage til at begynde at sende push-beskeder.
Trin #1: Opret en gratis PushEngage-konto
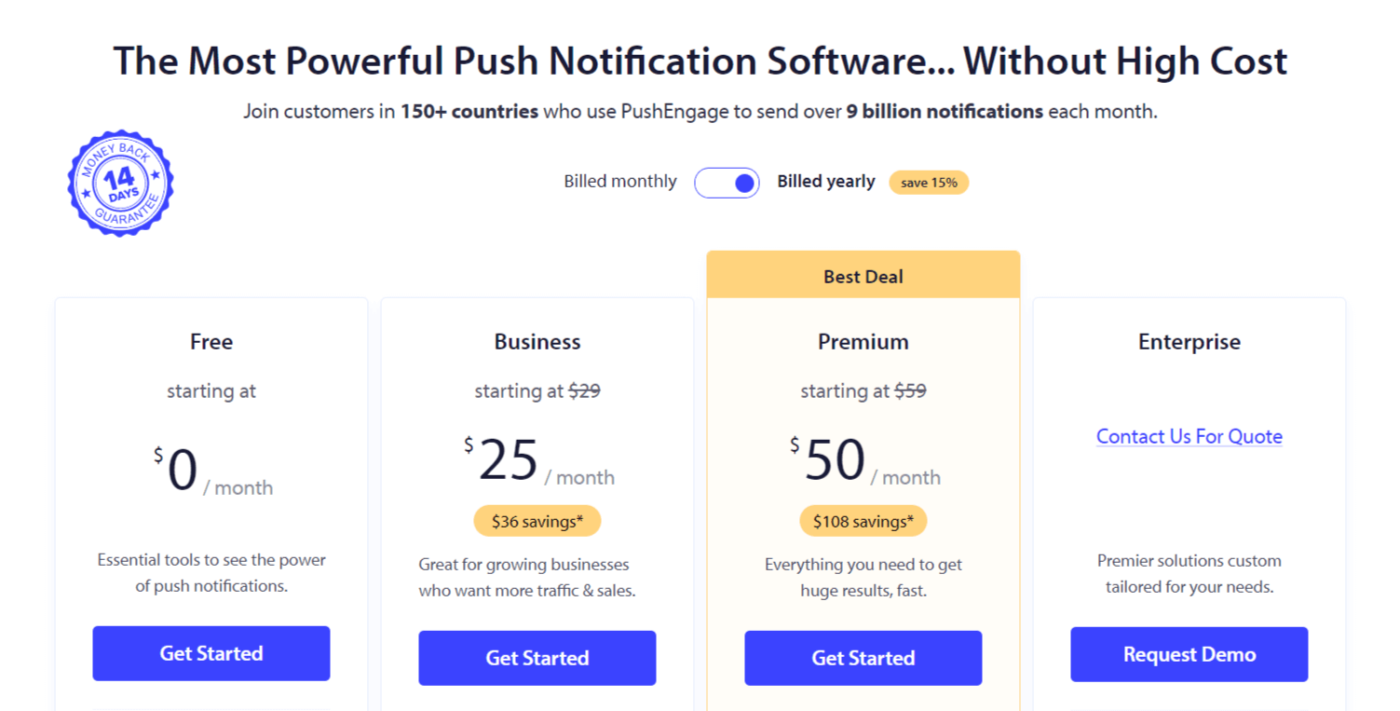
Gå til PushEngage og klik på Kom i gang:

Vælg derefter planen for din PushEngage-konto. Du kan komme i gang gratis, men hvis du er seriøs omkring at vækste din virksomhed, anbefaler vi at få en betalt plan for at låse op for mere avancerede kampagner.
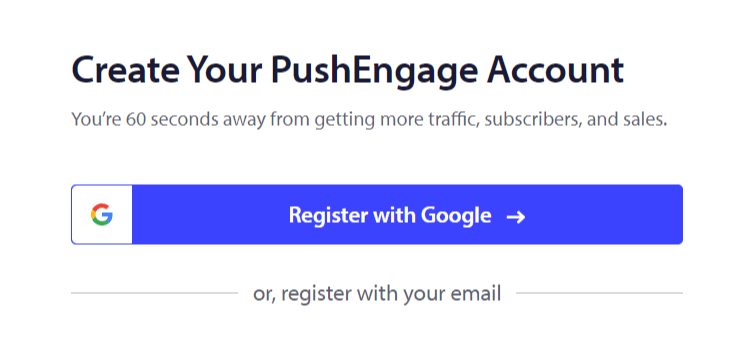
Trin #2: Tilmeld dig PushEngage
Tilmeld dig plugin'et med dine brugeroplysninger eller dit Gmail ID eller din e-mail og adgangskode:
Og følg blot instruktionerne og afslut opsætningen af din konto.
Step #3: Install PushEngage to Your Site
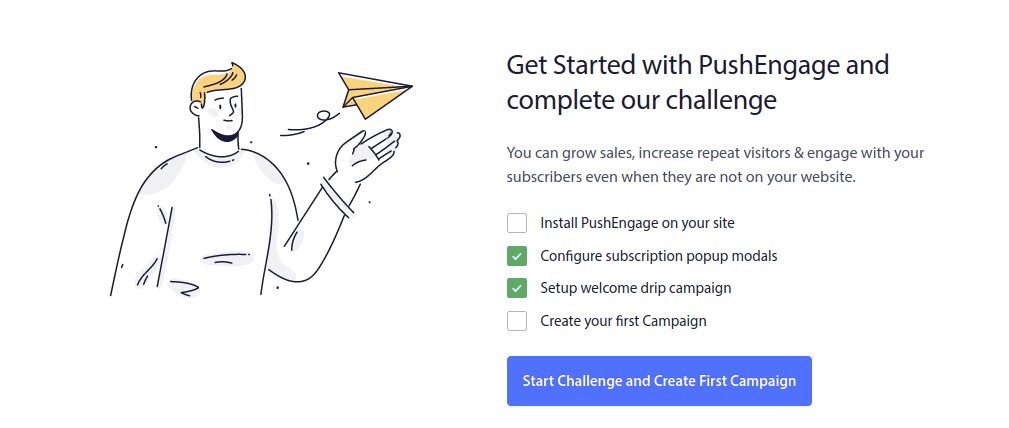
Når du har tilmeldt dig, bliver du ført til PushEngage-dashboardet:
The process to add push messages to your site is different for different platforms. So, we’ve created detailed, step-by-step guides for the most popular platforms for you:
- Installer push-notifikationer på WordPress
- Installer push-notifikationer på WordPress (uden et plugin)
- Installer push-notifikationer på WooCommerce
- Installer push-notifikationer på Wix
- Installer push-notifikationer på Blogger
- Installer push-notifikationer på Zoho
- Installer push-notifikationer på Volusion
- Installer push-notifikationer på Weebly
- Installer push-notifikationer på ClickFunnels
- Installer push-notifikationer på PrestaShop
- Installer push-notifikationer på OpenCart
- Installer push-notifikationer på CS-Cart
- Installer push-notifikationer på Drupal
- Installer push-notifikationer på Squarespace
- Installer push-notifikationer på X-Cart
- Installer push-notifikationer på BigCommerce
- Installer push-notifikationer på Jimdo
Step #4: Set Up the PushEngage Opt-In
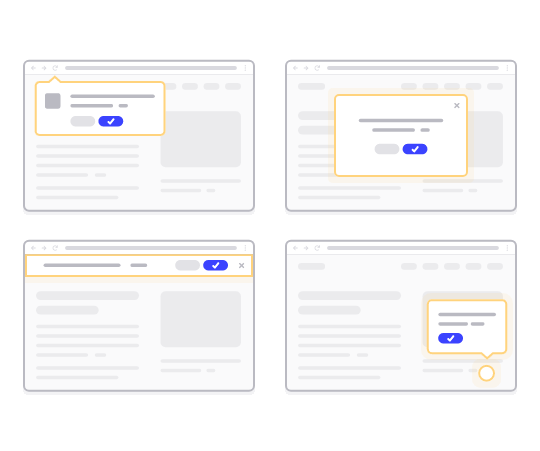
Once you’re done installing PushEngage to your site, head back to the PushEngage dashboard and go to Design » Popup Modals and select an optin to collect subscribers:
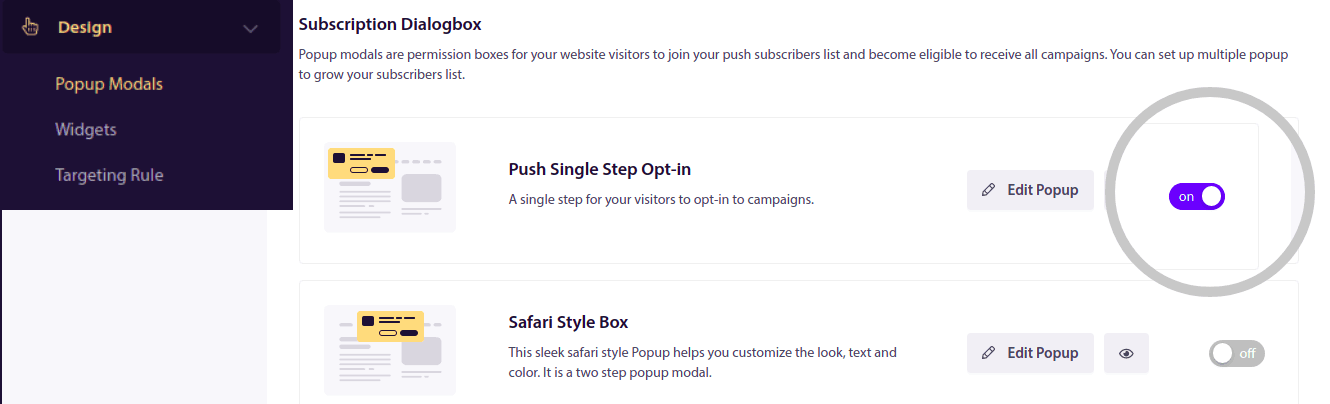
Herfra kan du tilpasse din opt-in til push-notifikationer. Hvis du har brug for hjælp til det, bør du tjekke denne artikel om hvordan man opretter en brugerdefineret opt-in til push-notifikationer.
If you need some inspiration, you can check out this article on high-converting push notification opt-ins.
Remember: You need to install an SSL certificate on your website to be able to use single opt-ins. But you can install two-step opt-ins even without a secure website. So, if you have an SSL certificate installed, use single opt-ins. If not, check out this article on how to install an SSL certificate on WordPress websites.
Og det er alt!
You have successfully set up push messages on your website.
How Do Push Messages Work?
Let’s check out how push messages work.
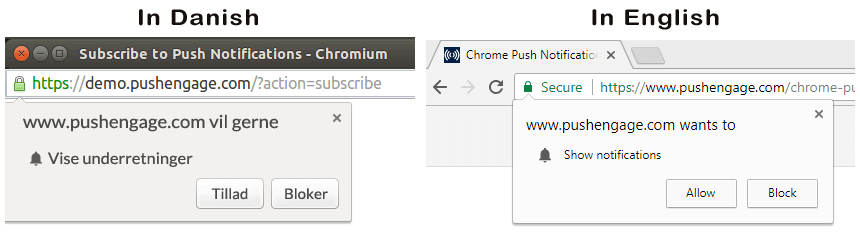
The short version is that every time a new visitor enters your website, they get prompted to become a push notification subscriber.
Next, you use a web push notification service like PushEngage to create and schedule the messages you want to send out to your subscribers. You can either send out a single push message manually or set up an automated sequence of push messages:

Also, you can choose to either send it to every subscriber on your list or to specific segments of your subscribers. Finally, your subscribers receive your messages when their device comes online and take the suggested action.
To PushEngage and our servers, your subscribers are a unique hash number generated based on your subscriber’s device and browser. Besides, the server can also store the geolocation of your subscribers. No personal or identifying data is stored for any of your subscribers.
The beauty of it all is that you don’t need to know anything about coding or how to maintain the original servers. We take care of all that for you. All you have to worry about is setting up your campaigns and making a profit!
By now, you’re probably wondering how personalized push messages work if the servers only store a hash number and no personal details. This is where the service provider API comes into play. For you, that would be the PushEngage Javascript API. You can use this API and connect it to any other CRM or database you might have.
This allows you to use the personal details of your subscribers to send them personalized push messages like this one:

You can also send out advanced eCommerce campaigns such as cart abandonment campaigns without using the PushEngage API.

Hvad er det næste?
Det var alt for denne gang.
Hvis du lige er begyndt med push-beskeder, kan du se, hvordan du opretter din første velkomstbesked ved hjælp af PushEngage. En velkomstbesked er god til genengagement og til at få gentagne besøgende tilbage til dit website.
Synes du, det er svært at finde på kampagneidéer? Tjek disse fantastiske ressourcer:
- 75 episke push-meddelelseseksempler, du kan stjæle lige nu
- Sådan bruges Form Abandonment Push-beskeder til at genvinde tabte leads
- Sådan sender du personlige push-notifikationer med dryp-attributter
- 10 eksempler på eCommerce-butikker, der bruger push-notifikationer godt
- 8 personlige push-notifikationer, der virker [understøttet af data]
Og hvis du ikke allerede har gjort det, kom i gang med PushEngage i dag!


