Looking for a way to create a lightbox popup for your site?
A lightbox popup can be incredibly effective for capturing leads. They’re designed to convince and convert.
But having to code one from scratch is a real pain. For one thing, you’d have to know enough HTML, CSS, and Javascript to create the popup along with trigger rules for when to show it. Then, you’d have to create a manual integration with your email service provider. And finally, you’d have to deal with any privacy and security issues.
Good news: there’s a much simpler way.
In this article, we’re going to show you how to launch a lightbox popup with zero coding in less than 10 minutes.
Lad os dykke ned.
What is a Lightbox Popup?
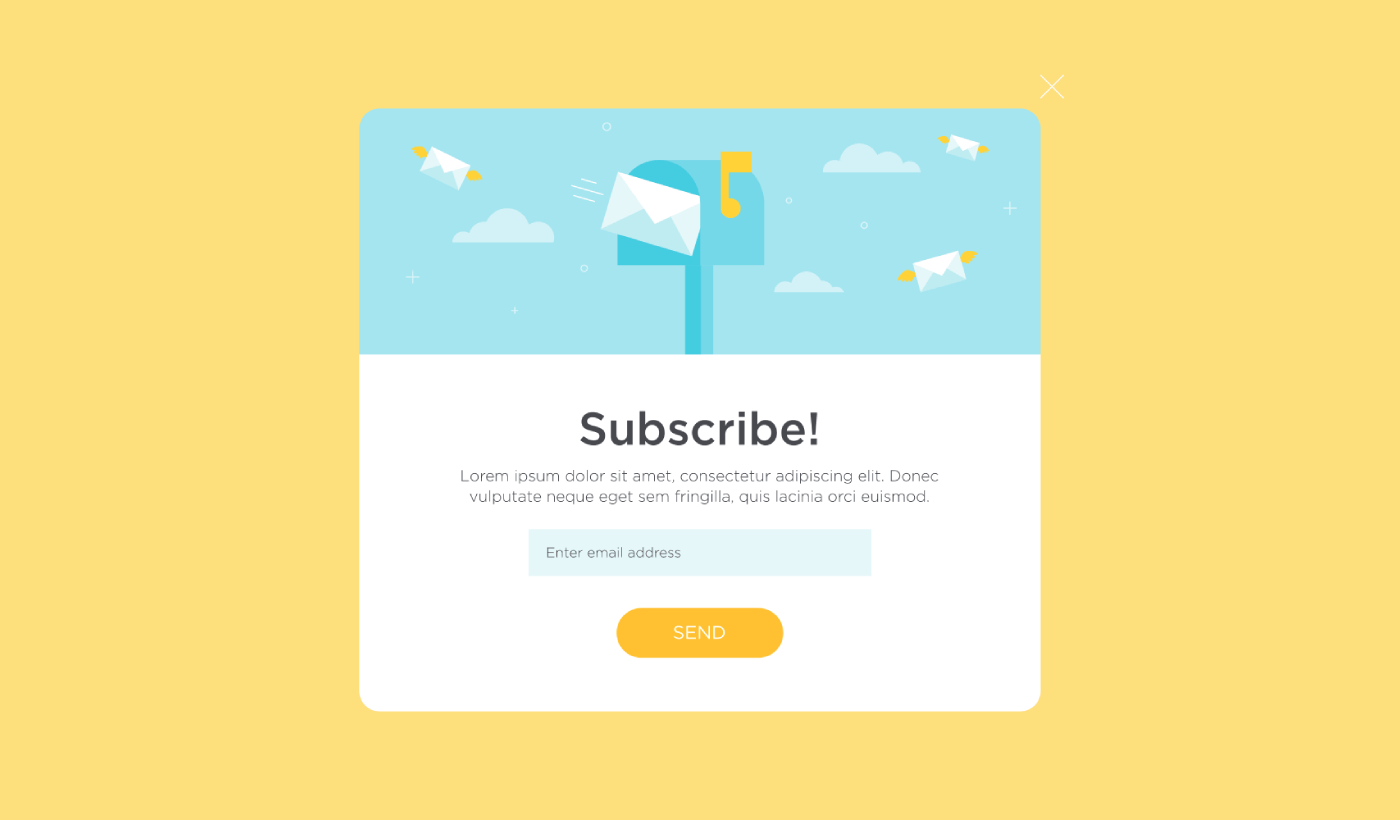
A lightbox popup is an opt-in form that popups up with a cinematic effect. When a lightbox pops up, it blurs out the rest of the site in the background. This way, your entire focus is on the popup.
Originally, the concept of lightboxes come from outdoor advertising:
And then, some developers thought that this was a really cool effect and they created a Javascript library to recreate the same effect on web assets. Later on, the idea of using lightbox popups came into play.
Why Lightbox Popups Work
Lightbox popups capture more emails than a traditional email optin form.
But why do they work?
Let’s take a quick look at the main reasons why lightbox popups work so well.
#1. Lightbox Popups Feature a Clear Call to Action
Most people believe that it’s a great thing to give their customers a lot of options.
But that’s not really true.
If you’re looking for direct conversions, you want a single, clear call to action that your audience can focus on. This way, you remove all distractions from the user’s mind. And lightbox popups do a great job of highlighting your core offer and getting people to focus on your call to action.
So, naturally, the conversion rates are pretty great.
#2. Lightbox Popups Are Impossible to Ignore
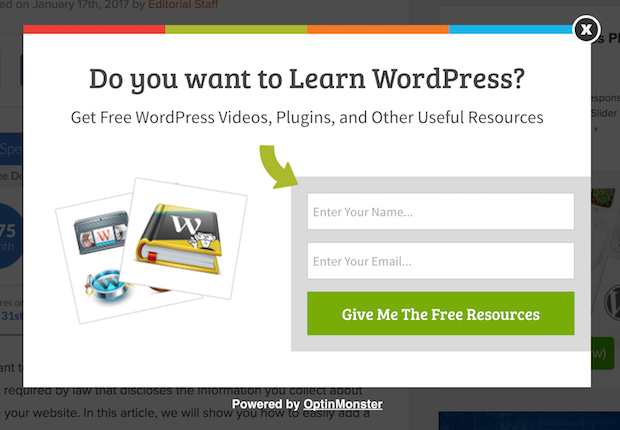
Lightbox popups take up the entire screen and blur out everything else. So, it’s practically impossible to ignore them.
This is especially true if they’re animated:
Of course, you have to ensure that your popups aren’t intrusive. And you can do that by customizing when to trigger different popups on your site. As long as your audience isn’t annoyed by the interruption, you can very easily convince and convert them.
#3. Lightbox Popups Have Personalized Triggers
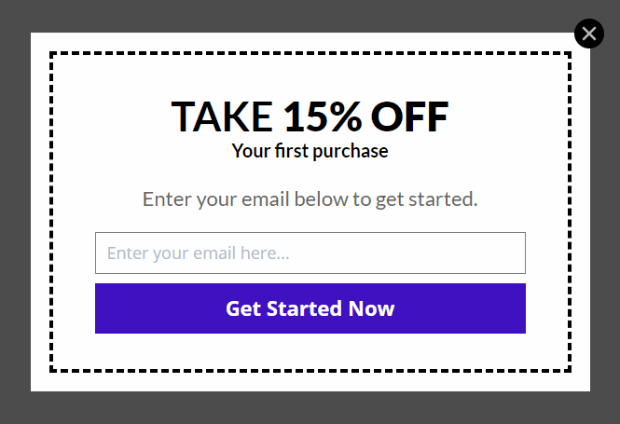
You shouldn’t be showing the same offer to all your web visitors. If you’re running an eCommerce store, you’ll need very different offers for new and returning customers.
For a new customer, you can trigger a welcome campaign:
But for a returning customer, you may want to send them a different offer:
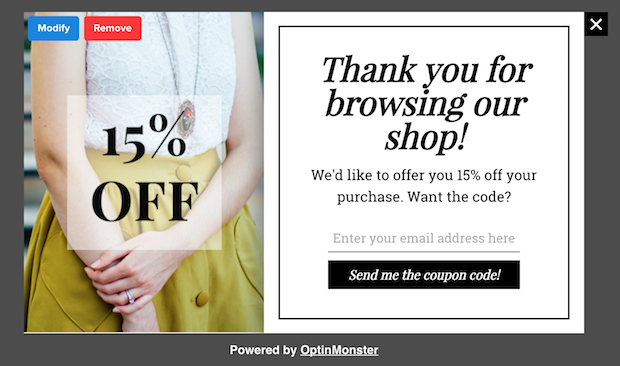
Notice how the discount amounts for both offers are exactly the same. But the way in which the offer is framed is drastically different. And this is super important because lightbox popups are built for theatrical effects. So, a more personalized approach will get you much better results for sure.
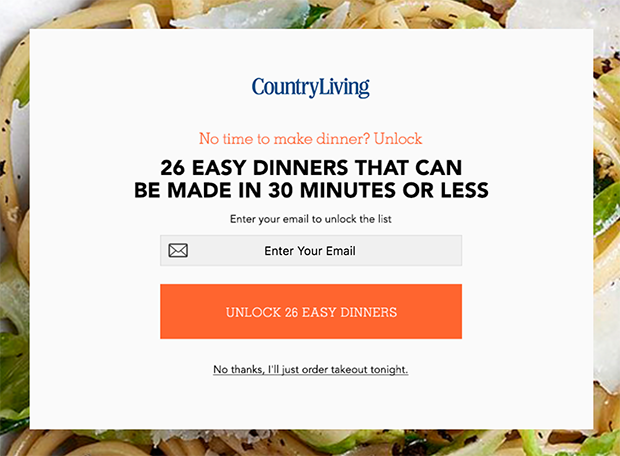
You could even personalize the offer based on your user’s content preferences. If they’re reading an article on dinner recipes, it makes more sense to show them an offer related to dinner recipes rather than showing them an offer for cars.
#4. Lightbox Popups Can Capture Abandoning Visitors
Lightboxes are just a method of displaying your popup. So, there’s really nothing stopping you from customizing the trigger to any extent you like. We recommend creating exit-intent lightbox popups.
Exit-intent popups get triggered when your visitors try to exit your website. As a result, you retain a huge number of visitors who would have otherwise abandoned your site. So, if you’re suffering from site abandonment, you should definitely create an exit-intent lightbox popup.
How to Create a Lightbox Popup
Now that you understand what a lightbox popup is and why you’d want to create one, how do you a lightbox popup? We recommend using OptinMonster to create your popups.
OptinMonster er konverteringsværktøjskassen #1 i verden, og vi har brugt den selv. OptinMonster gør det super nemt at oprette kraftfulde popups, der konverterer. Og du behøver aldrig at bruge nogen kode overhovedet.
We even wrote a full review of OptinMonster.
You can check that out, or get started with your campaign right now. All you have to do is signup for OptinMonster and follow along with the rest of this article.
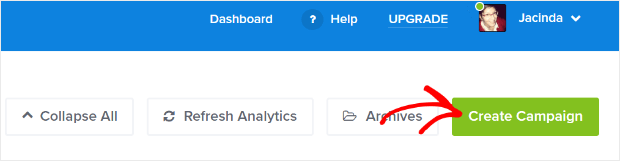
Step #1: Create a Campaign
Gå til dit OptinMonster-dashboard og tryk på Opret-knappen:
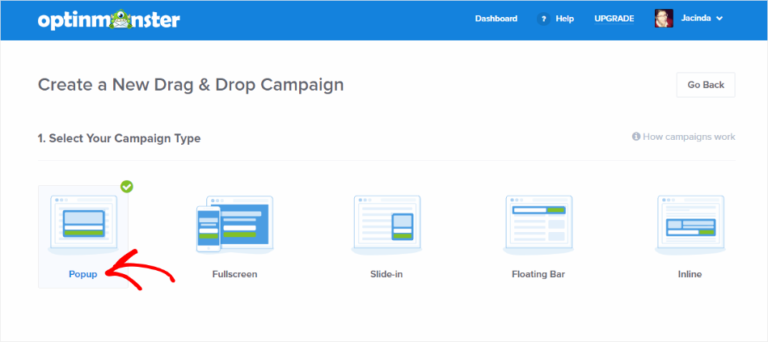
Select the Lightbox Popup campaign type:
Then, choose a campaign template. You can choose whatever template you like, but we’re going with the Simple campaign type for this tutorial.

Now, give your campaign a name. Remember, this campaign name is for you and you’ll likely create a whole bunch of these popups with different targeting options. So, give the campaign a meaningful name or you’ll end up really confused later on.
Also, depending on your plan, you can also use OptinMonster on multiple sites. So, select the website where you want to display your campaign as well.
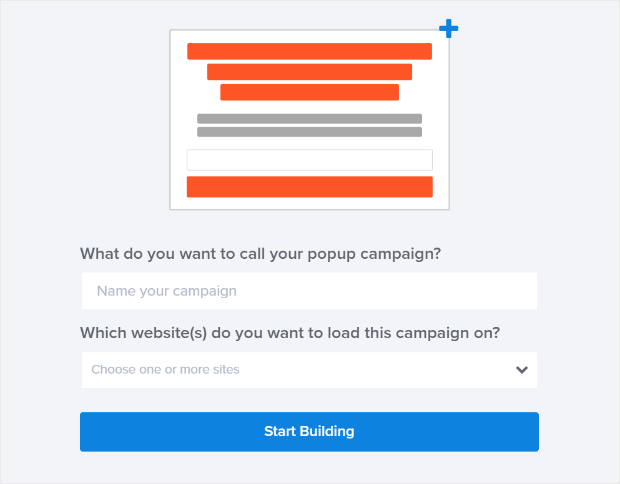
Press Start Building when you’re done.
Step #2: Edit Your Lightbox Popup
With OptinMonster, you’ll get a visual drag and drop popup builder. Once you’re done creating your campaign, you’ll be able to edit even the tiniest details about your popup. Start by editing your popup headline:
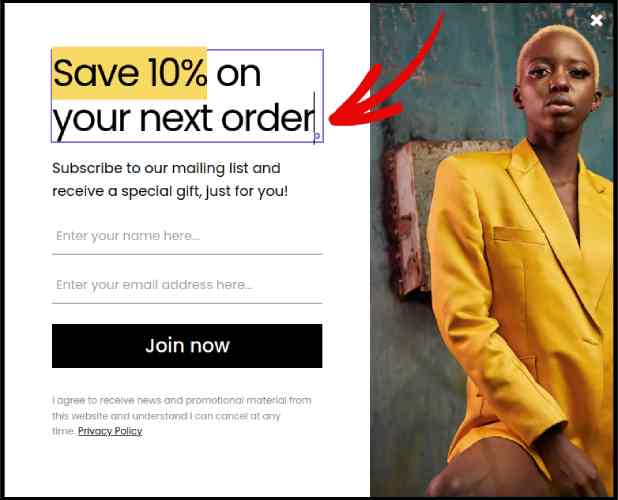
Den mest fantastiske del her er, at du bare klikker på den tekst, du vil redigere, og ændrer den inline. Der er ingen grund til at udfylde en formular eller redigere HTML-kode i popup'en.
And then, adjust your button text and appearance to create a clear call to action:
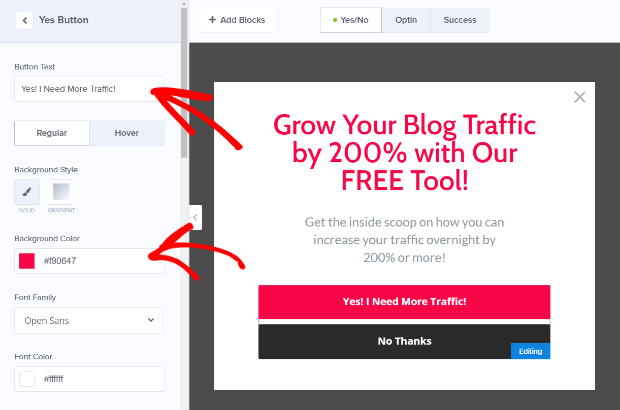
When you’re happy with your popup’s appearance, you can move on to more advanced settings.
Step #3: Set Display Rules
Display rules are meant to define when your campaign shows up on your site and who sees it.
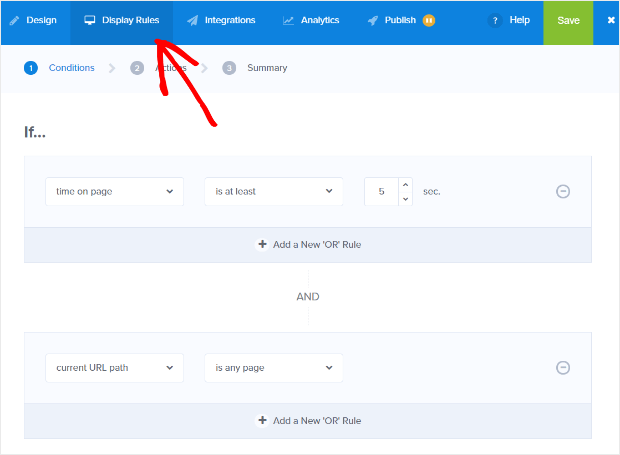
Our recommendation is that you change the trigger condition to exit-intent:
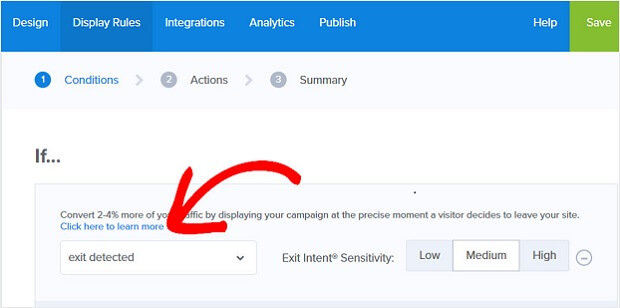
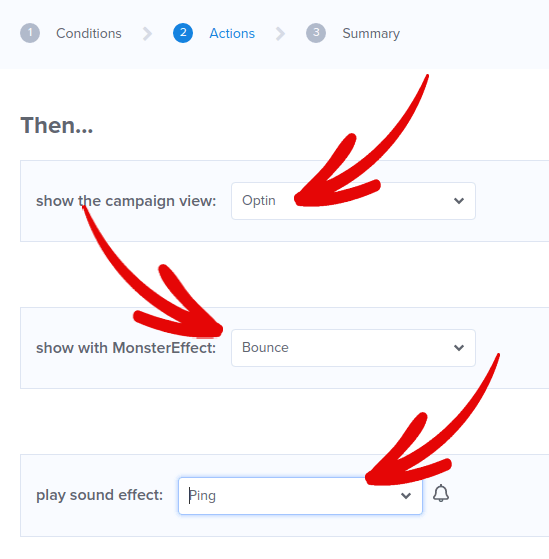
Click Next Step to choose the Action. Here, we recommend that you set Show the campaign view to Optin View, set the show with MonsterEffect to any entry animation you like, and play sound effect to any sound effect for your popup.
And then, click the Next Step button. You can see the full extent of your settings in the Summary tab.
Step #4: Setup Your Email Integration
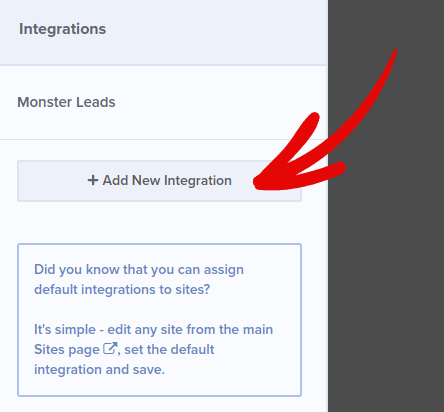
The next step is to set up your email integration. Click Add New Integration from the Integrations tab and select your email service provider:
We recommend using Drip for your email marketing if you don’t already have an email service provider.
Step #5: Publish Your Lightbox Popup
Når du opretter en ny kampagne, er den pauset som standard.
Gå til fanen Udgiv fra topmenuen for at se Udgivelsesindstillinger. Indstil derefter status til Udgiv og vælg webstedsplatformen:
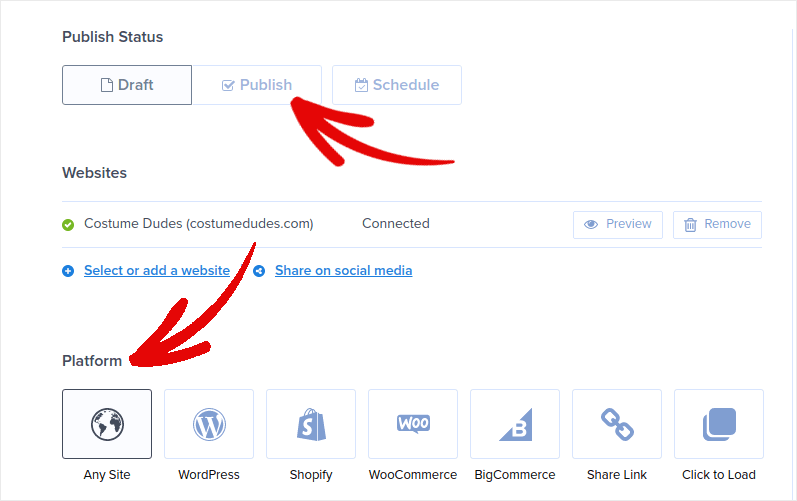
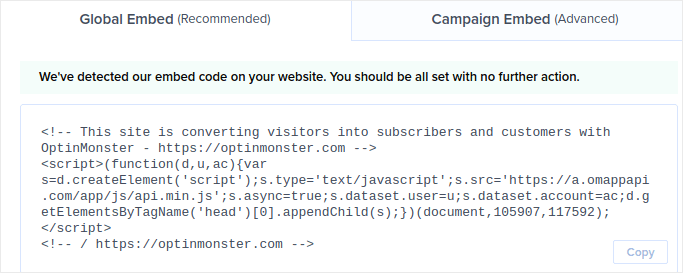
Hvis du kører et WordPress-websted, håndterer OptinMonster-pluginet resten af opsætningen automatisk. Det er det samme for Shopify og BigCommerce. For ethvert andet websted skal du klikke på Ethvert websted og indsætte embed-koden i dit websteds hoved:
Og du er færdig!
BONUS: Collect Push Notification Subscribers from Your Popup
Push notifications help you grow your website traffic and engagement on autopilot. Web push notifications are an effective way to bring back users who may have abandoned their session or left the website. It helps in re-engaging users by notifying them of new content, offers, or events.
Push notifications also include clear and actionable messages and call to action buttons, encouraging users to take specific actions, such as reading an article, completing a purchase, or participating in an event.
Du kan skræddersy push-notifikationer baseret på brugernes præferencer, adfærd og interesser for at sikre, at beskederne er relevante og værdifulde for hver bruger. Brugere skal acceptere at modtage web push-notifikationer. Dette sikrer, at beskederne ikke opfattes som spam, og at de sendes med brugernes tilladelse.
The coolest part is that you can collect push notification subscribers from your email popup. So, just in case your site visitors don’t want to give up their email ID, you can still get them to subscribe using web push notifications.
And that’s what we’re going to work on.
Trin #1: Vælg en Push-notifikationstjeneste
We recommend using PushEngage to send web push notifications.

Here’s a quick glance at what you get with PushEngage:
- Højtkonverterende automatiserede kampagner
- Multiple targeting and campaign scheduling options
- Målsporing og avanceret analyse
- Smart A/B testing
- En dedikeret succesmanager
Du kan komme i gang gratis, men hvis du er seriøs omkring at vækste din forretning, bør du købe en betalt plan. Før du køber en push-notifikationstjeneste, bør du også se denne guide til priser på push-notifikationer.
Og hvis du driver en online butik, hjælper PushEngage dig også med at øge dit salg ved at hjælpe dig med at oprette automatiserede e-handels push notifikationer.
Du vil se, at PushEngage uden tvivl er det bedste valg, hvis du vil opbygge trafik, engagement og salg for din virksomhed. Og hvis du har et stramt budget, kan du altid være lidt kreativ med dine push-notifikationer.
Step #2: Add an HTML Block to Your Popup
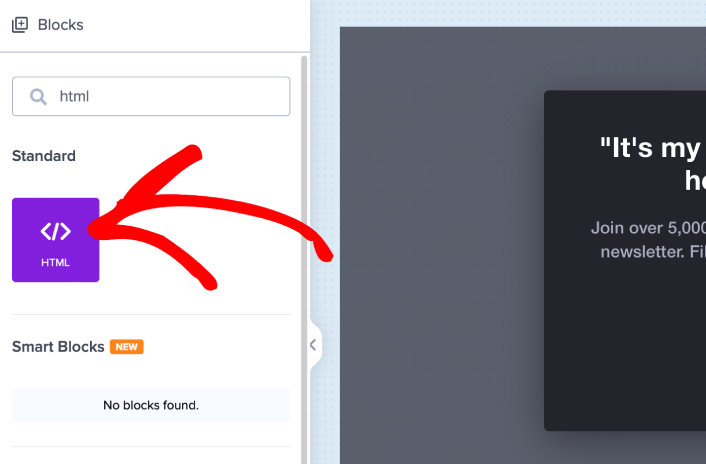
Tilføj først en HTML-blok til din popup fra sidepanelet i OptinMonster.
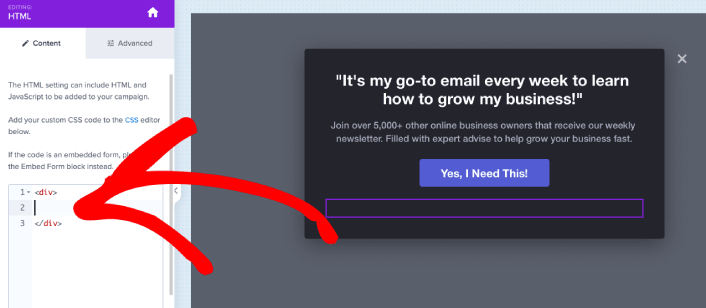
Her er, hvor vi skal tilføje koden til at indsamle push-notifikationsabonnenter. Indsæt først følgende kode for at oprette en klikbar knap:
<button onclick="subscribeOnClickButton()" style="border: none; width: 100%; padding-left: 15%; padding-right:15%; text-align: center; display: inline-block; color: white;">Get Updates via Push Notifications Instead</button>Indsæt koden, hvor der står, at du kan tilføje HTML:
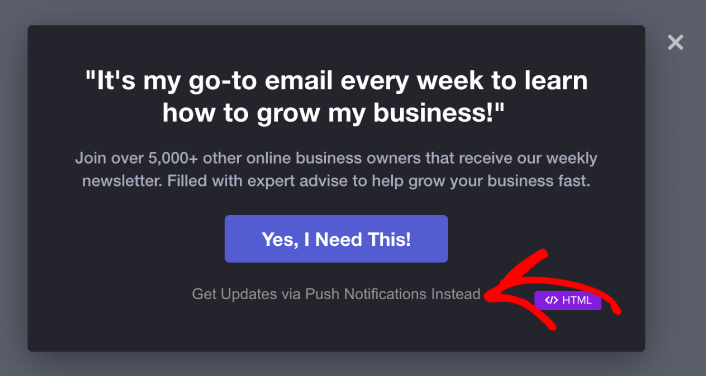
At this point, you should see a new button in your popup that says, “Get Updates via Push Notifications Instead” right below the email subscription button:
Selvfølgelig kan du lege med stilarterne for at gøre den mere tiltalende. Dernæst vil vi få knappen til at indsamle push-notifikationsabonnenter, når der klikkes på den.
Step #3: Get Subscription Code from PushEngage
Gå til PushEngage hjemmeside og klik på knappen Kom i gang :

Vælg derefter gratisplanen for at prøve PushEngage, eller vælg en betalt plan, hvis du er seriøs omkring at udvide din virksomhed. De betalte planer kommer med flere kampagnemuligheder og muligheden for at opbygge endnu større abonnentlister.
På dit PushEngage dashboard skal du gå til Sideindstillinger » Sideoplysninger og klikke på knappen Klik her for opsætningsinstruktioner. Under Enhver side får du din installationskode:

ADVARSEL: Du skal kopiere den kode, du får fra dit dashboard. Koden er unik for hver PushEngage-bruger. Du kan ikke kopiere koden på billedet og indsamle push-notifikationsabonnenter.
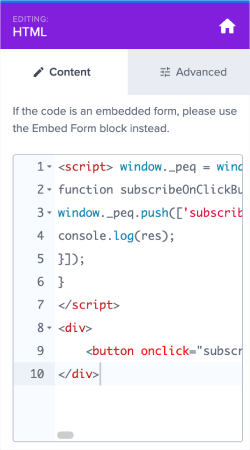
Når du har koden i dit PushEngage-dashboard, skal du tage det andet script og tilføje lidt ekstra kode til det. Din endelige kode skal se nogenlunde sådan ud:
<script src="https://clientcdn.pushengage.com/core/02a6e92667ae2279fcba8932356c1d93.js" async></script>
<script> window._peq = window._peq || [];
function subscribeOnClickButton(){
window._peq.push(['subscribe',{}.pe,function(res){
console.log(res);
}]);
}
</script>
Step #4: Add Your Subscription Code to the HTML Block in Your Popup
Add this code to the HTML block in OptinMonster and you’re done!
When you’re done, just hit the Save and Publish buttons.
If you check out your website, you should now see the lightbox popup collecting both email and push notification subscribers:
And just like that, you’re collecting push subscribers from your popup. Push notifications come with their own popup modals. But they’re a bit difficult to customize. So, you can create beautiful popups using OptinMonster and then use them as your push notification popups.
What to do After You Create a Lightbox Popup
Det var alt for denne gang, folkens!
Let us know if this article helped. Creating popups on your site can help you convert your traffic into email subscribers and genuine business leads. And we highly recommend that you start creating lightbox popups right away.
Og hvis du leder efter en overkommelig måde at øge din trafik på, anbefaler vi at bruge push-notifikationer. Push-notifikationer kan hjælpe dig med at tiltrække mere gentagen trafik og engagement på webstedet. Du kan også oprette automatiserede push-notifikationskampagner, der genererer salg.
Ikke overbevist? Tjek disse ressourcer:
- 7 Smarte Strategier til at Øge Kundeengagement
- Er Push-notifikationer Effektive? 7 Statistikker + 3 Eksperttips
- Sådan opsættes push-meddelelser om forladte indkøbskurve (nem vejledning)
Vi anbefaler at bruge PushEngage til at oprette dine push-notifikationskampagner. PushEngage er den #1 push-notifikationssoftware i verden. Så hvis du ikke allerede har gjort det, kom i gang med PushEngage i dag!


