
Looking for a way to check your WordPress analytics without having to learn complicated ?
I denne artikel vil vi vise dig, hvordan du opsætter Google Analytics til dit WordPress-site på den rigtige måde:
- Selvom… du aldrig har gjort det før
- Selvom… du har forsøgt at opsætte Google Analytics og fejlet
- Selvom… du har installeret Google Analytics, men rapporterne var for komplicerede at bruge
Og vi vil hjælpe dig med at gøre det på en måde, der virker hver gang. Så hvis du driver flere WordPress-sites, vil denne artikel spare dig for MASSER af tid.
Lad os dykke lige ned i det.
Why You Need WordPress Analytics
WordPress giver dig mulighed for at oprette stort set enhver type hjemmeside, du ønsker.
Og hvis du driver en hjemmeside, der tjener mere end blot som en hobby, vil du gerne øge din trafik, engagement og salg så hurtigt som muligt. Det er her, Google Analytics kan hjælpe.
Google Analytics is the best way to get powerful insights on your site. You can get epic WordPress analytics by simply integrating Google Analytics into your WordPress site. The metrics you’ll want to focus on are going to be different for different sites depending on how the site makes you money.
Hvis du er blogger eller affiliate marketer, vil du gerne vide:
- Hvordan opdager folk dit site?
- Hvilken slags indhold kan de bedst lide?
- Hvilke affiliate-tilbud får flest klik?
Og hvis du driver et forretningssite, der genererer leads til din service, vil du gerne vide:
- Hvordan lærer folk om din virksomhed?
- Hvilken procentdel af din trafik konverterer til leads ved at udfylde en forespørgselsformular?
- Hvilke af dine tjenester er mest populære?
Of course, for an eCommerce site, the key metrics will also change slightly.
In any case, you’ll want to set up Google Analytics for your WordPress site. To get WordPress analytics to your site and track your visitors’ behavior, you need to install the tracking code.
Let’s check out how to set up WordPress analytics the right way.
How to Set Up Google Analytics to See WordPress Analytics
Before you can get WordPress analytics, you’ll need to set up Google Analytics first and add the Google Analytics tracking code to your site. Let’s break the whole process down into simple steps.
Trin #1: Log ind på din Google Analytics-konto
For at komme i gang skal du åbne Google Analytics-webstedet og klikke på knappen Start gratis i øverste højre hjørne af siden:

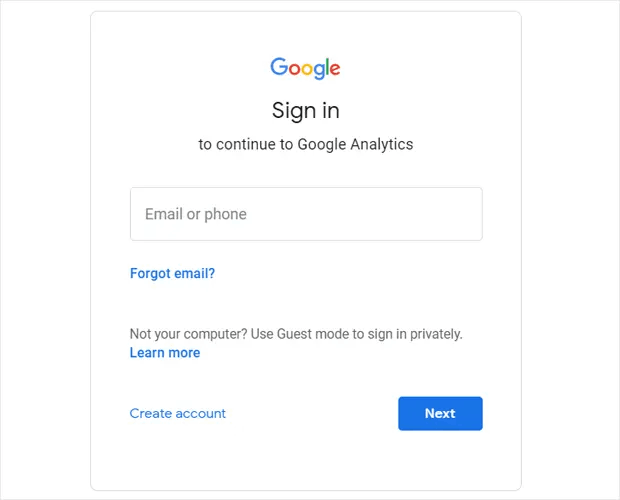
Og derefter, log ind med din Google-konto:
Trin #2: Opsæt din Google Analytics-konto
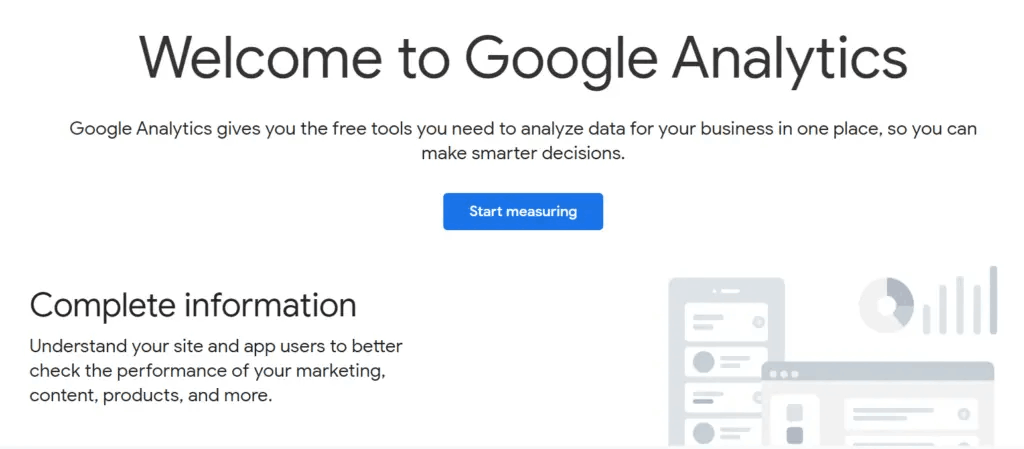
Når du logger ind med din Google-konto, vil du se en mellemliggende side, der hjælper dig med at oprette din Google Analytics-konto. Du ser kun dette første gang, du logger ind på din Google Analytics-konto. Klik på Start måling:
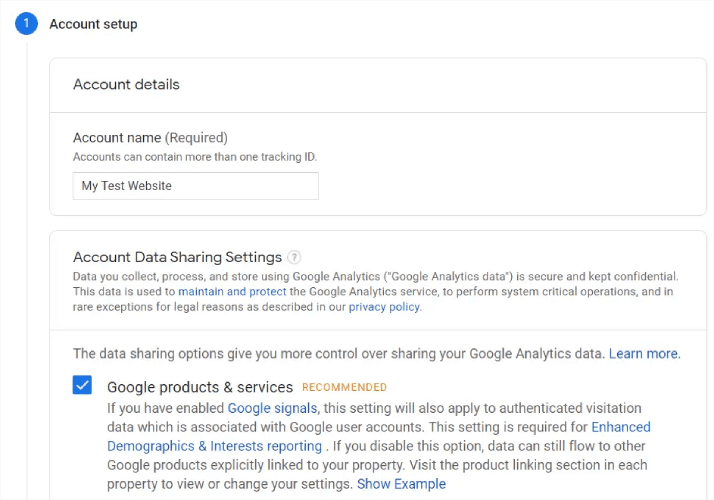
Fill in your basic account details and make sure to share your data by clicking on the checkboxes before you hit Next:
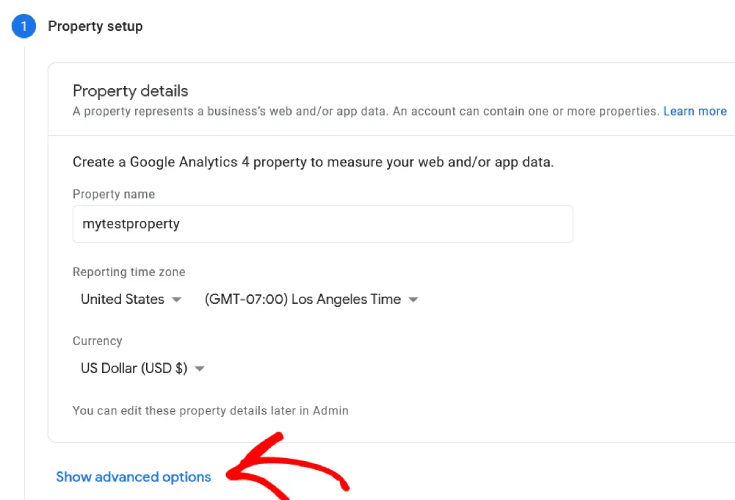
Next, you’ll have to fill in your property details. This usually includes a site or app name, a reporting time zone, and your preferred currency. When you’re done, click on Advanced Settings:
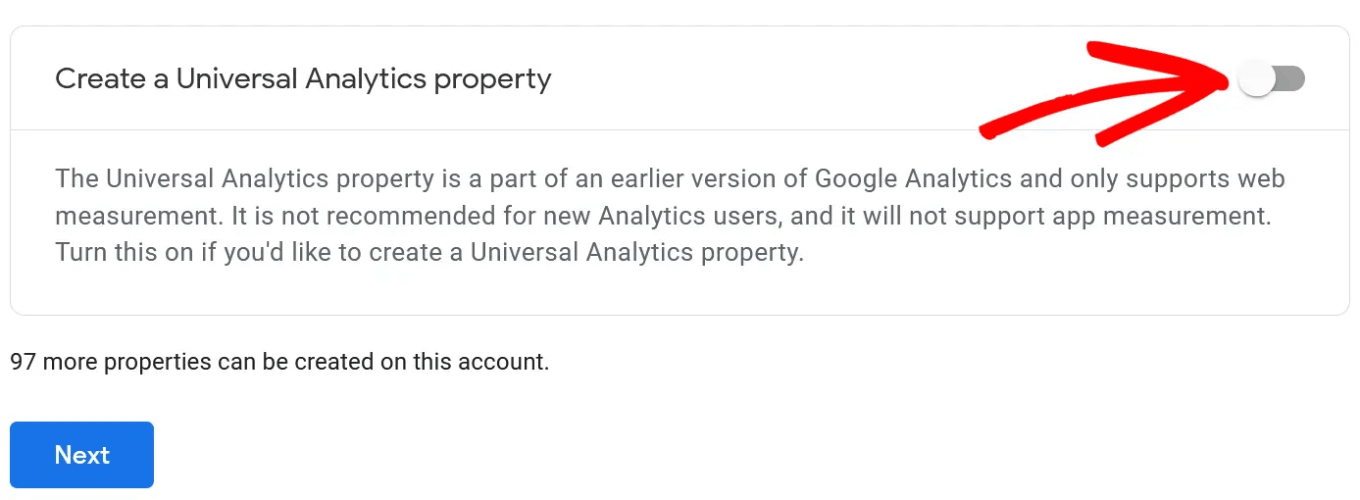
And enable the Create a Universal Analytics property option:
Next, enter the URL of your website and make sure you select the Create a Universal Analytics property only option.
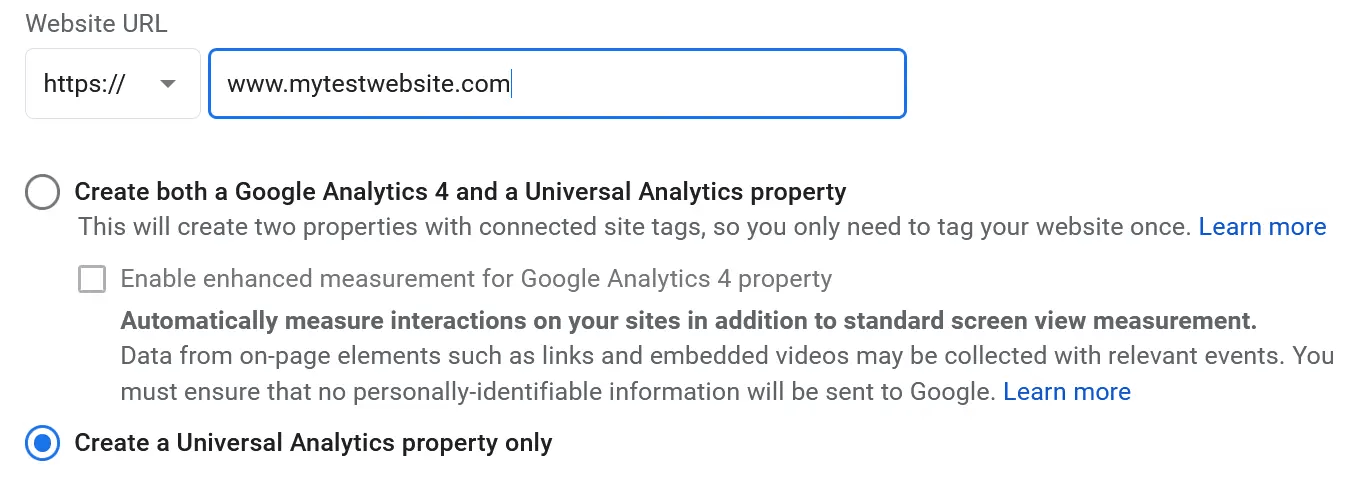
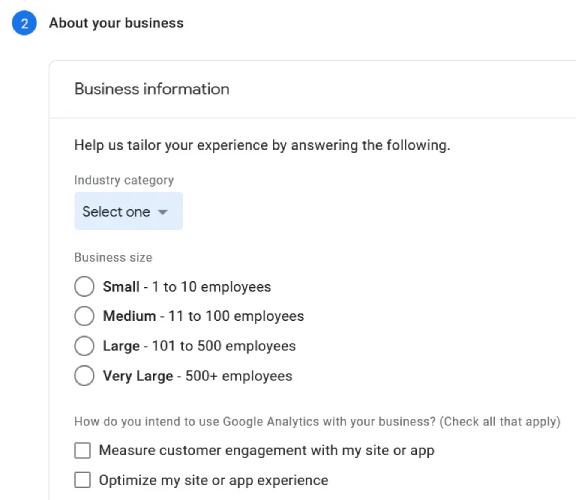
Enabling Universal Analytics will ensure that you’re able to use other tracking platforms and measure your ad performance accurately. Next, you’ll need to specify your business details:
Once that’s done, you’re almost ready to start using Google Analytics. Since Google Analytics accepts and collects user data through your website, you’ll need to accept their GDPR compliance agreement and the Terms of Service.
And that’s it! You’re done. If you followed every step exactly, you’ll be redirected to a page with your Google Analytics tracking code and ID:
Now, you’re ready to install the tracking code on your website and start getting WordPress analytics.
How to Use Google Analytics to Get WordPress Analytics
To install WordPress analytics dashboard, you’ll have to copy your tracking code and paste it into your website’s HTML <head> section. Or, you can simply use a Google Analytics plugin to get it done without using any code.
If you don’t have any experience with WordPress development, we highly recommend using one of the best Google Analytics plugins instead of trying to set everything up manually.
Step #1: Select a WordPress Analytics Plugin
MonsterInsights is the #1 WordPress analytics plugin. We’ve used the plugin ourselves and we highly recommend using MonsterInsights to get WordPress analytics.

Using MonsterInsights makes it super easy to install Google Analytics to a WordPress site. Plus, you get a bunch of cool features that allow you to get powerful insights right inside your WordPress dashboard.
Her er et hurtigt overblik over, hvad MonsterInsights kan gøre for dig:
- Google Analytics-sporing uden kode
- Kompatibel med enhver version af Google Analytics
- Rapporter til at finde top-performende indhold
- Detaljerede publikumsindsigter
- E-handelsanalyse
- Formular tilmeldingsanalyse
- Yderligere indsigter fra brugerdefinerede dimensioner
- Sporing af klik på affiliate-links
- GDPR-overholdelse
- Premium-integrationer
Hvis du har brug for at se nærmere på funktionerne, bør du virkelig tjekke vores anmeldelse af MonsterInsights.
Step #2: Install the MonsterInsights Plugin
Go ahead and install and activate the WordPress plugin now. If you’re not sure how to do that, check out this guide on installing WordPress plugins. Once that’s done, start using the setup wizard to get started.
Start by selecting your business category:

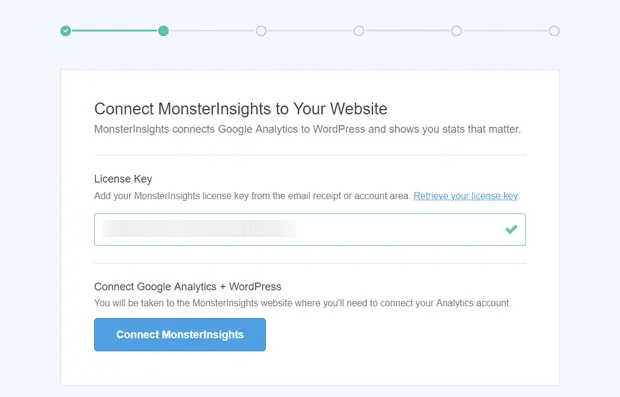
Then, connect your MonsterInsights account to your website by entering your license key:
Step #3: Connect Your Google Analytics Account with MonsterInsights
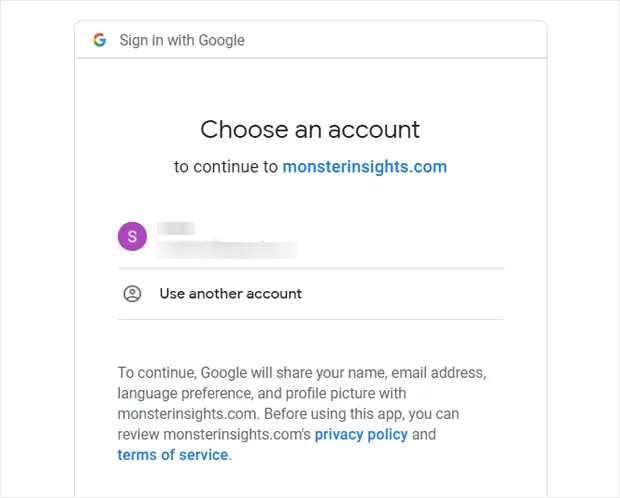
After activating the plugin, you’ll see an option to connect your Google Analytics with your MonsterInsights account. Sign in with the right Google account to continue authentication:
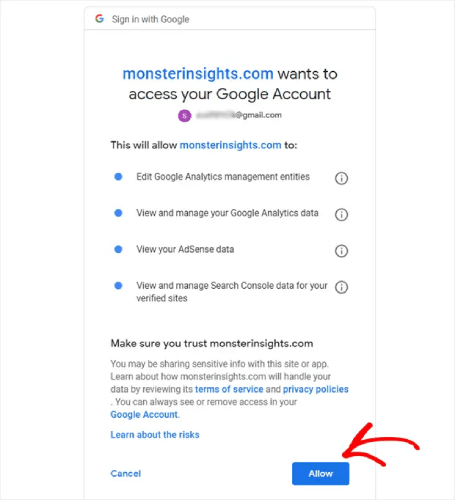
MonsterInsights will ask for the right permissions to access your Google Analytics account. Click on Allow:
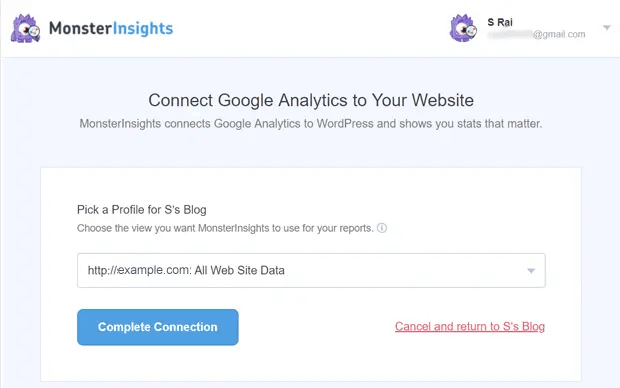
If all went well, you’ll be able to pick the Google Analytics property to connect to MonsterInsights. Select the right one and hit Complete Connection:
Step #4: Configure the MonsterInsights Plugin Settings
By now, MonsterInsights will have the right access to your Google Analytics account and will start recommending the optimal settings for you.
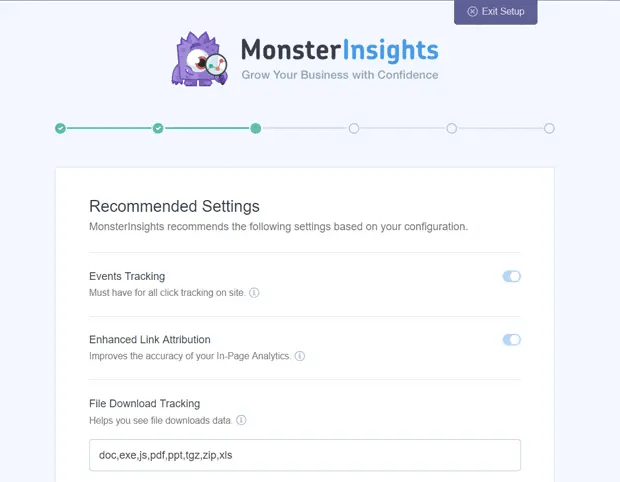
Mostly, these will include:
- Begivenhedssporing
- Enhanced Link Attribution
- File Download Tracking
- Affiliate Link Tracking
- Access to MonsterInsights’s Reports
- Automatic Plugin Updates
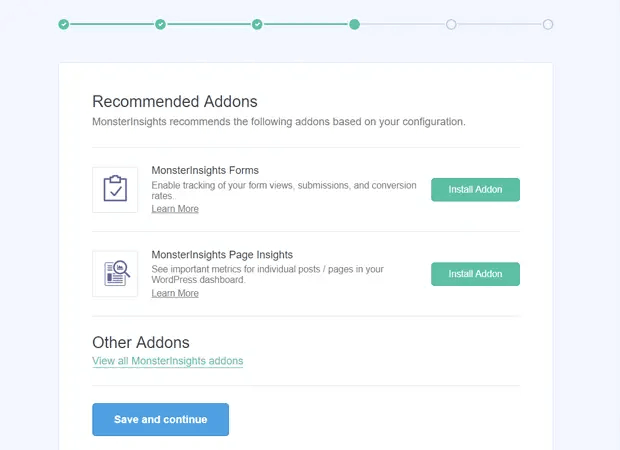
Når du har gennemgået og konfigureret disse indstillinger, vil MonsterInsights anbefale, at du også installerer nogle addons:
Og efter du har klikket på Gem og fortsæt, vil MonsterInsights anbefale installation af WPForms:
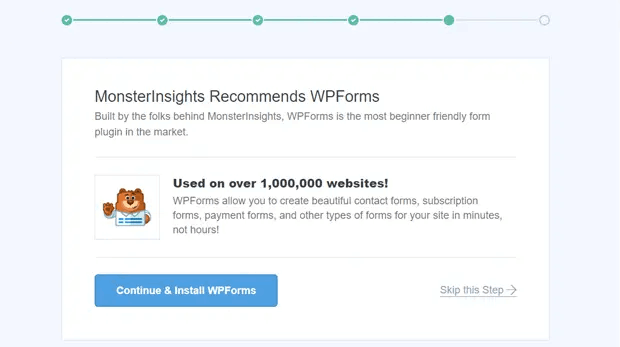
WPForms er den førende plugin til formularer i WordPress. Den kan hjælpe dig med at oprette kraftfulde formularer til din WordPress-side, uanset hvilken type virksomhed du driver. Vi anbefaler også at bruge WPForms.
But getting back to WordPress analytics, you’re all done with the setup. Click Finish Setup & Exit Wizard:

Og om 24 timer vil Google Analytics begynde at indsamle din sides trafikdata, og du vil kunne se den i dine rapporter.
How to See WordPress Analytics Reports in Your Dashboard
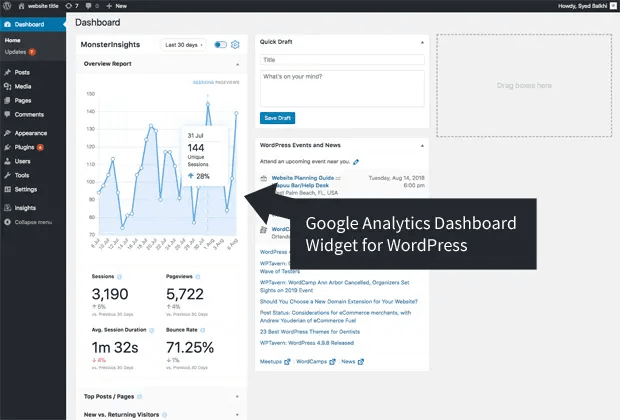
Som vi nævnte før, giver MonsterInsights dig mulighed for at se dine Google Analytics-rapporter direkte inde i dit WordPress-dashboard:
For at se de fulde rapporter skal du besøge Indsigt » Rapporter fra dit WordPress-dashboard. Der vil du se Oversigtsrapporten:
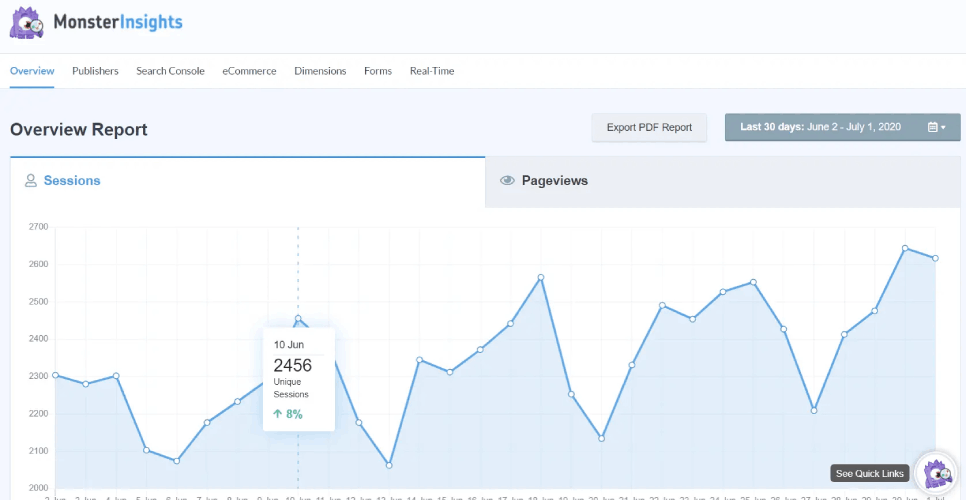
Selvfølgelig kan du også se de andre rapporter, hvis du har dem sat op. Hvis ikke, så tjek denne artikel om hvordan man opretter og bruger brugerdefinerede Google Analytics-rapporter.
Nogle af de metrics, du kan se fra dit dashboard, inkluderer:
- Top landingssider: Hvad er det mest populære indhold på din side?
- Link- og knapkliksporing: Hvilke links og knapper får flest klik?
- Søgeordsrapport: Hvilke søgetermer bruger folk, når de finder dit indhold?
- Formularindsendelsesrapport: Hvilke formularer får flest visninger og konverteringer?
Og meget mere!
What to do After You Get WordPress Analytics for Your Site
Det var alt for denne gang, folkens!
If you just got started with WordPress analytics, you’ve taken the first step to growing your site’s traffic, engagement, and sales using data-driven insights. Next, you’ll want to figure out ways to increase those metrics on your site. A good place to start is to use push notifications.
Push-notifikationer kan tjene som virkelig kraftfulde marketingværktøjer for enhver type virksomhed.
Don’t believe us? Check out these amazing resources:
- How to Install Web Notifications in WordPress
- How to Set Up WordPress Form Tracking in Google Analytics
- Sådan giver du abonnenter besked om nye WordPress-indlæg
- Best WordPress Push Notification Plugins (Compared)
- Sådan bruger du push-notifikationer på WordPress uden et plugin
Vi anbefaler at bruge PushEngage til dine push-notifikationskampagner. PushEngage er den førende software til push-notifikationer i verden. Du kan oprette automatiserede push-notifikationskampagner, der tjener penge for dig, mens du sover. Og alt det fra et simpelt, intuitivt dashboard.
Så hvis du ikke allerede har gjort det, kom i gang med PushEngage i dag!


