
Looking for a tutorial on how to create an expense approval form in WordPress?
An expense approval form is a superb tool to streamline and monitor company expenditures. But, you might wonder, how do you craft one? Is it worth designing an expense form from the ground up?
The straightforward scoop? Probably not. You can whip up a WordPress expense approval form with a form plugin in significantly less time than starting from zero. And if you’re no tech whiz, leaning on a plugin is will likely be much kinder on your wallet too.
But hold on! The plugin universe is vast. So, which one should you choose?
In this article, we’re going to show you step by step how to create your own expense approval form in WordPress. The best part? You’ll be done in 10 minutes and you don’t need to write a single line of code.
Давайте начнем.
Why You Need an Expense Approval Form in WordPress
Incorporating an expense approval form into your WordPress website streamlines the way you manage, monitor, and authorize company expenditures. It becomes an essential tool for maintaining financial discipline and transparency in your organization.
PushEngage — это плагин для push-уведомлений №1 в мире. Получите его бесплатно!
Through a clear format like, “What’s the purpose of this expense?” or “Attach your expense receipt here”, you can maintain a consistent record of every penny spent. Expense forms can categorize expenses based on their nature like travel, supplies, or entertainment, ensuring clarity in documentation.
Often, expense approval forms also allow a section for notes or clarifications. This section provides valuable context to approvers, making sure there are no ambiguities when it’s decision time.
By routinely processing expenses through this system, you’re creating a clear financial trail. This periodic review ensures that expenses align with company policies and budgets. Plus, it’s a quick way to spot any irregularities or misuse.
The insights you gather can lead to tangible policy improvements. Over time, you might spot patterns – maybe your team frequently overspends in one area or there are recurrent unjustified expenses. This can guide policy updates or staff training.
To integrate an expense approval form into your WordPress platform, you can use specific plugins or incorporate forms from external finance tools. Ensure your form is straightforward, intuitive, and easily accessible to those who need it.
In essence, expense approval forms in WordPress help synchronize company spending with financial guidelines, ensuring budget adherence and fiscal responsibility.
How to Create an Expense Approval Form in WordPress
Now that you know why you should be creating your expense approval form, it’s time to start building one for your site. To create your expense approval form, we’re going to use a super popular form builder plugin for WordPress called WPForms.
Давайте начнем.
Шаг № 1: Создайте новую форму WordPress
Первое, что вам нужно сделать, это установить и активировать WPForms.

WPForms — это плагин для создания форм WordPress №1 в мире. Если вы не знаете, как установить WPForms, вам следует ознакомиться с этим пошаговым руководством по установке плагина в WordPress.
Затем перейдите в панель управления WPForms и выберите Загрузки для получения вашего плагина:
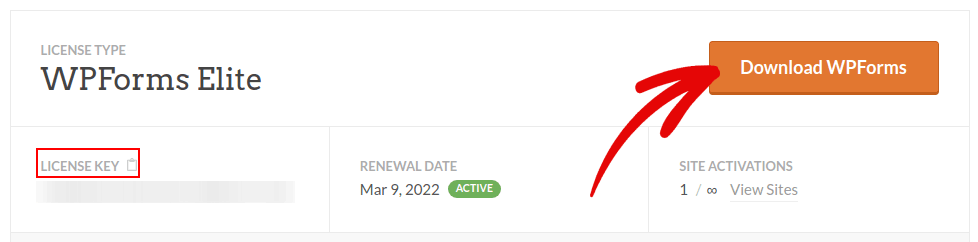
Затем установите и активируйте плагин на своем сайте. Скопируйте свой лицензионный ключ на той же вкладке.
Наконец, перейдите в панель управления WordPress и выберите WPForms » Настройки, а затем вставьте свой лицензионный ключ:
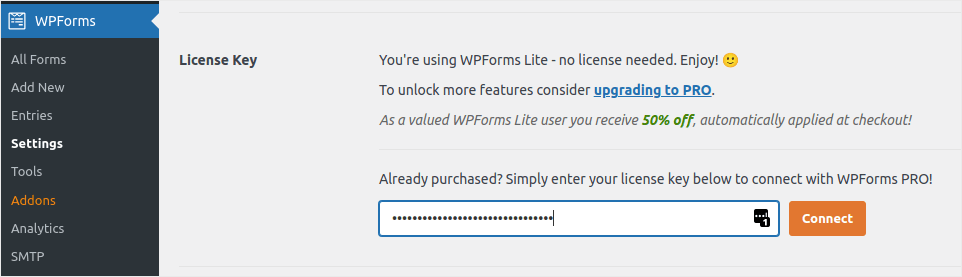
Когда закончите, нажмите Подключить.
Step #2: Add the Right WPForms Addons
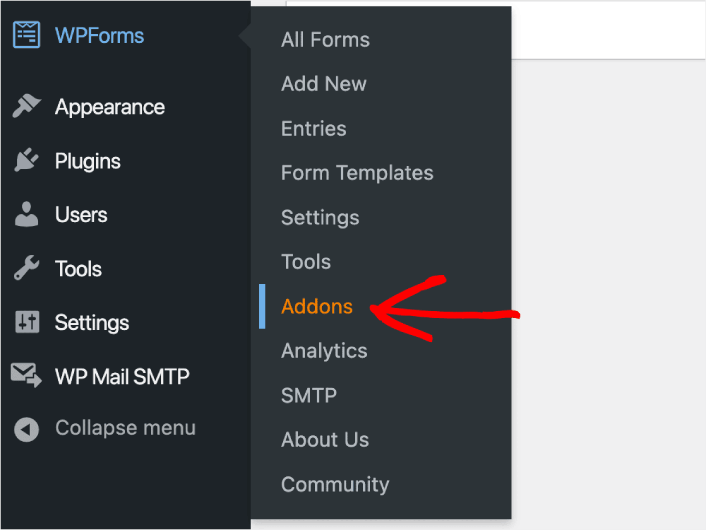
Из вашей панели управления WordPress перейдите в раздел WPForms » Дополнения.
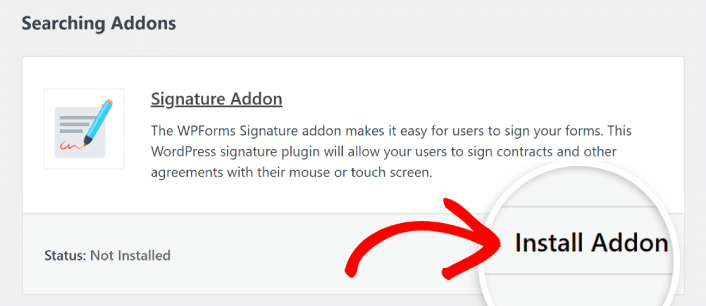
Now, search for the Save and Resume Addon by typing its name in the Search Addons field. Next, click on Install Addon.
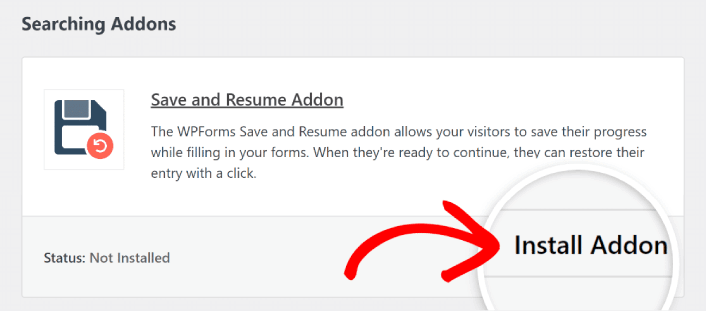
After the addon has been installed successfully, press the same button again to Activate it. And do the same thing for the Signature Addon.
Теперь, когда WPForms установлен и активирован, пора создать вашу первую форму. Перейдите в WPForms » Добавить новую:

Это откроет конструктор форм с перетаскиванием WPForms.
Step #3: Select Expense Approval Form Template
Чтобы создать новую форму, дайте ей имя и выберите шаблон формы:
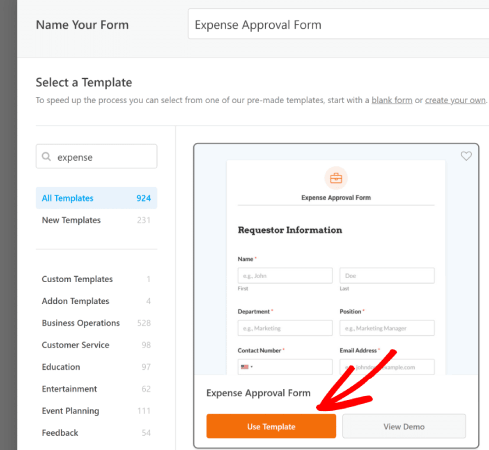
С WPForms вы получаете множество готовых шаблонов форм, которые вы можете просто импортировать одним щелчком мыши, а затем настроить по своему усмотрению. Чтобы подробнее ознакомиться с полным списком функций, вам следует прочитать наш обзор WPForms.
Step #4: Customize Your Expense Form
Далее вы попадете в конструктор форм с загруженным шаблоном.
Вы можете использовать шаблон «как есть», чтобы собирать отзывы от ваших клиентов. Но вы можете внести изменения в этот шаблон, если хотите добавить дополнительные поля для сбора более подробной информации и аналитики от ваших клиентов.
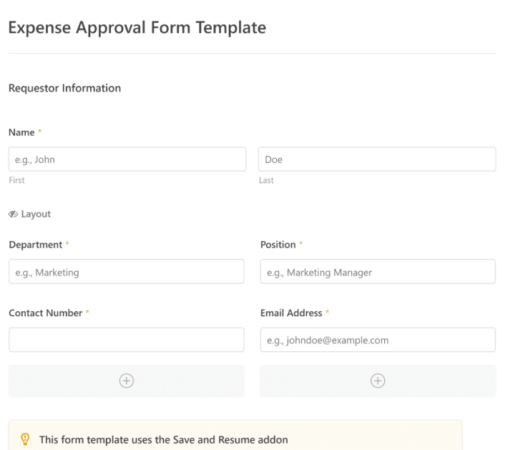
You’ll notice that this template is built with fields that automate capturing the requestor’s information, expense details, and approval via Signature.
If required, you can use WPForms’ intuitive form builder to easily add, modify, and arrange fields to tailor the form to your liking.
Вы также можете сделать формы привлекательными, следуя шагам в нашей статье о том, как создать многошаговую форму в WordPress. Это отличный способ улучшить пользовательский опыт и снизить процент отказов от корзины. Но в этом руководстве мы останемся на одной странице.
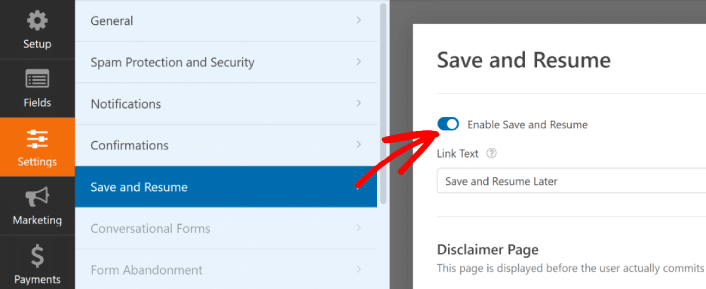
Step #4: Enable Save and Resume Settings
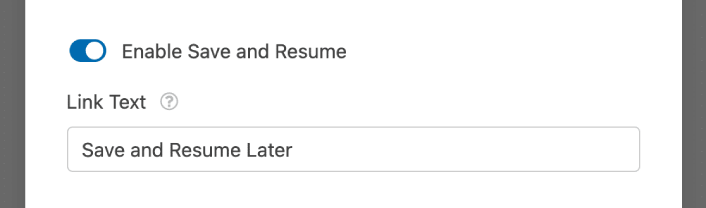
First, you’ll want to add the Save and Resume feature to your expense approval form. Go to Settings » Save and Resume from the form builder. To turn on save and resume functionality, toggle on the Enable Save and Resume option.
To begin, you can personalize the wording on the link that users will click to save their progress in your form.
You can change the text in the supplied field. By default, it says Save and Resume Later, but you can change it to anything you like.
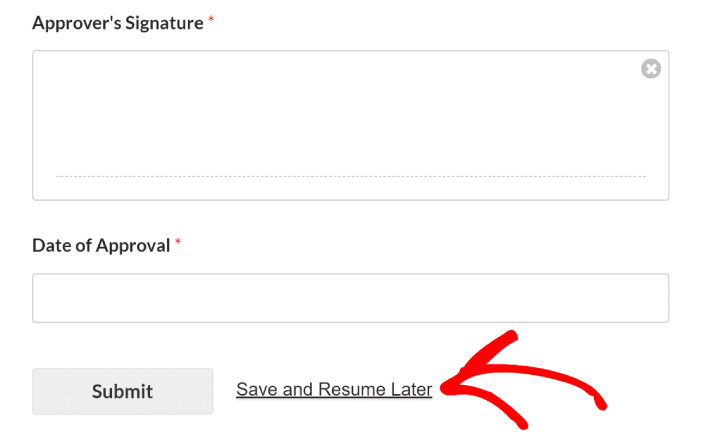
This link will show up at the bottom of your form, next to the button labeled Submit.
NOTE: The resume URLs will stop working after 30 days. So, make sure to add a disclaimer on your form that mentions this fact.
Step #5: Configure Your WordPress Expense Approval Form Settings
Далее вам нужно будет настроить уведомления и подтверждения.
Уведомления — это электронные письма, которые вы получаете, когда кто-то заполняет форму. Подтверждения предназначены для уведомления пользователя о том, что он успешно заполнил форму. Обычно это сообщение «Спасибо», но вы также можете перенаправить пользователей на отдельную страницу.
Перейдите в раздел Настройки » Подтверждения, чтобы настроить параметры подтверждения:

Затем в том же меню перейдите в раздел Уведомления, чтобы настроить сообщения уведомлений:

По умолчанию уведомления отправляются на электронную почту администратора WordPress. Поэтому, если вы хотите, чтобы письма отправлялись куда-нибудь еще, например, на адрес электронной почты вашего руководителя отдела продаж, вы можете сделать это прямо здесь.
Step #6: Add the Expense Approval Form to Your Site
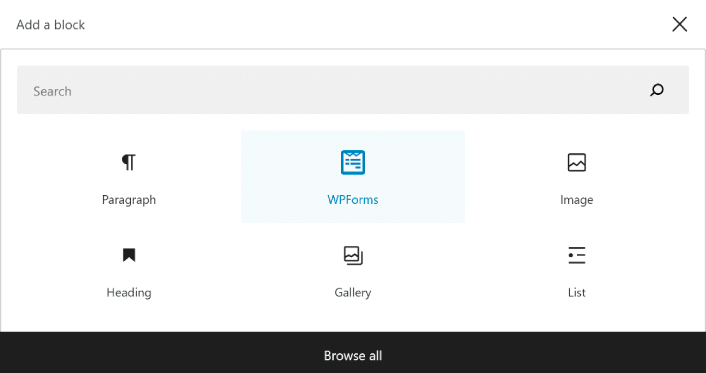
You can add the expense approval form on your site using the WPForms Gutenberg block:
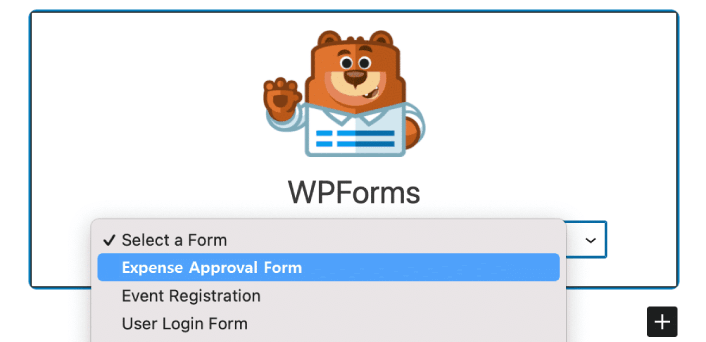
All you need to do is select your expense approval form.
If you’re satisfied with the way your form looks, hit the Update or Publish button, and your form will go live.

И вы закончили!
How to Promote Your Expense Approval Form
На этом всё, друзья!
By now, you’ve learned how to create expense approval form in WordPress. Next, you should set up form abandonment tracking to reduce your form abandonment rates.
После этого все, что осталось сделать, — это привлечь трафик на ваш сайт, чтобы ваша форма начала работать и приносить конверсии. Простой способ сделать это — начать использовать push-уведомления. Отправка push-уведомлений — отличный способ генерировать повторный трафик на ваш сайт. Если вас это интересует, вам также стоит ознакомиться с этими статьями:
- Стоимость push-уведомлений: действительно ли это бесплатно? (Анализ цен)
- Как привлечь больше трафика на ваш блог WordPress (9 простых способов)
- Как повысить коэффициент согласия на получение push-уведомлений (7 способов)
- Как добавить плагин веб-уведомлений WordPress на ваш сайт
Мы рекомендуем использовать PushEngage для отправки ваших push-уведомлений. PushEngage — это программное обеспечение для push-уведомлений №1 в мире. Так что, если вы еще этого не сделали, начните работу с PushEngage сегодня.


