
Looking for a simple guide on how to install a WordPress Square plugin and accept online payments on your site?
Square allows you to accept credit card payments on any site. Whether you’re running a service site, an eCommerce store, or a membership platform, you need to allow credit card payments on your WordPress site. And Square is one of the most popular payment gateways to add multiple payment options on your site.
Integrating a payment gateway to your site can be a real hassle if you have to code it from scratch. So, what do you do when you don’t know how to code? Are Square plugins even worth looking into?
Short answer: Yes. Using a Square plugin can help you start accepting payments in a matter of minutes without a single line of code.
In this article, we’re going to go show you how to install a WordPress Square plugin and start accepting payment with writing a single line of code. And we’ll do it in less than 10 minutes.
よさそうですね?さあ、始めましょう。
Why Use a WordPress Square Plugin on Your Website?
Square allows credit card payments on your WordPress site. The best part is that the payment gateway allows multiple payment formats including recurring payments.
クレジットカードは最も人気のある支払い方法の1つです。クレジットカード決済を受け入れずにサイトを収益化する予定がある場合、機会を逃しています。
Accepting credit card payments will improve your conversion rate. If you’re running an eCommerce site, this can reduce your cart abandonment rates as well.
開始する前に、クレジットカード決済を安全に受け付けられるように、ウェブサイトでHTTPS/SSLを有効にする必要があります。方法がわからない場合は、WordPressサイトの無料SSL証明書を取得する方法に関するこの簡単なガイドに従ってください。
How to Add a WordPress Square Plugin to Online Stores
Now that we understand why you should be using a WordPress Square plugin and the benefits of using Square, it’s time to add Square payments to your site. There are multiple WordPress plugins to integrate Stripe into your site.
We recommend using WPForms to accept Square payments on WordPress.

WPForms is the most powerful drag-and-drop WordPress form builder. It’s super easy to build a fully custom form for your WordPress site in a few minutes using the plugin. WPForms can help you create any type of contact form, payment form, survey form, registration form, and newsletter optin form you can think of.
Proバージョンには、実際に機能することが証明されている300以上のテンプレートがあります。これらのテンプレートをすぐにインポートして、数分でフォームを起動できます。WPFormsは完全に初心者向けです。誰でも強力なフォームを作成するために使用できます。
プラグインにはコアの必須機能のみが含まれています。そのため、フォームでより多くの機能が必要な場合は、いつでもアドオンをインストールできます。これにより、プラグインは軽量で使いやすくなります。
WPForms を使用すると、次のことが得られます。
- A Beginner-Friendly Form Builder
- 注文フォーム
- 複数ステップフォーム
- Eメールマーケティング連携
- 条件付きフィールドロジック
- フォーム放棄キャンペーン
- フォームランディングページ
- ポップアップお問い合わせフォーム
And more. The best part is that you can directly create WordPress payment forms that accept payments using Square. All you need is a Square account and the WPForms plugin to get started. Check out our WPForms review for more details or simply follow along.
Step #1: Install and Activate the WPForms Plugin
The first thing you need to do is install and activate the WPForms plugin. If you’ve never installed a WordPress plugin before, check out this guide on how to install a WordPress plugin.
WPForms にアクセスして、プランを選択することから始めます。

プラグインをインストールしたら、WPForms ダッシュボードに移動してプラグインをダウンロードします。
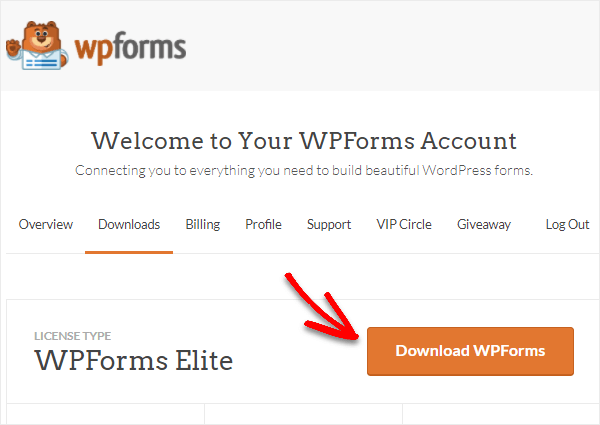
次に、zip ファイルを WordPress サイトにアップロードすれば、すぐに開始できます!
Step #2: Install and Activate the WPForms Square Addon
Head over to your WordPress dashboard and click WPForms » Addons:
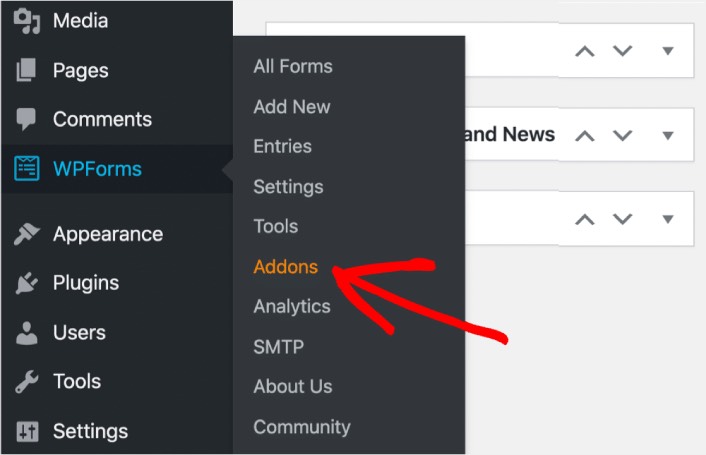
Scroll down to the Square addon and click on Install:

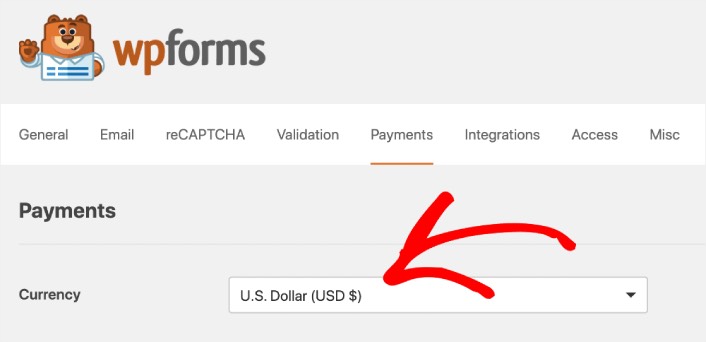
Once you’re done installing the addon, click on Activate. Next, we’re going to configure the payment settings. Go to your dashboard, click WPForms » Settings, then click the Payments tab. Under Currency, select your currency:
Next, we’re going to connect Square to WPForms.
Step #3: Connect Your Square Account to Your WordPress Site
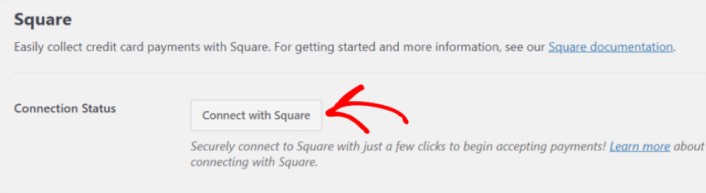
In the payment settings page, scroll down to the Square section and go to the Connection Status tab. Click the Connect with Square button:
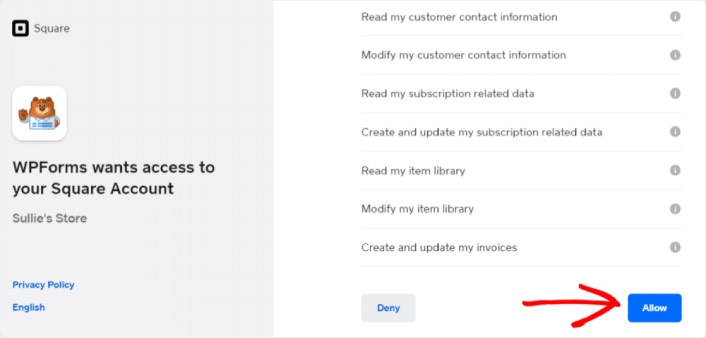
Sign in to your Square account and allow WPForms access to the specific information that it requests:
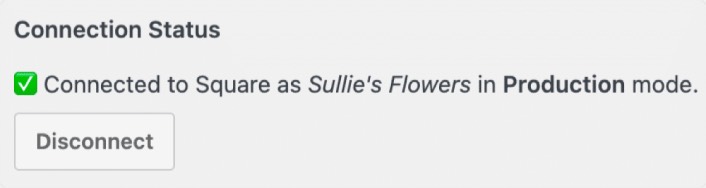
When it’s done, you will automatically get redirected back to the payment settings page and you should see the Connection Status as Active.
Step #4: Create a Square Payment Form
Now that WPForms is installed and activated, it’s time to create an order form. Head over to WPForms » Add New:

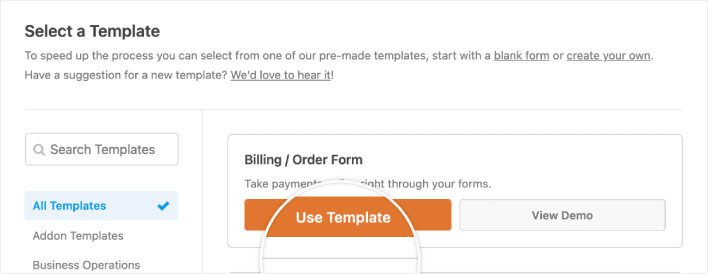
This will open the WPForms drag and drop form builder. To create a new form, give it a name and select your form template. To create an order form, we’re going to go ahead and select the Billing/Order Form template:
Next, you’ll want to modify what items are available to order. Scroll down to the Available Items section on the right that the template includes and click on it.
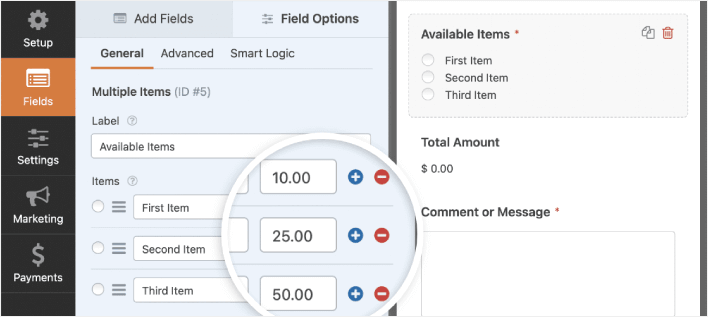
これにより、左側のパネルにフィールドオプションが開きます。ここでフィールドの名前を変更したり、注文アイテムを追加または削除したり、価格を変更したりできます。WordPressの注文フォームのカスタマイズが完了したら、保存をクリックします。
フォームをWordPressでマルチステップフォームを作成する方法の記事の手順に従って、見栄えを良くすることもできます。ユーザーエクスペリエンスを向上させ、カート放棄率を減らすのに役立ちます。ただし、このチュートリアルでは1ページに留めます。
WPForms integrates with PayPal, Authorize.Net, Square, and Stripe for accepting credit card payments. We’ve already installed the Square addon. So, simply add a Square payment field:
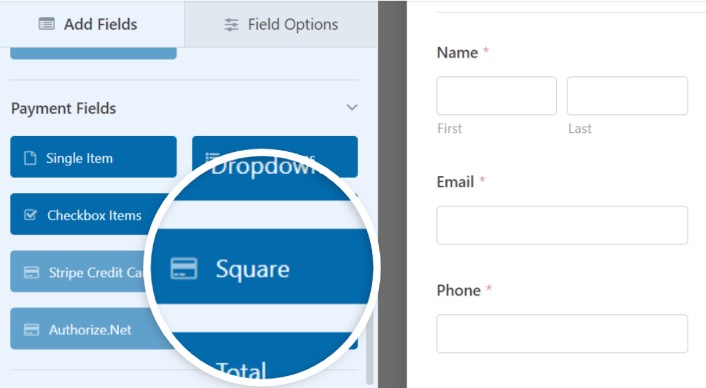
As soon as you add the Square filed, you will see a popup message to enable the Square Payments.
Click on the OK button to close the pop-up.
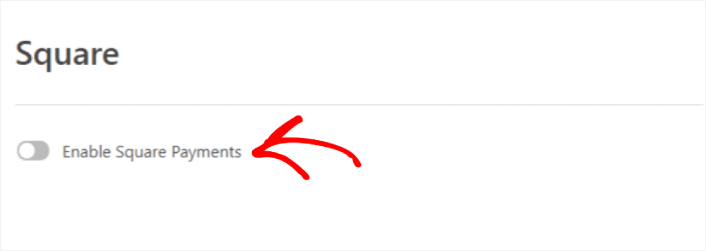
Step #5: Enable Square Payments
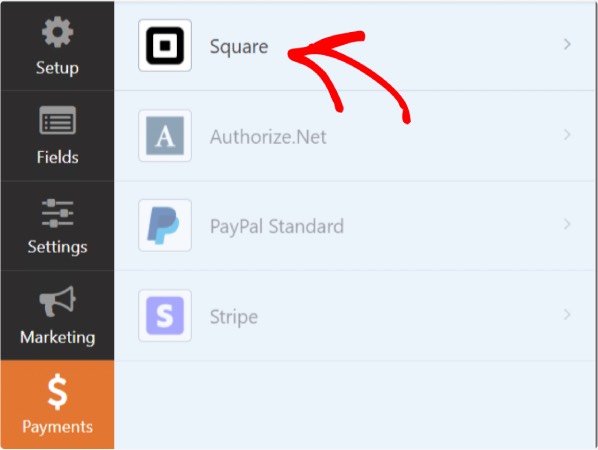
In your WPForms dashboard, click on Payments » Square:
Simply toggle on the Enable Square Payment:
Fill in your payment details:
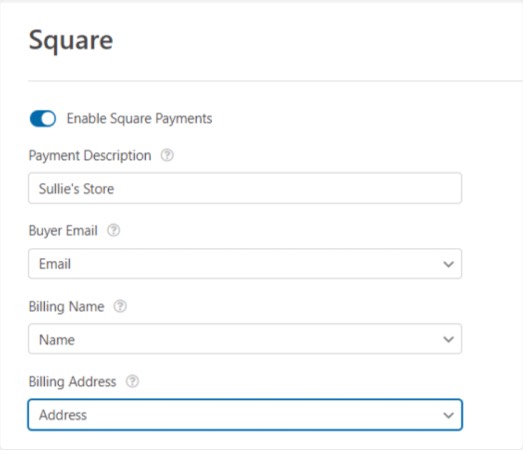
And you’re done! Don’t forget to hit Save.
Step #6: Configure Form Settings
Next, you’ll want to set up notifications and confirmations. Head over to Settings » Confirmations to configure confirmation settings:

次に、同じメニューで通知に移動して、通知メッセージを構成します。

デフォルトでは、通知はWordPress管理者のメールに送信されます。したがって、営業部長のメールアドレスなど、別の場所にメールを送信したい場合は、ここで実行できます。
What to do After Installing a WordPress Square Plugin
今回は以上です、皆さん!
これで、WordPress注文フォームが作成されました。次に、フォームの放棄率を減らすためにフォーム放棄追跡を設定する必要があります。
その後、フォームが機能し始めてコンバージョンを開始できるように、サイトへのトラフィックを生成することだけが残っています。簡単な方法は、プッシュ通知の使用を開始することです。プッシュ通知の送信は、サイトへのリピートトラフィックを生成するための優れた方法です。もしそれに興味があるなら、これらの記事も参照してください。
- プッシュ通知のコスト:本当に無料なの?(価格分析)
- WordPressブログへのトラフィックを増やす方法(簡単な9つの方法)
- ウェブプッシュ通知のオプトイン率を高める方法(7つの方法)
- Web通知WordPressプラグインをサイトに追加する方法
プッシュ通知の送信にはPushEngageの使用をお勧めします。PushEngageは世界No.1のプッシュ通知ソフトウェアです。まだお済みでない場合は、今すぐPushEngageを使い始めましょう。


