サイトにWordPressのポップアップお問い合わせフォームを簡単に追加する方法をお探しですか?
ポップアップのお問い合わせフォームがあれば、サイト訪問者があなたに連絡するのが非常に簡単になります。ポップアップは訪問者がいるのと同じページに表示されるため、お問い合わせページを探すのに時間を費やす必要がありません。また、訪問者に見てもらいたいときに正確にトリガーされるようにポップアップを設定することもできます。
唯一の問題は、お問い合わせフォームのポップアップを一から作成するのが非常に難しい場合があることです。プラグインで問題を解決しようとする場合、どのプラグインを使用しますか?ポップアッププラグインを使用しますか、それともお問い合わせフォームプラグインを使用しますか?それとも両方使用する必要がありますか?
そして、150以上のプラグインのうち、あなたのビジネスニーズに適しているのはどれでしょうか?
この記事では、これらの質問に答え、WordPressのポップアップお問い合わせフォームをサイトに追加する方法をステップバイステップでご紹介します。
さあ、始めましょう。
WordPressのポップアップお問い合わせフォームを追加する前に
フォームを作成し始める前に、はっきりさせておくことがあります。
WordPressのポップアップお問い合わせフォームを作成するには、複数の方法があります。はい、ポップアッププラグインとフォームプラグインの両方を使用して作成できます。しかし、この記事では、コーディング経験が全くないことを前提としています。また、WordPressサイトにお問い合わせフォームを初めて追加することを前提としています。
だからこそ、このようなWordPressのポップアップお問い合わせフォームを作成して統合する、可能な限り簡単な方法をご紹介します。
私たちの方法は、WordPressフォームプラグインとWordPressポップアッププラグインを組み合わせています。
私たちを信じてください:このアプローチにより、作業時間を数時間短縮できます。
そこで、プロセス全体を2つの部分に分けます。
よろしいですか?それでは、始めましょう。
WordPressお問い合わせフォームの作成方法
まず、WordPressのお問い合わせフォームを作成するには、お問い合わせフォームプラグインが必要です。
ステップ1:WordPressお問い合わせフォームプラグインの選択
WPFormsを使用してWordPressのお問い合わせフォームを作成することをお勧めします。

WPFormsは、300万人以上のユーザーを持つナンバーワンのWordPressフォームビルダープラグインです。ドラッグアンドドロップのフォームビルダーを備えているため、数分で驚くほど機能的なWordPressフォームを作成できます。
ステップ2:新規フォームの作成
プラグインのセットアップが完了したら、WordPressダッシュボードからWPForms » Add Newに移動して新しいフォームを作成します。

そして、Simple Formテンプレートを選択します。
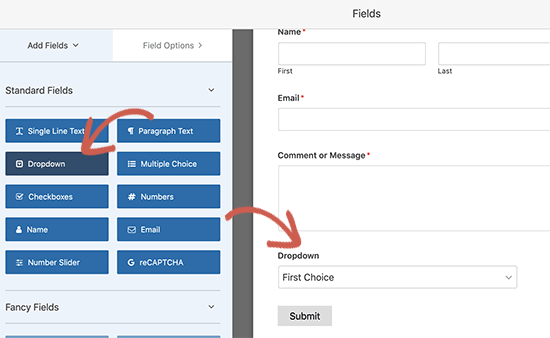
ドラッグアンドドロップのフォームビルダーを使用してフォームをカスタマイズします。
ステップ3:お問い合わせフォームのショートコードを取得
お問い合わせフォームの作成が完了したら、右上にあるSaveボタンをクリックして変更を保存してください。次に、Saveボタンの隣にある上部のコーナーにあるEmbedオプションをクリックします。新しいウィンドウが表示されたら、use a shortcodeオプションを選択します。
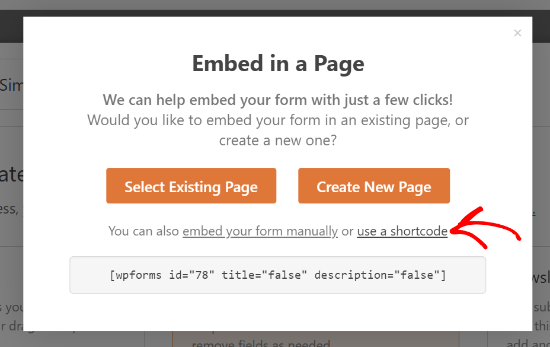
これで完了です。次に、このフォームをショートコードを使用してポップアップに埋め込みます。
If this is your first time using WPForms, you should check out our tutorial on how to create a contact form in WordPress for more detailed instructions.
How To Embed Your Contact Form In a Popup
To create a contact form popup, you will need a WordPress popup plugin.
Step #1: Selecting a WordPress Popup Plugin
We recommend using OptinMonster to create instant popups for WordPress.
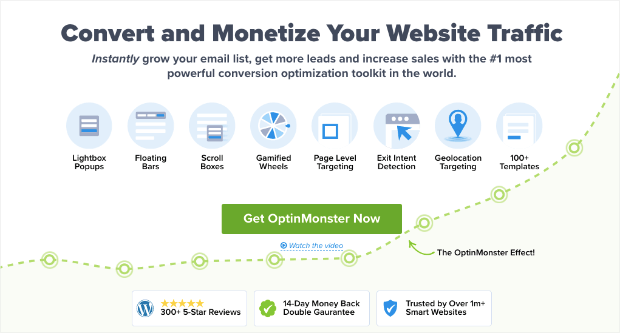
OptinMonster is the #1 conversion toolkit in the world and we’ve used it ourselves. OptinMonster makes it super simple to create powerful popups that convert. And you’ll never have to use any coding at all.
Step #2: Create a Popup Campaign
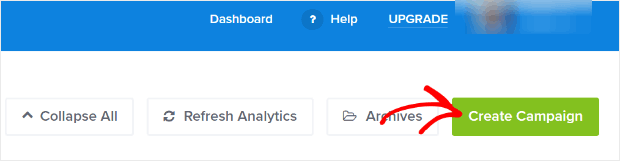
Go ahead and signup for OptinMonster. Then, in the OptinMonster dashboard, hit the Create Campaign button:
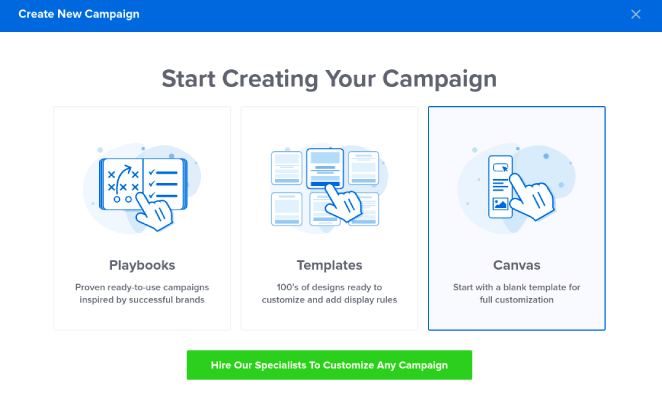
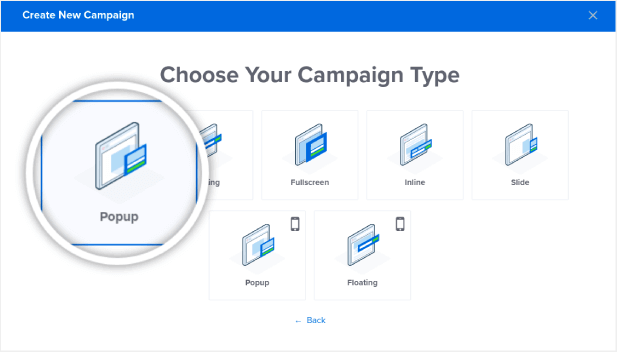
On the next screen, you will have to select a campaign type. You can choose to go for a proven template from the OptinMonster Playbooks or Templates, but we’re going to use the Canvas mode to create the popup:
Then, select the Popup campaign type:
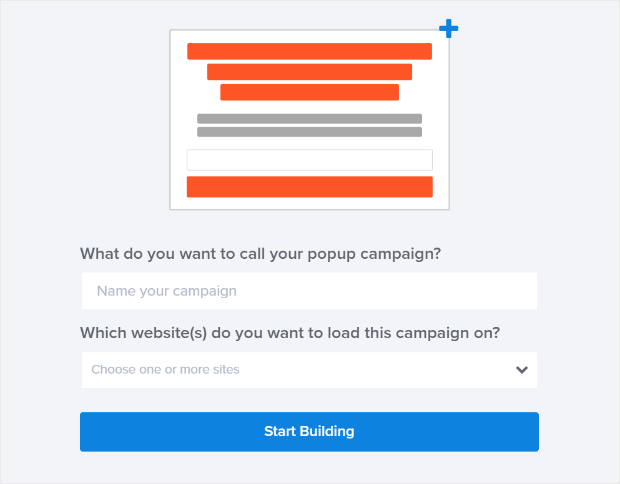
Then, name your campaign to get started:
Step #3: Adding The Shortcode To Your WordPress Popup Contact Form
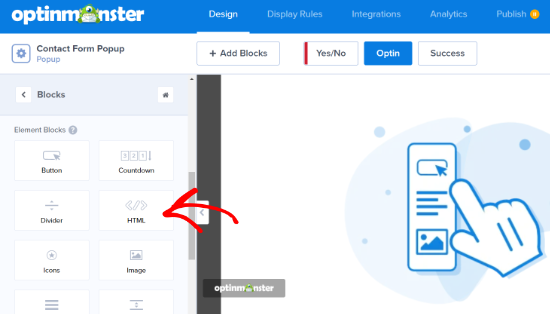
Using the drag and drop builder in OptinMonster, you can edit your popup template. To start, click the + Add Blocks button at the top:

To add your shortcode, you’ll want to drag and drop the HTML design block into your design preview:
Enter the copied shortcode into your OptinMonster HTML block, where it says Add HTML here:
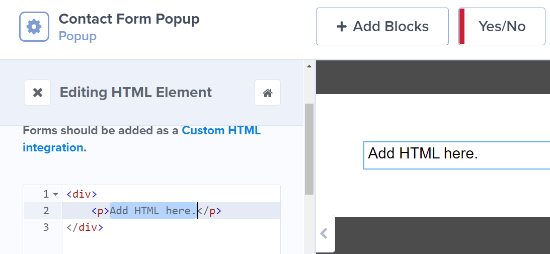
IMPORTANT: You won’t see the contact form in the preview. You’ll only see the shortcode in the preview. The shortcode is built for WordPress and not for OptinMonster’s dashboard. So, it’s perfectly normal if you see something like this:
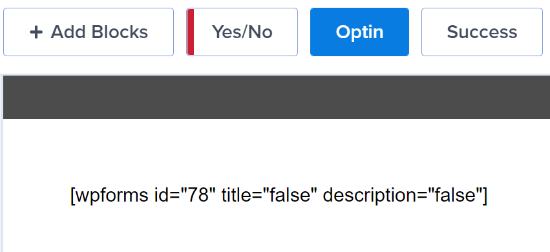
The form will work perfectly once you publish the popup on your site.
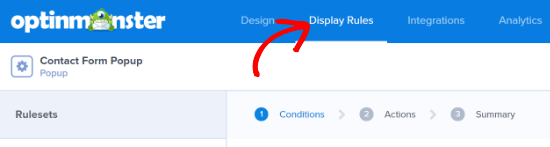
Step #4: Configure WordPress Popup Contact Form Display Rules
Next, you can go to the Display Rules tab at the top to choose when the popup should appear on your website:
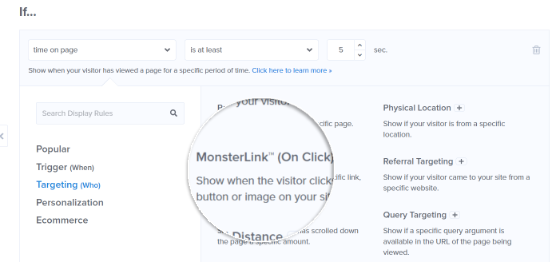
By default, OptinMonster will set the popup to be triggered when the time spent on the page is 5 seconds. Also, by default, the popup will appear on all pages. However, you can change the display rule settings and select different triggers and targeting options.
We recommend using MonsterLink (on-click targeting). This way, your popup will appear when a visitor clicks a link or a button:
After that, you can click the Copy MonsterLink Code button and add it to any text, image, or button on your website:
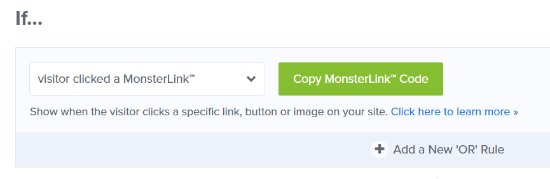
If you want to use a custom button on your site, you can just copy the URL in the MonsterLink code. Then, just paste the link into any button on WordPress.
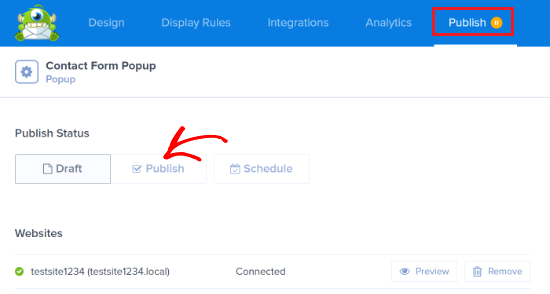
Step #5: Publish Your WordPress Popup Contact Form
When you are happy with the appearance of your campaign, change the Publish Status from Draft to Publish:
これで完了です!
すべての手順に従っていれば、このお問い合わせフォームがサイトに表示されるはずです。
次は何をしますか?
今回は以上です、皆さん!
この記事がお役に立ったかどうかお知らせください。サイトにポップアップを作成すると、トラフィックをメール購読者や実際のビジネスリードに変換するのに役立ちます。WordPressのポップアップお問い合わせフォームをすぐに作成することを強くお勧めします。
次に、ポップアップが効果を発揮するように、サイトへのトラフィックをさらに増やす必要があります。
トラフィックを増やすための手頃な方法を探している場合は、プッシュ通知の使用をお勧めします。プッシュ通知は、より多くのリピートトラフィックとサイトエンゲージメントをもたらすのに役立ちます。売上を生み出す自動プッシュ通知キャンペーンを作成することもできます。
まだ納得できませんか?これらのリソースを確認してください。
- 顧客エンゲージメントを高めるための7つのスマートな戦略
- プッシュ通知は効果的ですか?7つの統計情報+3つの専門家のアドバイス
- 放棄されたカートのプッシュ通知を設定する方法(簡単なチュートリアル)
- Web通知WordPressプラグインをサイトに追加する方法
プッシュ通知キャンペーンを作成するためにPushEngageの使用をお勧めします。PushEngageは世界No.1のプッシュ通知ソフトウェアです。まだお済みでない場合は、 今すぐPushEngageを使い始めましょう!


