
Looking for a way to start passing on credit card fees to customers in WordPress?
If you’re using Stripe to process payments on your site, then you already know that Stripe charges 2.8% + $0.30 per transaction.
And it’s not just a Stripe thing. Every payment gateway charges some percentage in transaction fees. This means that the bigger your transaction, the more fees you’ll end up paying.
In this article, we’re going to go over passing on credit card fees to customers in WordPress. And we’ll do it without any coding at all using a simple, easy to use plugin.
よさそうですね?さあ、始めましょう。
Passing On Credit Card Fees to Customers
Before you start passing on credit card fees to customers, there’s something you should know. Passing on credit card fees in legal by Federal Law in the United States. However, different states have different legislation and not all of them allow you to pass on credit card fees to customers. So, make sure that you talk to a good lawyer before you start saving on credit card fees.
PushEngageは世界No.1のプッシュ通知プラグインです。無料で入手!
Also, for this tutorial, we’re going to use one of the best Stripe plugins in the world. If you’re using a different solution, check if they allow fee recovery. If not, you’ll need to switch to WP Simple Pay.
Step #1: Install WP Simple Pay Pro
WP Simple Payは、その名の通りです。WordPressサイトでのオンライン決済を簡単にします。使いやすく、非常に信頼性が高く、セットアップにコーディングは一切不要です。
一番良いところは? WP Simple Payは、世界中からの支払いを受け付けることを心配せずに、製品の作成と販売に集中するのに役立ちます。
すべての顧客情報と支払い情報は、WordPressウェブサイトではなく、Stripeアカウントに保存されます。その結果、プラグインは他の代替手段のようにサイトを肥大化させません。WP Simple Payは、WordPressサイトにStripe支払いを追加する最も簡単な方法を提供します。
そして、WP Simple Payのセットアップは非常に簡単です。
WP Simple Pay Proの主な機能をご覧ください:
- 決済フォームビルダー
- Stripe Checkout決済ページビルダー
- カスタム金額決済
- カスタムサブスクリプションオプション
- クーポンコードによる割引
- 代替決済方法
- カスタマイズされた決済確認フロー
And more! You can get a closer look at the features in our review of WP Simple Pay Pro. Or go ahead and install WP Simple Pay Pro. If you’re not sure how to install the plugin, check out this guide on how to install WordPress plugins.
Step #2: Connect Stripe to WordPress
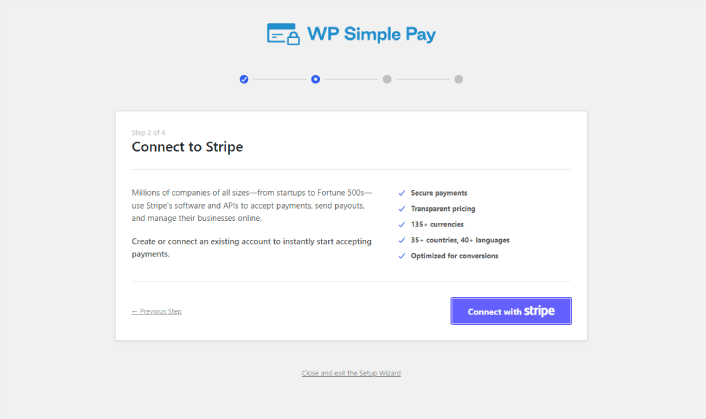
After you’ve installed and activated WP Simple Pay, you’ll need to connect your Stripe account to WordPress in order to begin accepting payments and configuring recovery fee options.
Simply click on the Connect with Stripe button in the setup wizard:
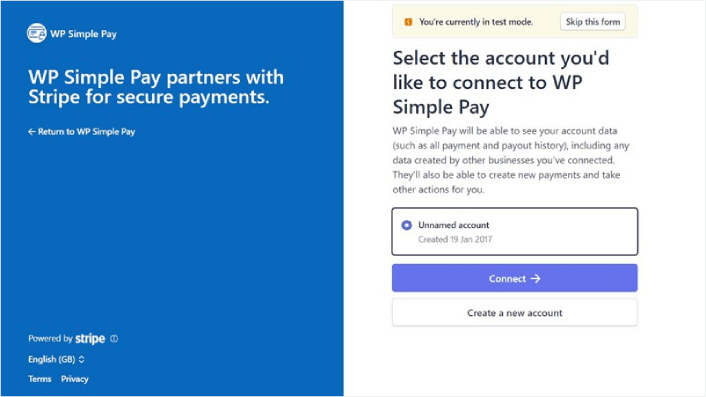
If you already have a Stripe account, all you need to do is go ahead and connect it to your site. And if you’re new to Stripe, you can click on the Create a new account button to get your Stripe account for free:
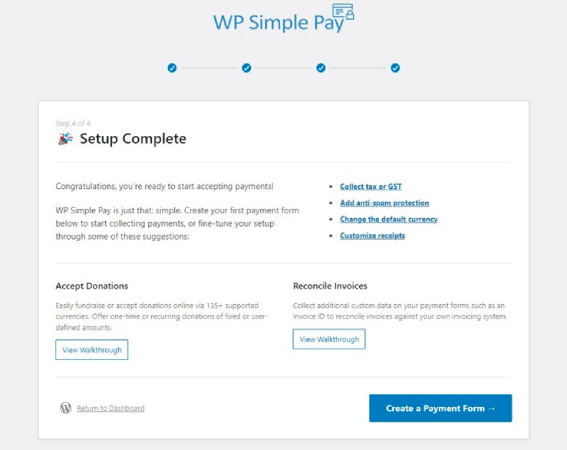
Once that’s done, you can set up your first payment form using WP Simple Pay.
Step #3: Create a Payment Form
To begin accepting payments on your site and passing on credit card fees to your customers, you’ll need to create a payment form. Click on the Create a Payment Form button on the success page.
You can select from a whole library of templates for your payment form.
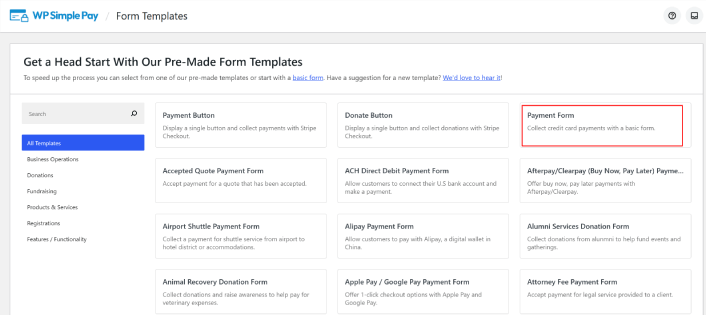
Just set up the payment form and you’re ready to accept payments.
Step #4: Configure the Form for Passing On Credit Card Fees to Customers
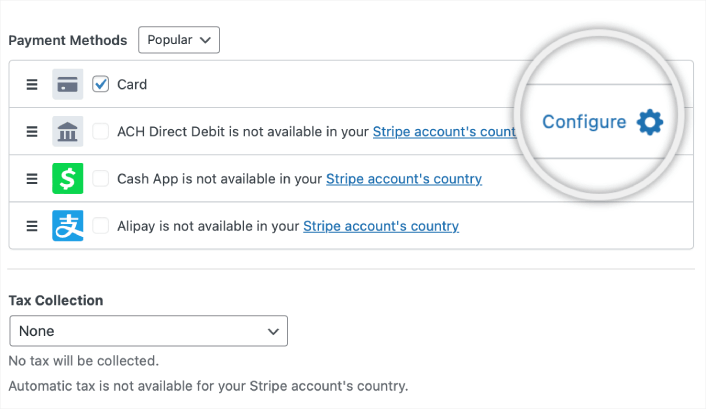
Head over to the Payment option on the left to customize the currency, amount, and also select between a one-time or subscription payment. Once that’s done, scroll down to Payment Methods. Here, you can see all the different payment methods that are available in your country and choose the ones you want to allow your users to use.
To add a recovery fee for credit cards, simply click on Configure.
A popup appears, allowing you to customize the Fee Recovery values.
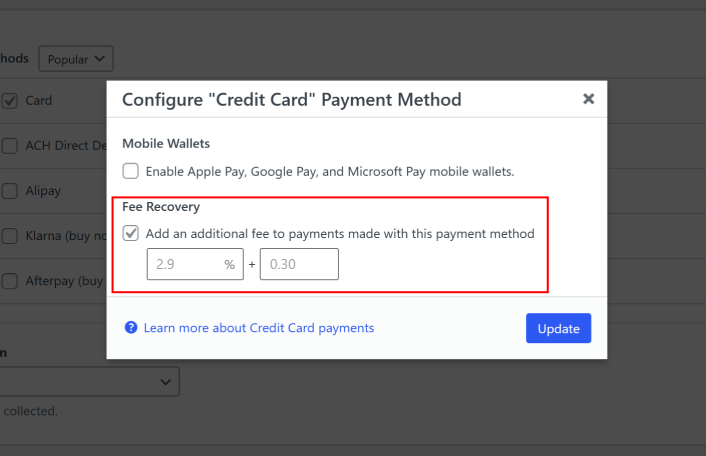
これで完了です。
Step #5: Add Your Payment Form to a Page
The final step to begin accepting payments with the Stripe processing fee covered by your customers is to embed the form on your site. Simply go to the page or post where you want your payment form and click on the + icon to add the WP Simple Pay block.
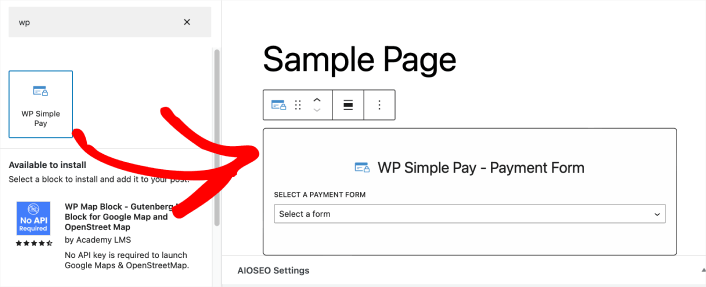
You can select your payment form from the dropdown list. And you’re done!
What to do After Passing On Credit Card Fees to Customers
Now that you can start passing on credit card fees to customers, you should see an increase in revenue. You need to make sure that this bump doesn’t become confusing for you when you’re tracking revenue for your site.
サイトでの支払い受け入れの準備ができたなら、次に集中すべきことは、サイトへのトラフィック、エンゲージメント、売上の増加です。プッシュ通知は、そのための優れた方法です。
すぐにプッシュ通知を開始するための、素晴らしいリソースをいくつかご紹介します:
- 放棄されたカートのプッシュ通知を設定する方法(簡単なチュートリアル)
- プッシュ通知を簡単にスケジュールする方法【5分ガイド】
- 10分未満で価格下落通知キャンペーンを作成する方法。
- Web通知WordPressプラグインをサイトに追加する方法
PushEngageは世界No.1のプッシュ通知ソフトウェアです。そのため、プッシュ通知の作成とEコマースビジネスの成長にはPushEngageの使用をお勧めします。


