Looking for a tutorial on how to create a sales funnel?
The key to any sales funnel is knowing what your audience loves. But how do you turn that knowledge and data into profits? How do you break up your entire sales process into separate pages that keep converting?
Having a sales process for outbound sales calls is one thing. But creating an automated sales funnel on your website to convert your traffic is a very different challenge that most small businesses struggle with.
In this article, we’re going to show you how to create a powerful sales funnel on your WooCommerce site.
The best part is that you don’t need any experience in web development, conversion optimization, or automated sales funnels. You can simply follow the steps in this article and create a high-converting sales funnel in a matter of minutes.
さあ、始めましょう。
What is a Sales Funnel?
A sales funnel is the step-by-step journey a website visitor takes from the time they land on your site to the time they checkout. It’s a fancy way of describing how your website traffic becomes a paying customer.
You already know how much it hurts when you lose even a single sale. The only way to keep optimizing your sales process is to break it up into smaller parts that you can track, measure, and improve.
Your sales funnel could exist as:
- Retail store
- Sales team
- ウェブサイト
- Eメール
- Personal consultation
Any marketing channel can be part of your sales funnel. And your funnel might be spread across several channels. For this article, we’re only focusing on your website as the marketing channel.
What Makes a Sales Funnel Successful?
Creating a sales funnel is the only way to optimize your site for sales. Sales funnels are broken into four basic stages:
- Awareness: The awareness stage is where the visitor becomes aware of your product, service, or offer.
- Interest: The interest phase is when your prospect starts to see the benefit of doing business with you.
- Decision: The decision stage is where your prospect makes up their mind on whether they should buy from you.
- Action: The action phase is where your prospect takes the action of buying from you.
This framework for your sales funnel is known as the AIDA framework.
You want to create a seamless process that moves your website traffic from the awareness phase to interest, then decision, and finally action. In our experience, any successful sales funnel treats each sales page as a landing page with a single goal.
The most common flow for a sales funnel is: Landing page » Checkout page » Upsells and Cross-sells » Thank You page.
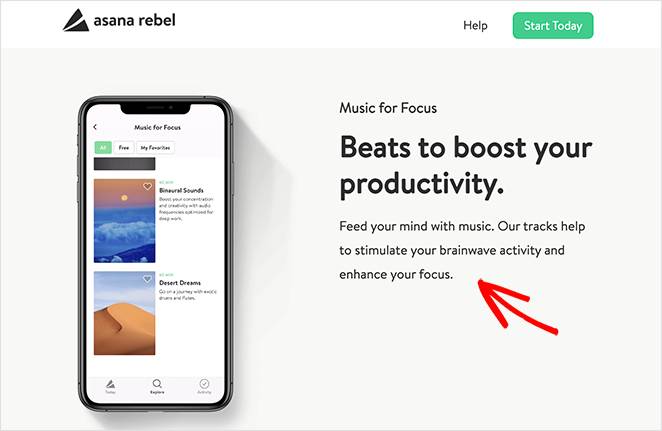
Each page in this funnel should have a very specific goal in mind. Your landing page should focus on one product or service and focus on getting the visitor to add the product to their cart.
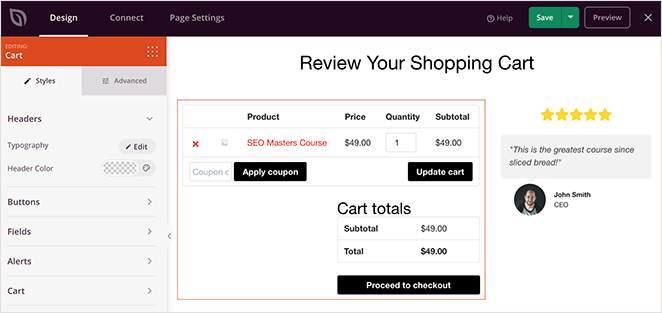
But simply adding a product to the cart isn’t good enough. Chances are that they will abandon the cart if you don’t give them a reason to convert right away. So, your checkout page should focus exclusively on getting your visitor to place the order in their cart.
Most sales funnels end here and redirect to a thank you page that is highly unimpressive. We recommend using a different flow. Once the checkout is done, you should focus on increasing your Average Order Value (AOV). The AOV is exactly what it sounds like. In simple words, you could say that you’re increasing your revenue using upsells.
So, once the checkout process is done, you can upsell some related products. To make the user experience seamless, we recommend creating one-click checkouts for any upsell.

Finally, when the order is placed along with any upsells or cross-sells, you should redirect your visitors to a thank you page. A thank-you page is an ideal place for you to ask your customers to take another action. You could redirect them to the shop again like Constant Contact:
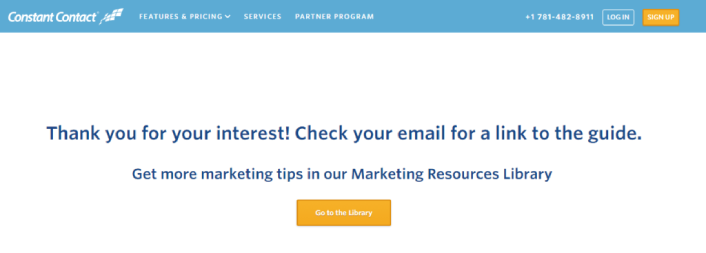
Or, you could ask them to sign up for a newsletter:
Each of these pages is built with the AIDA framework. So, each part of your sales funnel is high-converting and easy to optimize.
How to Create a Sales Funnel (Quick & Easy)
Now that you understand the different parts of a successful sales funnel, it’s time to build one for your site. This tutorial is for a WooCommerce site. So, if you haven’t already, you need to create a WooCommerce site first.
Once you install WooCommerce, you’ll want to get the FunnelKit plugin as well. FunnelKit is a WordPress plugin that helps you create a custom sales funnel for WooCommerce sites with the help of proven templates.
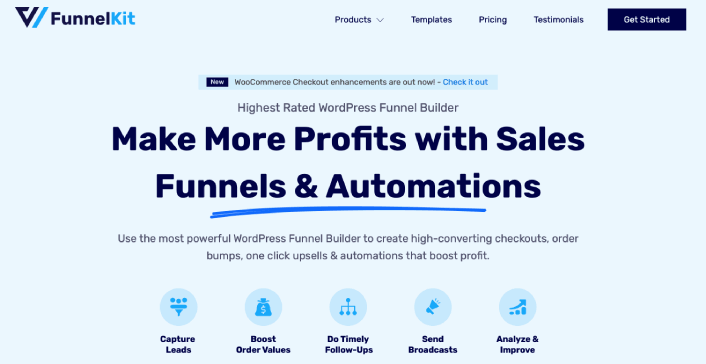
FunnelKit automatically creates powerful sales pages by importing pre-built templates. The templates are only the starting point, though. You can customize anything you want about the pages using a visual builder.
Go ahead and install FunnelKit to your WooCommerce site. If you don’t know how to do that, check out this article on how to install a WordPress plugin. For this tutorial, we’ll help you create a four-step sales funnel.
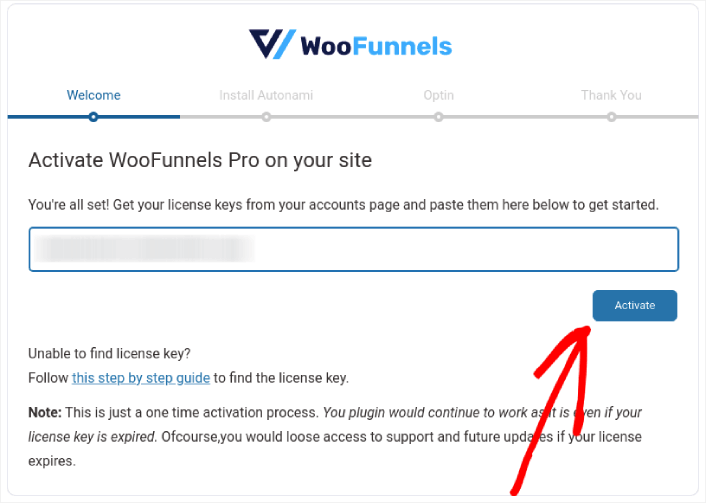
Step #1: Import a Sales Funnel Template
The first thing you need to do is activate your FunnelKit plugin:
Step #2: Select a Sales Funnel Template
In your WordPress dashboard, go to FunnelKit and click on the Add a new funnel button:

You can select a sales funnel template under the Sales Funnels tab:
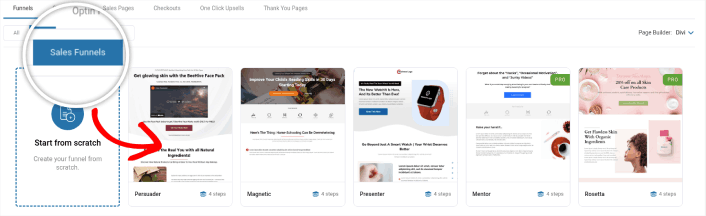
These are all pre-built funnels with fully responsive designs. So, they look amazing on any device. As you can see, different templates have a different number of pages. We’re using a template with 4 pages in the sales funnel. But you can create a custom funnel with as many steps as you like.
Step #3: Import the Sales Funnel Pages to Your Site
Click on any of the templates for a preview. When you find one that suits your business, click the Import button:
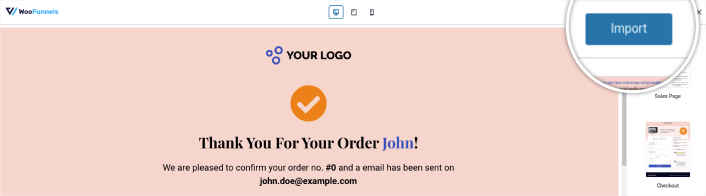
Once you finish importing your funnel, you can see all the imported pages:
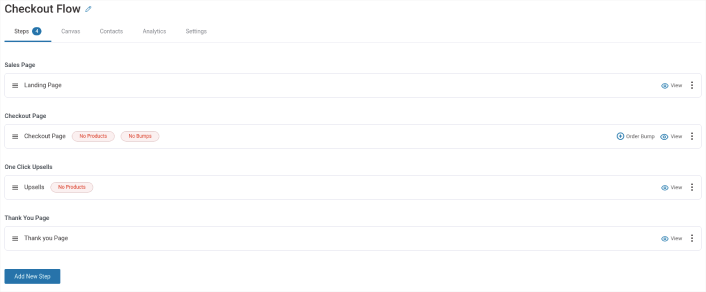
You can edit any of these pages to match your brand.
Step #4: Customize Your Sales Pages
You can edit the sales pages by clicking the Edit Template button:

FunnelKit gives you designs that are compatible with some of the most popular WordPress page builders, landing page builders, and themes including:
- Gutenberg
- Elementor Pro
- Divi
- Oxygen
- SeedProd
その他多数!そのため、サイトの他の部分を構築するために使用したソフトウェアでページを編集できます。他のサイトのページと同じように、いずれかのページをカスタマイズできます。
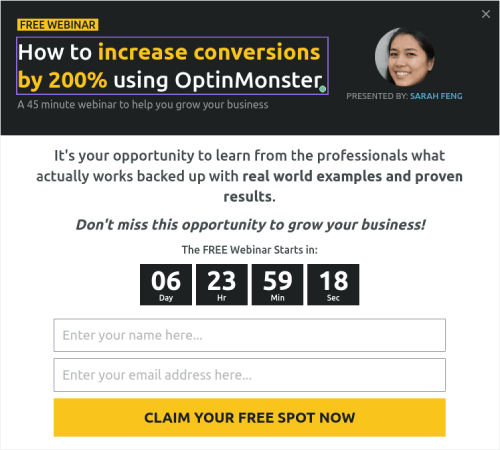
You can even create lightbox popups to capture leads that don’t want to convert right away. This way you can retarget interested prospects with offers and discount coupons.
If you’re using SeedProd to create your site, you can also add a click to subscribe button to collect push notification subscribers. Push notifications are a great way to increase your repeat traffic, get more engagement and even sell official merch if you have some.
SeedProdでは、サイドバーからカスタムHTMLモジュールをドラッグアンドドロップするだけです。
最初の折り目のメールサインアップフォームのすぐ下に、購読ボタンを配置しました。

しかし、ボタンは好きな場所に挿入できます。
For this part, you need some experience with HTML and CSS. Or, you can copy this code and paste it into your Custom HTML block:
<button onclick="subscribeOnClickButton()" style="border: none; padding-left: 5%; padding-right:5%; text-align: center; display: inline-block; color: blue;">Get Updates via Push Notifications</button>That’s a standard button in HTML with very little styling. The only fancy bit is the onclick function in the code. It basically means that your visitors can click on the button to subscribe to something. Now, we need to give the button some extra code to allow your visitors to subscribe to push notifications.
PushEngageのホームページにアクセスし、開始するボタンをクリックします。

次に、PushEngage を試すために無料プランを選択するか、ビジネスの成長に真剣に取り組んでいる場合は有料プランを選択します。有料プランには、より多くのキャンペーンオプションと、さらに大きな購読者リストを構築する機能が付属しています。
あなたのPushEngageダッシュボードで、サイト設定 »サイト詳細に移動し、セットアップ手順を表示するにはここをクリックボタンをクリックします。「任意のサイト」の下に、インストールコードが表示されます。

警告:ダッシュボードから取得したコードをコピーする必要があります。コードはPushEngageユーザーごとに固有です。画像内のコードをコピーしてプッシュ通知購読者を収集することはできません。
PushEngage ダッシュボードでコードを取得したら、このスニペットをコードに追加します。
<script> window._peq = window._peq || [];</script> <script>
function subscribeOnClickButton(){
window._peq.push(['subscribe',{}.pe,function(res){
if(res.statuscode==1)
{
// Code to return response
console.log(res);
}
}]);
}
</script>
最終的なコードは次のようになります。
<script src="https://clientcdn.pushengage.com/core/02a6e92667ae2279fcba8932356c1d93.js" async></script>
<script> window._peq = window._peq || [];</script> <script>
function subscribeOnClickButton(){
window._peq.push(['subscribe',{}.pe,function(res){
if(res.statuscode==1)
{
// Code to return response
console.log(res);
}
}]);
}
</script>
You’ll want to add this code to the HTML block in your landing page after the code for the button. It should look something like this:

Feel free to customize the styles for the button any way you please. When you’re done customizing your webinar landing page, go ahead and hit the Save button.
What to do After You Know How to Create a Sales Funnel
Now that you know how to create a sales funnel, it’s time to drive traffic to your landing page. Your landing page is the start of your entire funnel. So, that should be the target of your marketing campaigns.
We recommend using push notifications to send repeat traffic to your landing pages. Push notifications are super affordable and extremely powerful marketing tools that can help you grow your business.
If you’re not 100% convinced, you should check out these resources on how to effectively use push notifications:
プッシュ通知キャンペーンを作成するためにPushEngageの使用をお勧めします。PushEngageは世界No.1のプッシュ通知ソフトウェアです。まだお済みでない場合は、 今すぐPushEngageを使い始めましょう!


