
Looking for a tutorial on how to create an expense approval form in WordPress?
An expense approval form is a superb tool to streamline and monitor company expenditures. But, you might wonder, how do you craft one? Is it worth designing an expense form from the ground up?
The straightforward scoop? Probably not. You can whip up a WordPress expense approval form with a form plugin in significantly less time than starting from zero. And if you’re no tech whiz, leaning on a plugin is will likely be much kinder on your wallet too.
But hold on! The plugin universe is vast. So, which one should you choose?
In this article, we’re going to show you step by step how to create your own expense approval form in WordPress. The best part? You’ll be done in 10 minutes and you don’t need to write a single line of code.
さあ、始めましょう。
Why You Need an Expense Approval Form in WordPress
Incorporating an expense approval form into your WordPress website streamlines the way you manage, monitor, and authorize company expenditures. It becomes an essential tool for maintaining financial discipline and transparency in your organization.
PushEngageは世界No.1のプッシュ通知プラグインです。無料で入手!
Through a clear format like, “What’s the purpose of this expense?” or “Attach your expense receipt here”, you can maintain a consistent record of every penny spent. Expense forms can categorize expenses based on their nature like travel, supplies, or entertainment, ensuring clarity in documentation.
Often, expense approval forms also allow a section for notes or clarifications. This section provides valuable context to approvers, making sure there are no ambiguities when it’s decision time.
By routinely processing expenses through this system, you’re creating a clear financial trail. This periodic review ensures that expenses align with company policies and budgets. Plus, it’s a quick way to spot any irregularities or misuse.
The insights you gather can lead to tangible policy improvements. Over time, you might spot patterns – maybe your team frequently overspends in one area or there are recurrent unjustified expenses. This can guide policy updates or staff training.
To integrate an expense approval form into your WordPress platform, you can use specific plugins or incorporate forms from external finance tools. Ensure your form is straightforward, intuitive, and easily accessible to those who need it.
In essence, expense approval forms in WordPress help synchronize company spending with financial guidelines, ensuring budget adherence and fiscal responsibility.
How to Create an Expense Approval Form in WordPress
Now that you know why you should be creating your expense approval form, it’s time to start building one for your site. To create your expense approval form, we’re going to use a super popular form builder plugin for WordPress called WPForms.
始めましょう。
ステップ#1:新しいWordPressフォームを作成する
まず、WPFormsをインストールして有効化する必要があります。

WPFormsは、世界No.1のWordPressフォームビルダープラグインです。WPFormsのインストール方法がわからない場合は、WordPressでプラグインをインストールする方法に関するこのステップバイステップガイドを確認してください。
次に、WPFormsダッシュボードに移動し、[ダウンロード]にアクセスしてプラグインを取得します。
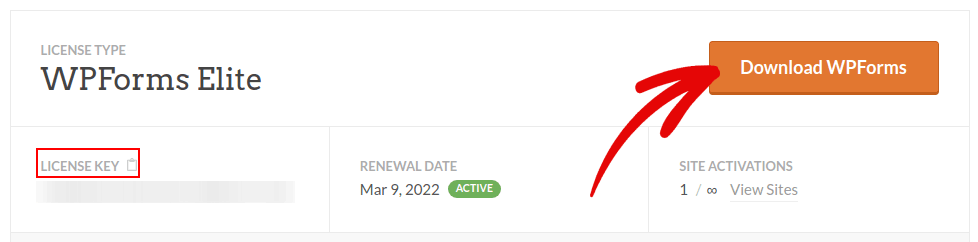
次に、サイトにプラグインをインストールして有効化します。同じタブでライセンスキーをコピーします。
最後に、WordPressダッシュボードに移動し、[WPForms » 設定]にアクセスしてライセンスキーを貼り付けます。
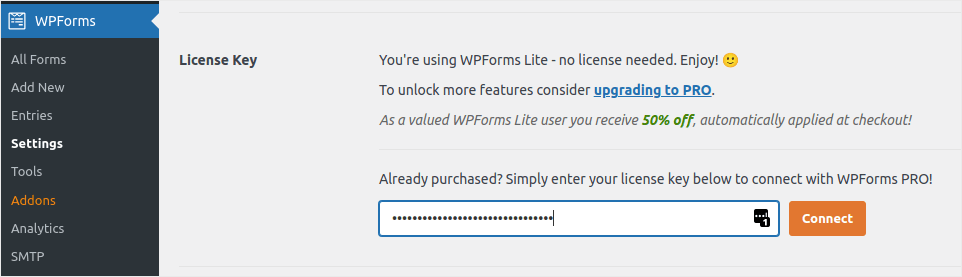
完了したら、[接続]をクリックします。
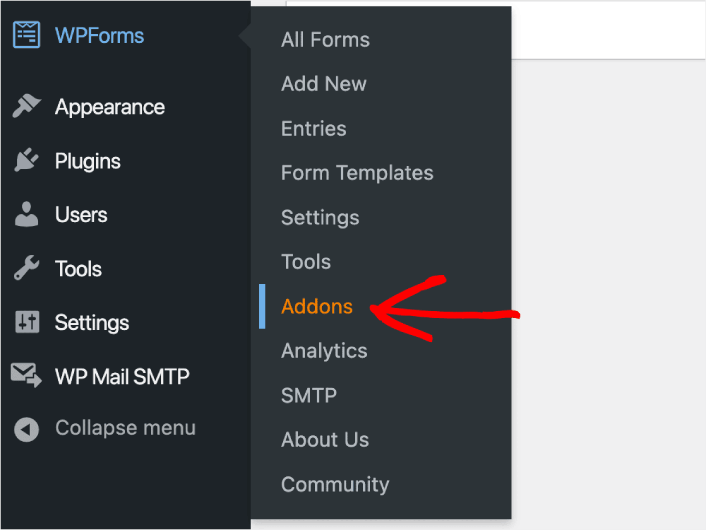
Step #2: Add the Right WPForms Addons
WordPressダッシュボードから、WPForms » アドオンに移動します。
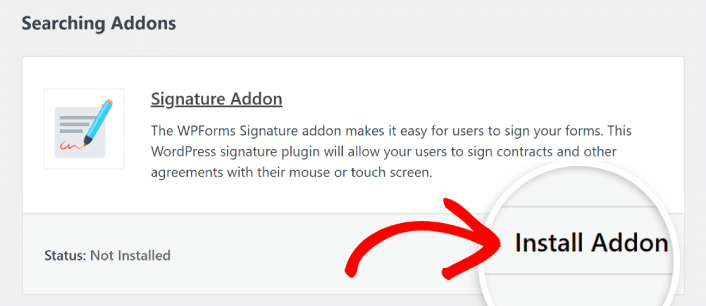
Now, search for the Save and Resume Addon by typing its name in the Search Addons field. Next, click on Install Addon.
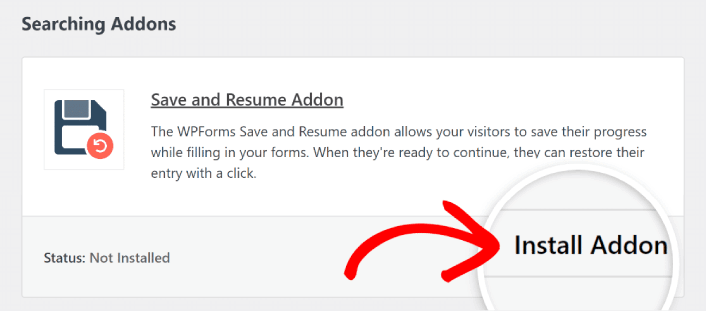
After the addon has been installed successfully, press the same button again to Activate it. And do the same thing for the Signature Addon.
WPFormsがインストールされ有効化されたので、最初のフォームを作成する時間です。[WPForms » 追加]に移動します。

これにより、WPFormsのドラッグアンドドロップフォームビルダーが開きます。
Step #3: Select Expense Approval Form Template
新しいフォームを作成するには、名前を付けてフォームテンプレートを選択します。
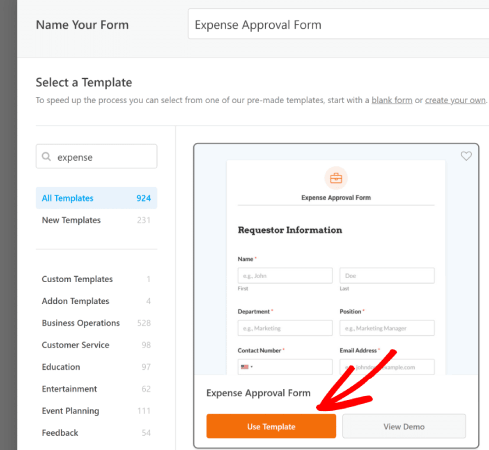
WPFormsでは、ワンクリックでインポートして自由にカスタマイズできる、あらかじめデザインされたフォームテンプレートがたくさん用意されています。全機能の詳細については、WPFormsのレビューをご覧ください。
Step #4: Customize Your Expense Form
次に、テンプレートが読み込まれた状態でフォームビルダーに移動します。
テンプレートをそのまま使用して、顧客からフィードバックを収集できます。ただし、さらに詳細や洞察を収集するためにフィールドを追加したい場合は、このテンプレートを変更してもかまいません。
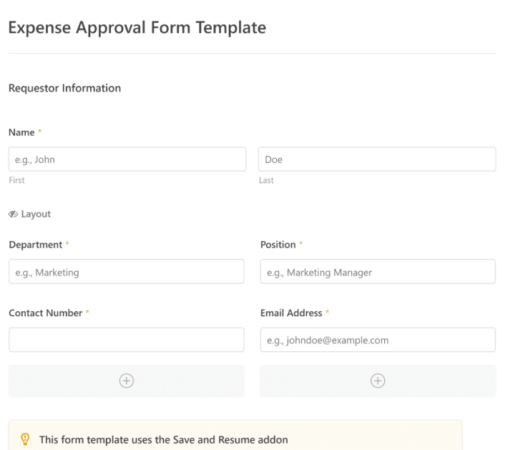
You’ll notice that this template is built with fields that automate capturing the requestor’s information, expense details, and approval via Signature.
If required, you can use WPForms’ intuitive form builder to easily add, modify, and arrange fields to tailor the form to your liking.
フォームをWordPressでマルチステップフォームを作成する方法の記事の手順に従って、見栄えを良くすることもできます。ユーザーエクスペリエンスを向上させ、カート放棄率を減らすのに役立ちます。ただし、このチュートリアルでは1ページに留めます。
Step #4: Enable Save and Resume Settings
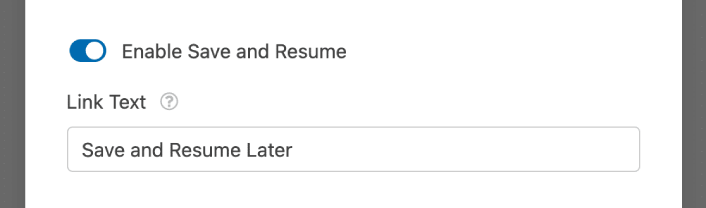
First, you’ll want to add the Save and Resume feature to your expense approval form. Go to Settings » Save and Resume from the form builder. To turn on save and resume functionality, toggle on the Enable Save and Resume option.
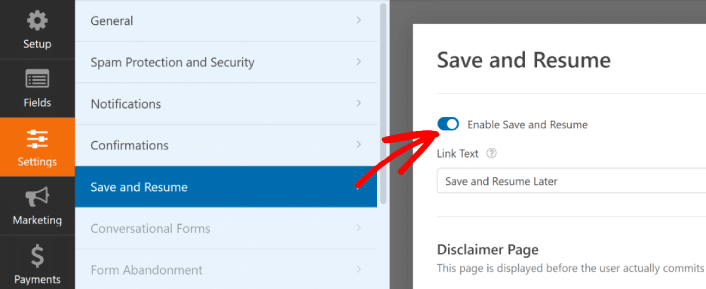
To begin, you can personalize the wording on the link that users will click to save their progress in your form.
You can change the text in the supplied field. By default, it says Save and Resume Later, but you can change it to anything you like.
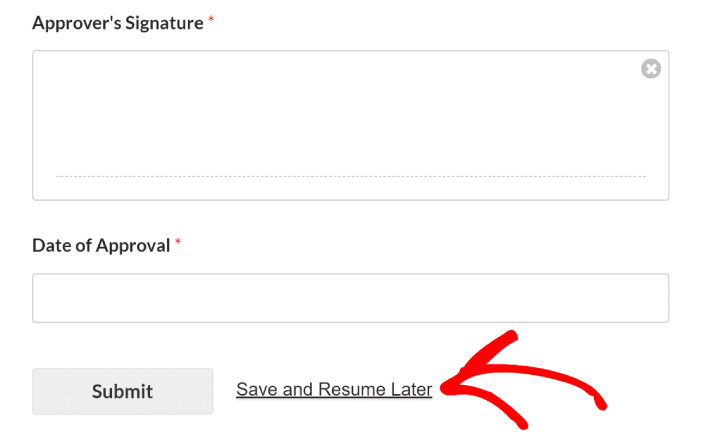
This link will show up at the bottom of your form, next to the button labeled Submit.
NOTE: The resume URLs will stop working after 30 days. So, make sure to add a disclaimer on your form that mentions this fact.
Step #5: Configure Your WordPress Expense Approval Form Settings
次に、通知と確認を設定します。
通知は、誰かがフォームに記入したときに受信するメールです。確認は、ユーザーがフォームを正常に記入したことを知らせるためのものです。通常は「ありがとうございます」というメッセージですが、ユーザーを専用ページにリダイレクトすることもできます。
確認設定を構成するには、設定 » 確認に移動します。

次に、同じメニューで通知に移動して、通知メッセージを構成します。

デフォルトでは、通知はWordPress管理者のメールに送信されます。したがって、営業部長のメールアドレスなど、別の場所にメールを送信したい場合は、ここで実行できます。
Step #6: Add the Expense Approval Form to Your Site
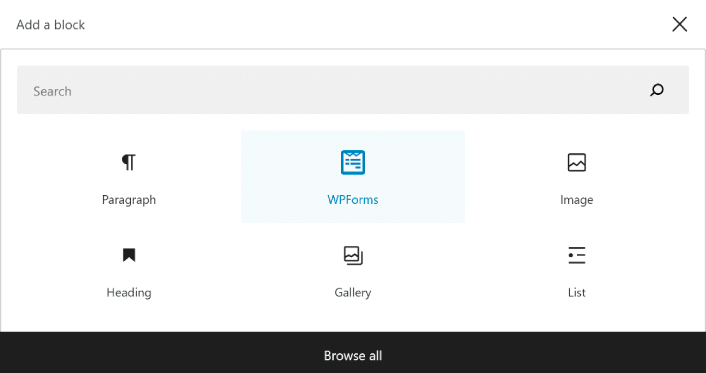
You can add the expense approval form on your site using the WPForms Gutenberg block:
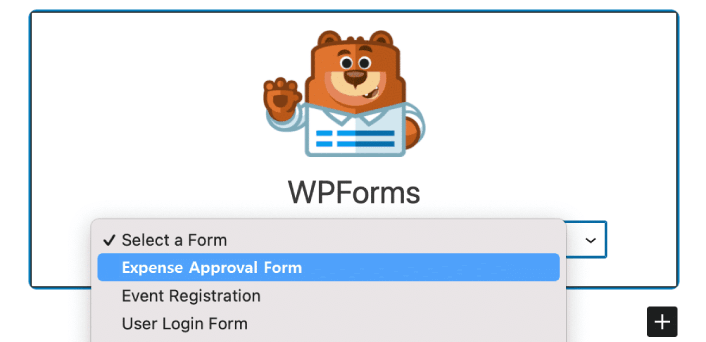
All you need to do is select your expense approval form.
If you’re satisfied with the way your form looks, hit the Update or Publish button, and your form will go live.

これで完了です!
How to Promote Your Expense Approval Form
今回は以上です、皆さん!
By now, you’ve learned how to create expense approval form in WordPress. Next, you should set up form abandonment tracking to reduce your form abandonment rates.
その後、フォームが機能し始めてコンバージョンを開始できるように、サイトへのトラフィックを生成することだけが残っています。簡単な方法は、プッシュ通知の使用を開始することです。プッシュ通知の送信は、サイトへのリピートトラフィックを生成するための優れた方法です。もしそれに興味があるなら、これらの記事も参照してください。
- プッシュ通知のコスト:本当に無料なの?(価格分析)
- WordPressブログへのトラフィックを増やす方法(簡単な9つの方法)
- ウェブプッシュ通知のオプトイン率を高める方法(7つの方法)
- Web通知WordPressプラグインをサイトに追加する方法
プッシュ通知の送信にはPushEngageの使用をお勧めします。PushEngageは世界No.1のプッシュ通知ソフトウェアです。まだお済みでない場合は、今すぐPushEngageを使い始めましょう。


