
Looking for a simple tutorial to add WordPress Open Graph meta tags to your site?
Open Graph is how Facebook handles metadata when you share your post or page on Facebook posts. It’s how Facebook automatically fetches the featured image and meta description just from the URL.
But adding it manually to your site can be a real pain.
For one thing, you’ll have to learn how Open Graph structured data is written. Then, you’d have to insert it into your WordPress theme files. And that’s super risky. You’ll have to edit files that help your entire site run properly. A single line out of place could crash your entire site.
In this article, we’re going to add WordPress Open Graph meta tags the easy way with zero coding involved.
Lad os dykke ned.
Step #1: Install All in One SEO
All in One SEO is the #1 WordPress SEO plugin in the world. It’s the perfect plugin to add WordPress Open Graph meta tags to your site without any coding.

All in One SEO (AIOSEO) is one of the most acclaimed SEO plugins in the WordPress community. The original version was completely revamped to add a ton of new features and addons. So, if you used AIOSEO in the past you need to check out the plugin once again.
Ikke alene er AIOSEO kraftfuldt nok til at implementere de nyeste SEO-bedste praksisser, men du får også avancerede muligheder for at løse specifikke SEO-problemer lige ud af boksen. Dette inkluderer:
- Lokale SEO-moduler til små virksomheder med et lokalt publikum
- WooCommerce SEO til onlinebutikker
- En SEO-optimerer inde i din WordPress-editor
- Smarte sitemaps til øjeblikkelig indeksering på søgemaskiner
- Et Schema-plugin til at få dit indhold til at rangere i Rich Snippets
And a lot more! For a full list of All in One SEO’s features, check out our review of the plugin.
The first thing you need to do is install and activate the All in One SEO plugin. If you’re not sure how to do that, you should check out this guide on how to install WordPress plugins.
After you download and install the plugin, you get a Setup Wizard:
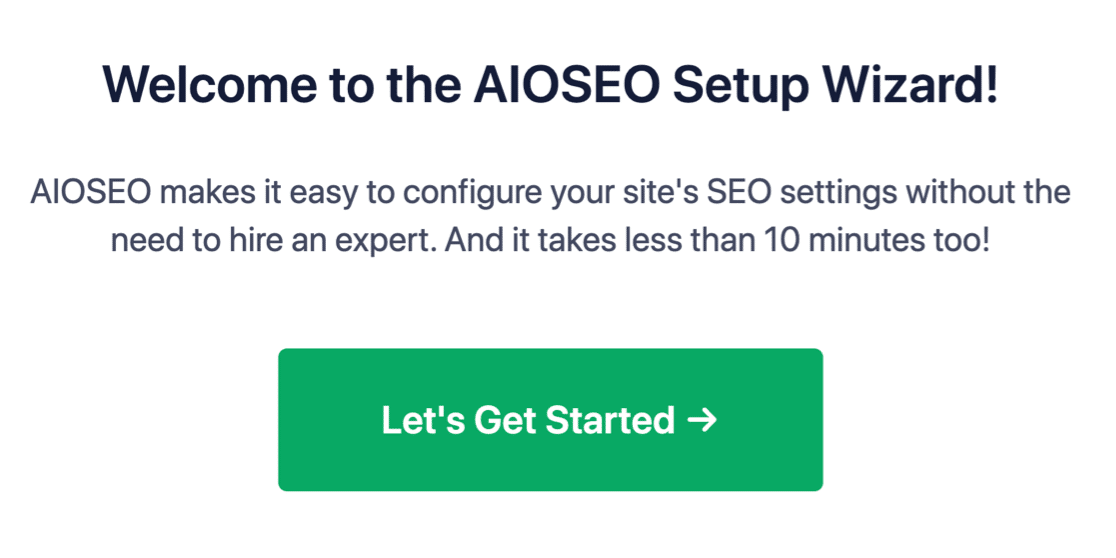
Og opsætningsprocessen tager mindre end 10 minutter.
Men hvad nu hvis du migrerer fra et andet SEO-plugin? Hvert plugin håndterer metadata forskelligt. Så skal du gøre alt fra bunden? Er al din tidligere indsats spildt?
Nej! Hvis All in One SEO registrerer et andet SEO-plugin under opsætningsguiden, vil det tilbyde at kopiere de grundlæggende indstillinger for dig:

Ved slutningen af opsætningen vil opsætningsguiden bede dig om at deaktivere dit gamle SEO-plugin. På denne måde er der ingen plugin-konflikter og fejl:
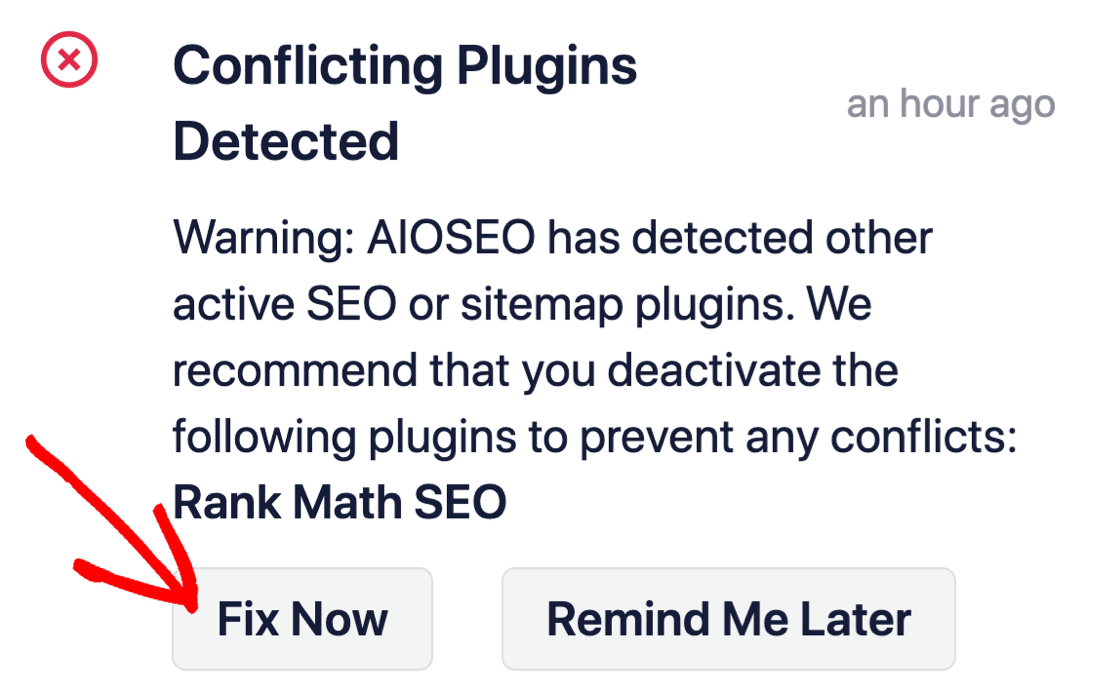
Klik på Fix Now sletter ikke indstillingerne i dit gamle SEO-plugin. Det deaktiverer blot pluginnet for at forhindre konflikter.
Step #2: Configure Social Media Settings
In your WordPress dashboard, go to All in One SEO » Social Networks » Social Profiles and add your social profiles to the site:
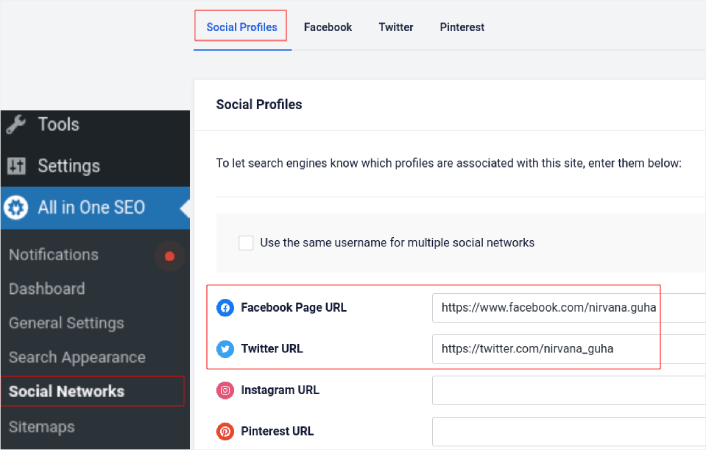
This step ensures that Search Engines such as Google and Bing know what social media profiles are associated with your site. At the same time, this helps you with your social media sharing settings as well. That’s up next.
Step #3: Edit Facebook General Settings
Go to All in One SEO » Social Networks and click on the Facebook tab. Here, you can configure your General Facebook Settings:
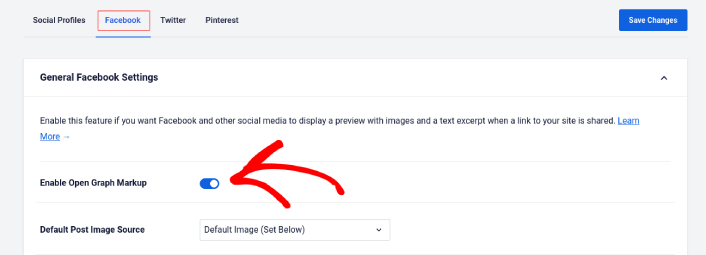
Toggle the Enable Open Graph Markup switch to activate it.
Here, you can set the Default Post Image Source and a Default Post Facebook Image:
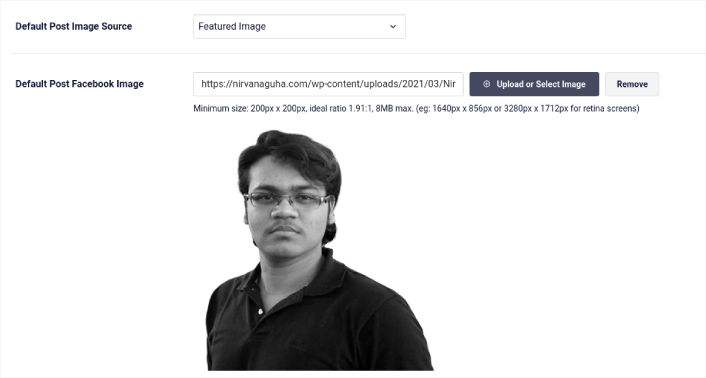
We recommend using the Featured Image option as the image source for your posts. But should check out the other options as well:

You can set the default Facebook image to be your logo or anything that represents your brand. Click on the Upload or Select Image button to change the default image. In our example, we’re using a personal brand. So, the default Facebook image is a photo of the author.
Once you’re done, hit the Save button.
And that’s it! You’re done. Once you save the changes, you can try sharing a post on your site to your Facebook page or profile.
What to do After You Add WordPress Open Graph Meta Tags
Det var alt for denne gang, folkens!
Next, you should start thinking of multiple ways to engage and convert the traffic you bring in from your social media accounts. A great way to do that is to use push notifications. Push notifications can be a powerful marketing tool to bring in traffic, engagement, and direct sales for your business.
If you’re not 100% convinced, you should check out these resources on how to effectively use push notifications:
- 7 Smarte Strategier til at Øge Kundeengagement
- Er Push-notifikationer Effektive? 7 Statistikker + 3 Eksperttips
- Sådan opsættes push-meddelelser om forladte indkøbskurve (nem vejledning)
- Sådan tilføjer du et Web Notifications WordPress-plugin til dit websted
Vi anbefaler at bruge PushEngage til at oprette dine push-notifikationskampagner. PushEngage er den #1 push-notifikationssoftware i verden. Så hvis du ikke allerede har gjort det, så kom i gang med PushEngage i dag!


