Looking for a way to add push notifications to your Drupal site?
Det er en rigtig god beslutning.
Push notifications can help you generate a lot of traffic, engagement, and sales on autopilot and with very little effort. And it’s easy to add push notifications to a Drupal site. So, it’s really a quick win.
In this article, we’ll show you how to add push notifications to a Drupal site even if you’ve never done it before.
For this article, we’re going to use PushEngage to set up push notifications on your Drupal site. PushEngage is the #1 push notification software in the world. So, your campaigns will be in good hands.
Lad os dykke ned.
How to Install Push Notifications on Drupal
Installing push notifications on Drupal is a really quick and easy process. Just follow these steps and by the end of this article, you should be able to send push notifications from your site like this one:

Og du behøver ikke at være en gigant som Zomato for at udnytte kraften i push-notifikationer. Du kan gøre det samme meget effektivt, selvom du driver et lille forretningswebsted med meget lidt trafik.
Lad os dykke ned.
Trin #1: Opsæt din PushEngage-konto
Gå til PushEngage-hjemmesiden og klik på knappen Kom i gang:

Du kan vælge gratisplanen for at prøve PushEngage, eller vælge en betalt plan, hvis du er seriøs omkring at vækste din forretning. De betalte planer kommer med flere kampagnemuligheder og muligheden for at opbygge endnu større abonnentlister.
Når du har oprettet en konto, skal du gå til PushEngage-dashboardet og vælge Indstillinger » Webstedsindstillinger » Installationsindstillinger:
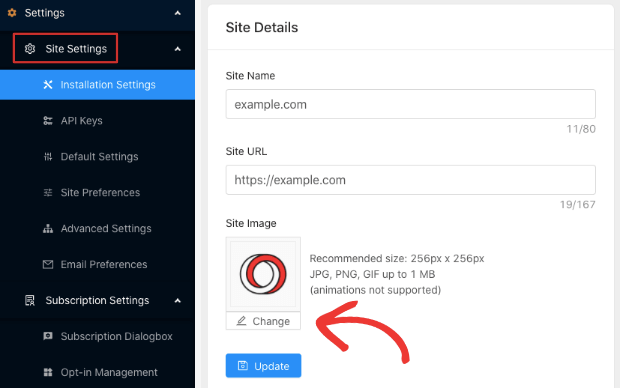
Her konfigurerer du dine webstedsdetaljer og branding. Fortsæt og indstil et logo og en websteds-URL til dine push-notifikationer. Du bør gøre dette lige nu, så du kan teste dine push-notifikationer korrekt.
Trin #2: Hent installationskoden fra PushEngage
Dernæst skal du gå til PushEngage-dashboardet og hente installationskoden. Gå til Indstillinger » Webstedsindstillinger » Installationsindstillinger:
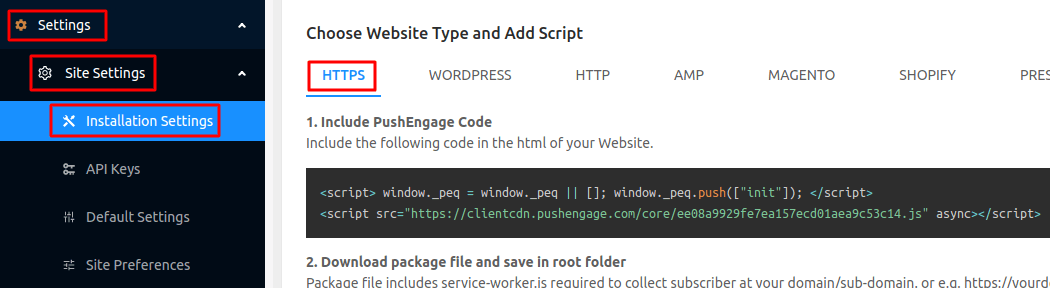
Afhængigt af om dit websted har et SSL-certifikat installeret, skal du gå til enten HTTP-fanen eller HTTPS-fanen for at få din installationskode.
Kopier denne kode. Du får brug for den senere.
Step #3: Place the Installation Code in Your Drupal Site
Log in to your Drupal Site Admin and click on Modules » Install new module:
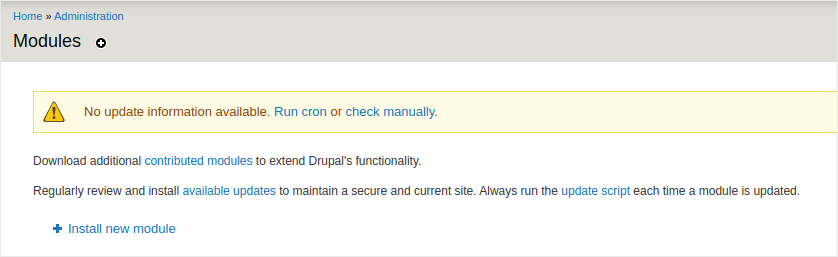
Here, we’re going to install two modules called Chaos Tools and JS injector. Adding these two modules to Drupal allows you to add Javascript code to your site even if you don’t have access to the theme files or if you’re simply not comfortable with coding. Head over to the two module pages and copy the link addresses for the modules under Downloads:
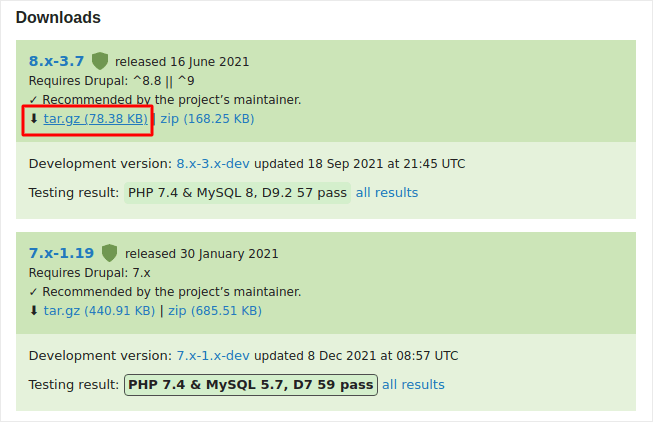
And then, in your Drupal module installer, paste in the link address and click on Install:

NOTE: You’ll need to install both modules, or this won’t work.
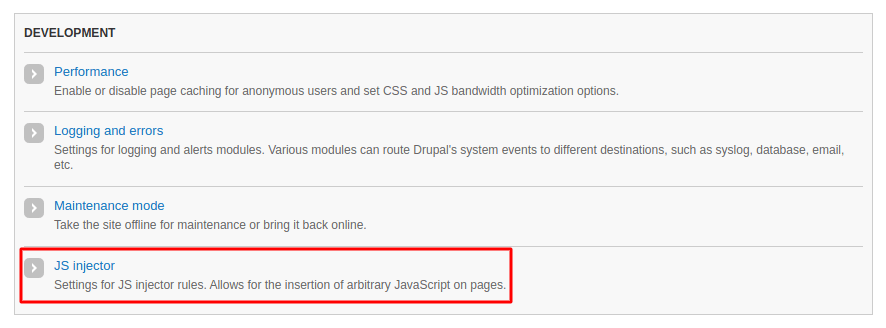
When you’re done, click on Configuration in the navigation menu and go to Development » JS injector:
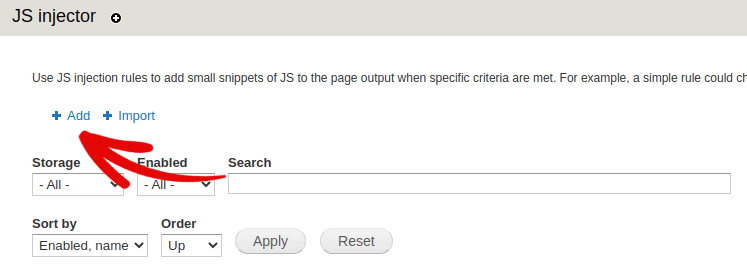
Then, click on Add:
And paste the PushEngage installation code into your JS code:
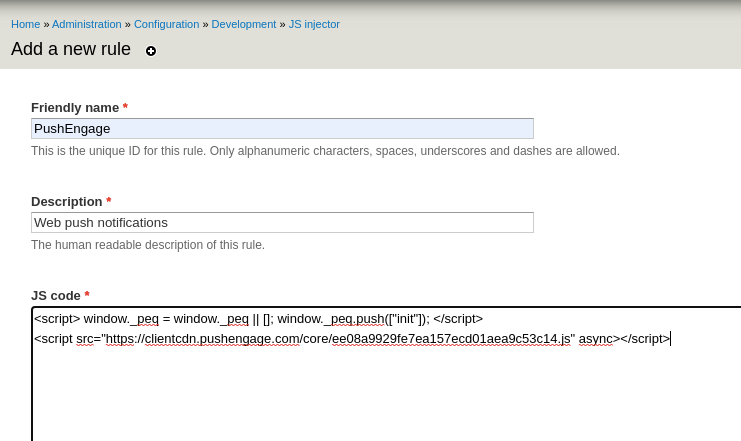
And set the code placement to Header:
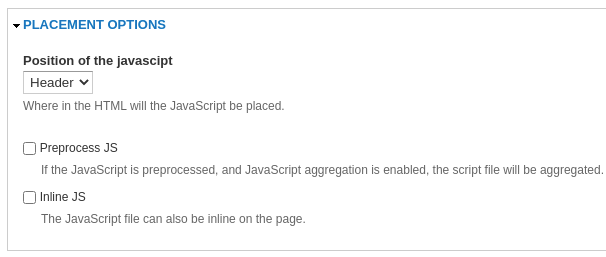
Når du er færdig, skal du trykke på Gem.
Trin #4: Konfigurering af PushEngage-tilmelding
Til sidst, i dit PushEngage-dashboard, skal du gå til Indstillinger » Abonnementsindstillinger » Abonnementsdialogboks » Rediger:
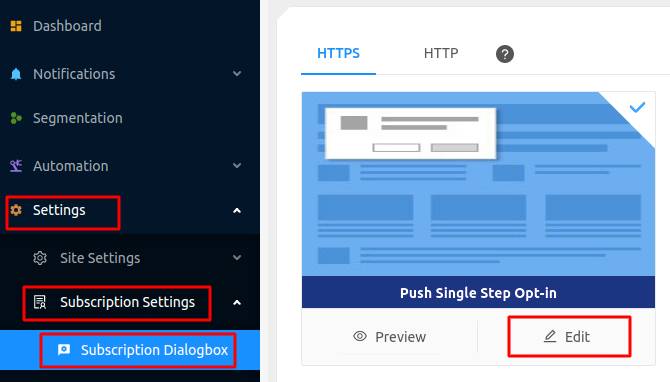
Herfra kan du tilpasse din push-notifikations-tilmelding. Hvis du har brug for hjælp til det, bør du tjekke denne artikel om hvordan man opretter en brugerdefineret push-notifikations-tilmelding.
Hvis du har brug for inspiration, kan du tjekke denne artikel om højt konverterende push-notifikations-tilmeldinger.
Trin #5: Opret en velkomstnotifikation
Når du er færdig med at opsætte tilmeldingen, kan dit websted indsamle abonnenter.
Men hvordan ved du, om dine push-notifikationer fungerer korrekt?
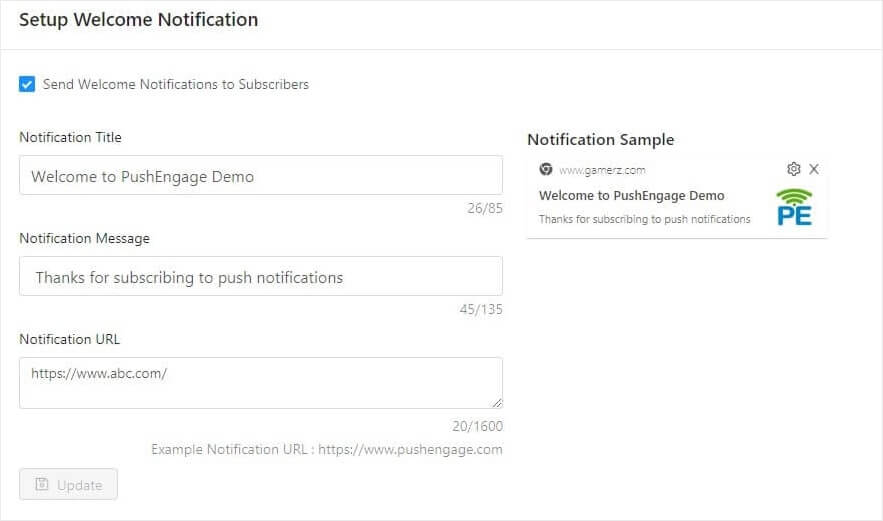
Vi anbefaler, at du opretter en velkomstpush-notifikation for at teste, om din opsætning gik glat. En velkomstnotifikation er en push-notifikation, du sender til en ny abonnent for at bekræfte deres abonnement og byde dem velkommen ombord.
Gå til Indstillinger » Webbetsningsindstillinger » Installationsindstillinger og konfigurer din velkomstbesked:
Til sidst skal du gå tilbage til dit websted og vælge dine egne push-notifikationer for at teste, om det hele fungerer problemfrit.
Og det er alt, hvad der er at sige!
You have successfully set up push notifications on your Drupal site. It’s time to head back to your PushEngage dashboard and start creating your push notification campaigns.
Afslutning
Det var alt for denne gang, folkens!
Hvis du er ny til push-notifikationer, bør du følge en fuld push-notifikationstestproces, før du går live. Det vil hjælpe dig med at fejlfinde almindelige problemer, før dine besøgende ser dem og begynder at klage over en dårlig brugeroplevelse.
Og hvis du ikke allerede har gjort det, så prøv PushEngage. PushEngage er den #1 push-notifikationstjeneste i verden. Så hvis du er seriøs omkring at vækste din virksomhed, bør du investere i PushEngage.


