When visitors land on your website, they’re not all in the same mindset. Someone browsing a product page is evaluating a purchase. Someone reading a blog post is learning, researching, or just exploring.
Showing both visitors the same chat widget is one of the fastest ways to lose conversions, overwhelm your agents, and confuse user intent.
With PushEngage’s new chat widgets for WordPress and WooCommerce, you can create different widgets for different page types — each with its own design, message, channels, agents, and rules.
This guide will walk you through exactly how to set up one chat widget for product pages and another for blog posts.
Send multichannel-beskeder i dag!
Push- og WhatsApp-beskeder er super effektive, billige marketingværktøjer, der hjælper dig med at øge din gentagne trafik, engagement og salg automatisk.
- Why Product Pages and Blog Pages Need Different Chat Experiences
- What Custom Chat Widgets Let You Do
- Examples: Product Page vs Blog Page Chat Strategies
- How to Set Up Different Chat Widgets Using PushEngage
- Best Practices for Running Multiple Chat Widgets
- Hvad du skal gøre efter opsætning af chat-widgets
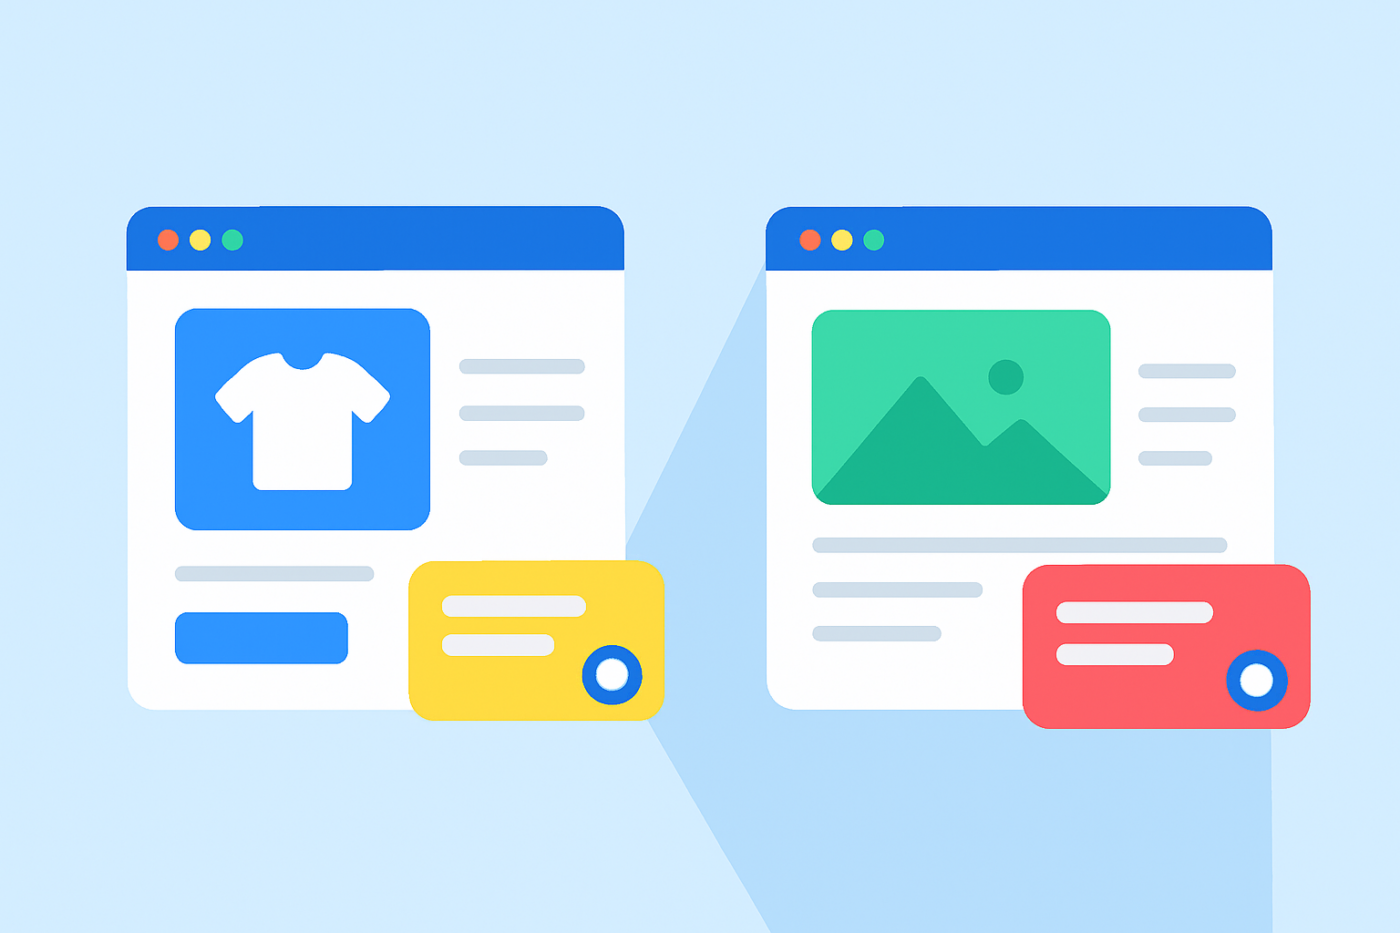
Why Product Pages and Blog Pages Need Different Chat Experiences
Product Pages = High Intent, Low Patience
When someone is on a product page, they’re considering buying — or abandoning. They’re comparing prices, checking availability, wondering about shipping, and hesitating about quality.
Your chat widget on this page needs to:
- Be instant or high-visibility
- Connect to sales experts
- Provide reassurance
- Remove friction
- Close the sale
If you delay the chat or use a soft message, you lose the moment.
Blog Pages = Low Intent, High Curiosity
Visitors on a blog post aren’t ready to buy yet. They’re learning, researching, or forming a problem statement.
Your chat widget here should:
- Be helpful, not pushy
- Trigger after a delay
- Guide them toward resources
- Capture emails or lead intent
- Softly warm them toward products
Trying to sell aggressively here will push readers away.
Matching the Chat to Intent = More Conversions
Aligning your chat strategy to the visitor’s mindset is one of the simplest ways to improve engagement, reduce support load, and lift sales.
What Custom Chat Widgets Let You Do
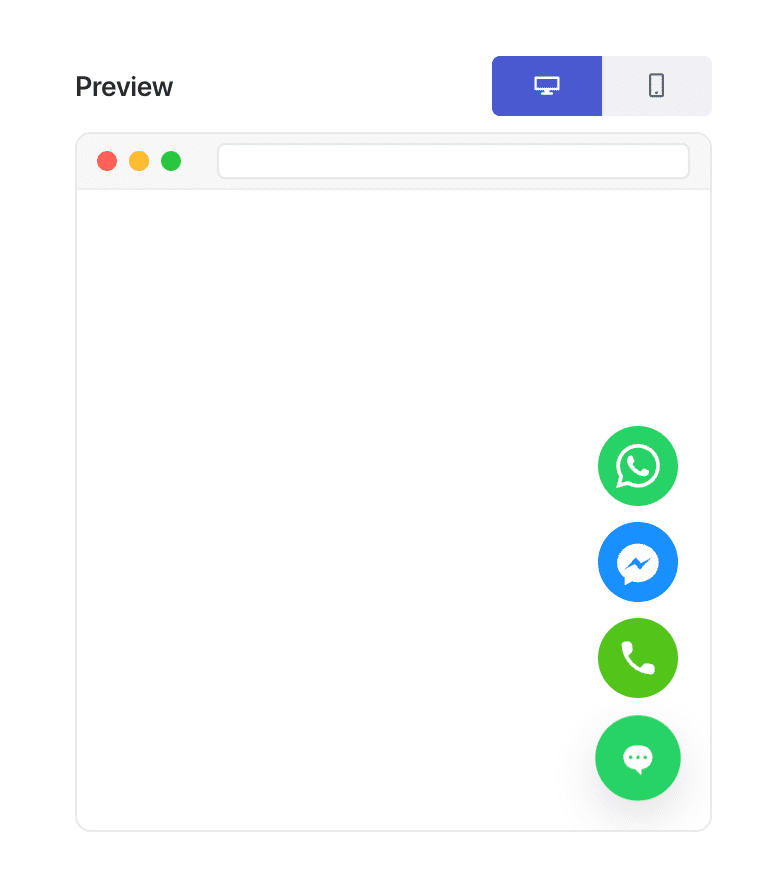
PushEngage allows you to create multiple widgets — each with its own:
- Design
- Channels (WhatsApp, Live Chat, Email)
- Agent assignments
- Proactive messages
- Targeting rules
- Behavior triggers
Denne fleksibilitet er præcis, hvad der gør "side-type-baseret personalisering" mulig.
Examples: Product Page vs Blog Page Chat Strategies
Product Page Widget Ideas
These messages convert browsers into buyers:
- “Got questions before ordering? Chat with a product expert.”
- “Ask about delivery times or product specs.”
- “Need help choosing the right variant?”
Use:
- Sales agents
- WhatsApp + live chat
- Quick-trigger behavior (0–5 seconds or 20–30% scroll)
Blog Page Widget Ideas
These messages feel natural in a learning environment:
- “Need help understanding this topic?”
- “Looking for product recommendations? I can help.”
- “Want a summary or guide? Just ask!”
Use:
- Support agents
- Optional email capture
- Delayed triggers (40–60 seconds or 60–70% scroll)
How to Set Up Different Chat Widgets Using PushEngage
Dette er den præcise konfiguration, du vil bruge i WordPress/WooCommerce med PushEngage.
Step 1: Create Your First Chat Widget
- In WordPress, go to: PushEngage → Chat Widgets → Create New Widget
- Navngiv den: Produktside Chat
- Vælg en fremtrædende farve og stil
- Tilføj kanaler som WhatsApp + Live Chat
- Tildel dine salgs- eller produktagenter
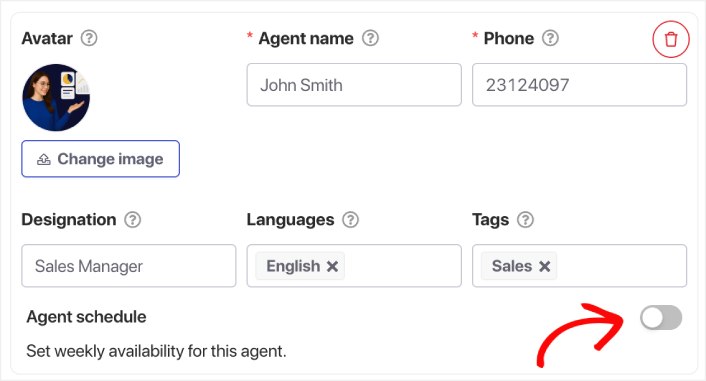
Step 2: Add a Sales-Focused Message
Under Indhold » Udseende » Avanceret visning, rul ned til feltet CTA Tekst og tilføj en salgsbesked.
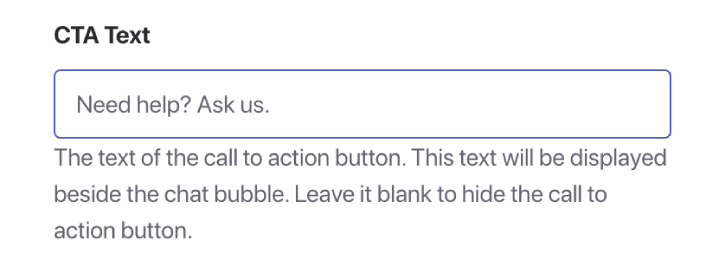
Eksempler:
- "Har du brug for hjælp før køb? Spørg os om alt."
- "Usikker på størrelse eller pasform? Jeg kan hjælpe."
- "Få dit produkt leveret hurtigere - spørg hvordan!"
Denne besked er beregnet til at fremkalde handling.
Step 3: Target the Widget to WooCommerce Product Pages
Gå til fanen Triggere og rul ned til Visningsregler.
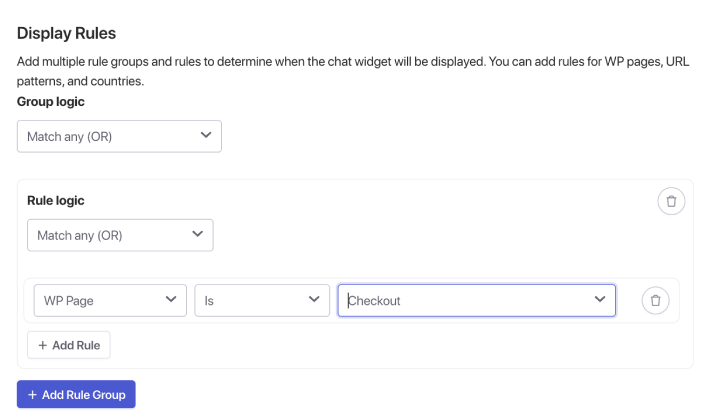
Her kan du bruge indstillingen WP Side til at finde WooCommerce-sider som produkt, kasse osv. Men hvis du hellere vil bruge specifikke URL'er, skal du blot klikke på rullemenuen og vælge URL i stedet og justere din målretning derefter.
Når du er færdig, skal du blot gemme din chat-widget og aktivere den.
The same goes for setting up a blog page chat widget. Create a separate widget that targets blog pages exclusively.
Recommended Behavior Rules
- Vis efter 45-60 sekunder
- Eller efter 60-70% scroll
- Kun desktop (valgfrit)
This makes the widget feel supportive, not interruptive.
Best Practices for Running Multiple Chat Widgets
1. Keep Your Design Consistent
Even if the widgets differ by context, they should still feel like the same brand.
2. Don’t Overwhelm Visitors
Avoid too many proactive popups. Let context do the heavy lifting.
3. Tildel de rigtige agenter
Product pages → Sales
Blog pages → Support or educational staff
4. Tjek analyser månedligt
Look at:
- Triggered sessions
- Avg. response time
- Conversion flow
- Pages where users drop off
Fine-tune based on real data.
5. Husk forskelle mellem mobil og desktop
Mobile previews are essential. Adjust message length and trigger timing accordingly.
Hvad du skal gøre efter opsætning af chat-widgets
Creating different chat widgets for product pages and blog posts is one of the simplest, highest-impact improvements you can make to your WordPress or WooCommerce experience.
Product pages need fast, sales-oriented support.
Blog pages need slow, supportive guidance.
With PushEngage, you can set this up in minutes — and immediately start seeing better engagement, higher conversions, and more efficient agent workloads.
- Kunder ser altid nogen online
- Responstiderne falder
- Før-køb konverteringer stiger
- Support føles hurtigere og mere pålidelig
- Din butik føles globalt klar
Når tidsplanerne er indstillet, kan dit team arbejde mere effektivt – og dine kunder får den oplevelse, de forventer.
Hvis du endnu ikke har opsat agentprofiler og -planer i PushEngage, er det nu, du skal gøre det.
Ikke overbevist? Se disse fantastiske ressourcer om multichannel marketingkampagner:
- Sådan øger du hotelsalg i lavsæsonen
- Sådan laver du multichannel-marketing for hoteller i 2026
- Sådan konverterer du abonnenter til købere ved hjælp af web push-notifikationer
- Sådan giver du abonnenter besked om nye WordPress-indlæg
- Sådan sender du lager-tilbage-notifikationer for at få mere salg
- Sådan renses push-notifikationsabonnentlister (nemt)
- Sådan sendes RSS push-notifikationer automatisk
- Sådan bruges push-notifikationer til at promovere en nyhedsside
- Sådan bruges cross-selling push-notifikationer til at fordoble dit salg
- Sådan bruges browse abandonment push-notifikationer (4 trin)


