Leder du efter en vejledning til, hvordan du giver abonnenter besked om nye WordPress-indlæg?
At skabe indhold og administrere en blog er i sig selv en udfordring. Men det er ikke nok blot at udgive indhold. Du bliver nødt til at promovere din blog meget for at generere trafik og leads.
Push-notifikationer er en fantastisk måde at generere gentagen trafik, engagement og salg på. Det bedste er, at du fuldstændig kan automatisere afsendelsen af kraftfulde push-notifikationer.
I denne artikel vil vi se på, hvordan du giver abonnenter besked om nye WordPress-indlæg.
Vi vil bruge PushEngage til denne vejledning. PushEngage er den førende push-notifikationssoftware i verden. Så dine kampagner vil være i sikre hænder.
Lad os dykke ned.
Metode #1: RSS Push til at give abonnenter besked om nye WordPress-indlæg
Hvis dit websted har et RSS-feed, kan du bruge det til automatisk at give abonnenter besked om nye WordPress-indlæg.
Vi vil se på, hvordan du kan opsætte RSS push-notifikationer for ethvert WordPress-websted. Før du starter, skal du tjekke, om dit websted har et RSS-feed eller ej. Du kan tjekke ved at gå til URL'en: yoursite.com/rss eller yoursite.com/feed.
Husk at erstatte 'yoursite' i den URL med dit websteds faktiske link. Hvis du ser RSS-siden indlæst, er du klar.
Alle WordPress-websteder kommer med et RSS-feed som standard. Så der burde ikke være nogen problemer.
Trin #1: Installer PushEngage
Gå til PushEngage hjemmeside og klik på knappen Kom i gang :

Du kan vælge gratisplanen for at prøve PushEngage, eller vælge en betalt plan, hvis du er seriøs omkring at vækste din forretning. De betalte planer inkluderer bedre målretningsmuligheder for publikum og funktioner til kampagneautomatisering.
Når du har oprettet en konto, skal du gå til PushEngage dashboard og gå til Webstedsindstillinger » Webstedsdetaljer :

Her kan du tilpasse, hvordan dit brand ser ud i de push-notifikationer, du sender ud. Fortsæt og indstil et logo og en websteds-URL for dine push-notifikationer.
Dine push-notifikationsabonnenter vil se dit Webstedsnavn, Webstedsbillede, og Websteds-URL på dine notifikationer. Så du bør sætte disse op nu for at teste dine push-notifikationer senere.
Når dette er gjort, skal du gå til PushEngage dashboard og hente installationskoden. Klik på knappen Klik her for opsætningsvejledning :

Kopiér installationskoden:
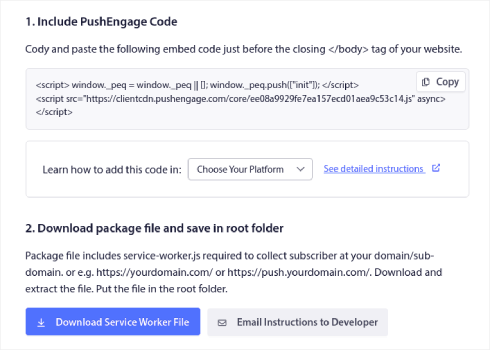
Og så skal du indsætte installationskoden i HTML-<head>-delen af dit websted.
Hvis du ikke er sikker på, hvordan du gør det, kan du se denne artikel om hvordan man installerer web push-notifikationer på ethvert websted.
Trin #2: Aktiver RSS Push-notifikationer fra PushEngage Dashboard
Når du har installeret PushEngage på dit websted, skal du gå til dit PushEngage-dashboard og vælge Kampagne » RSS Auto Push:
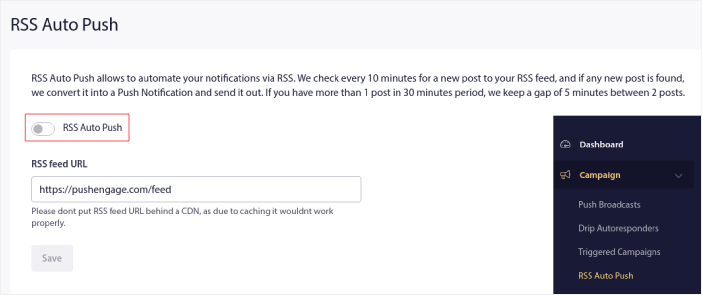
Klik på skifteknappen for at aktivere RSS Auto Push og indsæt din RSS-feed-URL.
Når det er gjort, skal du klikke på Bekræft RSS for at bekræfte, at dit RSS-feed er blevet accepteret. Når du er færdig, skal du blot trykke på Gem.
Og det er det! Det er alt, hvad der er til det.
Dine push-notifikationsabonnenter vil automatisk modtage en push-notifikation om dit nye indhold, hver gang du udgiver et nyt indlæg.
Metode #2: RSS-e-mails til at give abonnenter besked om nye WordPress-indlæg
Du kan bruge RSS-feedet på dit websted til automatisk at sende en e-mail, hver gang et nyt blogindlæg udgives.
For at oprette en RSS-feed-e-mail anbefaler vi at bruge Sendinblue.
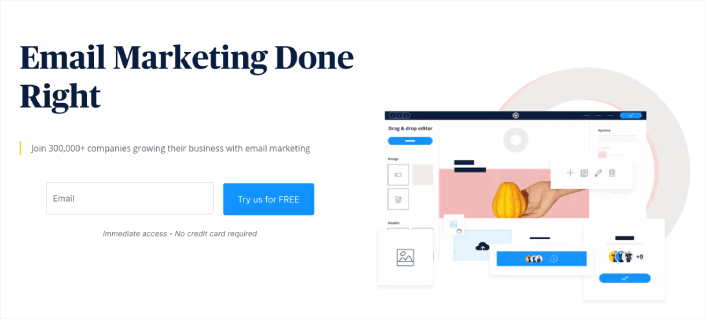
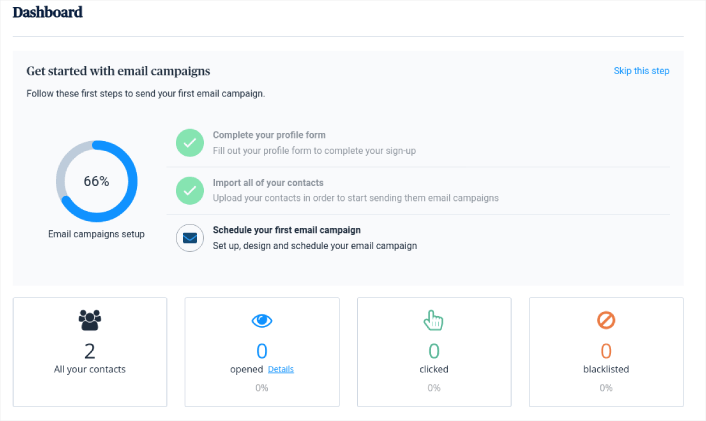
Sendinblue er en førsteklasses e-mail marketingtjeneste. Du kan bruge den til at sende automatiserede e-mails lige ud af boksen. Tilmeld dig gratis på hjemmesiden for at komme i gang. Efter du har oprettet en konto, vil du se dit Sendinblue-dashboard.
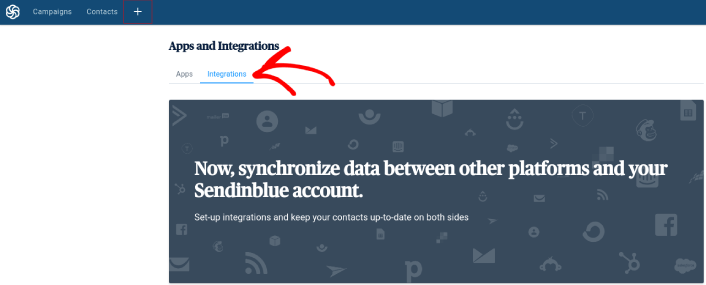
Now, click the + button in the top navigation menu. Then click the Integrations menu option below that:
Type RSS into the search bar, and you’ll see the RSS campaign option.
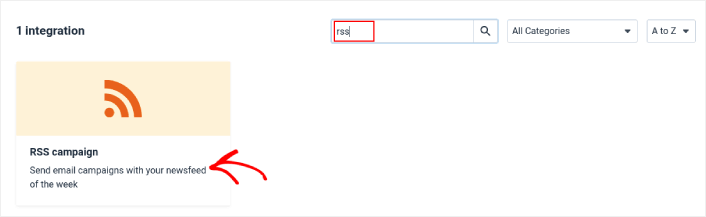
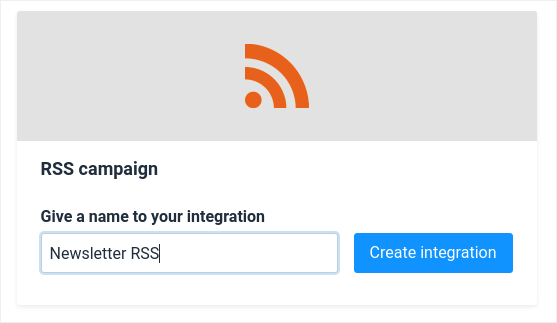
Click on RSS campaign to create a new RSS campaign. Then, give your RSS campaign a name and click on Create Integration:
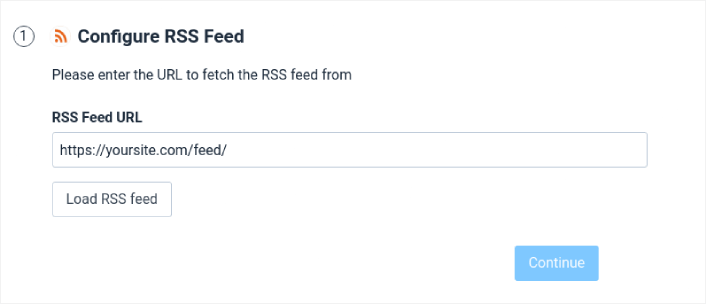
Next, you’ll need to configure your email campaign to fetch your RSS feed and automatically send emails. Start by pasting in your RSS feed URL and click on Load RSS:
Then, click Continue and set up the email design. We recommend that you go with the default design as it’s already set up nicely.

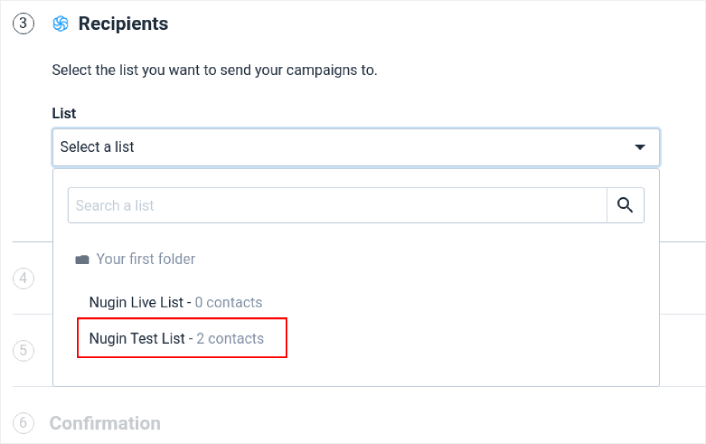
Then, click on Confirm email template to continue. Next, you’ll have to select exactly to who you want to send your RSS feed email campaign.
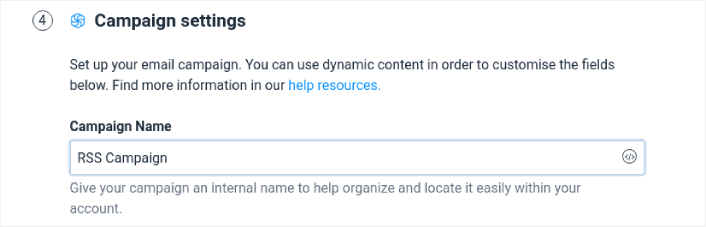
Then, finalize your campaign details and give your campaign a name.
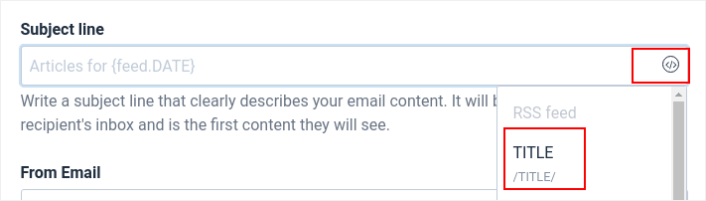
Then, add a dynamic subject line by clicking on the Add a dynamic content button and selecting TITLE from the dropdown list.
For the From Email, simply select your email address from the dropdown list.

The From Name is the name of your brand. This can be your name in the case of a personal brand.

After that, click the Continue button and select when to send your campaign:
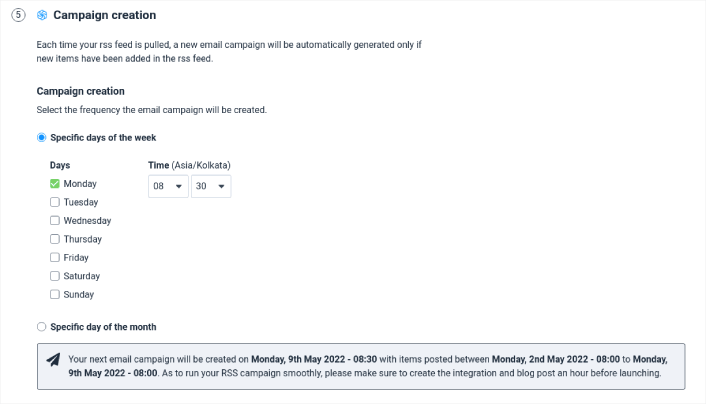
You can also choose to send the email automatically or manually.
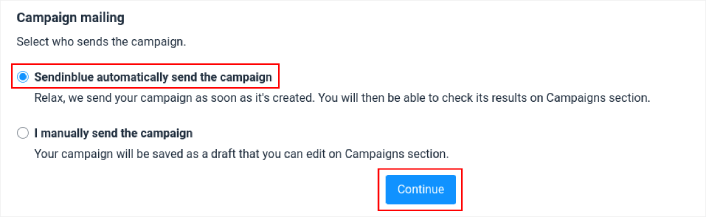
When you’re done, click on the Continue button.
Finally, click on Save and Activate to launch your campaign:
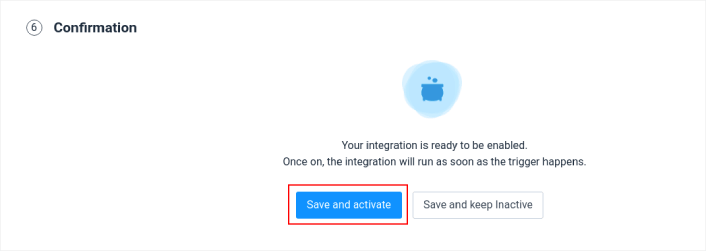
Og du er færdig!
Method #3: Newsletter to Notify Subscribers of New WordPress Posts
Lastly, you can also send updates about your new WordPress posts to your subscribers using your email newsletter. This is a manual process, and while you get a LOT of control over your creative process and customization, it can take time to set up.
For this, we recommend using Constant Contact.

Constant Contact is easy to use and is the most beginner-friendly email marketing service. You get simple tracking and reporting, unlimited emails, social media sharing tools, segmentation, a free image library, and much more.
If you’ve never created an email newsletter before, check out this guide to creating email newsletters (the right way).
You Can Notify Subscribers of New WordPress Posts. What Next?
While RSS push can be a simple way to automate traffic to your posts, there is a huge risk.
For most sites, publishing a post is a regular activity. And you might not want to send push notifications that often. Not to mention, you’re sending out a broadcast message to all your subscribers without any targeting. So, it’s not the most effective strategy.
Check out these articles before you start using RSS push notifications:
- Sådan konverterer du abonnenter til købere ved hjælp af web push-notifikationer
- Bedste praksis for push-notifikationer
- Hvorfor velkomst-push-notifikationer er vigtige
- Sådan tilføjer du et Web Notifications WordPress-plugin til dit websted
If you’re new to push notifications, you should follow a full-blown push notification testing process before you go live. It will help you troubleshoot common issues before your visitors see them and start complaining about a broken user experience.
And if you haven’t already, go ahead and give PushEngage a try. PushEngage is the #1 push notification service in the world. So, if you’re serious about growing your business, you should invest in PushEngage.
Push-notifikationer hjælper virksomheder med at vokse over hele verden. Vil du bare vente, indtil dine konkurrenter begynder at bruge det, før du gør?


I love your wordpress design, wherever would you download it from?
It’s a custom design. The website’s built with a combination of Gutenberg and SeedProd. SeedProd has a huge library of website templates. So, you can launch super fast. Go check it out!