Looking for a quick tutorial on how to set up push notifications on your Squarespace site?
Good news: That’s exactly what this article is about.
And you can install push notifications on your Squarespace site even if you’ve never done it before. You don’t need any coding experience. You don’t even need any experience with push notifications or Squarespace.
All you have to do is follow along.
Lyder godt? Lad os dykke ned.
Installing the Push Notifications on Squarespace
Go ahead and create your Squarespace account. Select any template you like for any type of site you want to create. This tutorial will work either way.
Once that’s done, let’s set up your push notifications using PushEngage. PushEngage is the #1 push notification software. So, we highly recommend using PushEngage for your push notification campaigns.
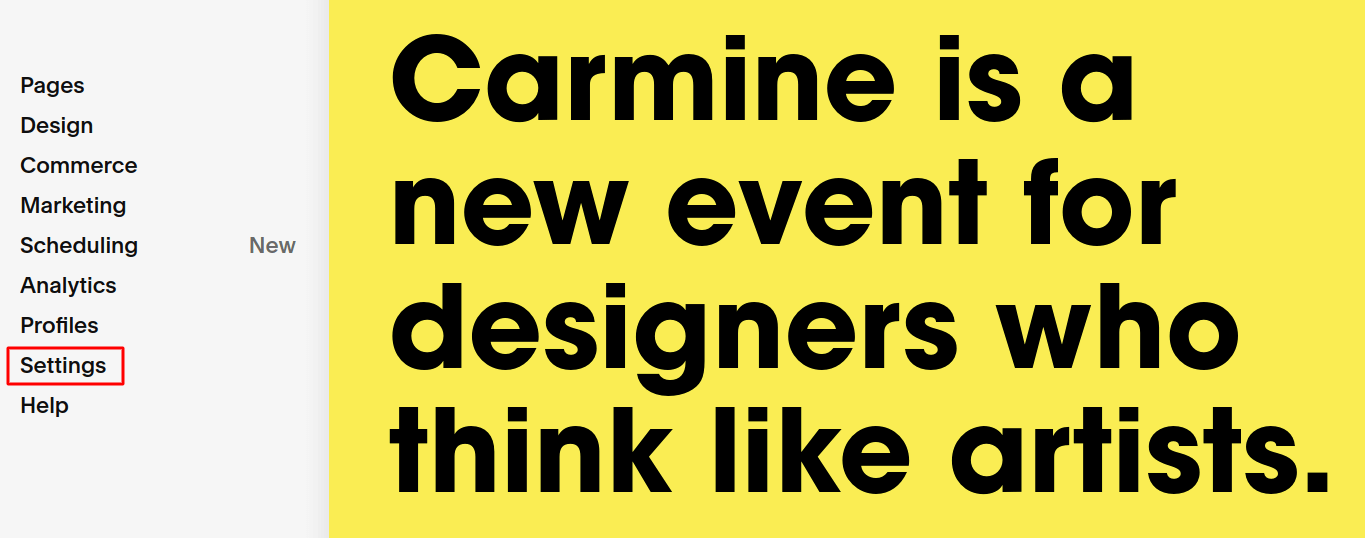
From your Squarespace dashboard, go to Settings:
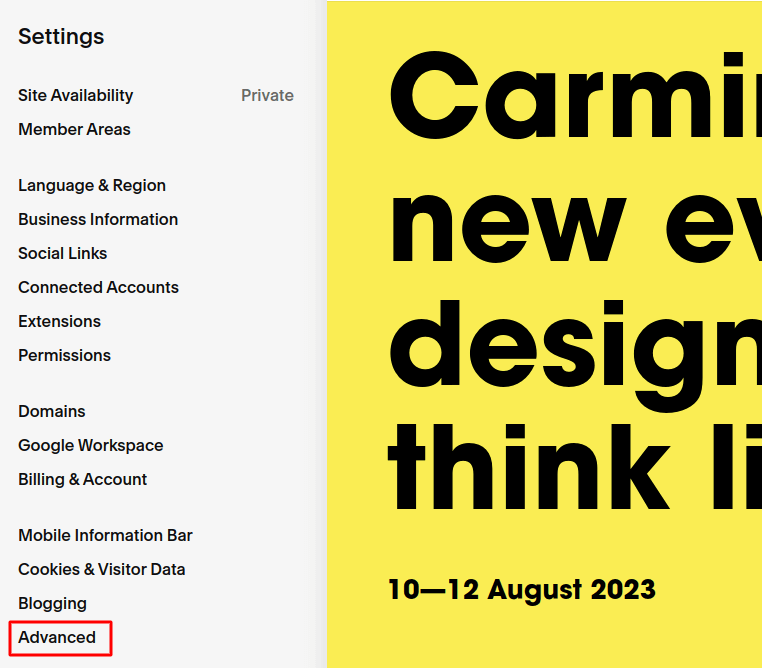
Then, click on Advanced:
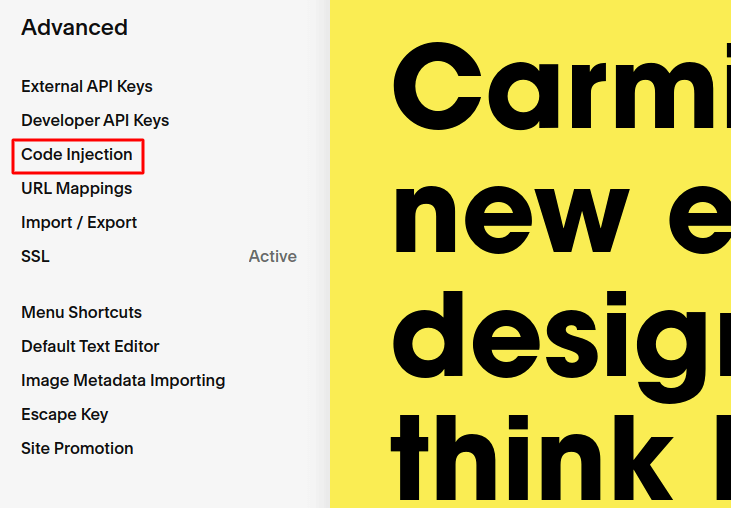
And then, click on Code Injection:
Now, go to your PushEngage dashboard and head over to Settings » Site Settings » Installation Settings:
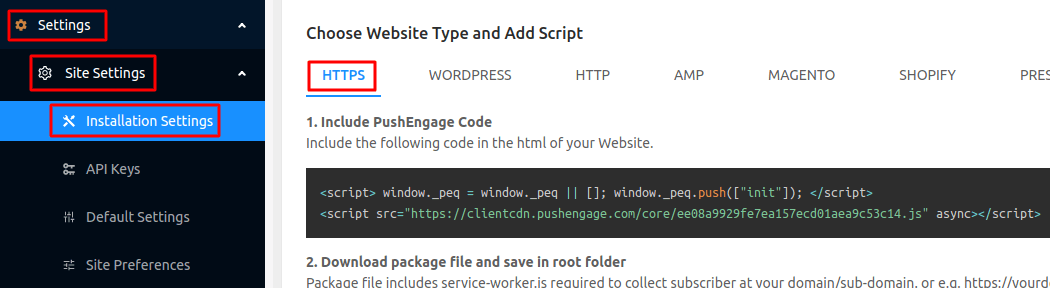
And copy the code from either HTTPS or HTTP tab depending on whether your site has an SSL certificate installed.
And then, paste it in the Header section of your Squarespace site using Code Injection:
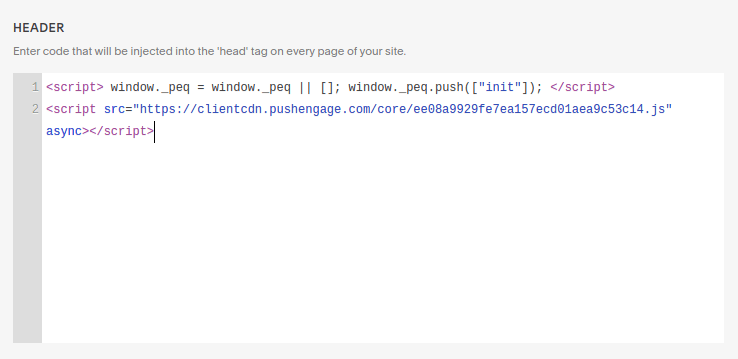
Once that’s done, go ahead and hit Save.
If you’re running an HTTP website, you’re all set. But if you’re running an HTTPS site, you’ll need to activate Quick Installation from the PushEngage dashboard next.
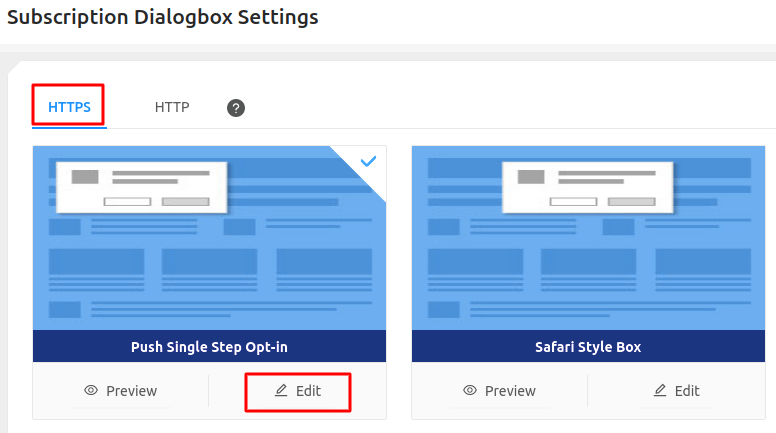
Head over to Settings » Subscription Settings » Subscription Dialogbox. Here, select Site Type as HTTPS and choose an opt-in then click on Edit:
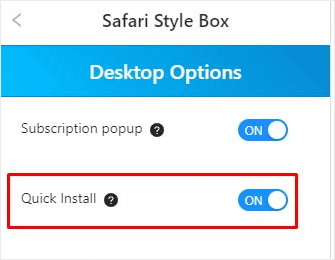
Go to Desktop Options and enable Quick Install. Once done save the changes and do the same for mobile as well:
Og det er alt!
You can now head over to your site and check if the push notification subscription opt-in shows up. If you followed along with all these steps, you should see the popup now.
All you have to do now is create your push notification campaigns.
Head over to Notifications » Create » New Notification:
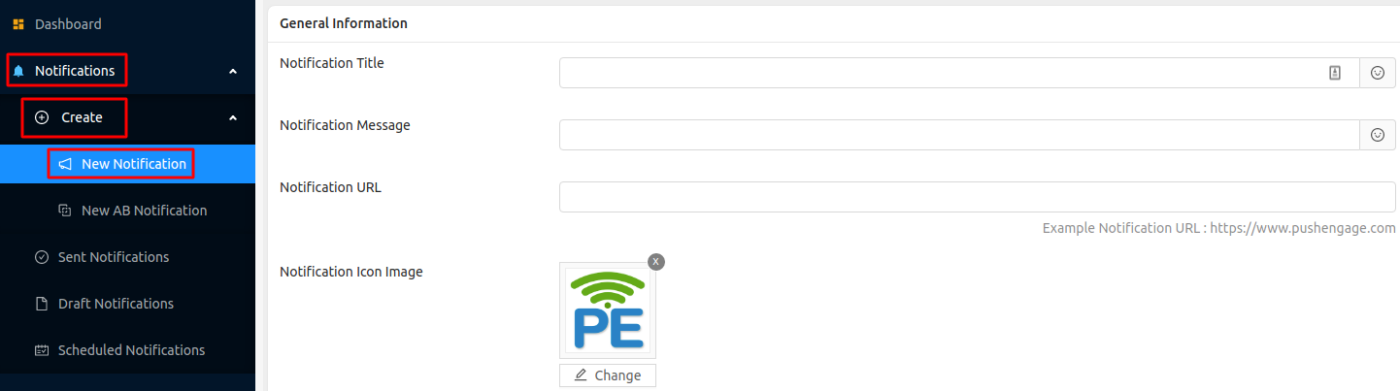
Here, you can create your push notifications. Just give your notification a title, some body text, and a URL to land on when someone clicks on the notification. You can even use emojis in your push notification title and text.
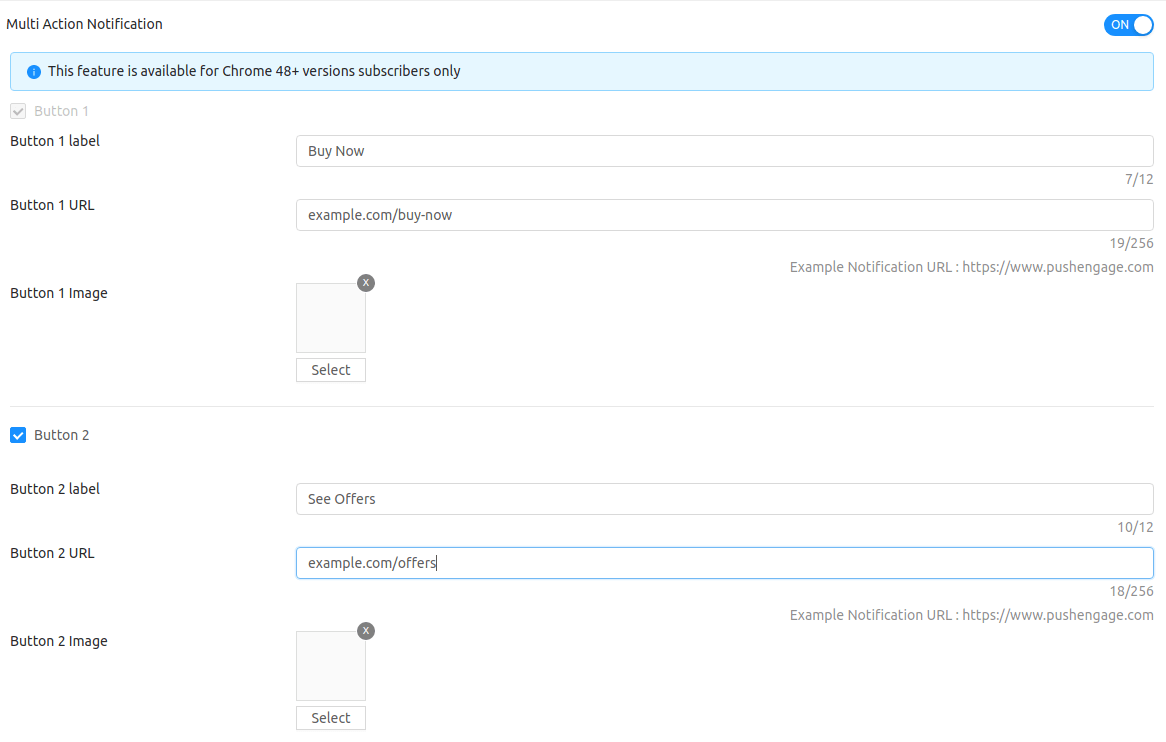
If you scroll down in the same screen, you’ll get options to create custom call-to-action buttons:
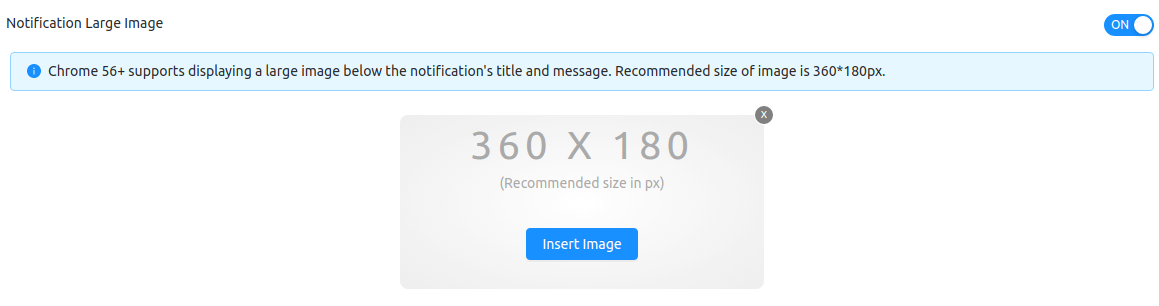
You can even add super-attractive push notification images to get more clicks:
If you’re new to push notifications and you’ve never sent one before, here’s what the final version of a push notification typically looks like:
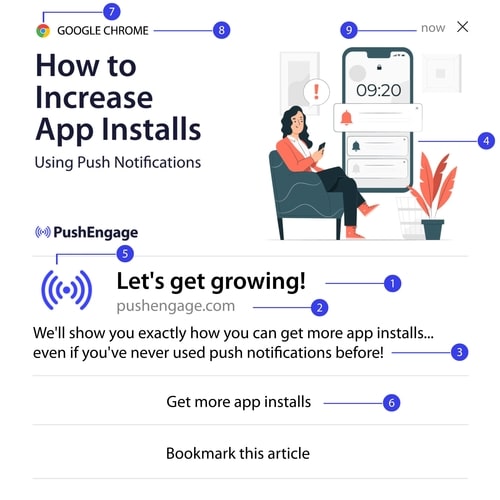
If you need more details on the parts of a push notification and how to set them up, you should check out our beginner’s guide to push notifications.
Afslutning
Det var alt for denne gang, folkens!
Hvis du installerer push-notifikationer for første gang, bør du også teste dine push-notifikationer, før du går live.
Og hvis du lige er startet, bør du prøve PushEngage. PushEngage er den bedste push-notifikationssoftware i verden. Så dine push-notifikationskampagner vil være i gode hænder.


