Looking for a simple guide on how to install a WordPress Square plugin and accept online payments on your site?
Square allows you to accept credit card payments on any site. Whether you’re running a service site, an eCommerce store, or a membership platform, you need to allow credit card payments on your WordPress site. And Square is one of the most popular payment gateways to add multiple payment options on your site.
Integrating a payment gateway to your site can be a real hassle if you have to code it from scratch. So, what do you do when you don’t know how to code? Are Square plugins even worth looking into?
Short answer: Yes. Using a Square plugin can help you start accepting payments in a matter of minutes without a single line of code.
In this article, we’re going to go show you how to install a WordPress Square plugin and start accepting payment with writing a single line of code. And we’ll do it in less than 10 minutes.
يبدو جيدًا؟ دعنا نتعمق.
Why Use a WordPress Square Plugin on Your Website?
Square allows credit card payments on your WordPress site. The best part is that the payment gateway allows multiple payment formats including recurring payments.
تعد بطاقات الائتمان من بين أكثر طرق الدفع شيوعًا. إذا كنت تخطط لتحقيق الدخل من موقعك دون قبول مدفوعات ببطاقات الائتمان، فأنت تترك المال على الطاولة.
Accepting credit card payments will improve your conversion rate. If you’re running an eCommerce site, this can reduce your cart abandonment rates as well.
قبل أن تبدأ، ستحتاج إلى تمكين HTTPS/SSL على موقعك حتى تتمكن من قبول مدفوعات بطاقات الائتمان بأمان. إذا لم تكن متأكدًا من كيفية القيام بذلك، يمكنك اتباع هذا الدليل البسيط حول كيفية الحصول على شهادة SSL مجانية لموقع ووردبريس الخاص بك.
How to Add a WordPress Square Plugin to Online Stores
Now that we understand why you should be using a WordPress Square plugin and the benefits of using Square, it’s time to add Square payments to your site. There are multiple WordPress plugins to integrate Stripe into your site.
We recommend using WPForms to accept Square payments on WordPress.

WPForms is the most powerful drag-and-drop WordPress form builder. It’s super easy to build a fully custom form for your WordPress site in a few minutes using the plugin. WPForms can help you create any type of contact form, payment form, survey form, registration form, and newsletter optin form you can think of.
لديهم أكثر من 300 قالب في الإصدار الاحترافي أثبتت فعاليتها. يمكنك استيراد هذه القوالب فورًا وتشغيل النموذج في دقائق. WPForms سهل الاستخدام للمبتدئين تمامًا. يمكن لأي شخص استخدامه لإنشاء نماذج قوية.
تأتي الإضافة بالأساسيات الأساسية فقط. لذلك، إذا كنت بحاجة إلى المزيد من الوظائف في نماذجك، يمكنك دائمًا تثبيت إضافة. هذا يحافظ على خفة الإضافة وبساطتها في الاستخدام.
مع WPForms، تحصل على:
- A Beginner-Friendly Form Builder
- نماذج الطلبات
- نماذج متعددة الخطوات
- تكاملات التسويق عبر البريد الإلكتروني
- منطق الحقول الشرطي
- حملات التخلي عن النموذج
- صفحات هبوط للنماذج
- نماذج اتصال منبثقة
And more. The best part is that you can directly create WordPress payment forms that accept payments using Square. All you need is a Square account and the WPForms plugin to get started. Check out our WPForms review for more details or simply follow along.
Step #1: Install and Activate the WPForms Plugin
The first thing you need to do is install and activate the WPForms plugin. If you’ve never installed a WordPress plugin before, check out this guide on how to install a WordPress plugin.
ابدأ بالتوجه إلى WPForms واختر خطة:

بمجرد تثبيت المكون الإضافي، انتقل إلى لوحة تحكم WPForms الخاصة بك وقم بتنزيل المكون الإضافي:
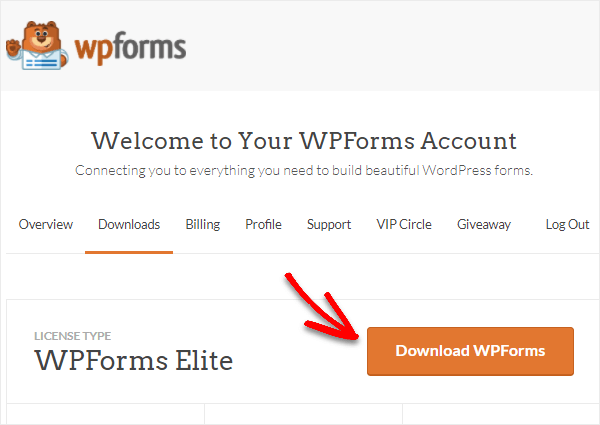
بعد ذلك، قم بتحميل ملف zip إلى موقع ووردبريس الخاص بك وأنت جاهز للبدء!
Step #2: Install and Activate the WPForms Square Addon
Head over to your WordPress dashboard and click WPForms » Addons:
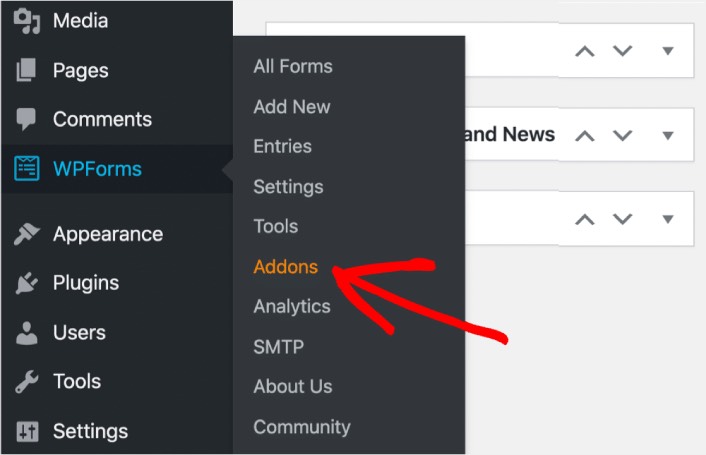
Scroll down to the Square addon and click on Install:

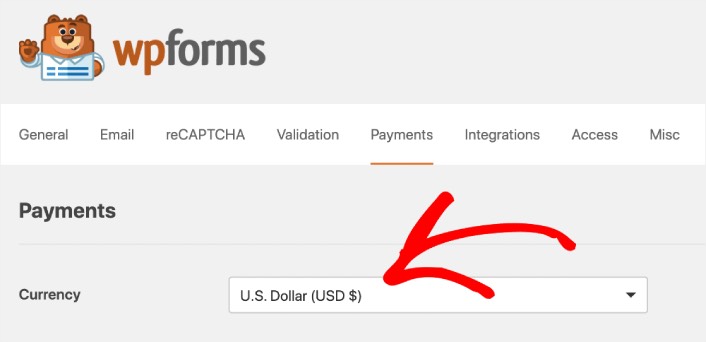
Once you’re done installing the addon, click on Activate. Next, we’re going to configure the payment settings. Go to your dashboard, click WPForms » Settings, then click the Payments tab. Under Currency, select your currency:
Next, we’re going to connect Square to WPForms.
Step #3: Connect Your Square Account to Your WordPress Site
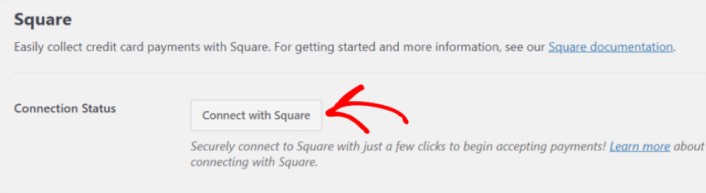
In the payment settings page, scroll down to the Square section and go to the Connection Status tab. Click the Connect with Square button:
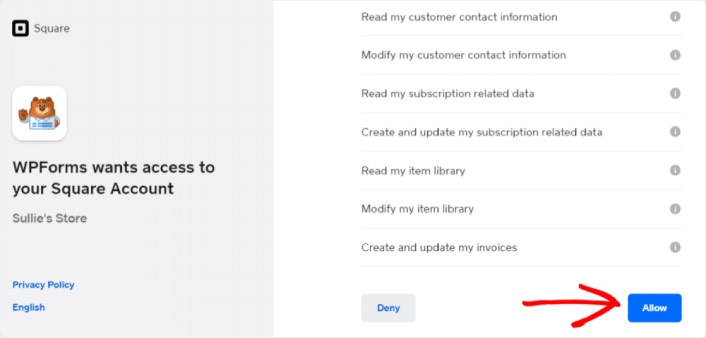
Sign in to your Square account and allow WPForms access to the specific information that it requests:
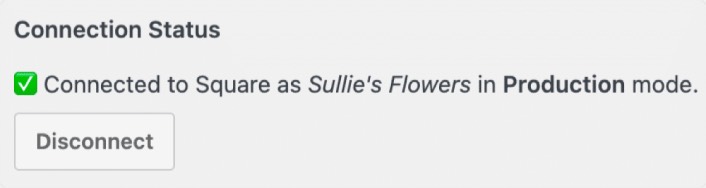
When it’s done, you will automatically get redirected back to the payment settings page and you should see the Connection Status as Active.
Step #4: Create a Square Payment Form
Now that WPForms is installed and activated, it’s time to create an order form. Head over to WPForms » Add New:

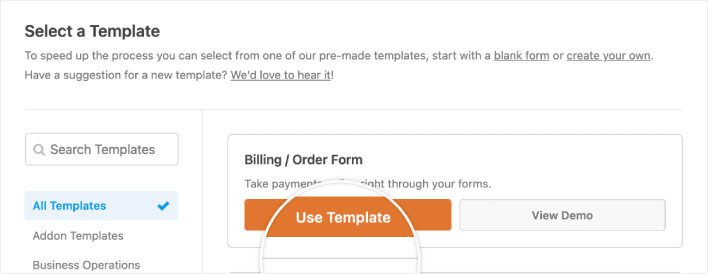
This will open the WPForms drag and drop form builder. To create a new form, give it a name and select your form template. To create an order form, we’re going to go ahead and select the Billing/Order Form template:
Next, you’ll want to modify what items are available to order. Scroll down to the Available Items section on the right that the template includes and click on it.
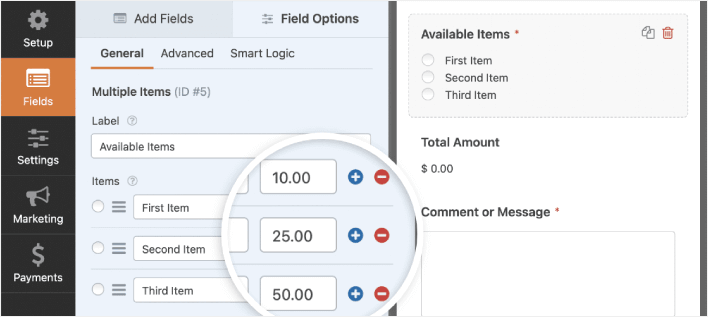
سيؤدي هذا إلى فتح خيارات الحقل في اللوحة اليسرى. هنا يمكنك إعادة تسمية الحقل، وإضافة أو إزالة عناصر الطلب، وتغيير الأسعار. عند الانتهاء من تخصيص نموذج طلب ووردبريس الخاص بك، انقر على حفظ.
يمكنك أيضًا جعل النماذج تبدو رائعة باتباع الخطوات الموجودة في منشورنا حول كيفية إنشاء نموذج متعدد الخطوات في ووردبريس. إنها طريقة رائعة لتحسين تجربة المستخدم و تقليل معدلات التخلي عن سلة التسوق. لكننا سنلتزم بصفحة واحدة لهذا البرنامج التعليمي.
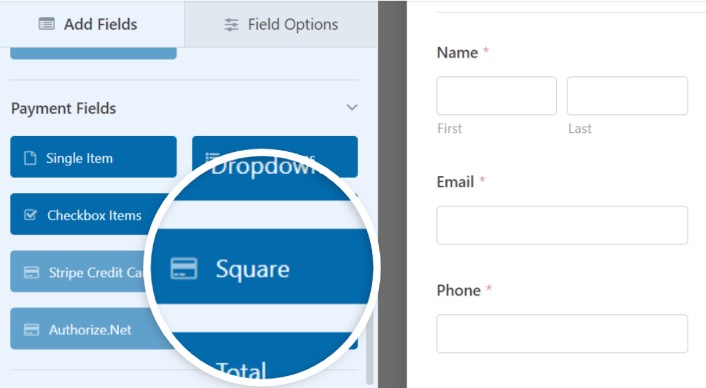
WPForms integrates with PayPal, Authorize.Net, Square, and Stripe for accepting credit card payments. We’ve already installed the Square addon. So, simply add a Square payment field:
As soon as you add the Square filed, you will see a popup message to enable the Square Payments.
Click on the OK button to close the pop-up.
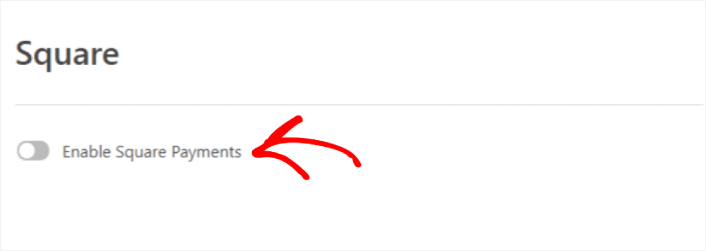
Step #5: Enable Square Payments
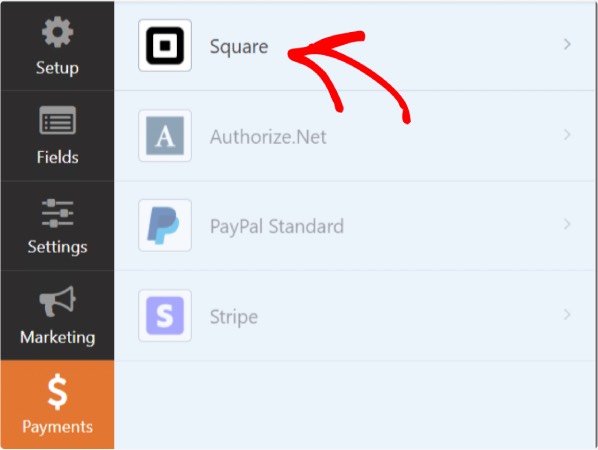
In your WPForms dashboard, click on Payments » Square:
Simply toggle on the Enable Square Payment:
Fill in your payment details:
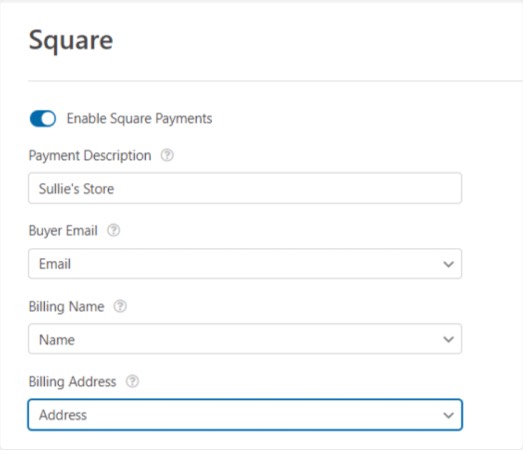
And you’re done! Don’t forget to hit Save.
Step #6: Configure Form Settings
Next, you’ll want to set up notifications and confirmations. Head over to Settings » Confirmations to configure confirmation settings:

ثم، في نفس القائمة، انتقل إلى الإشعارات لتكوين رسائل الإشعارات الخاصة بك:

بشكل افتراضي، يتم إرسال الإشعارات إلى البريد الإلكتروني الخاص بمسؤول ووردبريس. لذا، إذا كنت ترغب في إرسال رسائل البريد الإلكتروني إلى مكان آخر، مثل عنوان البريد الإلكتروني لرئيس قسم المبيعات الخاص بك، فيمكنك القيام بذلك هنا.
What to do After Installing a WordPress Square Plugin
هذا كل شيء لهذا اليوم أيها الأصدقاء!
حتى الآن، لقد قمت بإنشاء نموذج طلب في ووردبريس. بعد ذلك، يجب عليك إعداد تتبع التخلي عن النموذج لتقليل معدلات التخلي عن النموذج الخاص بك.
بعد ذلك، كل ما تبقى هو إنشاء حركة مرور إلى موقعك حتى يتمكن نموذجك من البدء في العمل وتحويل الزوار. طريقة بسيطة للقيام بذلك هي البدء في استخدام الإشعارات الفورية. يعد إرسال الإشعارات الفورية طريقة رائعة لتوليد حركة مرور متكررة لموقعك. إذا كان هذا شيئًا تهتم به، فيجب عليك أيضًا الاطلاع على هذه المقالات:
- تكلفة إشعارات الدفع: هل هي مجانية حقًا؟ (تحليل الأسعار)
- كيفية الحصول على المزيد من حركة المرور إلى مدونة ووردبريس الخاصة بك (9 طرق سهلة)
- كيفية زيادة معدل الاشتراك في إشعارات الدفع على الويب (7 طرق)
- كيفية إضافة إضافة إشعارات الويب لـ WordPress إلى موقعك
نوصي باستخدام PushEngage لإرسال إشعارات الدفع الخاصة بك. PushEngage هو البرنامج رقم 1 لإشعارات الدفع في العالم. لذا، إذا لم تكن قد قمت بذلك بالفعل، ابدأ مع PushEngage اليوم.


