WordPress not sending email?
If your WordPress site stops sending emails, it can result in a direct loss to your business. You could end up losing valuable leads and potential customers. Or you could end up completely breaking the experience for your existing customers.
But what’s the problem, really? Why isn’t your WordPress site sending emails?
And more importantly, how do you fix it?
In this article, we’ll answer all these questions and give you an easy way to fix the issue.
دعنا نتعمق في الأمر.
Why is WordPress Not Sending Email Notifications?
It’s a common issue among WordPress users and chances are high that it has nothing to do with your installed themes or plugins.
Your WordPress site can’t send emails because your hosting provider isn’t properly configured to send emails. And you may not even get notified of contact form submissions.
Just imagine the number of leads and potential customers you could lose in a matter of hours. For an online store, you may end up in a scenario where people buy from you, but none of your automated emails are sent. That can lead to a lot of confusion and even a loss of trust in your customers.
Let’s take a closer look at the technical end of the problem.
WordPress handles user registration emails using built-in PHP code called the wp_mail() function:

This is a big problem because not all WordPress hosts are configured properly to use PHP mail.
And even if the servers are configured properly, Gmail and other email service providers use strict spam filters. These spam filters try to verify automatically that your email is coming from your business and not a fraudulent third party. That’s where most of your emails get blocked or flagged as spam.
How to Fix the WordPress Not Sending Email Issue
The right way to deal with the issue is to send your emails using SMTP instead of relying on WordPress’ PHP mail.
And we’re going to show you how to use an SMTP service to make sure that your email is always delivered. All you need to do is install the WP Mail SMTP plugin.
The WP Mail SMTP plugin will help you fix your email delivery issues in a few simple steps. And it’s not technical at all. It’s super simple and anyone can do it. So, go ahead and install and activate the plugin. If you’re not sure how to do that, this tutorial will show you how to install a WordPress plugin.
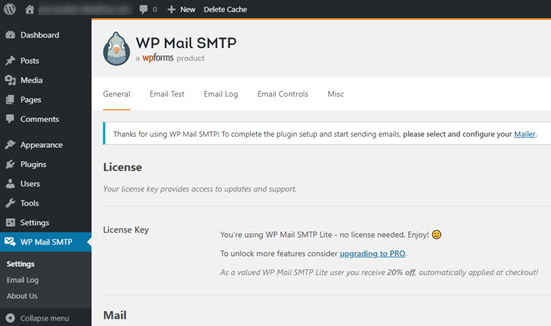
Step #1: Installing the WP Mail SMTP Plugin
Once you’re done installing the plugin, head over to your WordPress dashboard and click on WP Mail SMTP to configure the plugin:
After you enter your license key, enter your email and name in the Mail section:
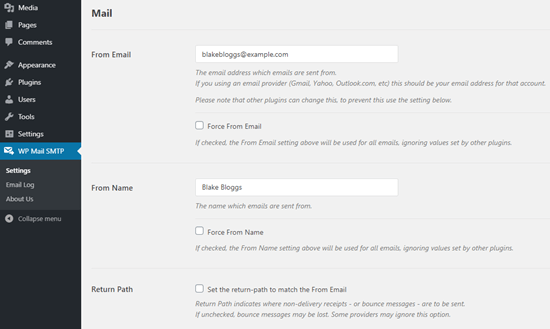
NOTE: Make sure that you enter the same email address as the one you’ll be using for your SMTP service. If there are conflicting emails, you’ll keep getting errors from the email service provider dashboard.
لا تقلق إذا كنت تستخدم عنوان بريد إلكتروني آخر على إضافات وورد أخرى مثل WPForms. يقوم WP Mail SMTP بإجبار الإضافات الأخرى على استخدام عنوان البريد الإلكتروني الذي تستخدمه لتكوين خدمة SMTP الخاصة بك تلقائيًا.
هذا كل شيء في الوقت الحالي.
الخطوة #2: اختيار مزود خدمة البريد الإلكتروني
بعد ذلك، ستحتاج إلى اختيار خدمة بريد SMTP لموقعك. نوصي باستخدام SMTP.com. ولكن يمكنك العثور على الكثير من الخدمات المختلفة هناك.
توجه إلى لوحة تحكم وورد الخاصة بك وانتقل إلى WP Mail SMTP » الإعدادات.
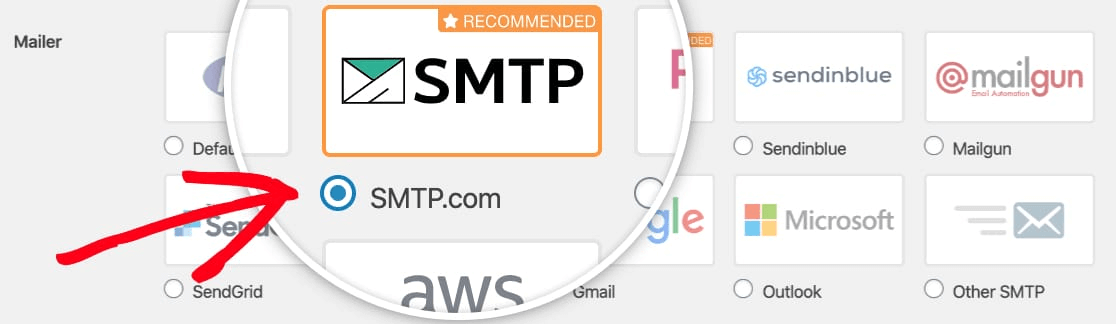
ثم، ضمن المرسل، حدد مزود خدمة. يمكنك الاختيار من بين مجموعة كبيرة من الخيارات:

نوصي باستخدام SMTP.com:
لإنهاء إعداد إضافة WP Mail SMTP، سيتعين عليك إنشاء حساب مع SMTP.com بعد ذلك. إنها خدمة SMTP شائعة جدًا تسمح لك بإرسال رسائل بريد إلكتروني مجمعة بمعدلات تسليم عالية.
الخطوة #3: إنشاء حساب SMTP
تابع وأنشئ حسابًا جديدًا:

بمجرد التسجيل، سيُطلب منك النقر على رابط تفعيل عبر البريد الإلكتروني وتأكيد هويتك.
لذا، ترقب رسائل بريد إلكتروني متعددة.
ثم، عد إلى إضافة WP Mail SMTP لربط حساب SMTP الخاص بك بالإضافة.
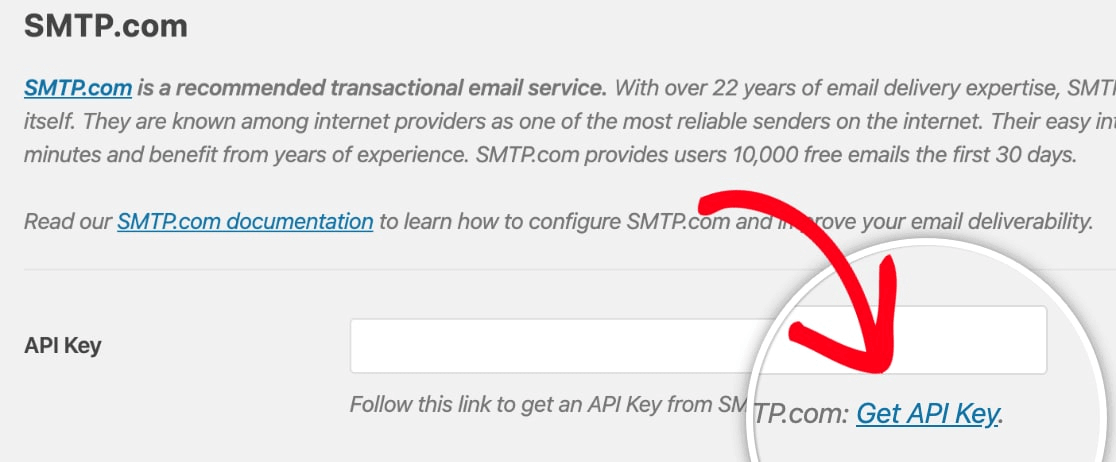
سيطلب منك النافذة المنبثقة مفتاح API الذي يمكنك الحصول عليه من لوحة تحكم SMTP.com الخاصة بك. انقر على رابط الحصول على مفتاح API (انقر على هذا الرابط للوصول إليه مباشرة):
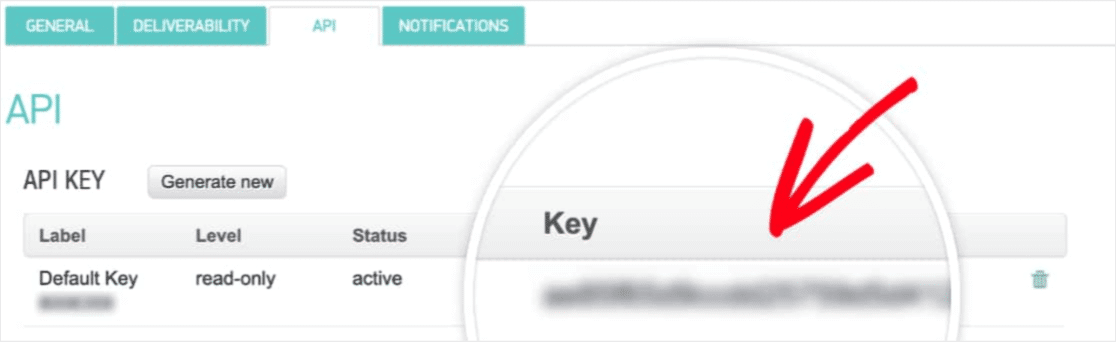
يجب أن ترى جدولًا في هذه الصفحة. انسخ مفتاح API في عمود المفتاح:
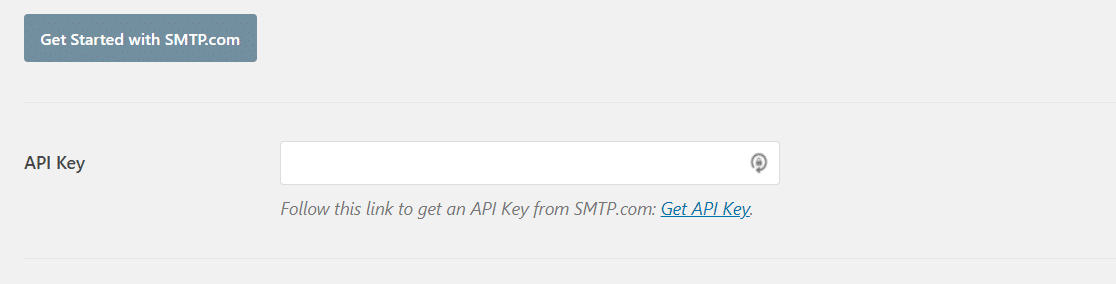
ثم الصق مفتاح API هذا في WP Mail SMTP:
أخيرًا، في حقل اسم المرسل، انقر على رابط الحصول على اسم المرسل:

انسخ الاسم في عمود الاسم:
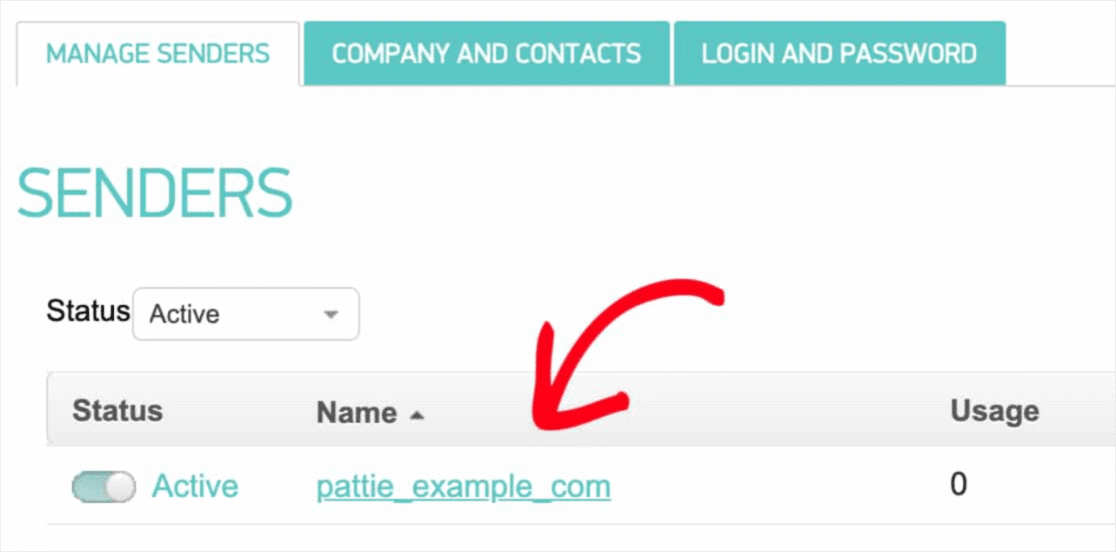
والصقه في WP Mail SMTP.
ثم اضغط على حفظ الإعدادات:

الخطوة #4: إضافة سجل SPF إلى سجلات DNS الخاصة بك
الآن، سيتعين عليك إضافة سجل SPF إلى سجلات DNS الخاصة بك.
إذا كنت لا تعرف ما يعنيه أي من هذه، فلا تقلق. سنشرح.
إطار سياسة المرسل (SPF) هو كيفية قيام SMTP.com بالمصادقة على رسائل البريد الإلكتروني الخاصة بك. يضمن تنفيذ هذه الخطوة عدم وصول رسائل البريد الإلكتروني الخاصة بك إلى مجلد البريد العشوائي.
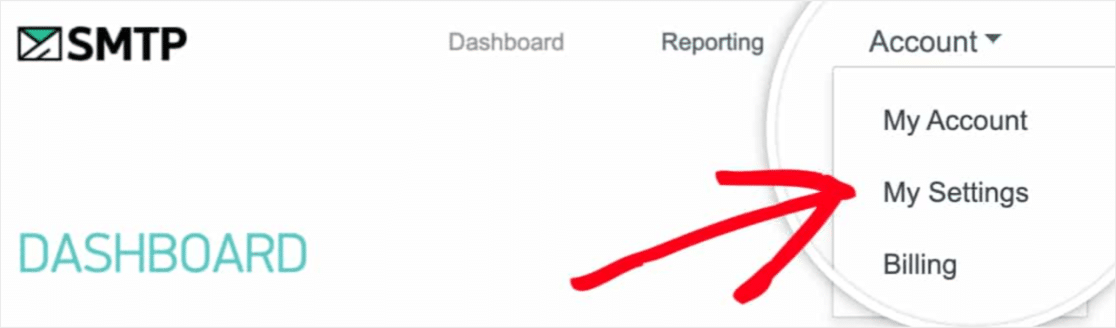
توجه إلى قائمة التنقل في حساب SMTP.com الخاص بك وانقر على الحساب » إعداداتي:
ثم، انتقل إلى الإعدادات العامة وابحث تحت سجل SPF:
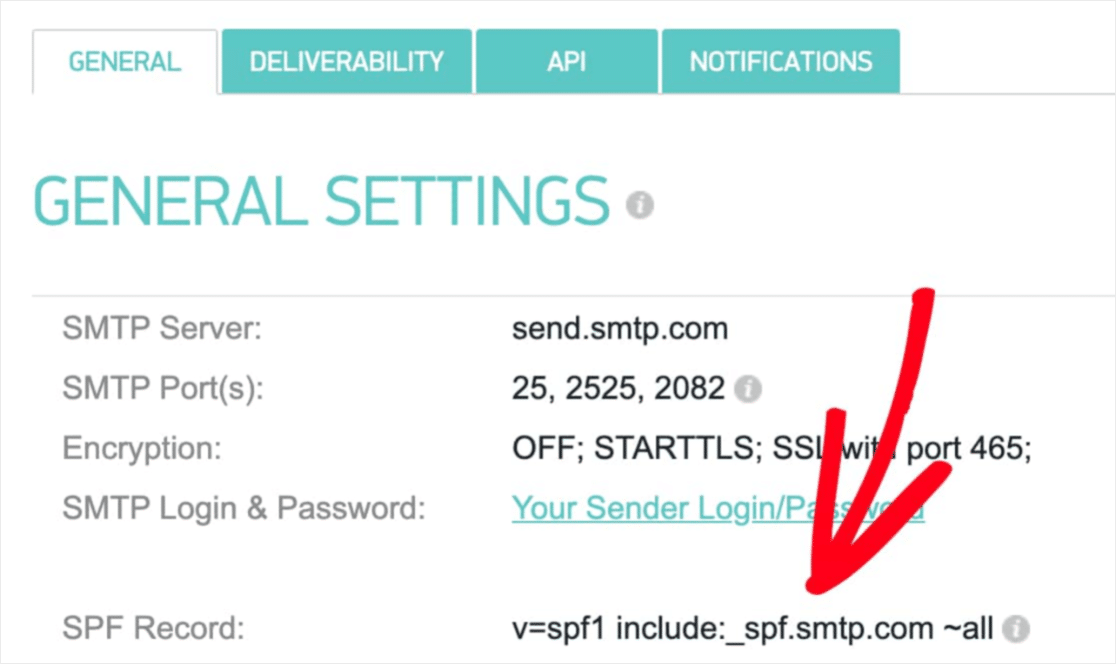
ستحتاج إلى إضافة سجل SPF هذا إلى إعدادات DNS لموقعك. إذا كنت لا تعرف كيفية القيام بذلك، فراجع هذه المقالة حول كيفية إضافة سجلات SPF.
ملاحظة: في إعدادات DNS، سترى حقلاً يسمى TTL (الوقت المباشر). القيمة الافتراضية عادة ما تكون ساعة واحدة. إذا كان بإمكانك تغيير هذا السجل، فنحن نوصي بتغييره إلى يوم واحد أو 86400 ثانية. سيسمح هذا للخادم بتخزين هذه المعلومات مؤقتًا ليوم كامل.
الخطوة #5: التحقق من صحة سجلات SPF الخاصة بك
إذا قمت بإضافة سجل SPF، فيجب عليك التحقق من تحديث التغييرات. قد يستغرق الأمر ما يصل إلى 48 ساعة حتى تنعكس التغييرات. لذا، فإن التحقق من النتائج قبل الانتقال إلى الخطوة التالية فكرة جيدة.
Click on this link and head to the section that says SMTP.com SPF Record Domain Check.
In the Domain field, submit your website’s URL and click on Validate:
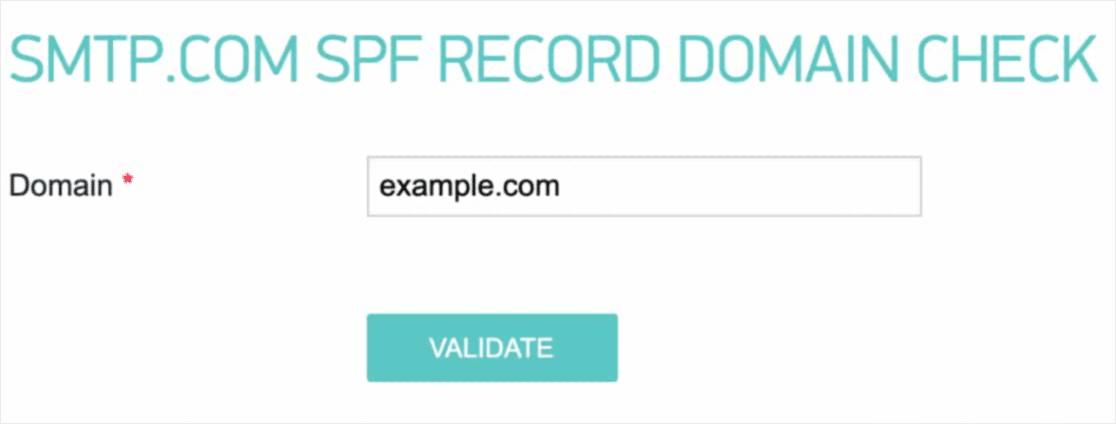
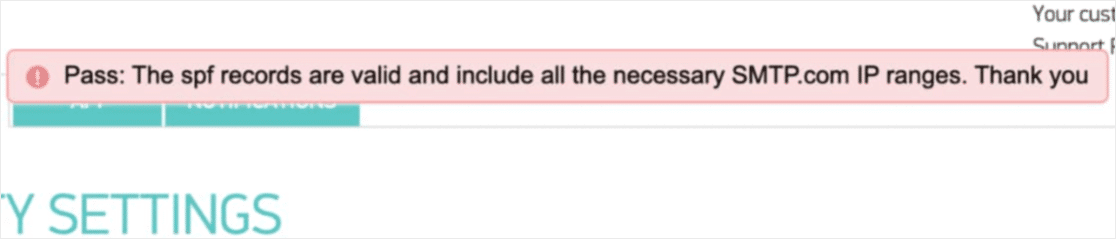
If you followed every step, you should see this Pass message:
وأنت انتهيت!
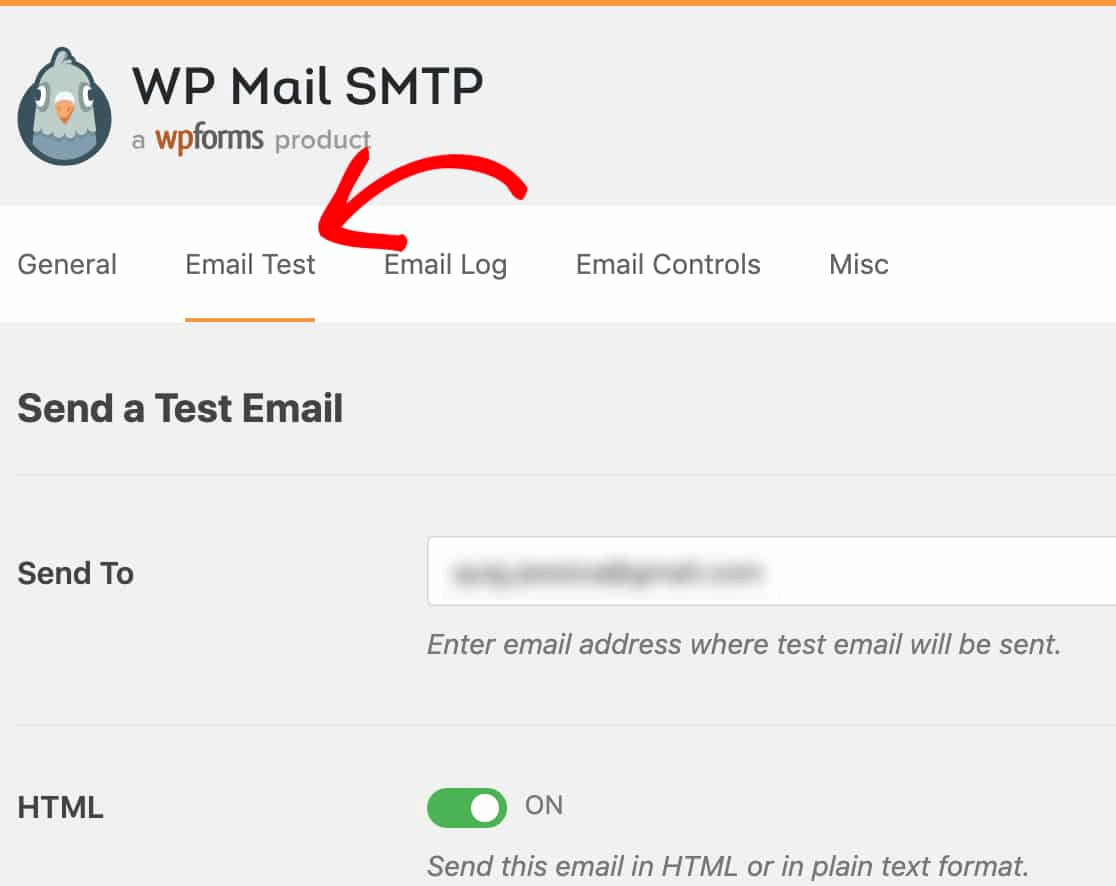
Step #6: Sending a Test Email
You’re done configuring WP Mail SMTP. It’s time to check if everything’s working properly.
Go to WP Mail SMTP in your WordPress dashboard and click on the Email Test tab:
Enter any email address that you have access to and send a test email. If all went well, you should see this success message:

Now, check your inbox and confirm that you received the email in your Primary inbox. We’re very confident that you’ll find it there.
Finally, all you have to do is verify that the email went through your SMTP.com account. Click on this link to go to the Deliverability Settings page. If you see the ‘Pass’ notification like this one, you did a great job:
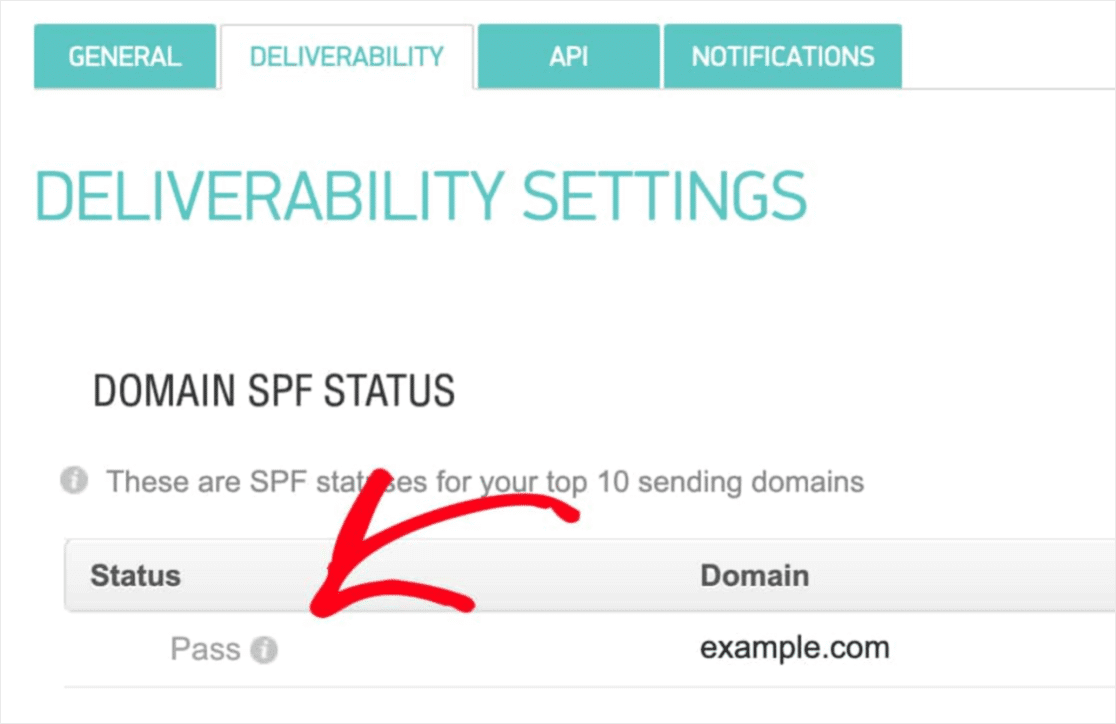
If you don’t see ‘Pass’ in the Status field, then you’ve blundered somewhere. Just revisit steps 1-4 and make sure that you didn’t miss anything.
خاتمة
هذا كل شيء لهذا اليوم أيها الأصدقاء!
If you’re not happy to see your marketing efforts go down the drain, then it’s time to install the WP Mail SMTP plugin.
Once your WordPress email deliverability issues are fixed, you can go back to increasing your traffic, engagement, and sales in peace. Speaking of which, have you tried using push notifications yet?
Push notifications are a great way to increase traffic, engagement, and sales for any business. And if you’re starting out with push notifications, we recommend using PushEngage. PushEngage is the #1 push notification software in the market.
And the best part is that PushEngage empowers small businesses to compete with big brands. So, it’s a good fit at every stage of growth whether you’re looking to start, grow, or scale your business.
If you’re just getting started with push notifications, you should also check out some of these articles:
- 7 استراتيجيات ذكية لزيادة تفاعل العملاء
- كيفية الحصول على المزيد من حركة المرور إلى مدونة ووردبريس الخاصة بك (9 طرق سهلة)
- كيفية زيادة معدل الاشتراك في إشعارات الدفع على الويب (7 طرق)
وإذا لم تكن قد فعلت ذلك بالفعل، ابدأ باستخدام PushEngage اليوم للانتقال إلى المستوى التالي!


