Looking for a way to create a lightbox popup for your site?
A lightbox popup can be incredibly effective for capturing leads. They’re designed to convince and convert.
But having to code one from scratch is a real pain. For one thing, you’d have to know enough HTML, CSS, and Javascript to create the popup along with trigger rules for when to show it. Then, you’d have to create a manual integration with your email service provider. And finally, you’d have to deal with any privacy and security issues.
Good news: there’s a much simpler way.
In this article, we’re going to show you how to launch a lightbox popup with zero coding in less than 10 minutes.
让我们开始吧。
What is a Lightbox Popup?
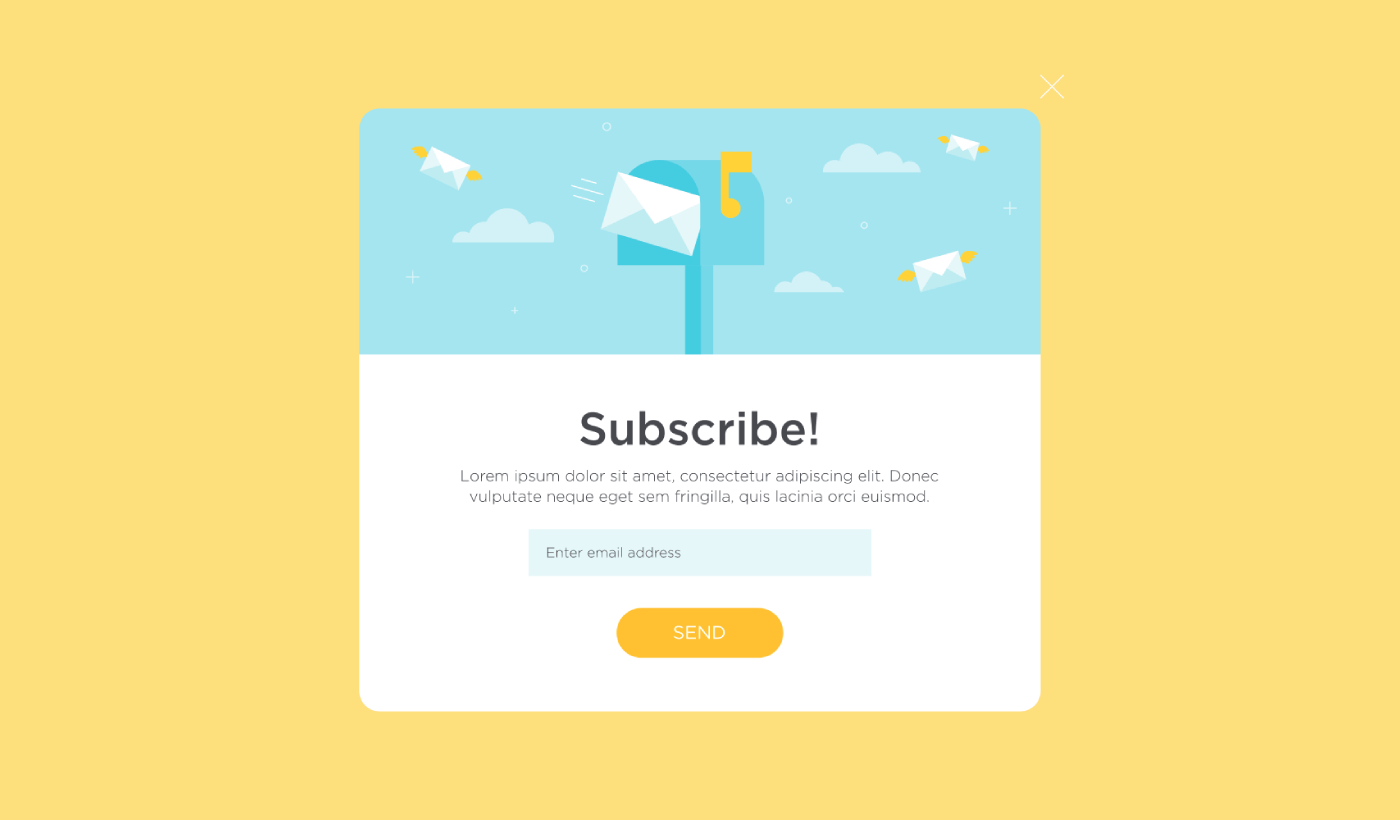
A lightbox popup is an opt-in form that popups up with a cinematic effect. When a lightbox pops up, it blurs out the rest of the site in the background. This way, your entire focus is on the popup.
Originally, the concept of lightboxes come from outdoor advertising:
And then, some developers thought that this was a really cool effect and they created a Javascript library to recreate the same effect on web assets. Later on, the idea of using lightbox popups came into play.
Why Lightbox Popups Work
Lightbox popups capture more emails than a traditional email optin form.
But why do they work?
Let’s take a quick look at the main reasons why lightbox popups work so well.
#1. Lightbox Popups Feature a Clear Call to Action
Most people believe that it’s a great thing to give their customers a lot of options.
But that’s not really true.
If you’re looking for direct conversions, you want a single, clear call to action that your audience can focus on. This way, you remove all distractions from the user’s mind. And lightbox popups do a great job of highlighting your core offer and getting people to focus on your call to action.
So, naturally, the conversion rates are pretty great.
#2. Lightbox Popups Are Impossible to Ignore
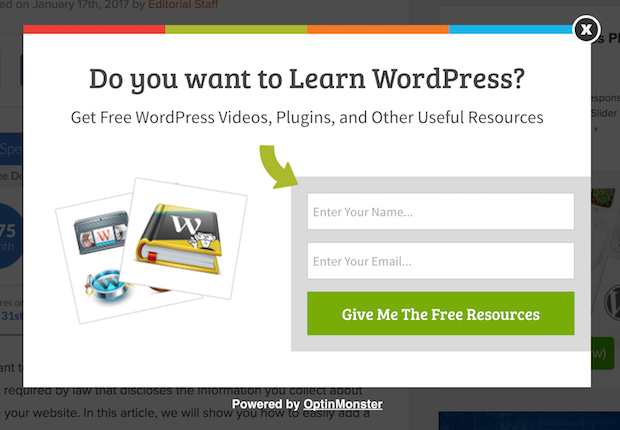
Lightbox popups take up the entire screen and blur out everything else. So, it’s practically impossible to ignore them.
This is especially true if they’re animated:
Of course, you have to ensure that your popups aren’t intrusive. And you can do that by customizing when to trigger different popups on your site. As long as your audience isn’t annoyed by the interruption, you can very easily convince and convert them.
#3. Lightbox Popups Have Personalized Triggers
You shouldn’t be showing the same offer to all your web visitors. If you’re running an eCommerce store, you’ll need very different offers for new and returning customers.
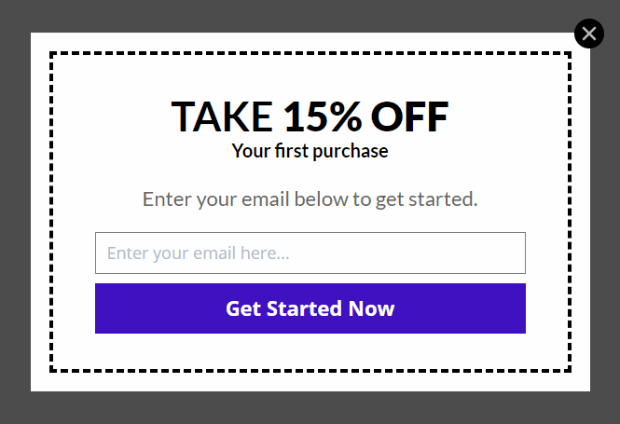
For a new customer, you can trigger a welcome campaign:
But for a returning customer, you may want to send them a different offer:
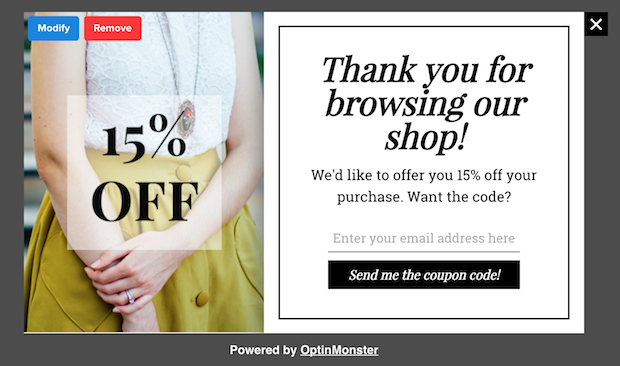
Notice how the discount amounts for both offers are exactly the same. But the way in which the offer is framed is drastically different. And this is super important because lightbox popups are built for theatrical effects. So, a more personalized approach will get you much better results for sure.
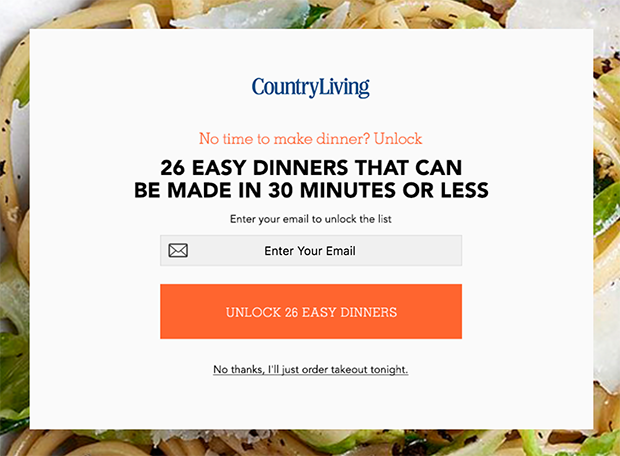
You could even personalize the offer based on your user’s content preferences. If they’re reading an article on dinner recipes, it makes more sense to show them an offer related to dinner recipes rather than showing them an offer for cars.
#4. Lightbox Popups Can Capture Abandoning Visitors
Lightboxes are just a method of displaying your popup. So, there’s really nothing stopping you from customizing the trigger to any extent you like. We recommend creating exit-intent lightbox popups.
Exit-intent popups get triggered when your visitors try to exit your website. As a result, you retain a huge number of visitors who would have otherwise abandoned your site. So, if you’re suffering from site abandonment, you should definitely create an exit-intent lightbox popup.
How to Create a Lightbox Popup
Now that you understand what a lightbox popup is and why you’d want to create one, how do you a lightbox popup? We recommend using OptinMonster to create your popups.
OptinMonster 是全球排名第一的转化工具包,我们自己也使用它。OptinMonster 可以非常轻松地创建强大的、能够带来转化的弹出窗口。而且您永远不需要编写任何代码。
We even wrote a full review of OptinMonster.
You can check that out, or get started with your campaign right now. All you have to do is signup for OptinMonster and follow along with the rest of this article.
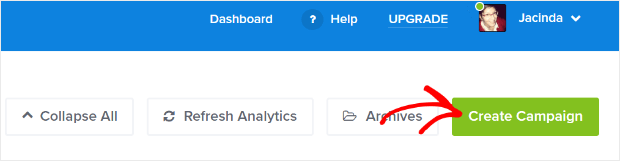
Step #1: Create a Campaign
前往您的 OptinMonster 仪表板,然后点击 创建 按钮:
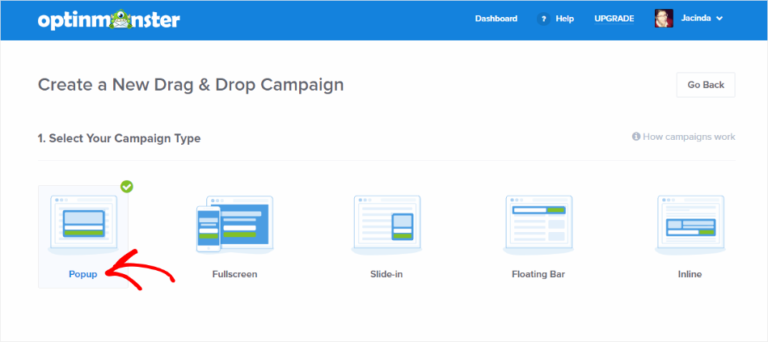
Select the Lightbox Popup campaign type:
Then, choose a campaign template. You can choose whatever template you like, but we’re going with the Simple campaign type for this tutorial.

Now, give your campaign a name. Remember, this campaign name is for you and you’ll likely create a whole bunch of these popups with different targeting options. So, give the campaign a meaningful name or you’ll end up really confused later on.
此外,根据您的套餐,您还可以在多个网站上使用 OptinMonster。因此,请选择您希望展示营销活动的网站。
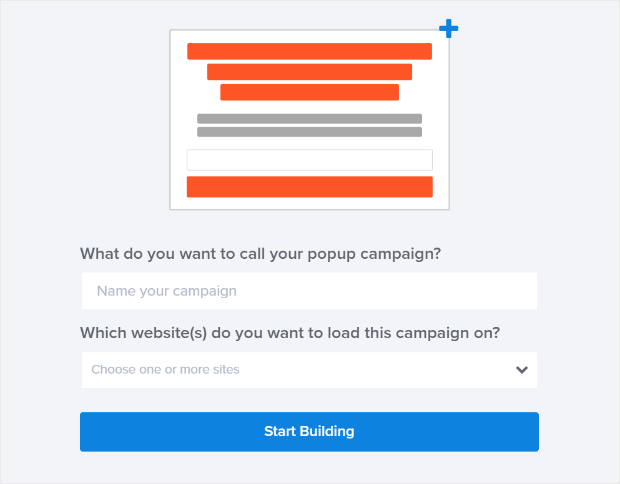
完成后,按开始构建。
Step #2: Edit Your Lightbox Popup
With OptinMonster, you’ll get a visual drag and drop popup builder. Once you’re done creating your campaign, you’ll be able to edit even the tiniest details about your popup. Start by editing your popup headline:
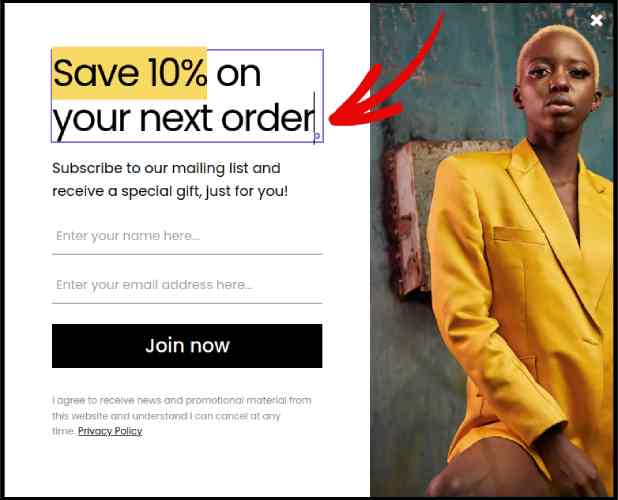
这里最神奇的部分是,您只需点击想要编辑的任何文本即可在线更改。无需填写表单或编辑弹出窗口中的任何 HTML 代码。
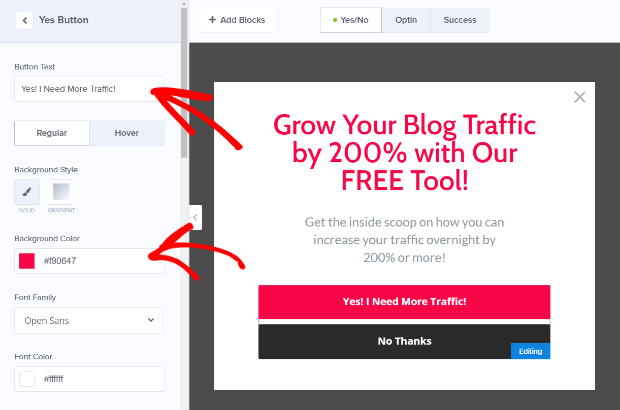
And then, adjust your button text and appearance to create a clear call to action:
When you’re happy with your popup’s appearance, you can move on to more advanced settings.
Step #3: Set Display Rules
Display rules are meant to define when your campaign shows up on your site and who sees it.
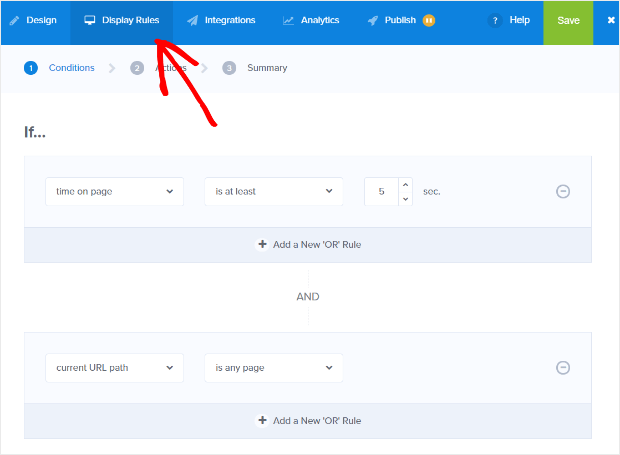
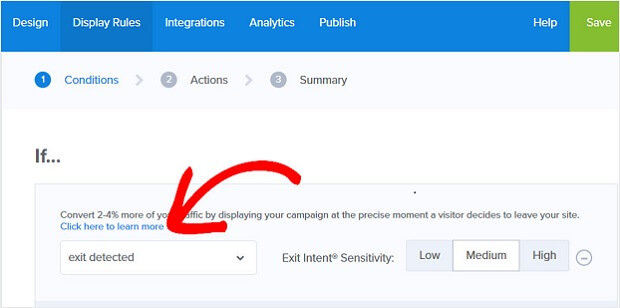
Our recommendation is that you change the trigger condition to exit-intent:
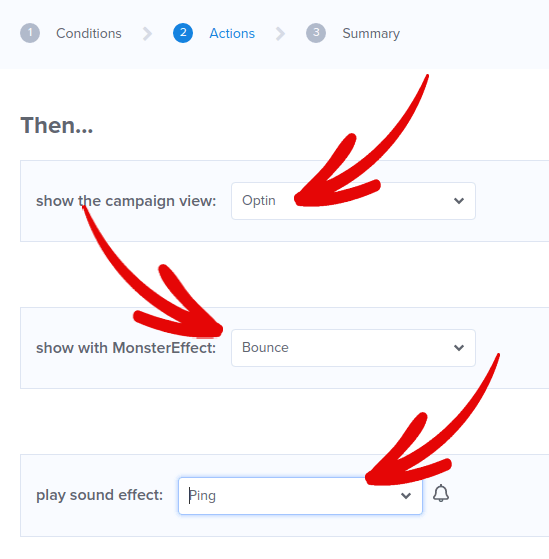
Click Next Step to choose the Action. Here, we recommend that you set Show the campaign view to Optin View, set the show with MonsterEffect to any entry animation you like, and play sound effect to any sound effect for your popup.
And then, click the Next Step button. You can see the full extent of your settings in the Summary tab.
Step #4: Setup Your Email Integration
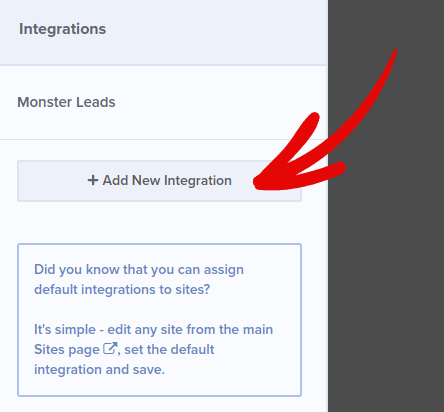
The next step is to set up your email integration. Click Add New Integration from the Integrations tab and select your email service provider:
We recommend using Drip for your email marketing if you don’t already have an email service provider.
Step #5: Publish Your Lightbox Popup
创建新广告系列时,它默认处于暂停状态。
转到顶部菜单的发布选项卡,查看发布选项。然后,将状态设置为发布并选择网站平台:
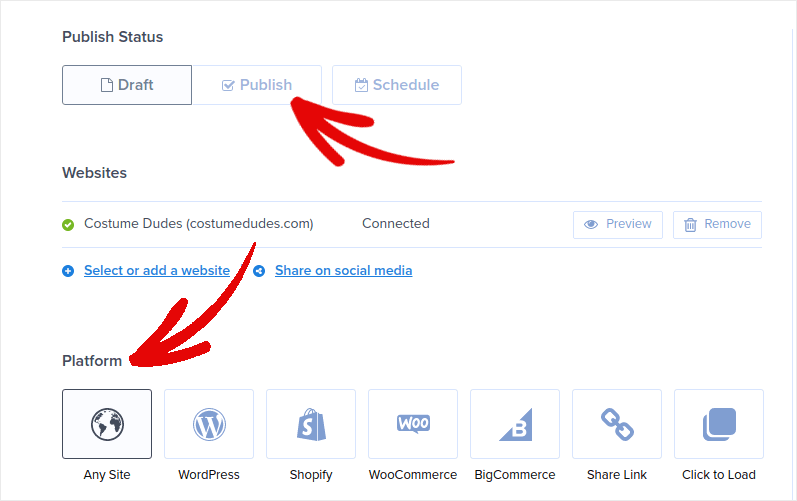
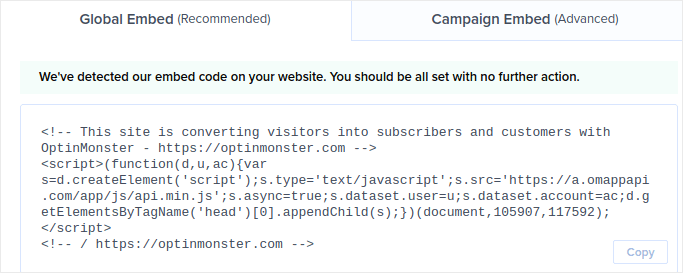
如果您运行的是 WordPress 网站,OptinMonster 插件会自动处理其余的设置。Shopify 和 BigCommerce 也是如此。对于任何其他网站,请点击任何网站并将嵌入代码粘贴到您网站的 head 中:
您就完成了!
BONUS: Collect Push Notification Subscribers from Your Popup
Push notifications help you grow your website traffic and engagement on autopilot. Web push notifications are an effective way to bring back users who may have abandoned their session or left the website. It helps in re-engaging users by notifying them of new content, offers, or events.
Push notifications also include clear and actionable messages and call to action buttons, encouraging users to take specific actions, such as reading an article, completing a purchase, or participating in an event.
您可以根据用户的偏好、行为和兴趣来定制推送通知,以确保消息对每个用户来说都是相关且有价值的。用户必须同意接收网页推送通知。这可以确保消息不会被视为垃圾邮件,并且是在用户许可的情况下发送的。
The coolest part is that you can collect push notification subscribers from your email popup. So, just in case your site visitors don’t want to give up their email ID, you can still get them to subscribe using web push notifications.
And that’s what we’re going to work on.
第 1 步:选择一个推送通知服务
We recommend using PushEngage to send web push notifications.

Here’s a quick glance at what you get with PushEngage:
- 高转化率的自动化广告系列
- Multiple targeting and campaign scheduling options
- 目标跟踪和 高级分析
- Smart A/B testing
- 专属客户成功经理
您可以免费开始使用,但如果您想认真发展业务,则应购买付费套餐。此外,在购买任何推送通知服务之前,您应该查看这篇关于 推送通知成本的指南。
如果您经营一家在线商店,PushEngage 还可以通过帮助您创建自动化的电子商务推送通知来帮助您增加销售额。
您会发现,如果您想为您的业务带来流量、参与度和销售额,PushEngage 绝对是最佳选择。而且,如果您预算有限,您总是可以 在推送通知方面发挥创意。
Step #2: Add an HTML Block to Your Popup
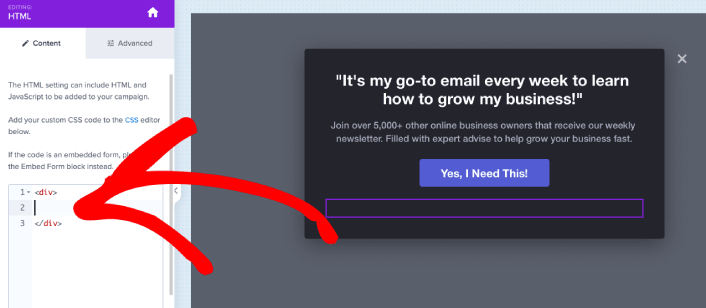
首先,从 OptinMonster 中的侧边栏将一个HTML块添加到您的弹出窗口。
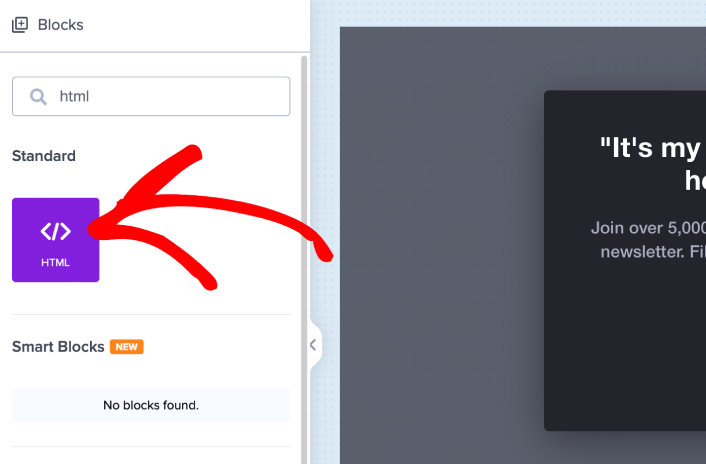
这是我们将添加代码以收集推送通知订阅者的地方。首先,粘贴以下代码以创建可点击按钮:
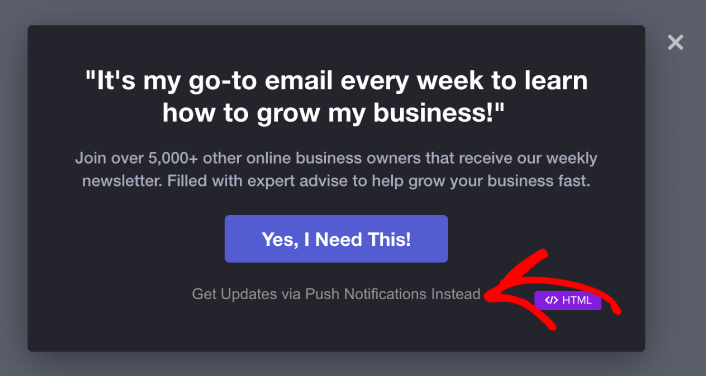
<button onclick="subscribeOnClickButton()" style="border: none; width: 100%; padding-left: 15%; padding-right:15%; text-align: center; display: inline-block; color: white;">Get Updates via Push Notifications Instead</button>将代码粘贴到显示可以添加 HTML 的位置:
At this point, you should see a new button in your popup that says, “Get Updates via Push Notifications Instead” right below the email subscription button:
当然,您可以调整样式使其看起来更具吸引力。接下来,我们将使按钮在被点击时收集推送通知订阅者。
Step #3: Get Subscription Code from PushEngage
前往 PushEngage 主页,然后点击“开始使用”按钮:

然后,您可以选择免费计划来试用 PushEngage,或者如果您想认真发展您的业务,可以选择付费计划。付费计划提供更多的营销活动选项,并能够建立更大的订阅用户列表。
在您的 PushEngage 仪表板中,转到“网站设置”»“网站详细信息”,然后点击“单击此处获取设置说明”按钮。在“任何网站”下,您将获得安装代码:

警告:您需要复制从仪表板获取的代码。该代码对于每个 PushEngage 用户都是唯一的。您将无法复制图像中的代码并收集推送通知订阅者。
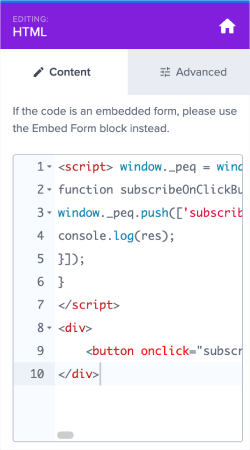
在您的 PushEngage 仪表板中获得代码后,复制第二个脚本并为其添加一些额外的代码。您的最终代码应如下所示:
<script src="https://clientcdn.pushengage.com/core/02a6e92667ae2279fcba8932356c1d93.js" async></script>
<script> window._peq = window._peq || [];
function subscribeOnClickButton(){
window._peq.push(['subscribe',{}.pe,function(res){
console.log(res);
}]);
}
</script>
Step #4: Add Your Subscription Code to the HTML Block in Your Popup
Add this code to the HTML block in OptinMonster and you’re done!
When you’re done, just hit the Save and Publish buttons.
If you check out your website, you should now see the lightbox popup collecting both email and push notification subscribers:
And just like that, you’re collecting push subscribers from your popup. Push notifications come with their own popup modals. But they’re a bit difficult to customize. So, you can create beautiful popups using OptinMonster and then use them as your push notification popups.
What to do After You Create a Lightbox Popup
好了,各位,本次分享就到这里!
Let us know if this article helped. Creating popups on your site can help you convert your traffic into email subscribers and genuine business leads. And we highly recommend that you start creating lightbox popups right away.
如果您正在寻找一种经济高效的方式来增加流量,我们建议使用推送通知。推送通知可以帮助您带来更多重复流量和网站互动。您还可以创建自动推送通知广告系列来产生销售。
不信?查看这些资源:
我们建议使用 PushEngage 来创建您的推送通知广告系列。PushEngage 是全球排名第一的推送通知软件。所以,如果您还没有,请立即开始使用 PushEngage!


