
Looking for a simple tutorial to add WordPress Open Graph meta tags to your site?
Open Graph is how Facebook handles metadata when you share your post or page on Facebook posts. It’s how Facebook automatically fetches the featured image and meta description just from the URL.
But adding it manually to your site can be a real pain.
For one thing, you’ll have to learn how Open Graph structured data is written. Then, you’d have to insert it into your WordPress theme files. And that’s super risky. You’ll have to edit files that help your entire site run properly. A single line out of place could crash your entire site.
In this article, we’re going to add WordPress Open Graph meta tags the easy way with zero coding involved.
Hadi başlayalım.
Step #1: Install All in One SEO
All in One SEO is the #1 WordPress SEO plugin in the world. It’s the perfect plugin to add WordPress Open Graph meta tags to your site without any coding.

All in One SEO (AIOSEO) is one of the most acclaimed SEO plugins in the WordPress community. The original version was completely revamped to add a ton of new features and addons. So, if you used AIOSEO in the past you need to check out the plugin once again.
AIOSEO, en son SEO en iyi uygulamalarını uygulamak için yeterince güçlü olmakla kalmaz, aynı zamanda belirli SEO sorunlarını kutudan çıkar çıkmaz çözmek için gelişmiş seçenekler de elde edersiniz. Buna şunlar dahildir:
- Yerel bir kitleye sahip küçük işletmeler için Yerel SEO modülleri
- Çevrimiçi mağazalar için WooCommerce SEO
- WordPress düzenleyiciniz içinde bir SEO iyileştirici
- Arama Motorlarında anında indeksleme için Akıllı Site Haritaları
- İçeriğinizin Zengin Snippet'lerde sıralanmasını sağlamak için bir Schema eklentisi
And a lot more! For a full list of All in One SEO’s features, check out our review of the plugin.
The first thing you need to do is install and activate the All in One SEO plugin. If you’re not sure how to do that, you should check out this guide on how to install WordPress plugins.
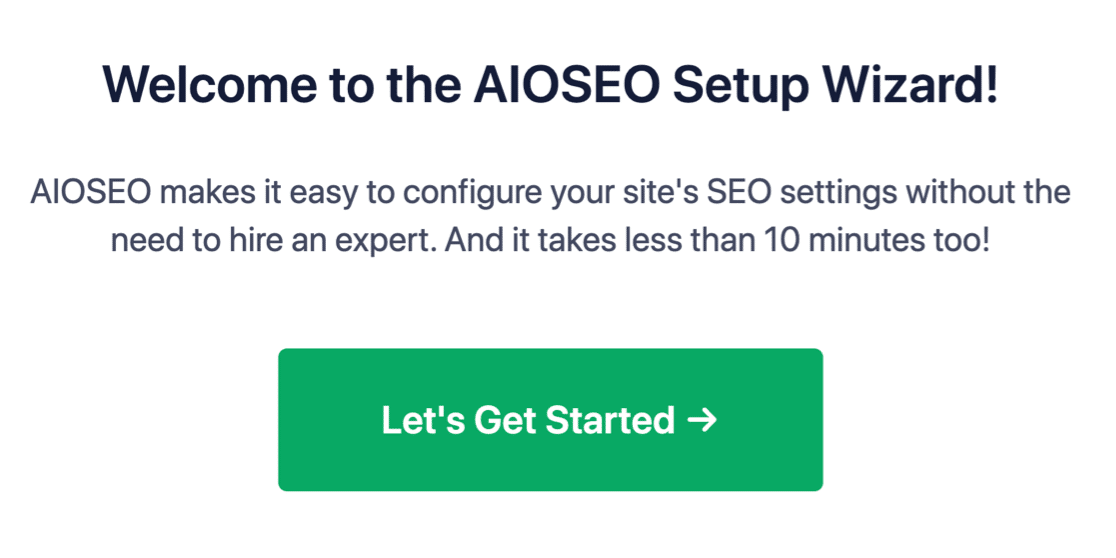
After you download and install the plugin, you get a Setup Wizard:
Ve kurulum süreci 10 dakikadan az sürecektir.
Peki ya başka bir SEO eklentisinden geçiş yapıyorsanız? Her eklenti meta verileri farklı şekilde işler. Yani, her şeyi sıfırdan mı yapmanız gerekiyor? Önceki tüm çabalarınız boşa mı gitti?
Hayır! Hepsi Bir Arada SEO, Kurulum Sihirbazı sırasında başka bir SEO eklentisi algılarsa, temel ayarları sizin için kopyalamayı teklif edecektir:

Kurulumun sonunda, Kurulum Sihirbazı sizden eski SEO eklentinizi de devre dışı bırakmanızı isteyecektir. Bu şekilde, eklenti çakışmaları ve hataları olmaz:
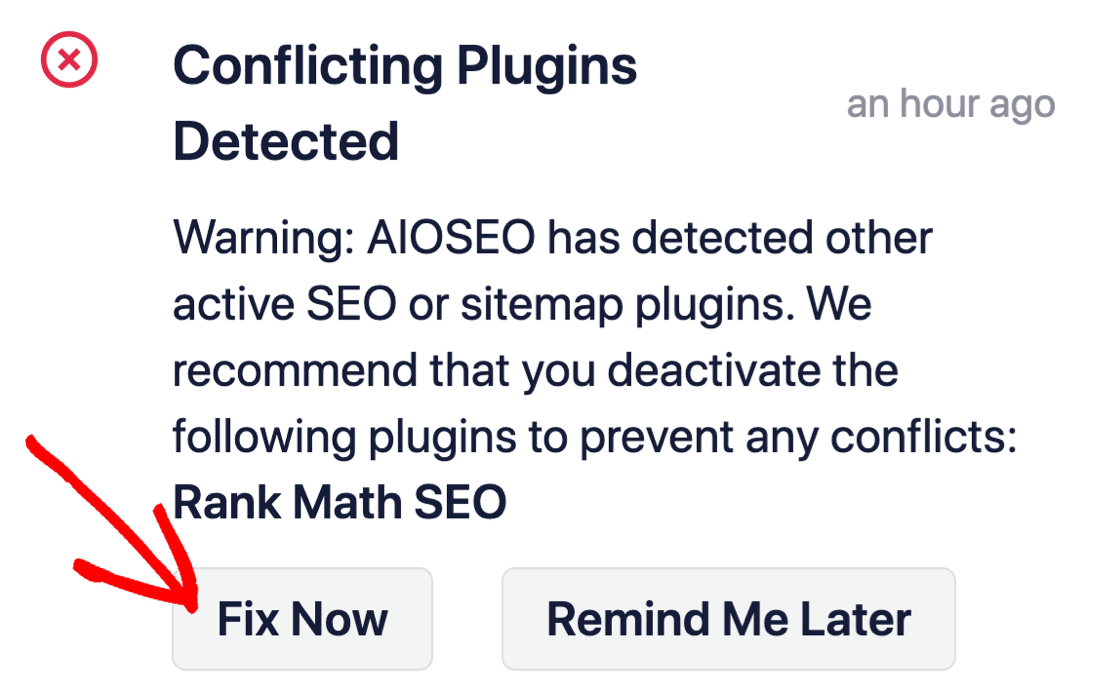
Şimdi Düzelt'e tıklamak, eski SEO eklentinizdeki ayarları silmez. Yalnızca çakışmaları önlemek için eklentiyi devre dışı bırakır.
Step #2: Configure Social Media Settings
In your WordPress dashboard, go to All in One SEO » Social Networks » Social Profiles and add your social profiles to the site:
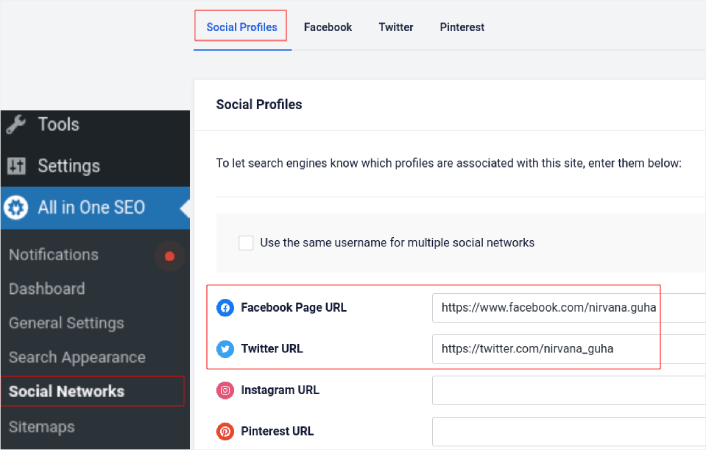
This step ensures that Search Engines such as Google and Bing know what social media profiles are associated with your site. At the same time, this helps you with your social media sharing settings as well. That’s up next.
Step #3: Edit Facebook General Settings
Go to All in One SEO » Social Networks and click on the Facebook tab. Here, you can configure your General Facebook Settings:
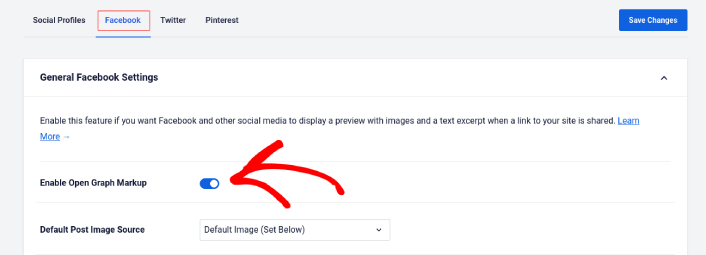
Toggle the Enable Open Graph Markup switch to activate it.
Here, you can set the Default Post Image Source and a Default Post Facebook Image:
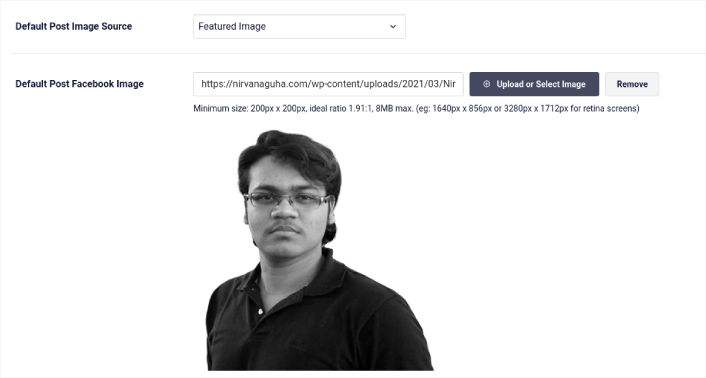
We recommend using the Featured Image option as the image source for your posts. But should check out the other options as well:

You can set the default Facebook image to be your logo or anything that represents your brand. Click on the Upload or Select Image button to change the default image. In our example, we’re using a personal brand. So, the default Facebook image is a photo of the author.
Once you’re done, hit the Save button.
And that’s it! You’re done. Once you save the changes, you can try sharing a post on your site to your Facebook page or profile.
What to do After You Add WordPress Open Graph Meta Tags
Bu kadar, millet!
Next, you should start thinking of multiple ways to engage and convert the traffic you bring in from your social media accounts. A great way to do that is to use push notifications. Push notifications can be a powerful marketing tool to bring in traffic, engagement, and direct sales for your business.
If you’re not 100% convinced, you should check out these resources on how to effectively use push notifications:
- Müşteri Etkileşimini Artırmak İçin 7 Akıllı Strateji
- Anlık Bildirimler Etkili mi? 7 İstatistik + 3 Uzman İpucu
- Terk Edilmiş Sepet Anlık Bildirimleri Nasıl Ayarlanır (Kolay Eğitim)
- Sitenize Bir Web Bildirimleri WordPress Eklentisi Nasıl Eklenir
Anlık bildirim kampanyalarınızı oluşturmak için PushEngage'ı kullanmanızı öneririz. PushEngage, dünyanın 1 numaralı anlık bildirim yazılımıdır. Bu nedenle, henüz yapmadıysanız, bugün PushEngage'ı kullanmaya başlayın!


