
Looking for a simple tutorial to add WordPress Open Graph meta tags to your site?
Open Graph is how Facebook handles metadata when you share your post or page on Facebook posts. It’s how Facebook automatically fetches the featured image and meta description just from the URL.
But adding it manually to your site can be a real pain.
For one thing, you’ll have to learn how Open Graph structured data is written. Then, you’d have to insert it into your WordPress theme files. And that’s super risky. You’ll have to edit files that help your entire site run properly. A single line out of place could crash your entire site.
In this article, we’re going to add WordPress Open Graph meta tags the easy way with zero coding involved.
Låt oss dyka in.
Step #1: Install All in One SEO
All in One SEO is the #1 WordPress SEO plugin in the world. It’s the perfect plugin to add WordPress Open Graph meta tags to your site without any coding.

All in One SEO (AIOSEO) is one of the most acclaimed SEO plugins in the WordPress community. The original version was completely revamped to add a ton of new features and addons. So, if you used AIOSEO in the past you need to check out the plugin once again.
AIOSEO är inte bara tillräckligt kraftfullt för att implementera de senaste SEO-bästa praxis, utan du får också avancerade alternativ för att lösa specifika SEO-problem direkt ur lådan. Detta inkluderar:
- Lokala SEO-moduler för småföretag med en lokal publik
- WooCommerce SEO för onlinebutiker
- En SEO-optimerare inuti din WordPress-redigerare
- Smarta Sitemaps för omedelbar indexering på sökmotorer
- Ett Schema-plugin för att få ditt innehåll att rankas i Rich Snippets
And a lot more! For a full list of All in One SEO’s features, check out our review of the plugin.
The first thing you need to do is install and activate the All in One SEO plugin. If you’re not sure how to do that, you should check out this guide on how to install WordPress plugins.
After you download and install the plugin, you get a Setup Wizard:
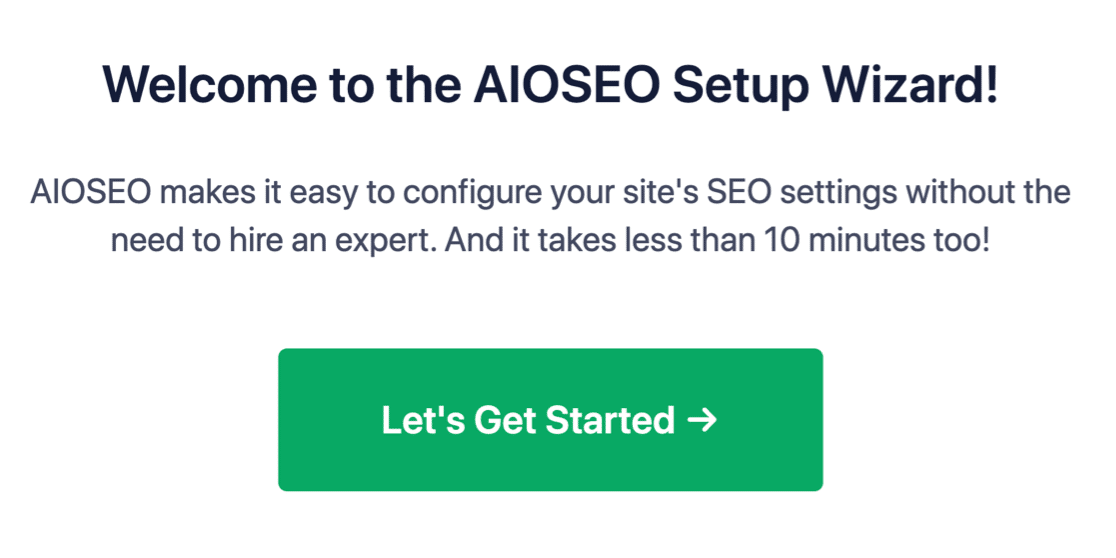
Och installationsprocessen tar mindre än 10 minuter.
Men tänk om du migrerar från ett annat SEO-plugin? Varje plugin hanterar metadata på olika sätt. Så, måste du göra allt från början? Är all din tidigare ansträngning bortkastad?
Nej! Om All in One SEO upptäcker ett annat SEO-plugin under installationsguiden, kommer det att erbjuda sig att kopiera över grundinställningarna åt dig:

I slutet av installationen kommer installationsguiden att uppmana dig att avaktivera ditt gamla SEO-plugin också. På så sätt finns det inga plugin-konflikter och fel:
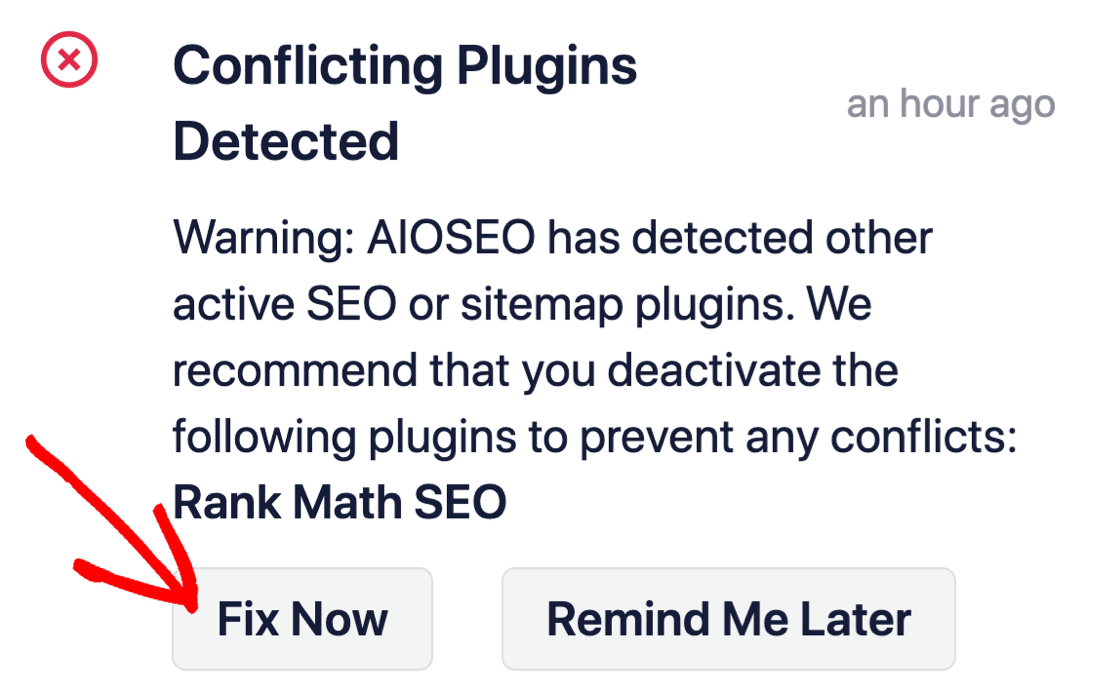
Att klicka på Fixa nu raderar inte inställningarna i ditt gamla SEO-plugin. Det avaktiverar bara pluginet för att förhindra konflikter.
Step #2: Configure Social Media Settings
In your WordPress dashboard, go to All in One SEO » Social Networks » Social Profiles and add your social profiles to the site:
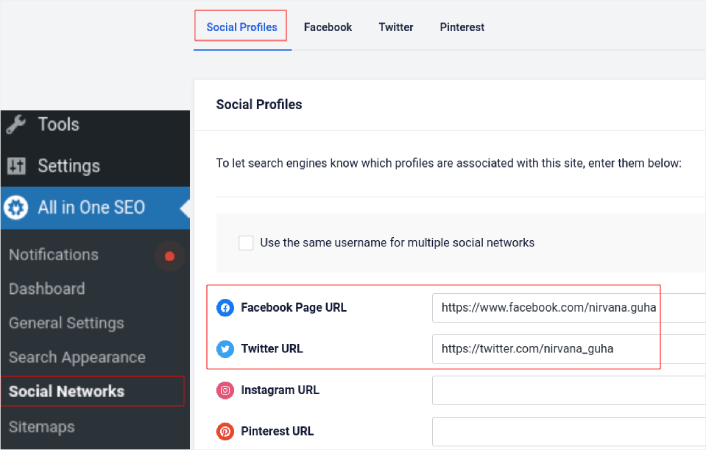
This step ensures that Search Engines such as Google and Bing know what social media profiles are associated with your site. At the same time, this helps you with your social media sharing settings as well. That’s up next.
Step #3: Edit Facebook General Settings
Go to All in One SEO » Social Networks and click on the Facebook tab. Here, you can configure your General Facebook Settings:
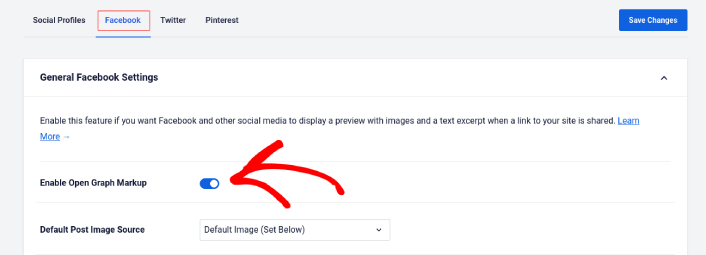
Toggle the Enable Open Graph Markup switch to activate it.
Here, you can set the Default Post Image Source and a Default Post Facebook Image:
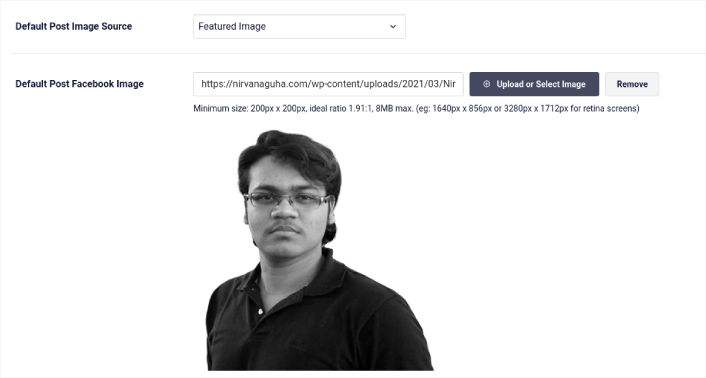
We recommend using the Featured Image option as the image source for your posts. But should check out the other options as well:

You can set the default Facebook image to be your logo or anything that represents your brand. Click on the Upload or Select Image button to change the default image. In our example, we’re using a personal brand. So, the default Facebook image is a photo of the author.
Once you’re done, hit the Save button.
And that’s it! You’re done. Once you save the changes, you can try sharing a post on your site to your Facebook page or profile.
What to do After You Add WordPress Open Graph Meta Tags
Det var allt för den här gången, gott folk!
Next, you should start thinking of multiple ways to engage and convert the traffic you bring in from your social media accounts. A great way to do that is to use push notifications. Push notifications can be a powerful marketing tool to bring in traffic, engagement, and direct sales for your business.
Om du inte är 100% övertygad bör du kolla in dessa resurser om hur du effektivt använder push-meddelanden:
- 7 smarta strategier för att öka kundengagemanget
- Är push-notiser effektiva? 7 statistik + 3 experttips
- Hur du ställer in pushmeddelanden för övergivna kundvagnar (Enkel handledning)
- Hur man lägger till ett WordPress-plugin för webbnotiser på din webbplats
Vi rekommenderar att använda PushEngage för att skapa dina push-notiskampanjer. PushEngage är den främsta push-notisprogramvaran i världen. Så, om du inte redan har gjort det, kom igång med PushEngage idag!


